1-Utilize the WordPress admin to install a theme
The first step is to log in to your WordPress admin dashboard. then click on
1. Choose Appearance >> Themes

The template package you have downloaded consists of several folders. Let's see what each folder contains:
Screenshots - contains template screenshot. Not for production.
The steps for activating a BWT key are as follows.
Use the License Key that you will receive via email to activate your licence.
The process to activate a licence is as follows.
Go to Dashboard >> Appearance >>BWT Key Activation>>Enter Key>>Save Changes.
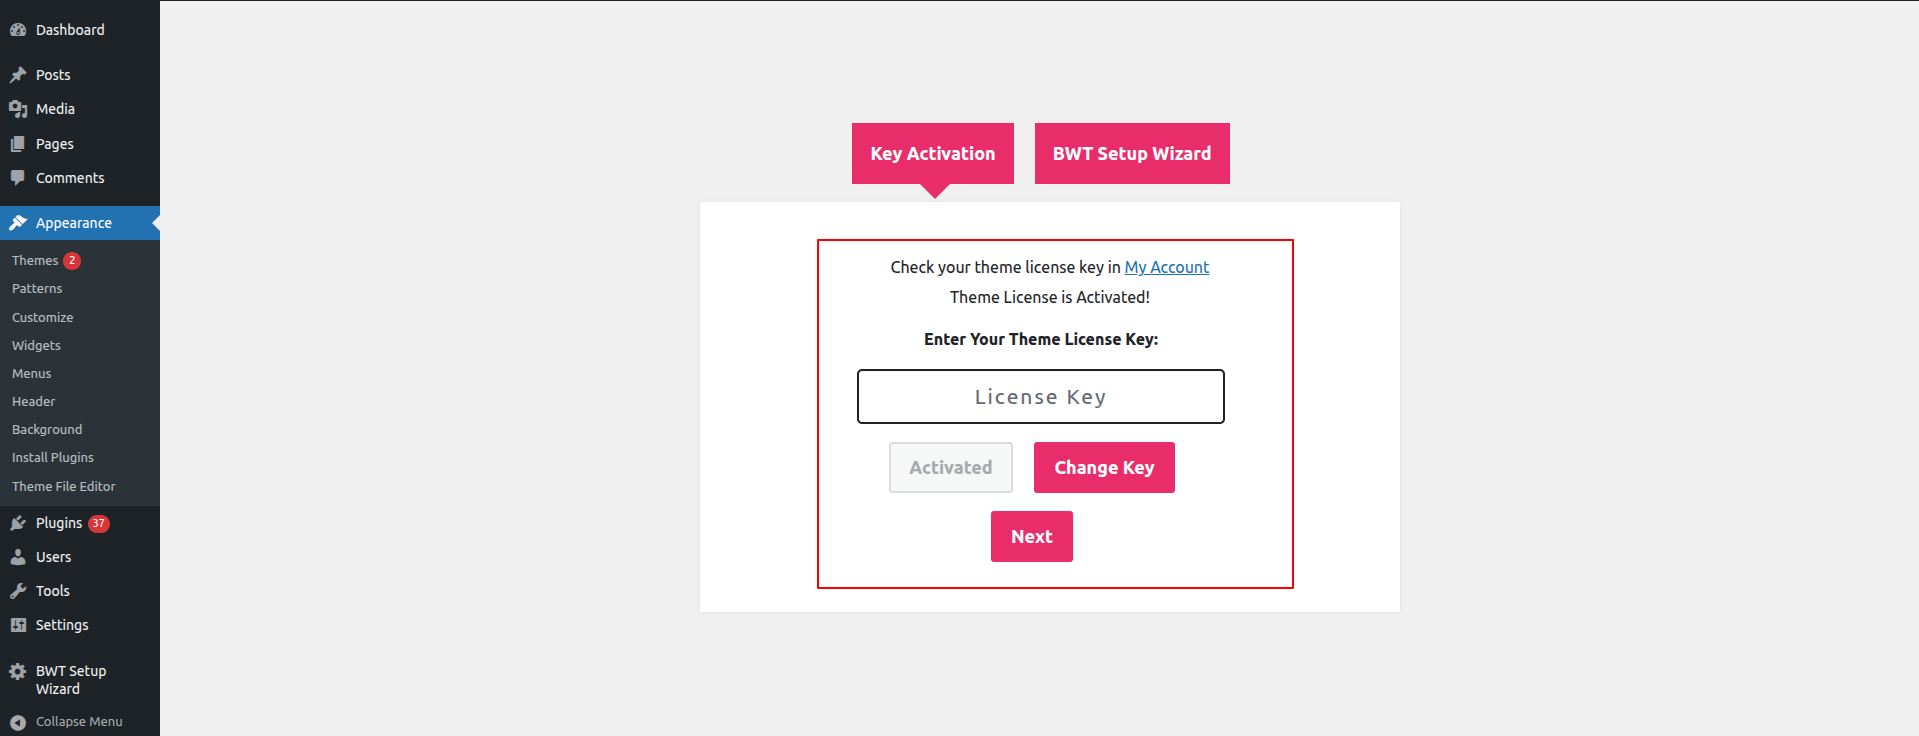
After Entering The Key >> Activate Licence.
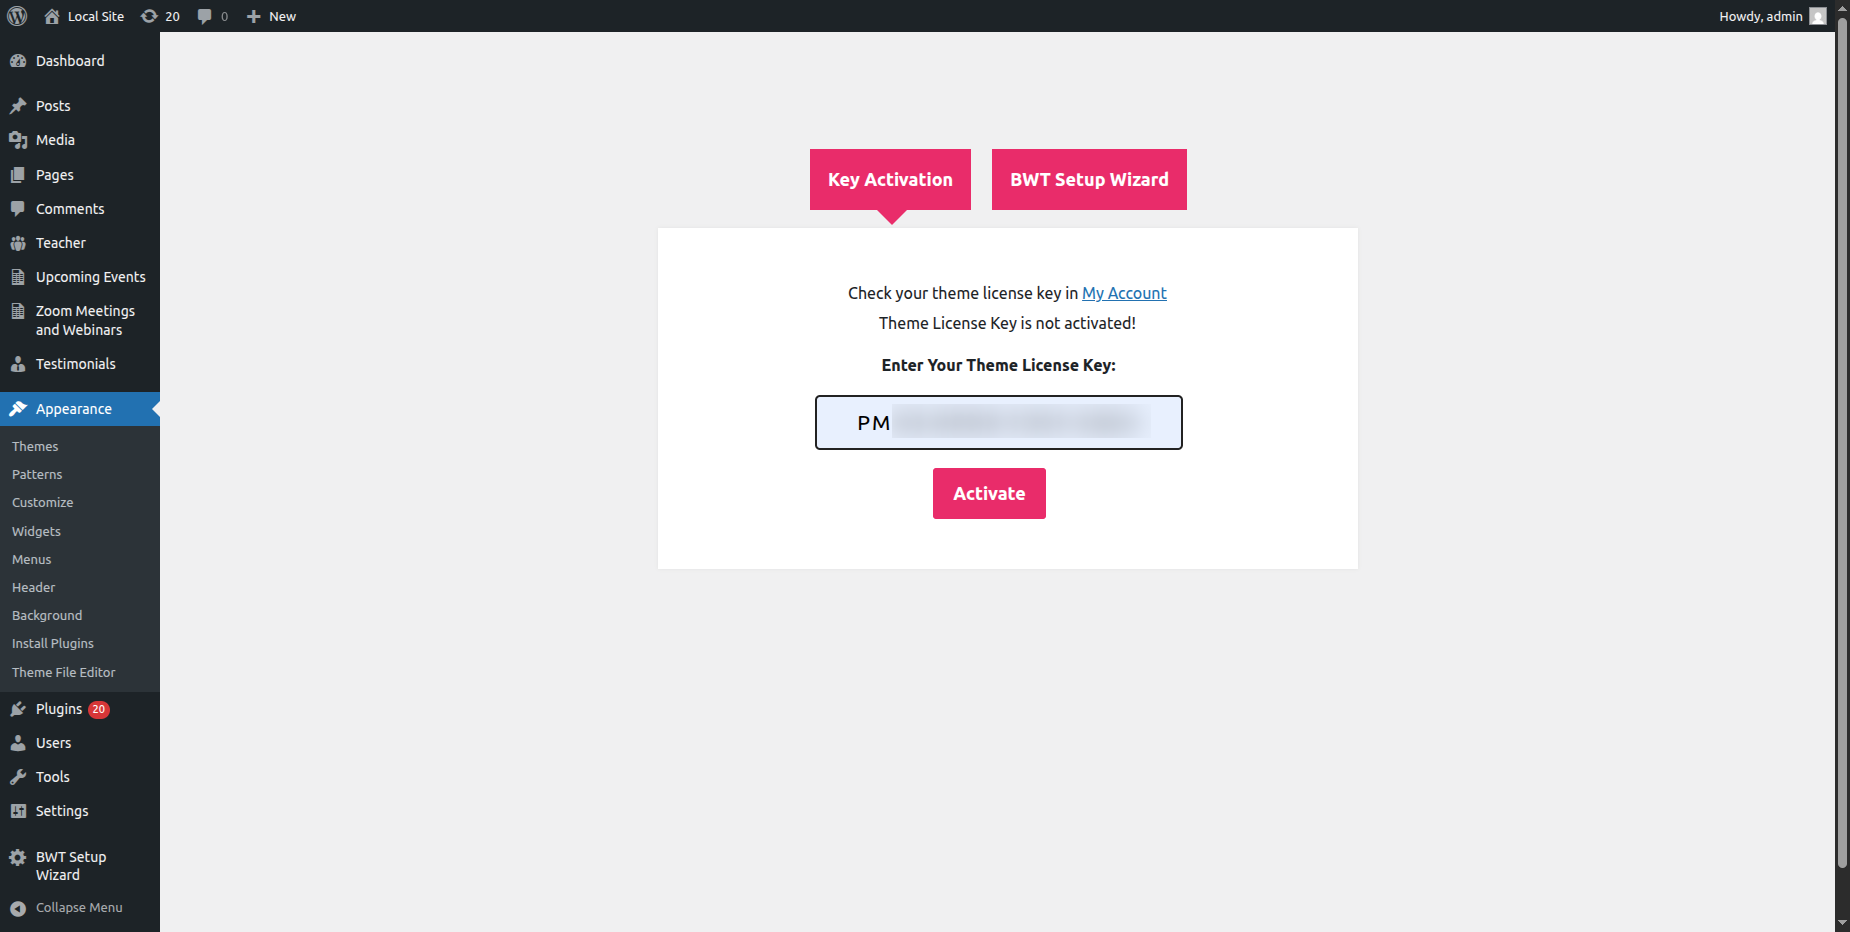
After you Activate Licence,the key will be active and then you can Getstarted with the Theme.
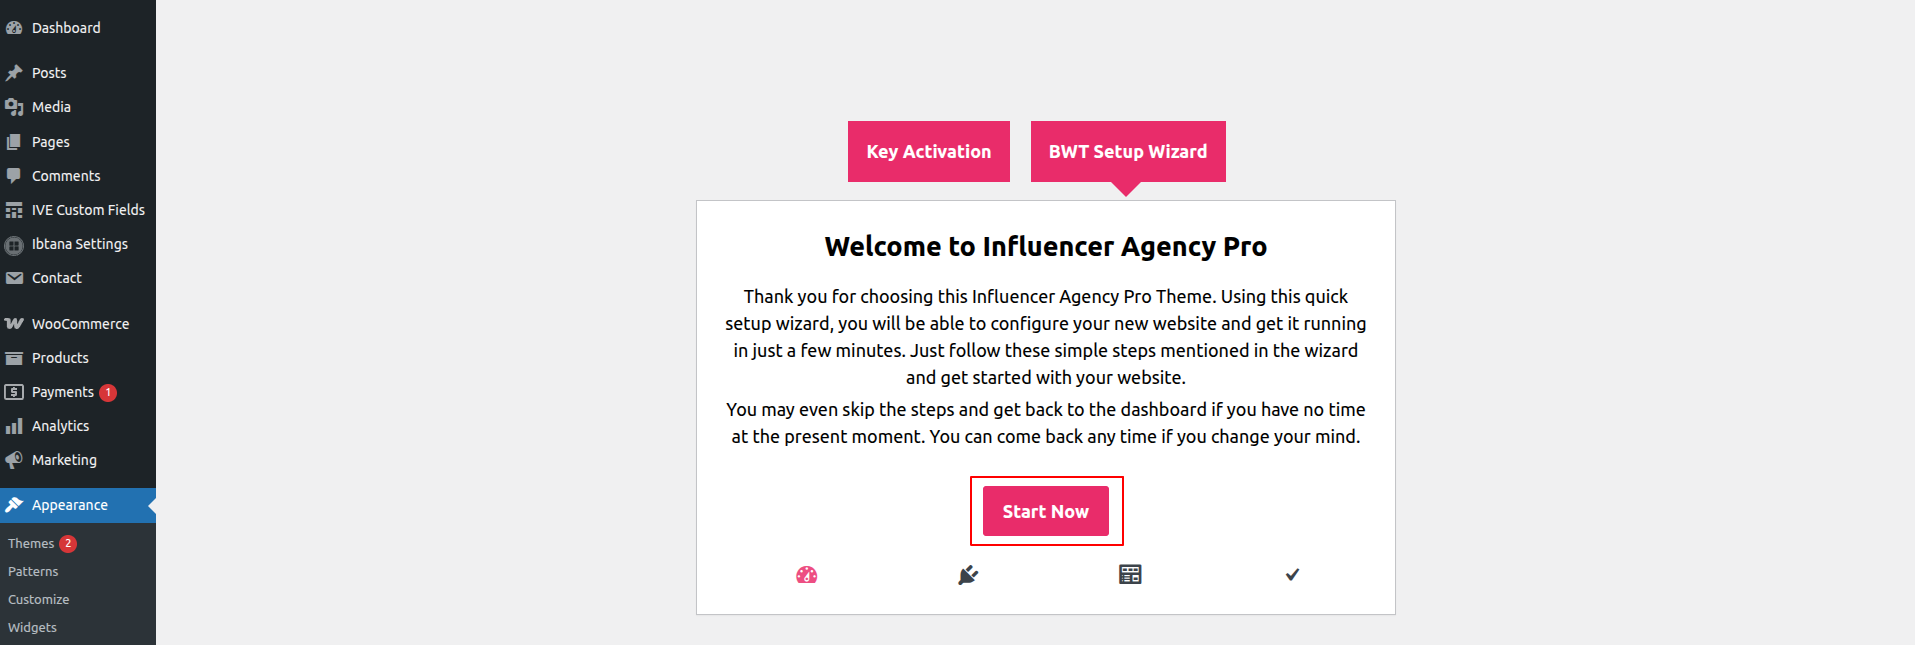
You can enable your Licence Key in this manner.
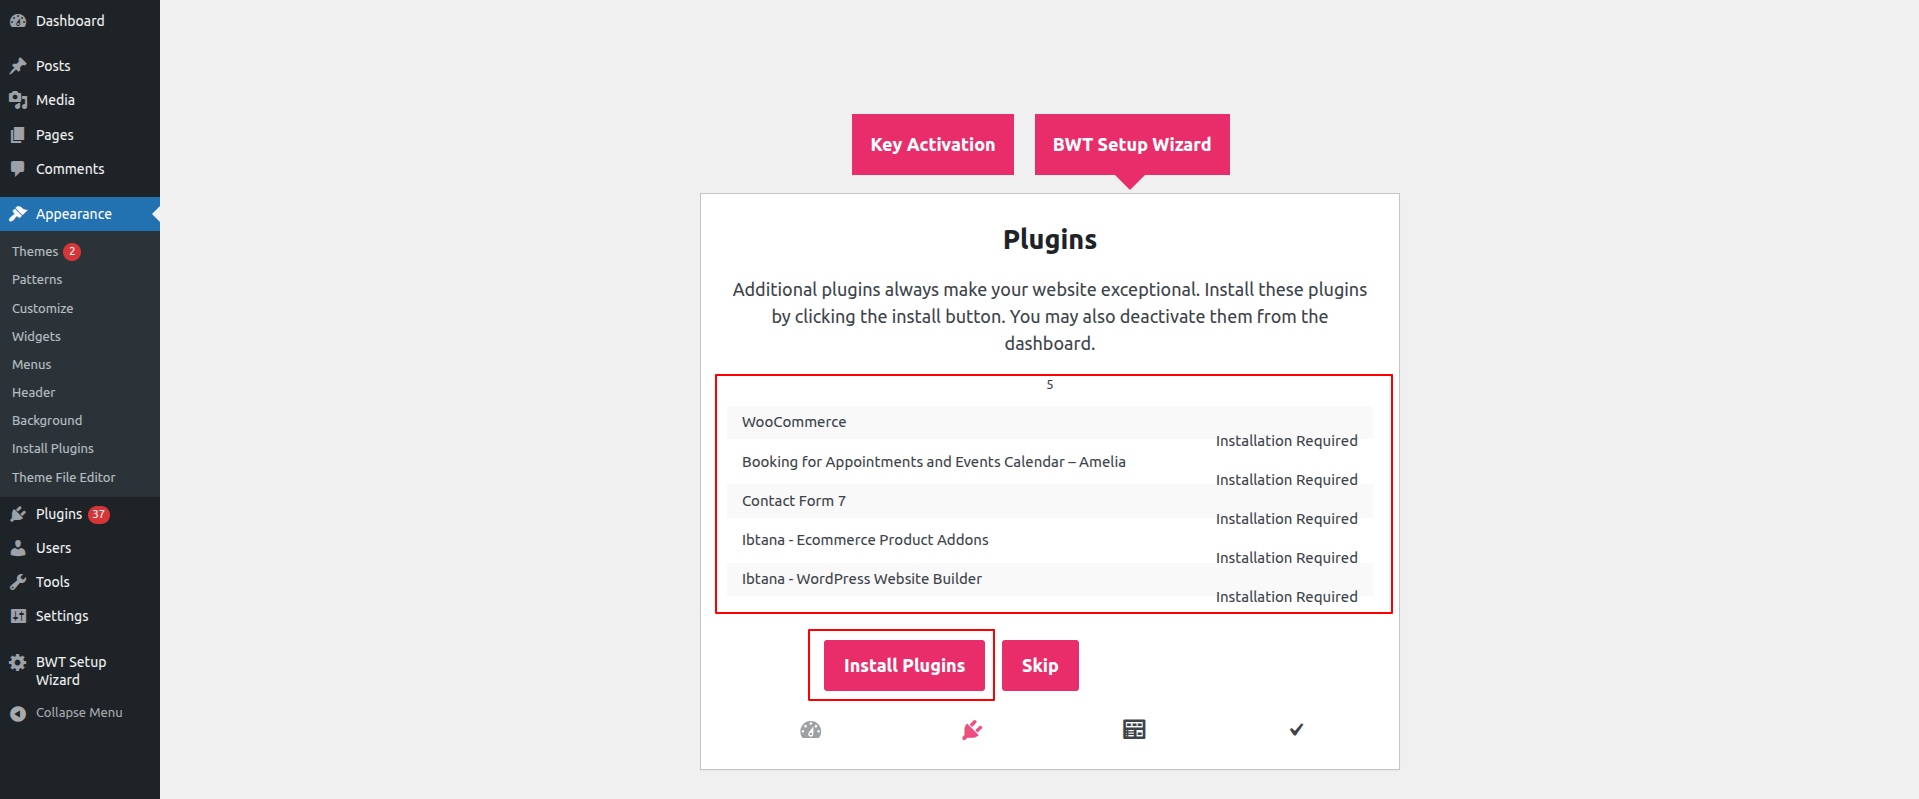
After That You can install Plugins of the theme
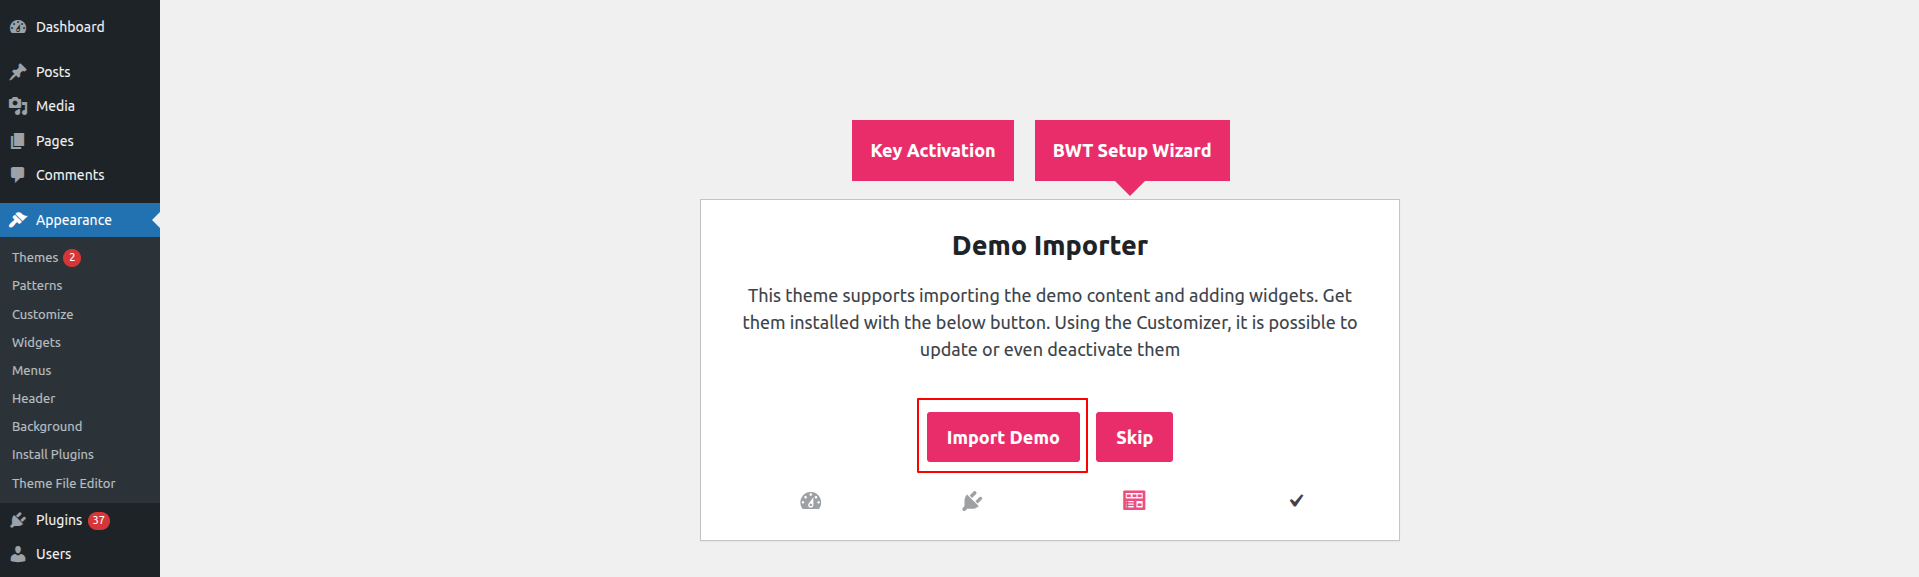
After That Start Demo Import of the theme
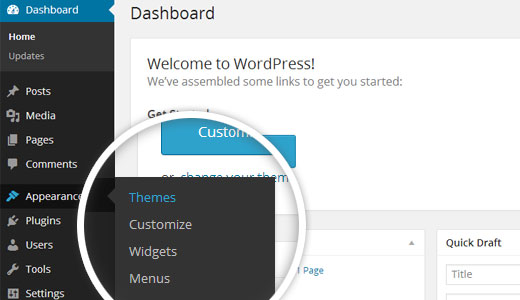
The first step is to log in to your WordPress admin dashboard. then click on
1. Choose Appearance >> Themes
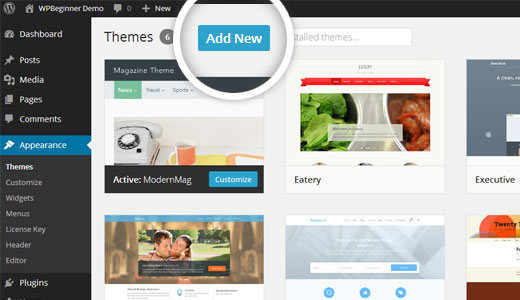
2. When arriving at the themes page, select Add New from the menu at the top.
3. Choose the button for theme upload.
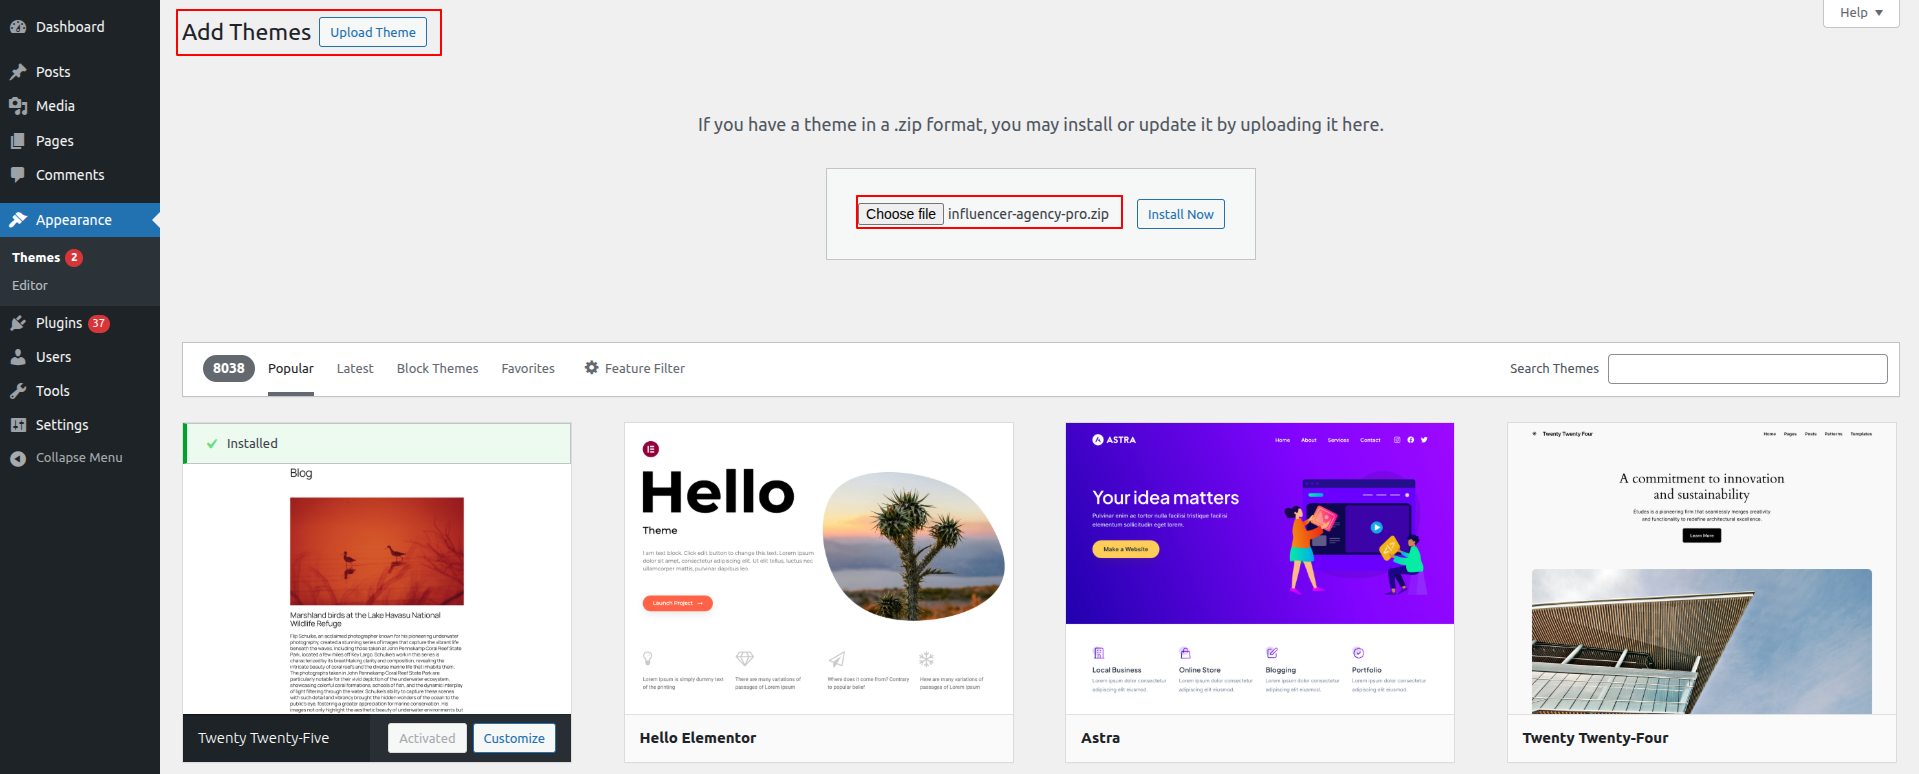
4. Choose your communications-agencies-pro.zip theme by clicking on the Browse button, and then click the Install Now option.
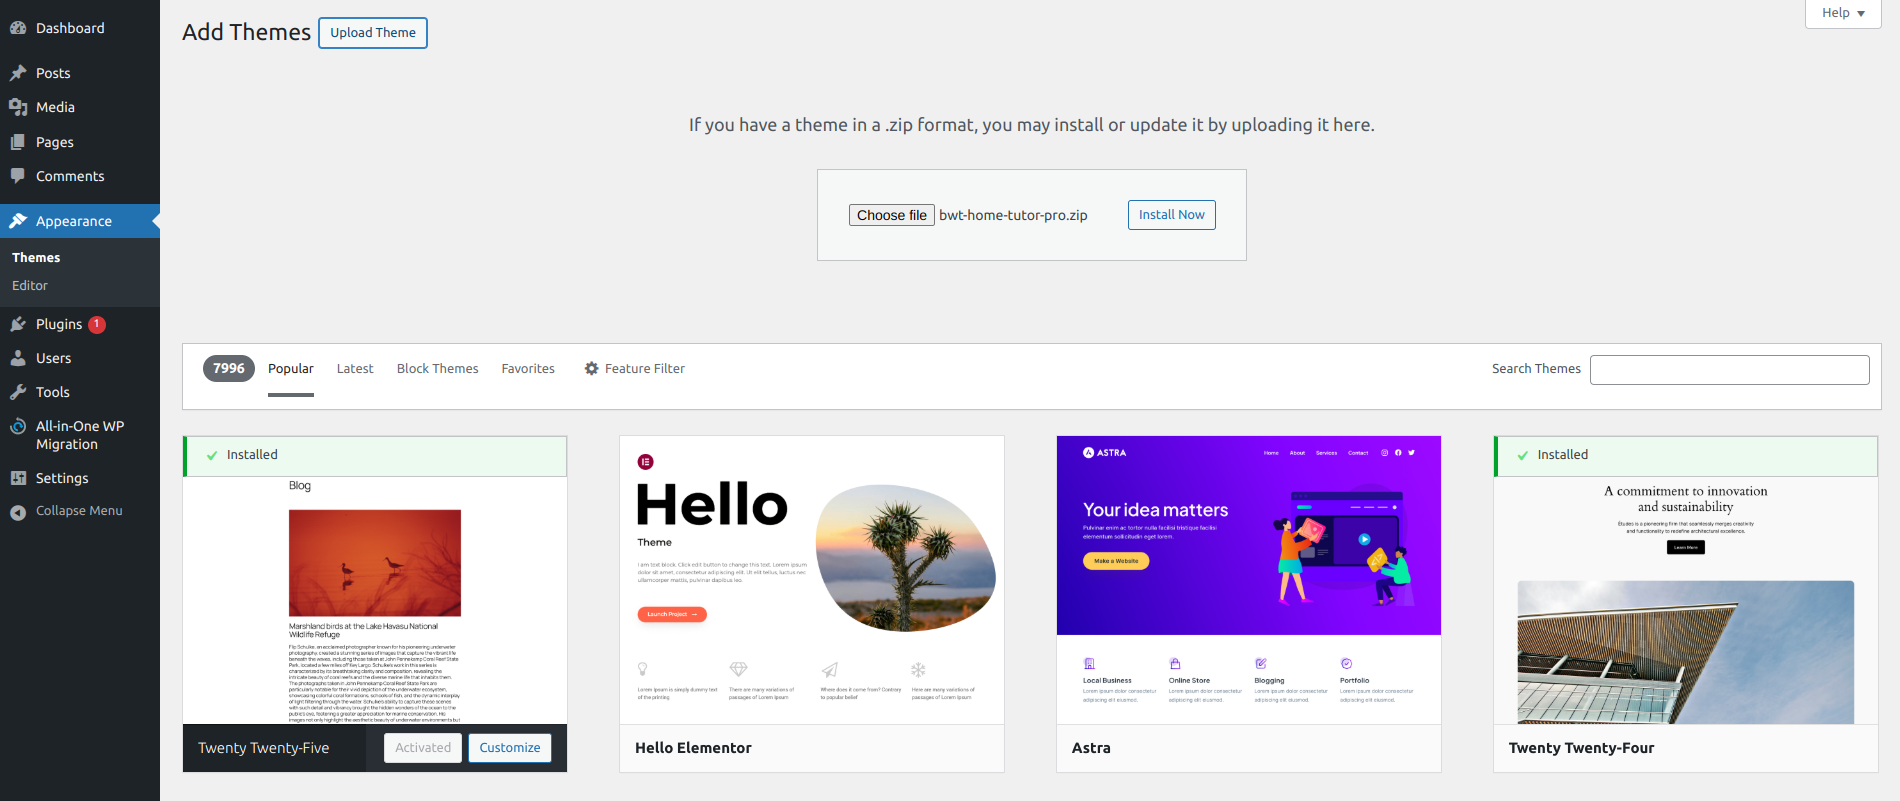
5. WordPress will now complete the installation of your theme and display a success message and a link to activate or view a live preview.
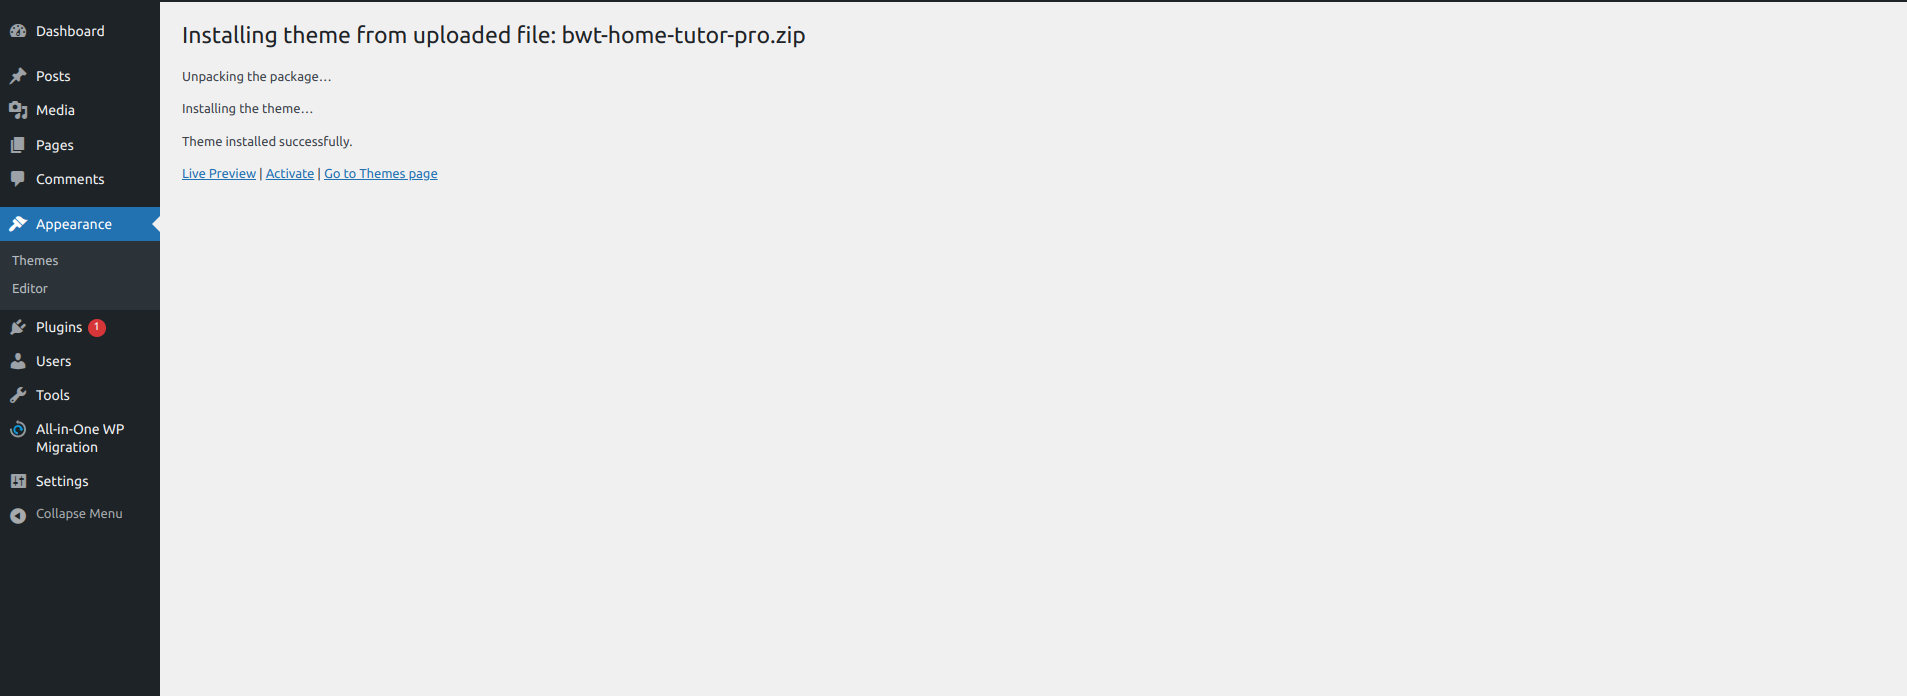
Congratulations!! Your theme has been set up successfully.
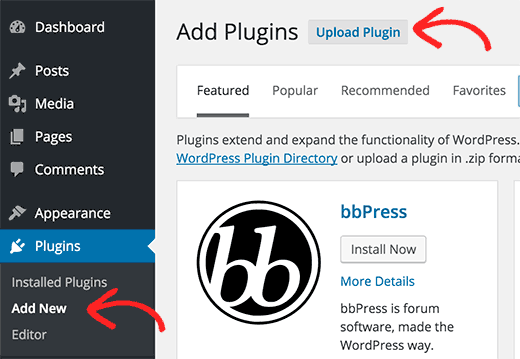
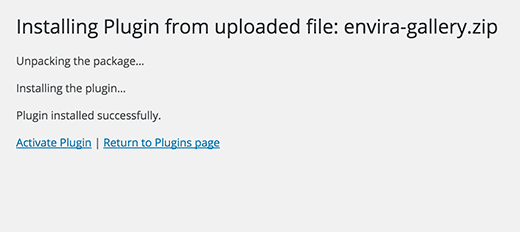
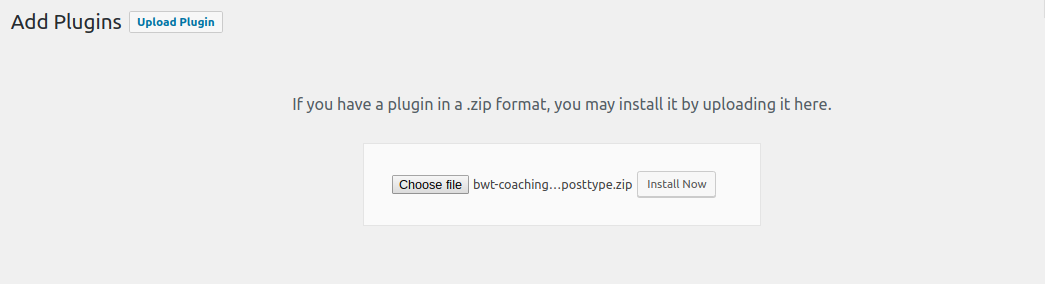
The following instructions for uploading a plugin can be used to manually install a WordPress plugin from a.zip archive.
Install Required Plugins:
communications-agencies-pro posttype plugin , contact form 7 plugin ,woocommerce
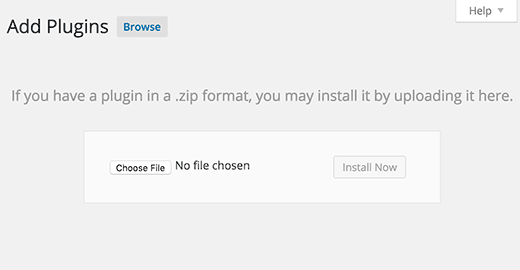
1. Go to the Dashboard plugin >> Add New >> Upload plugin.
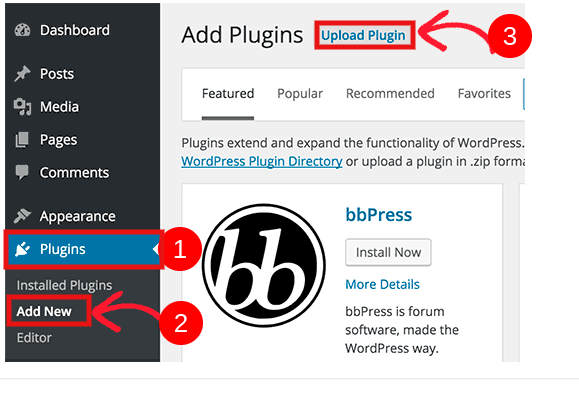
click on the install now button and activate.
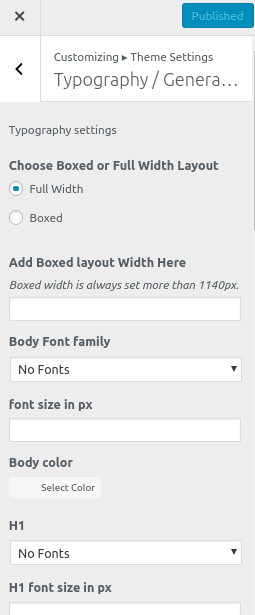
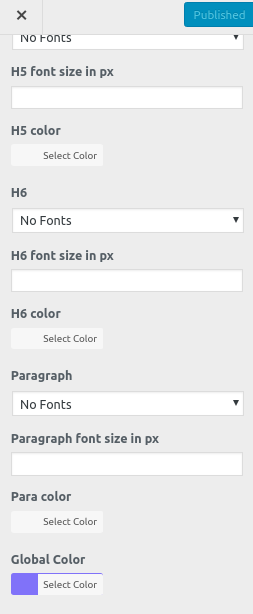
Setting or changing the site's colour and typefaces is simple with the colour/fonts setting tool.
Go to Appearance > Customize > Theme Settings> Color/Font Settings
These choices are included in this section:
1. Headings (h1, h2, h3, h4, h5, h6) Font family
This area offers the ability to change the font family used for paragraphs and other website content.
2. Font family for the paragraph and other content
This part allows you to choose the font family for all of your website's headings.
Now, click on Publish button.
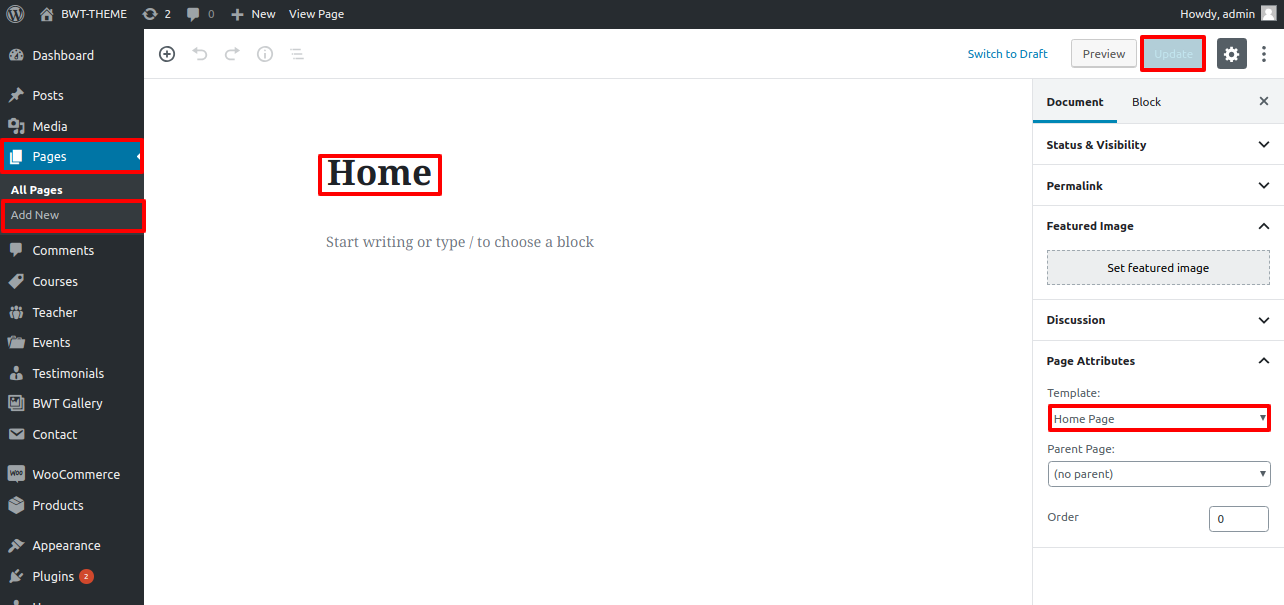
To set a template for a new page, navigate to the Dashboard, click on Pages, and then select Add New Page. Give the page a name, such as "Home," or any other desired label. Next, choose the "home-page" template from the dropdown menu of available templates.
Set the front page:Go to Setting -> Reading --> Set the post page display static page to home page
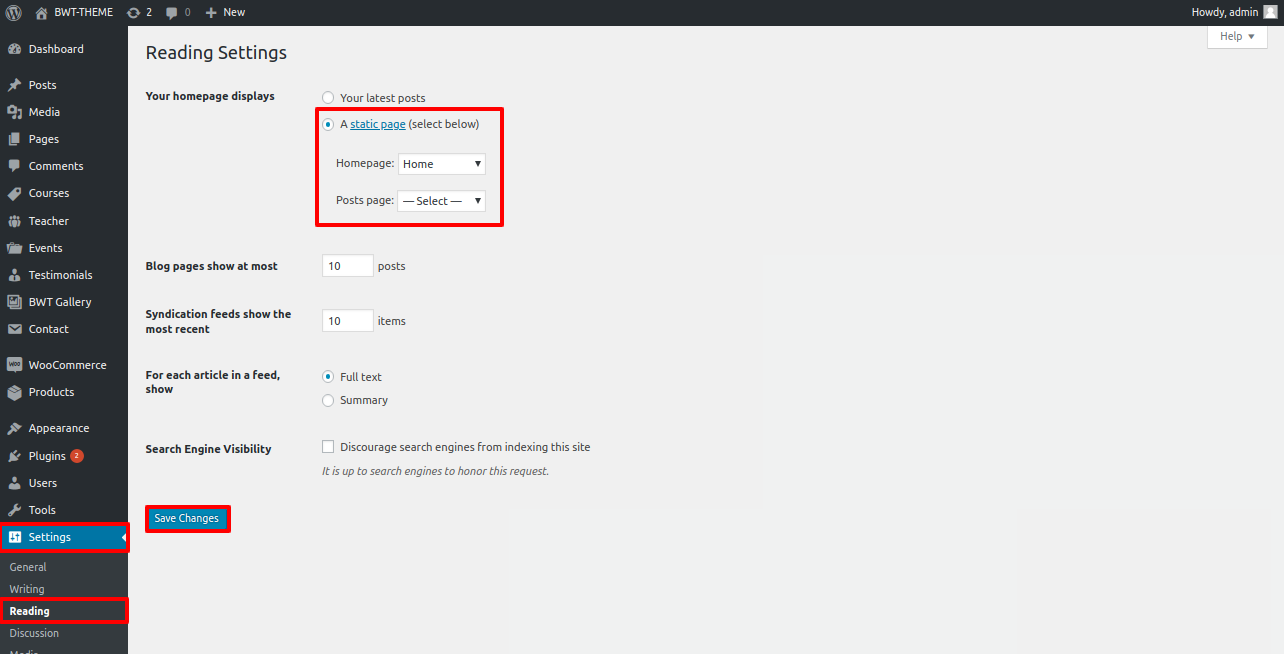
After completing this, you can view the front page's entire demo of the material.
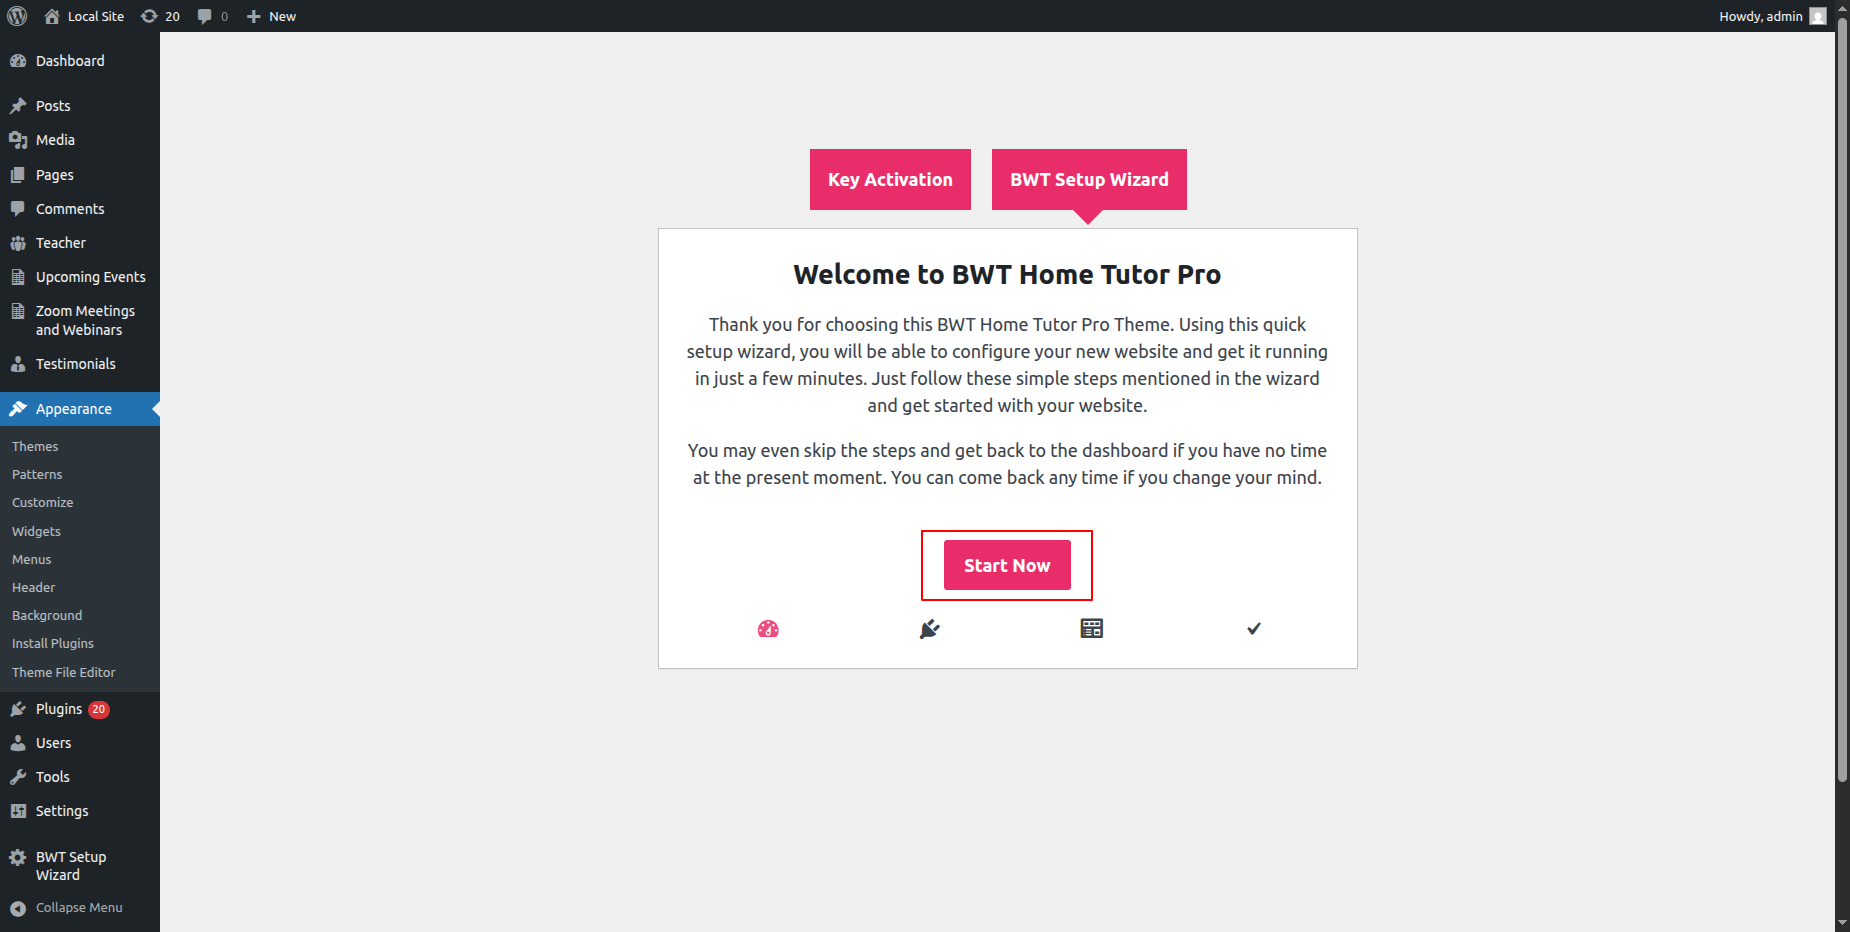
To set up your theme, simply select to import sample content. You can use this information to help you create a website for website creation.
Go to Dashboard >> Appearance >> Get started.
You must first install the communications-agencies-pro-posttype plugin and the woocommerce plugins before you can initiate the "Run Importer" command.
"Demo Content Importer" should be selected before "Run Importe."
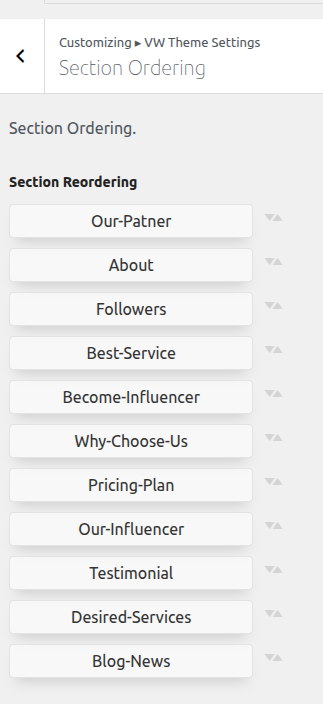
How to Arrange and Reordering Section
To reorder an area simply means to arrange it according to our needs. Drag the section to the top or bottom as necessary to continue with this part. Your front view will alter in accordance with customizer values when you drag any section to the top or bottom.
You can reorder sections by simply dragging and dropping options into the desired sequence.
To proceed with the Section Ordering.
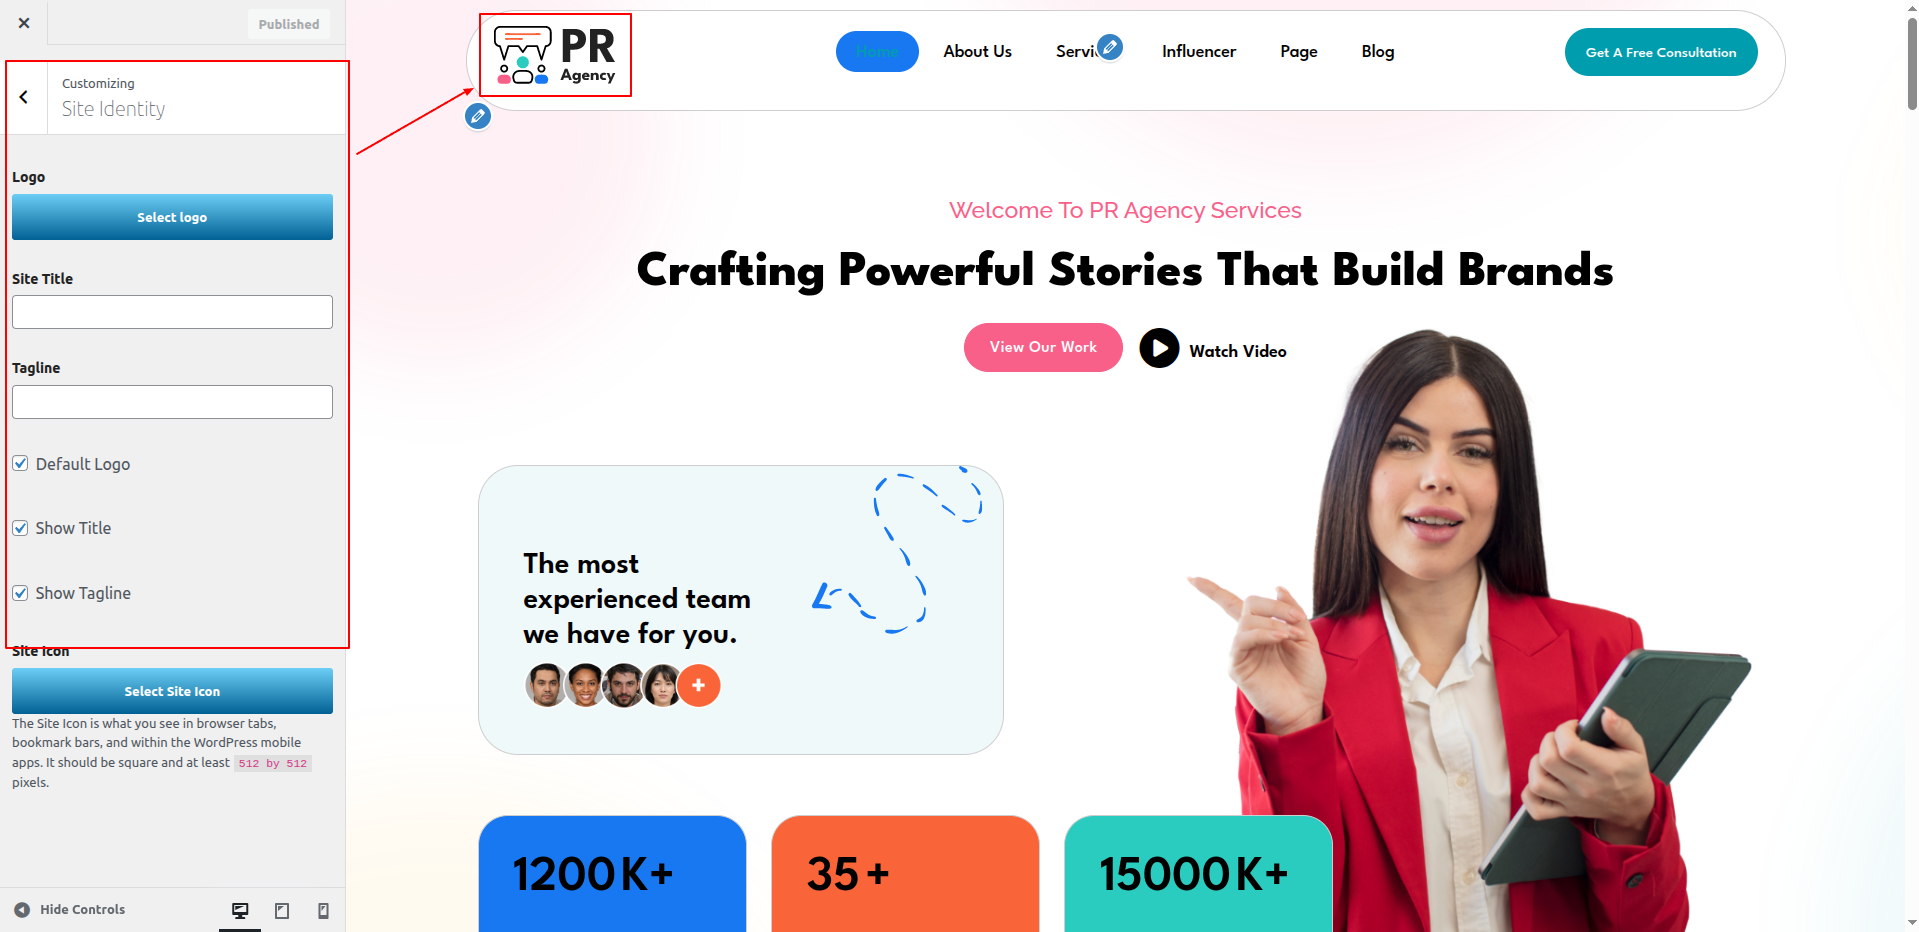
To proceed with the Site Identity,
Go to Appearance >> Customize >> Theme Settings >>Site Identity
To proceed with the Topbar,
Go to Appearance >> Customize >> Theme Settings >>Header
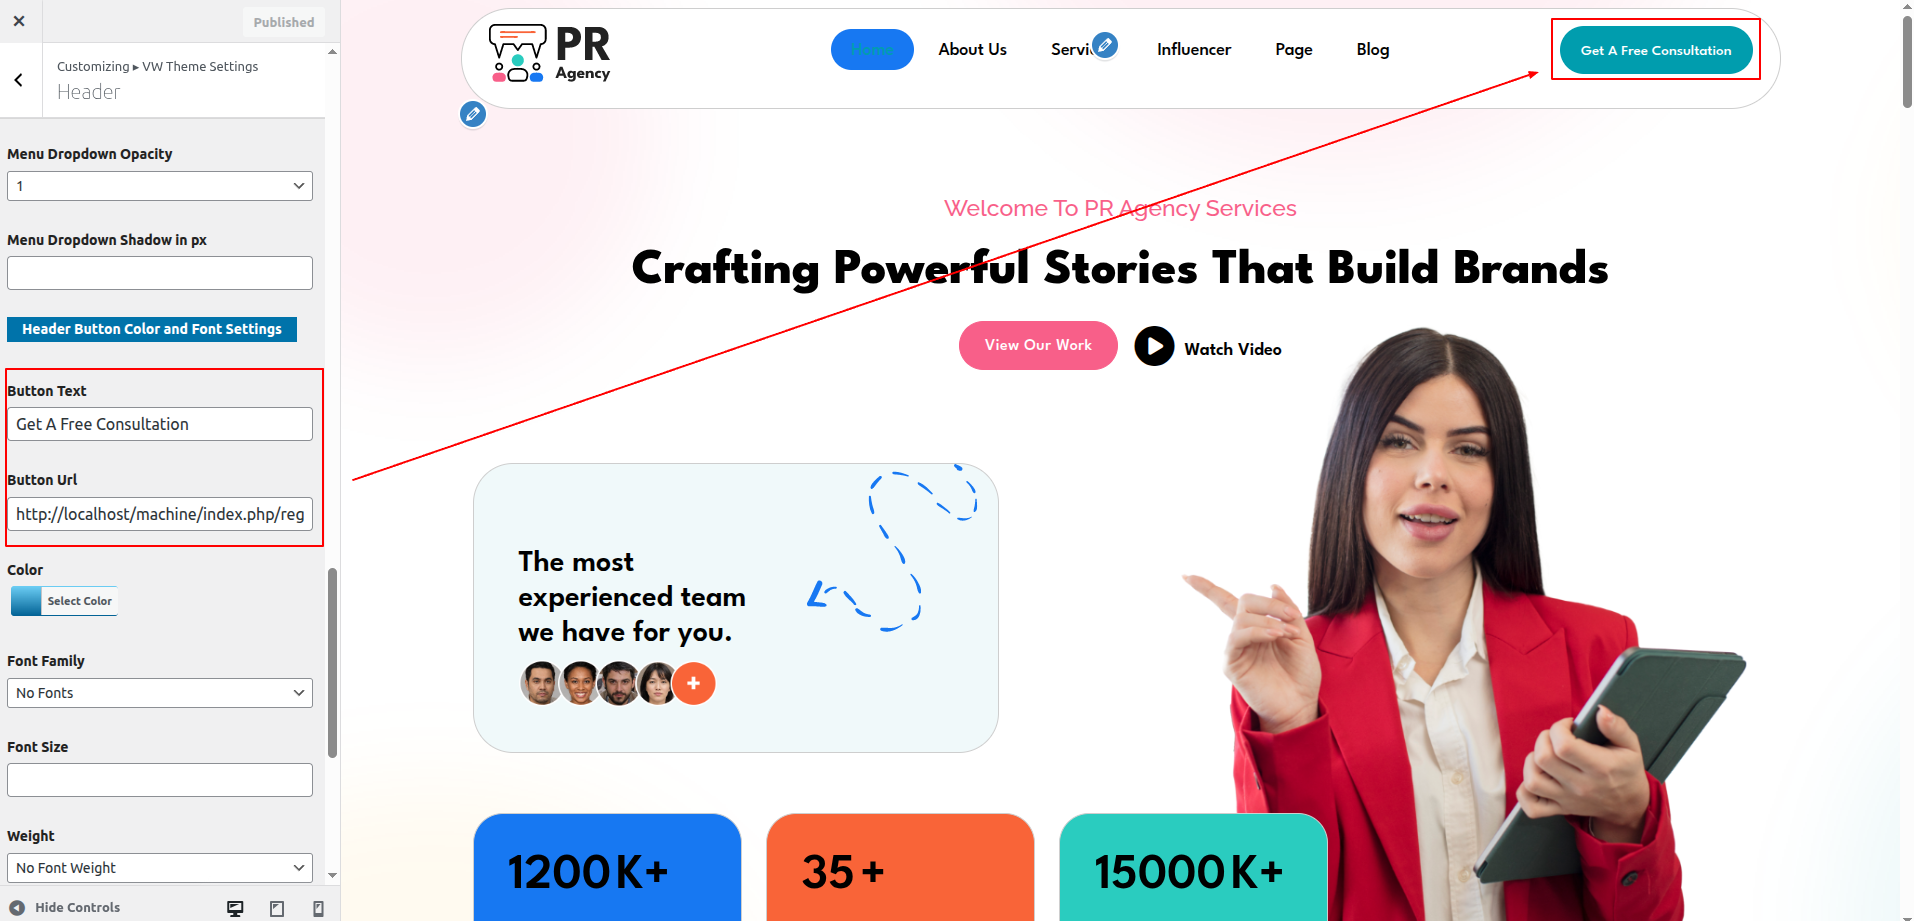
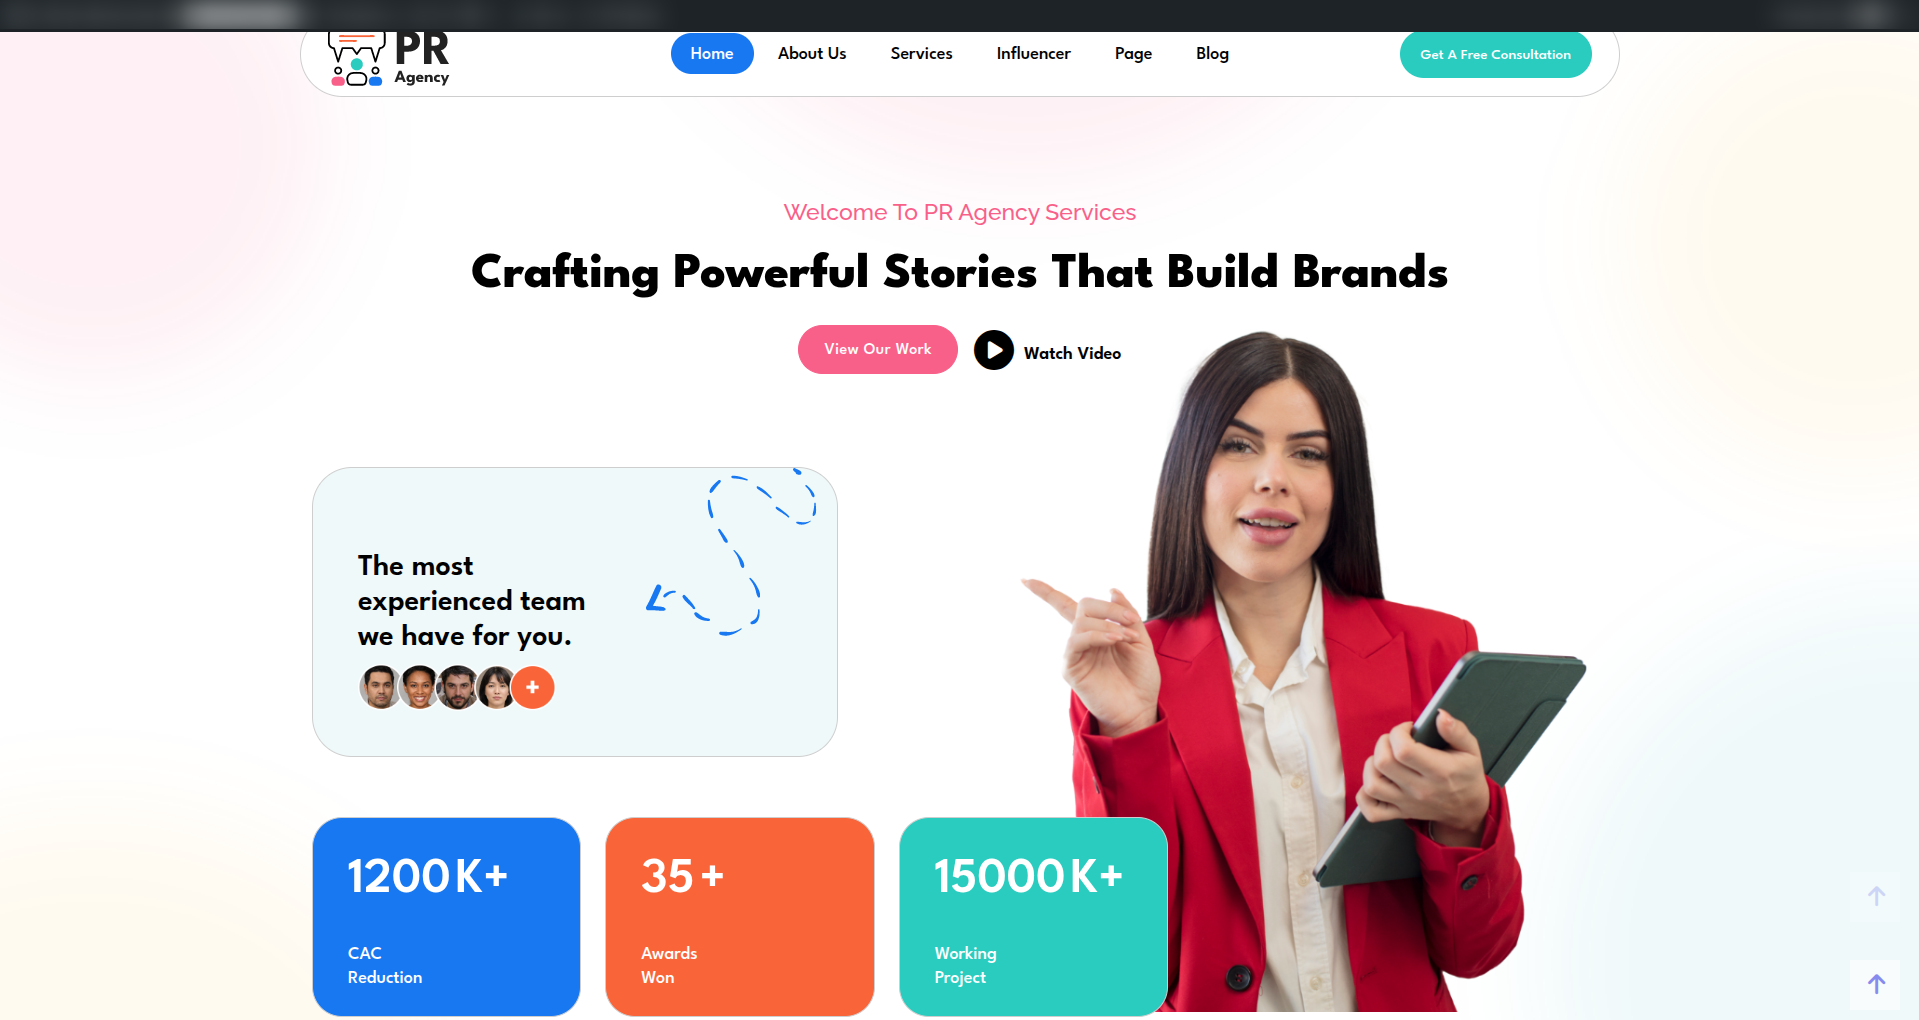
Final Look of the Header

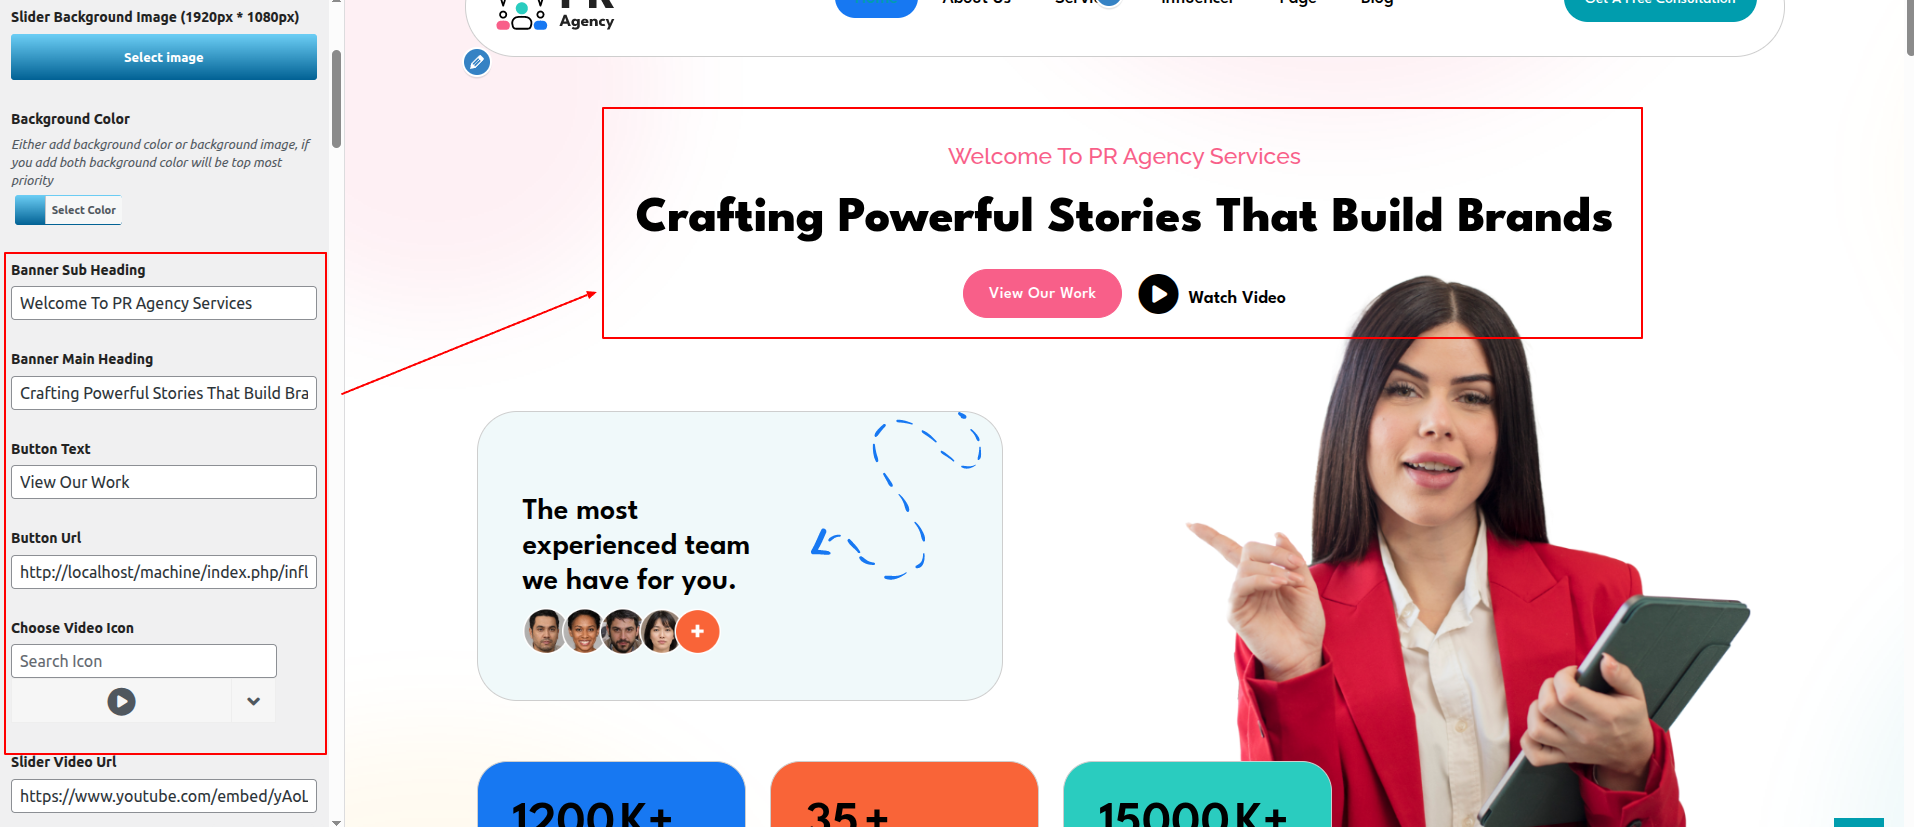
To setup, adhere to these procedures the slider
Go to Appearance >> Customize >> Theme Settings >>Slider Settings
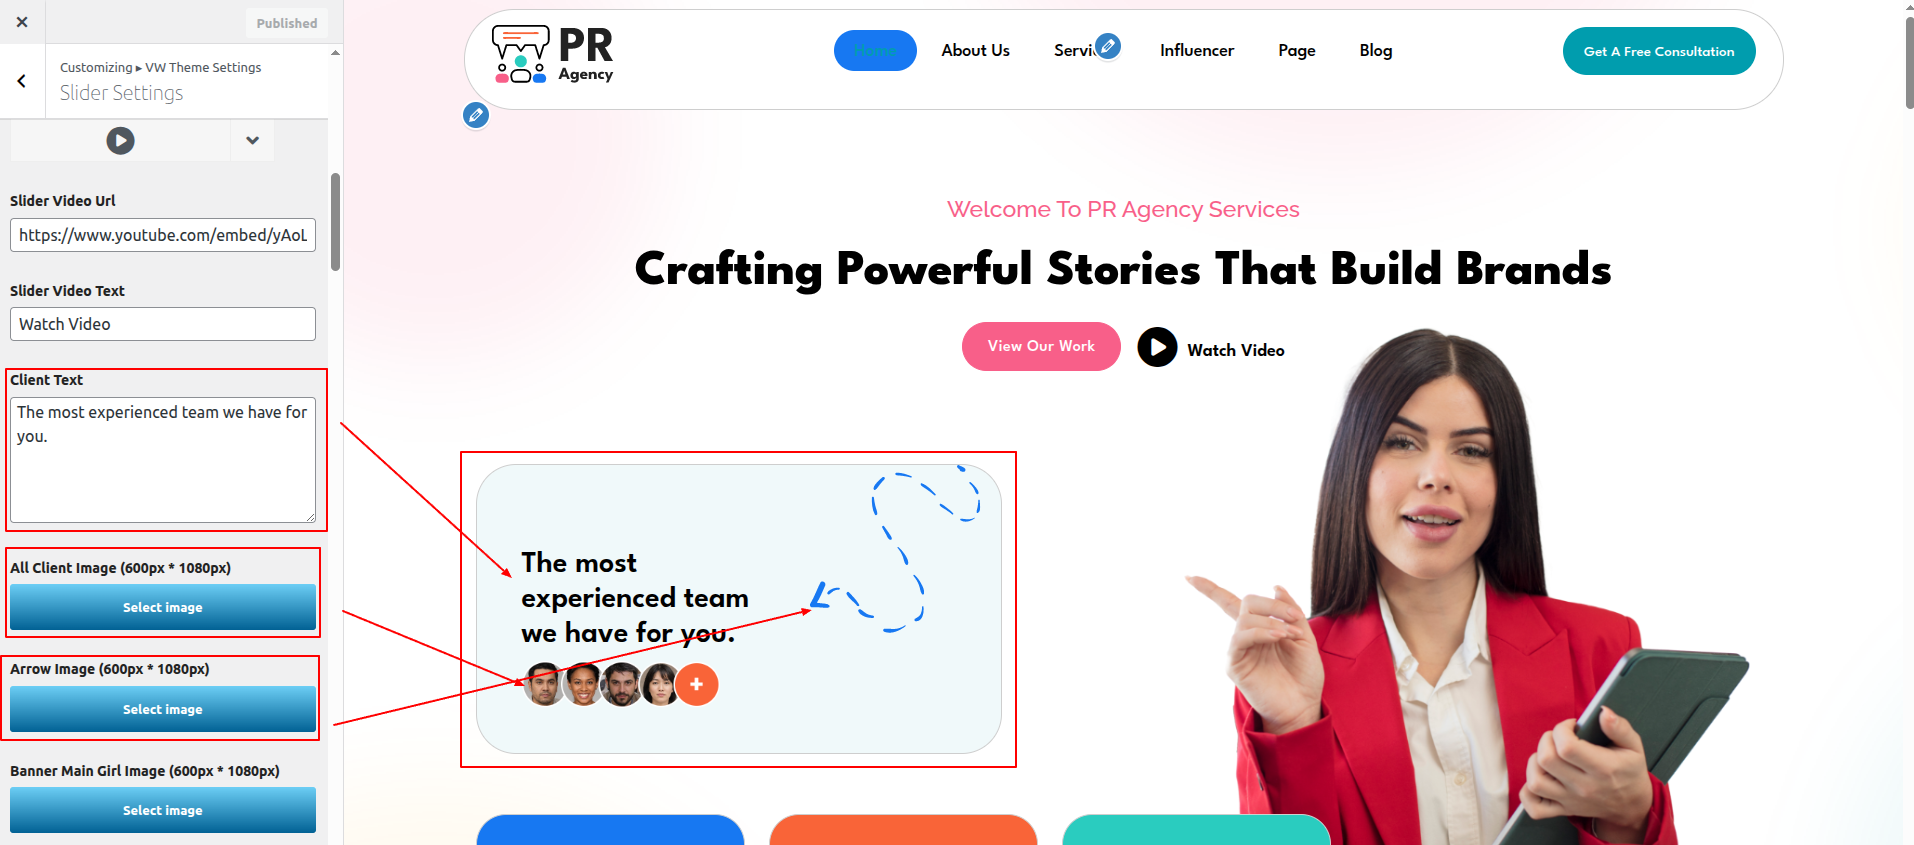
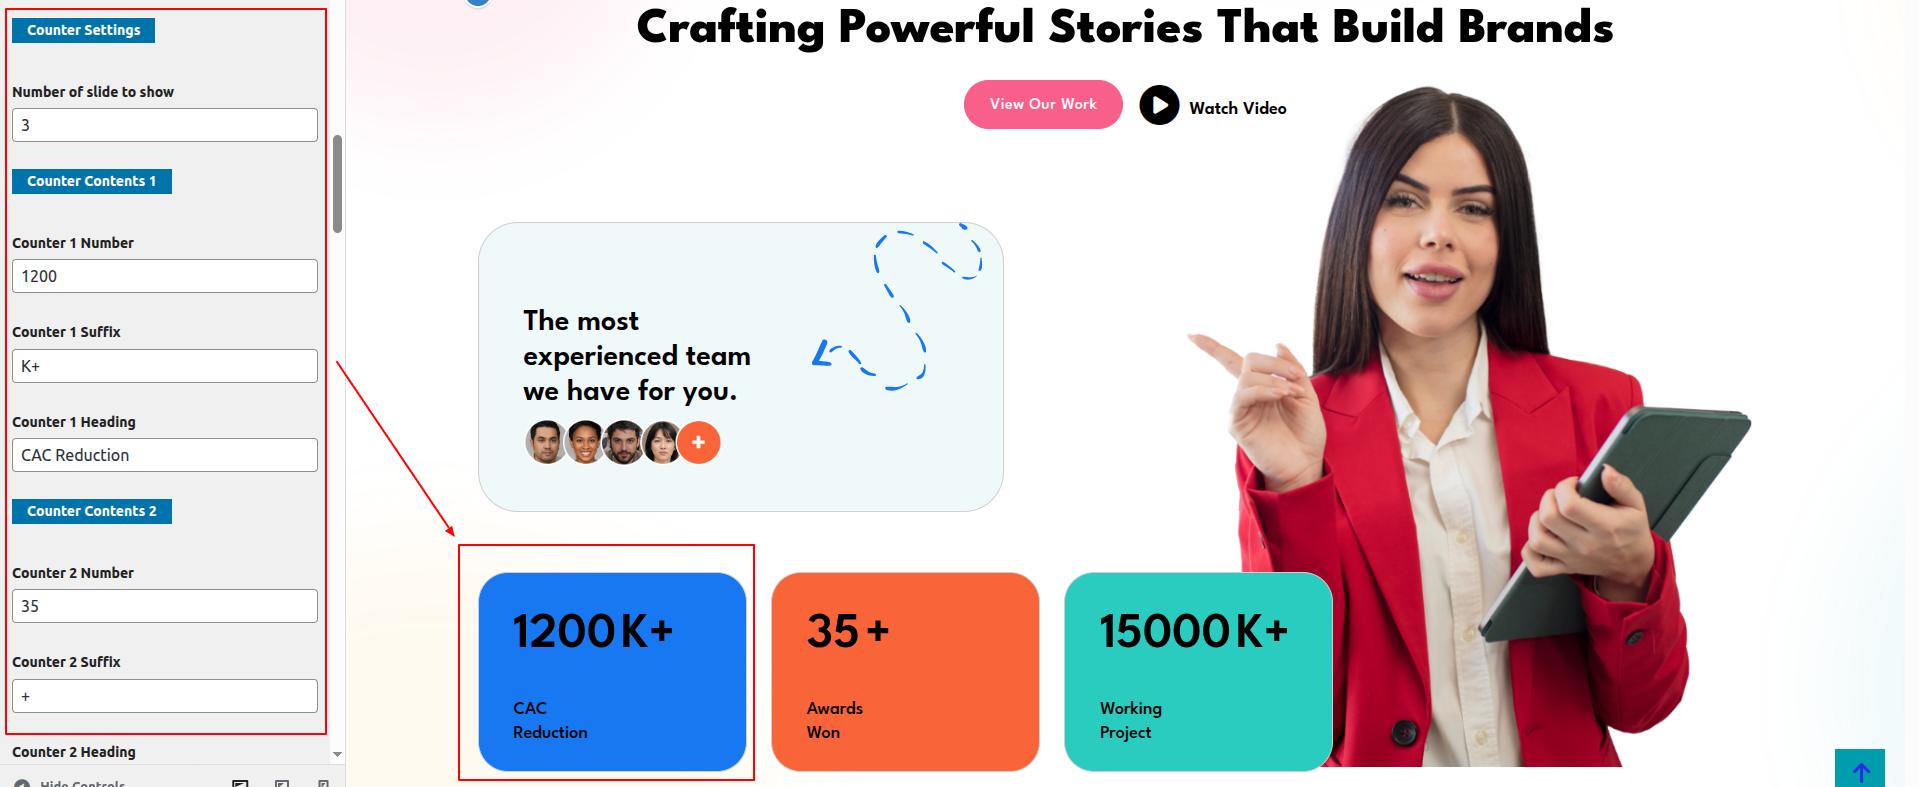

To proceed with the About Section,
Go to Appearance >> Customize >> Theme Settings >> Our Partner Section
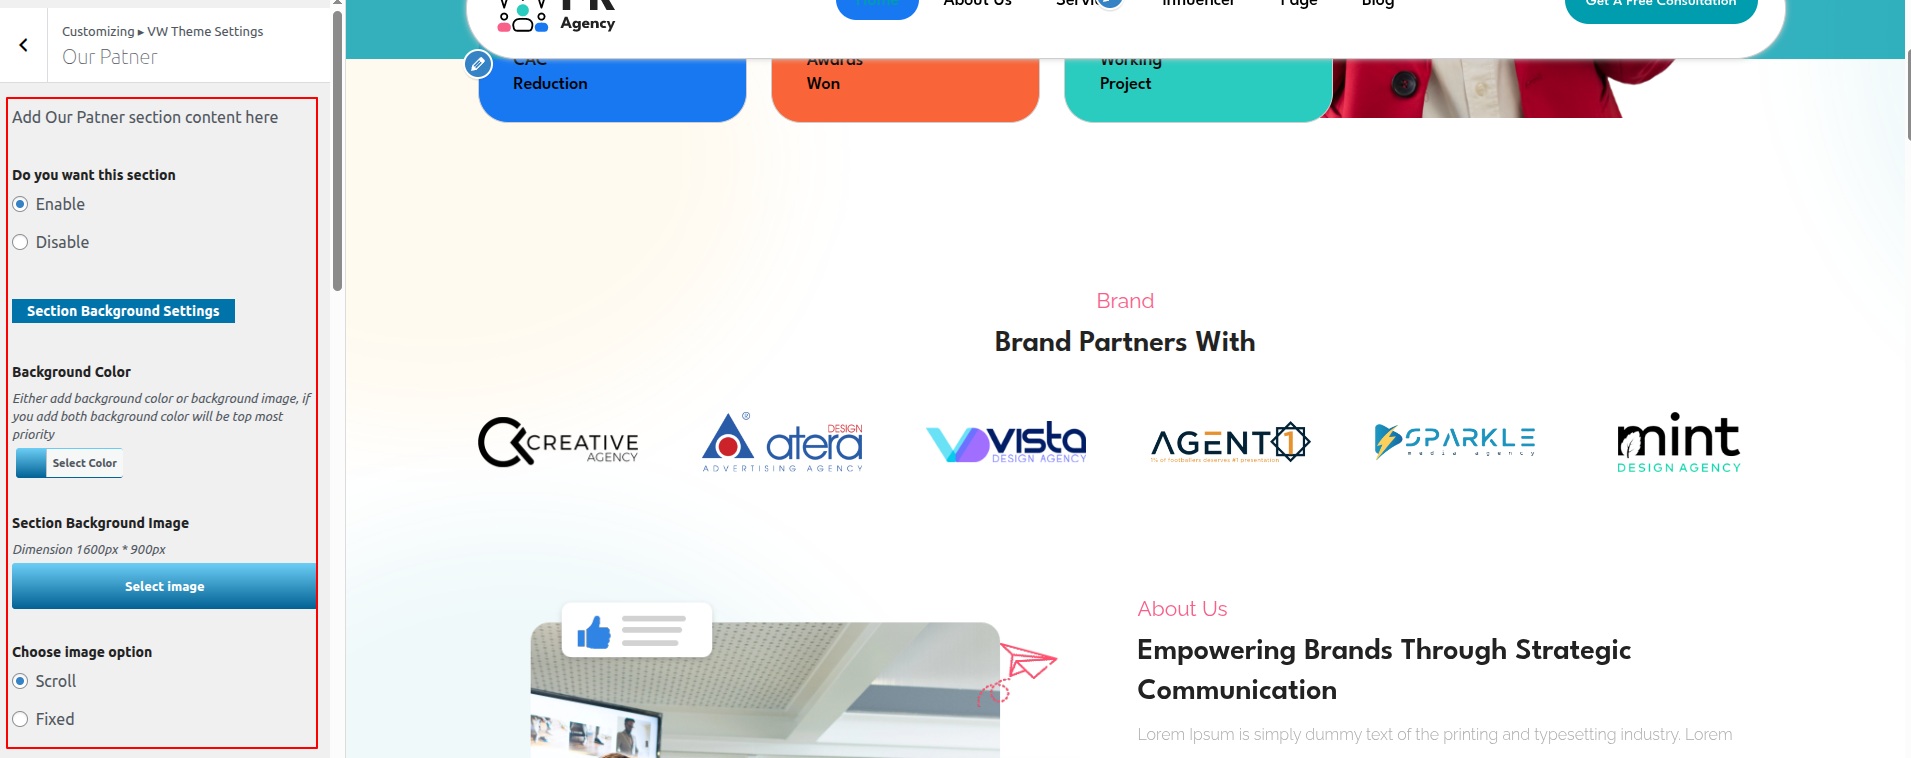
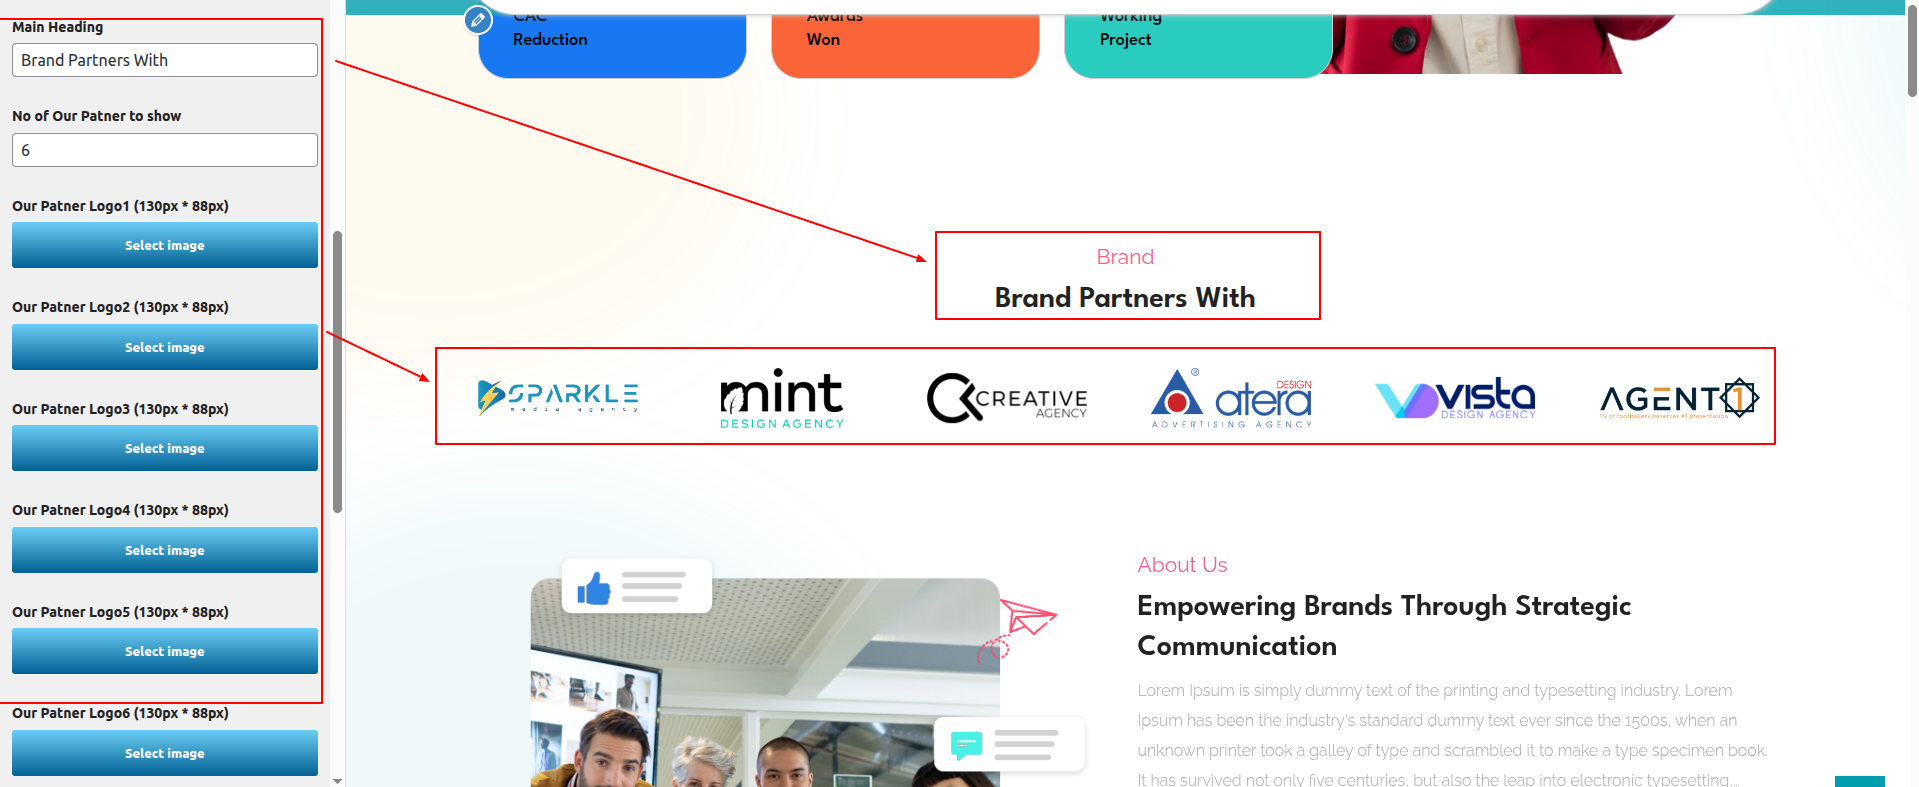
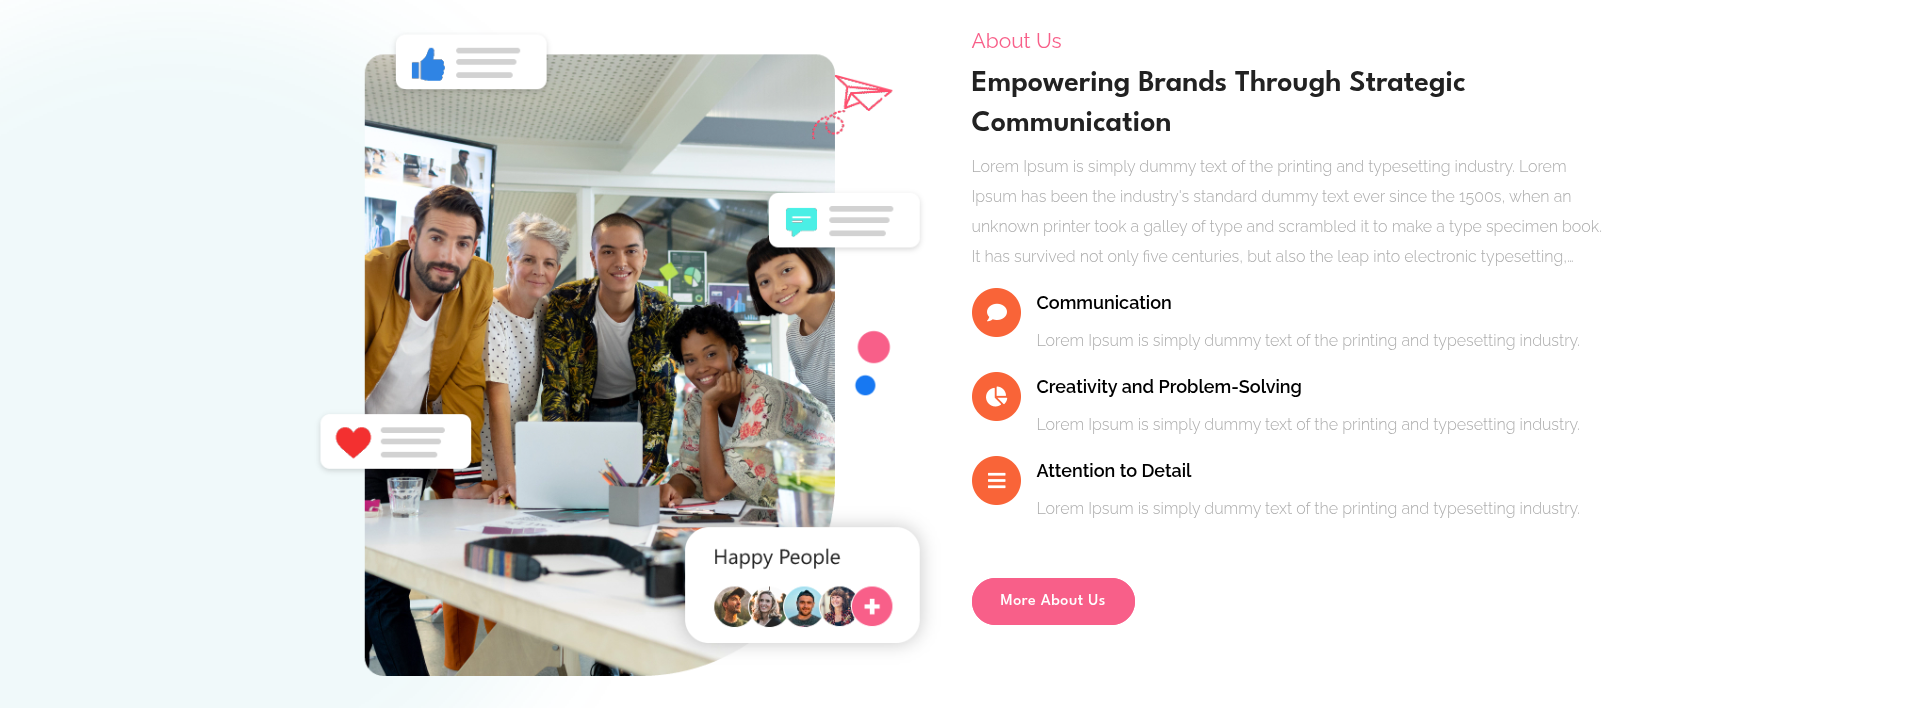
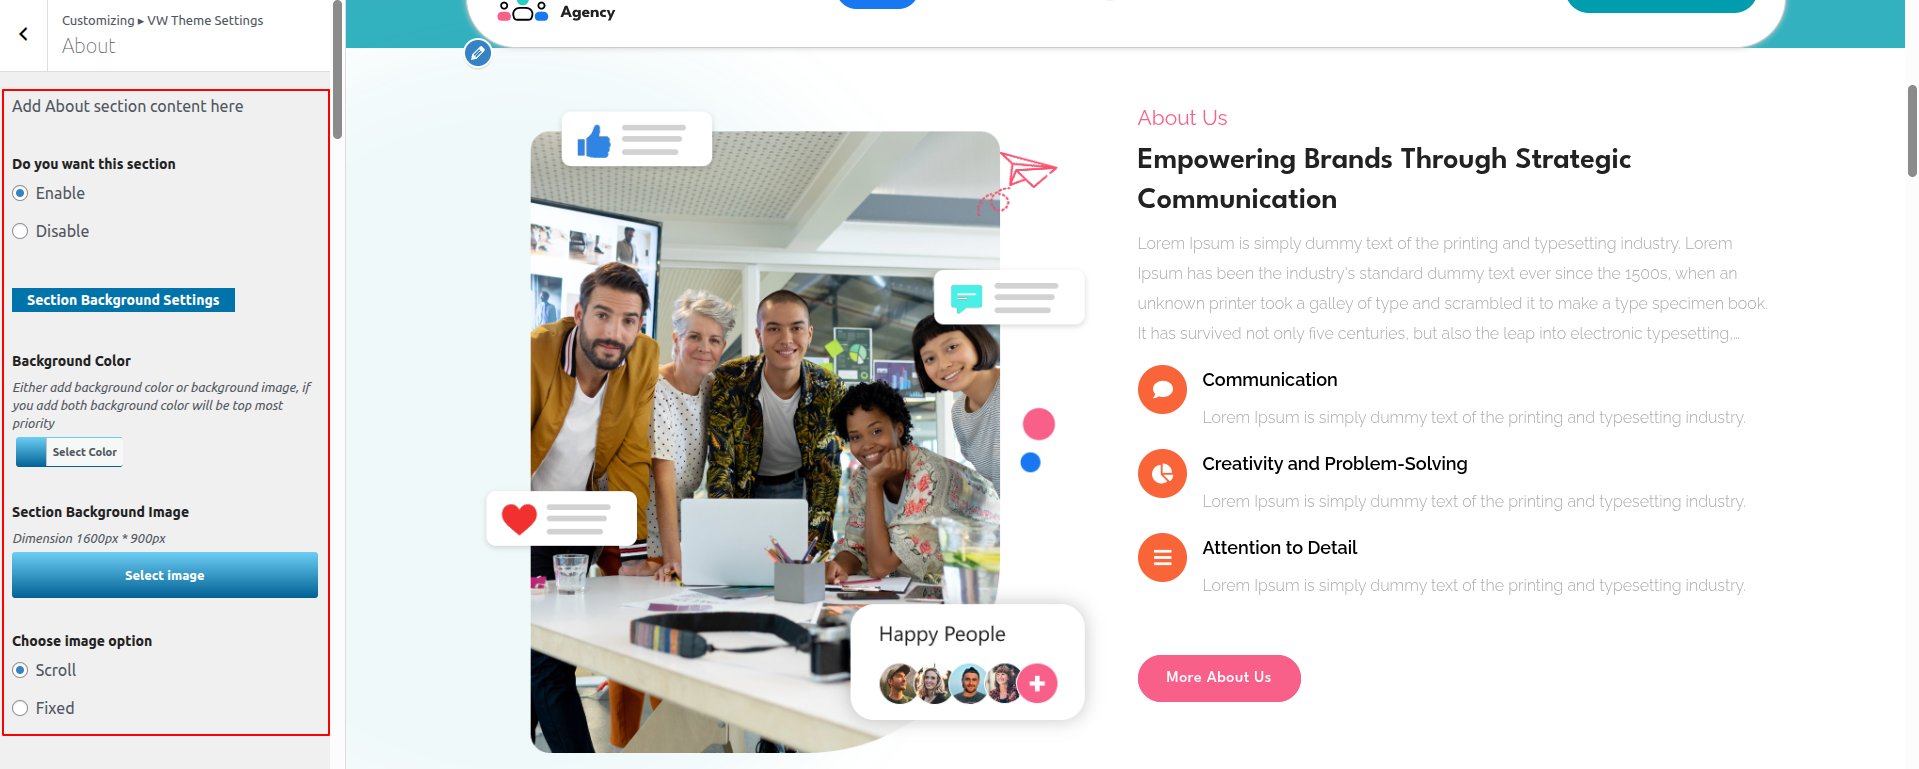
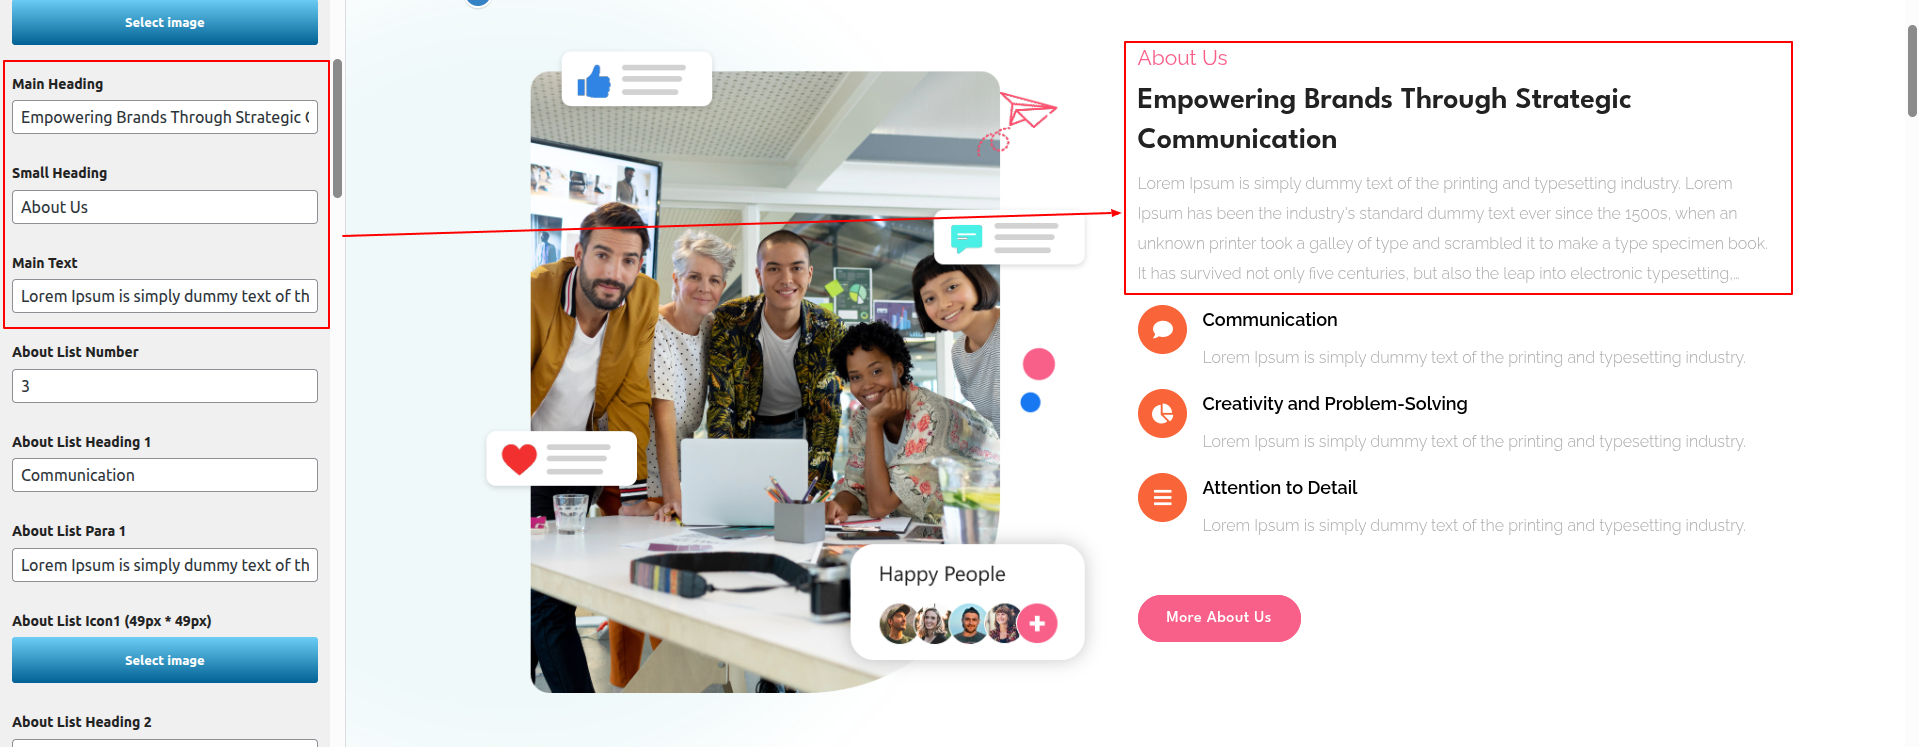
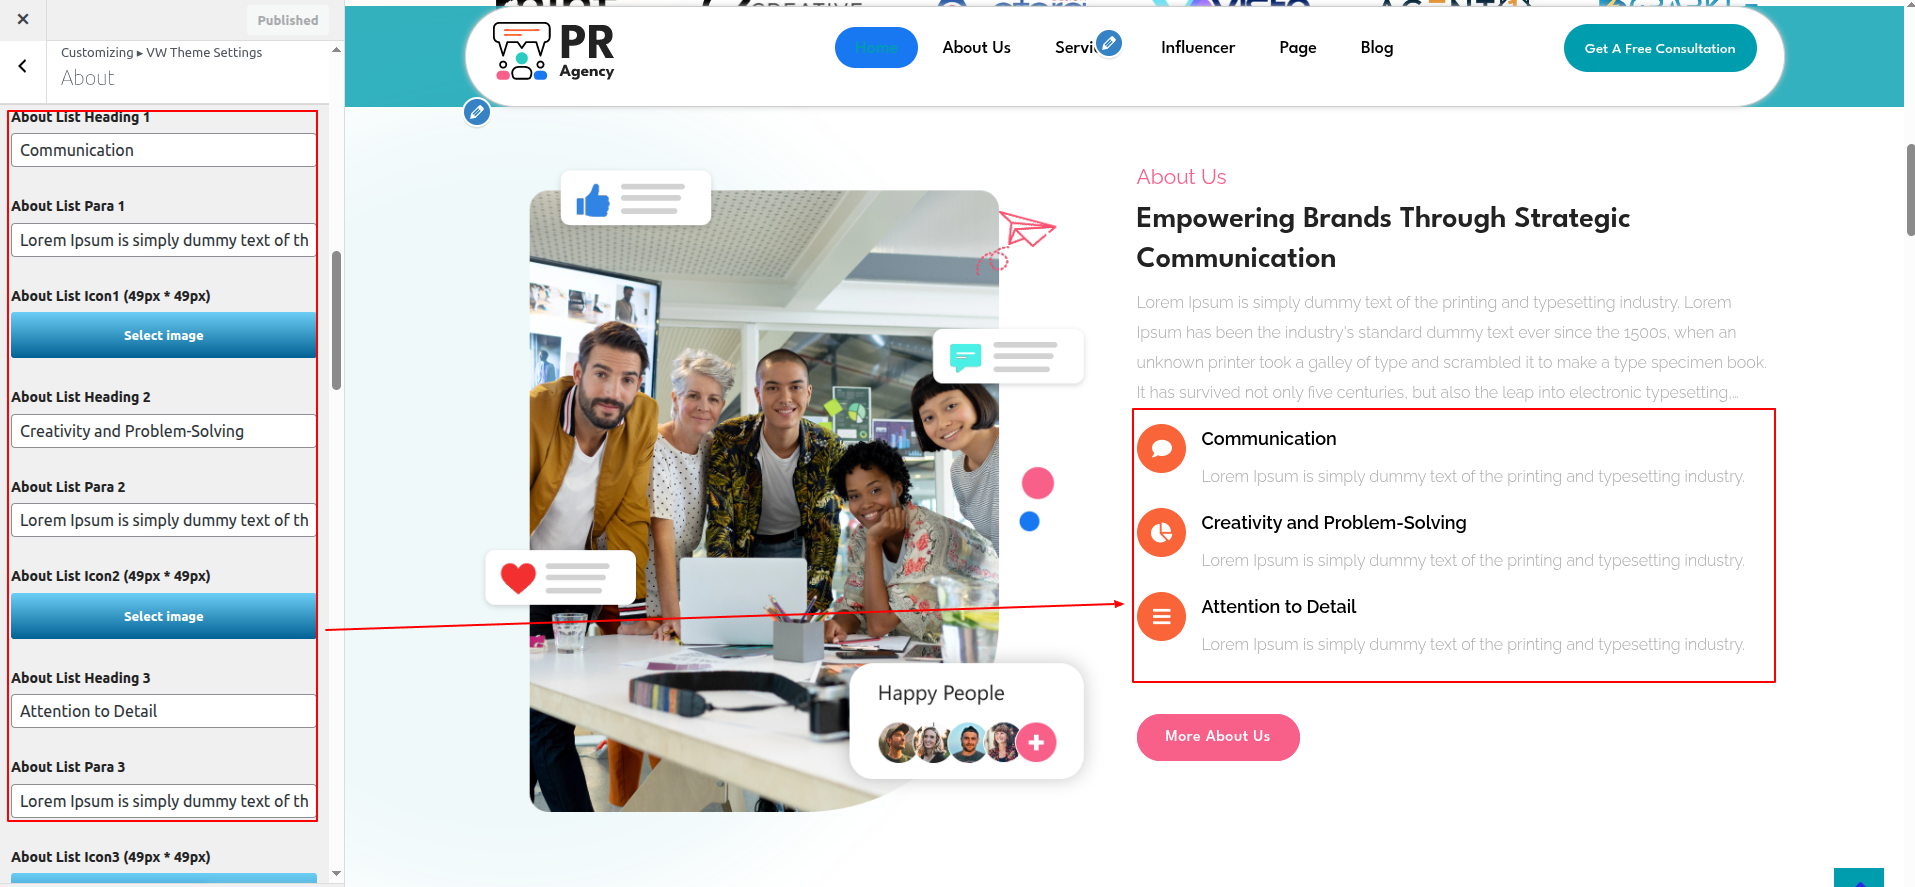
To proceed with the About Section,
Go to Appearance >> Customize >> Theme Settings >> About Section

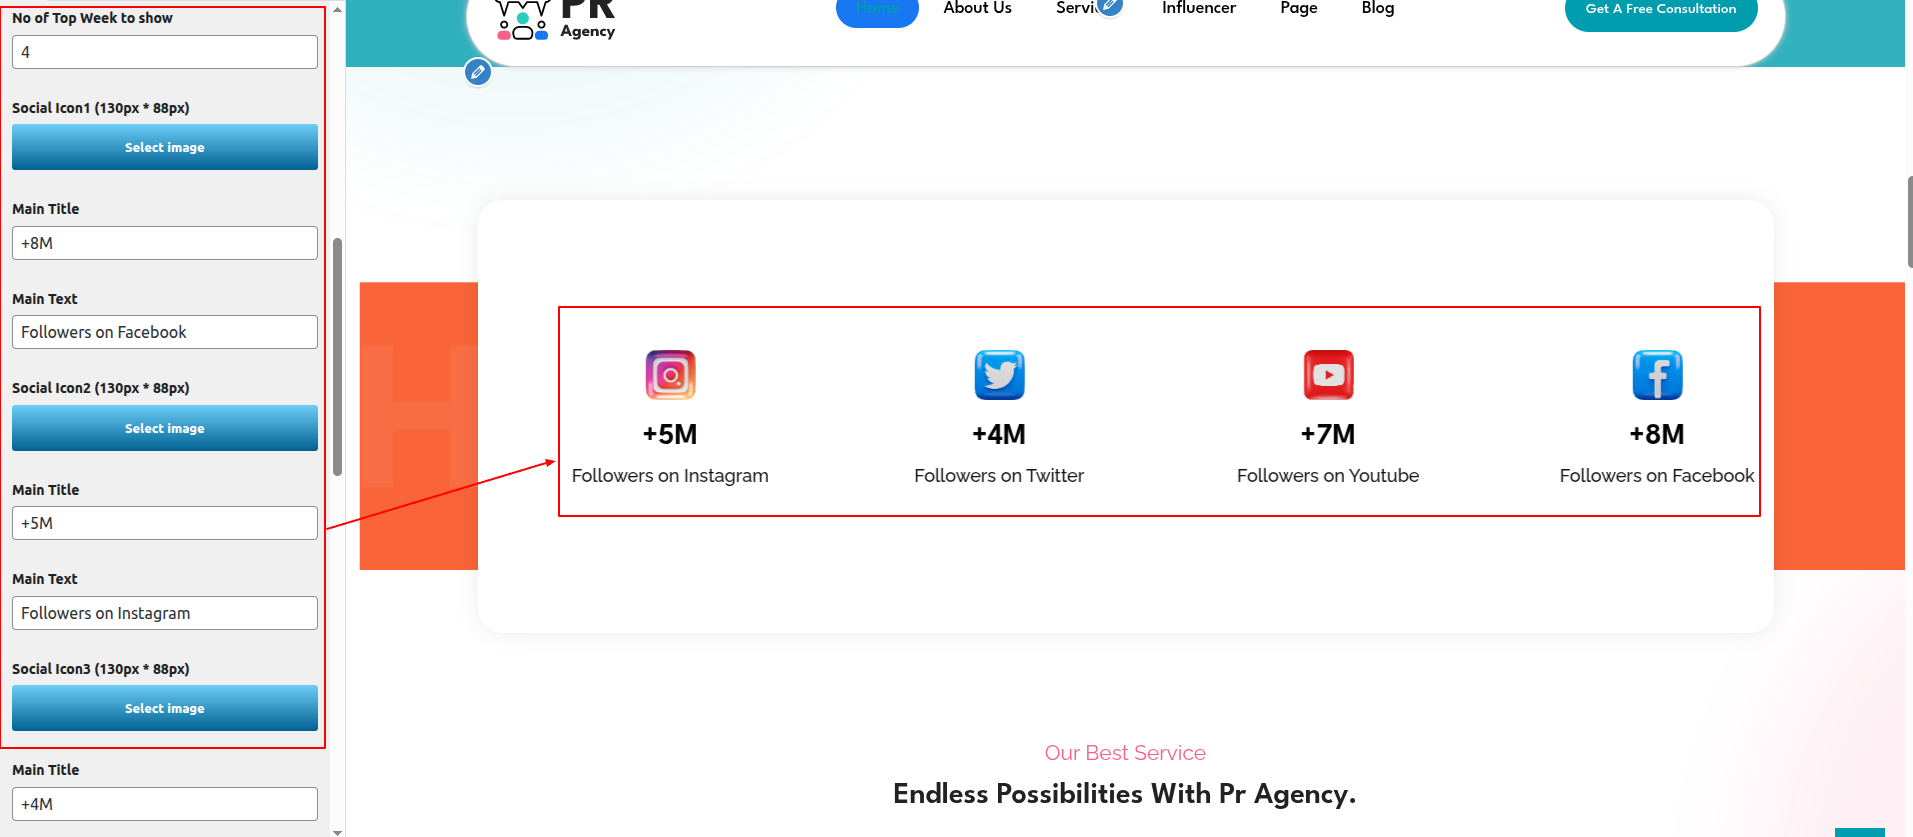
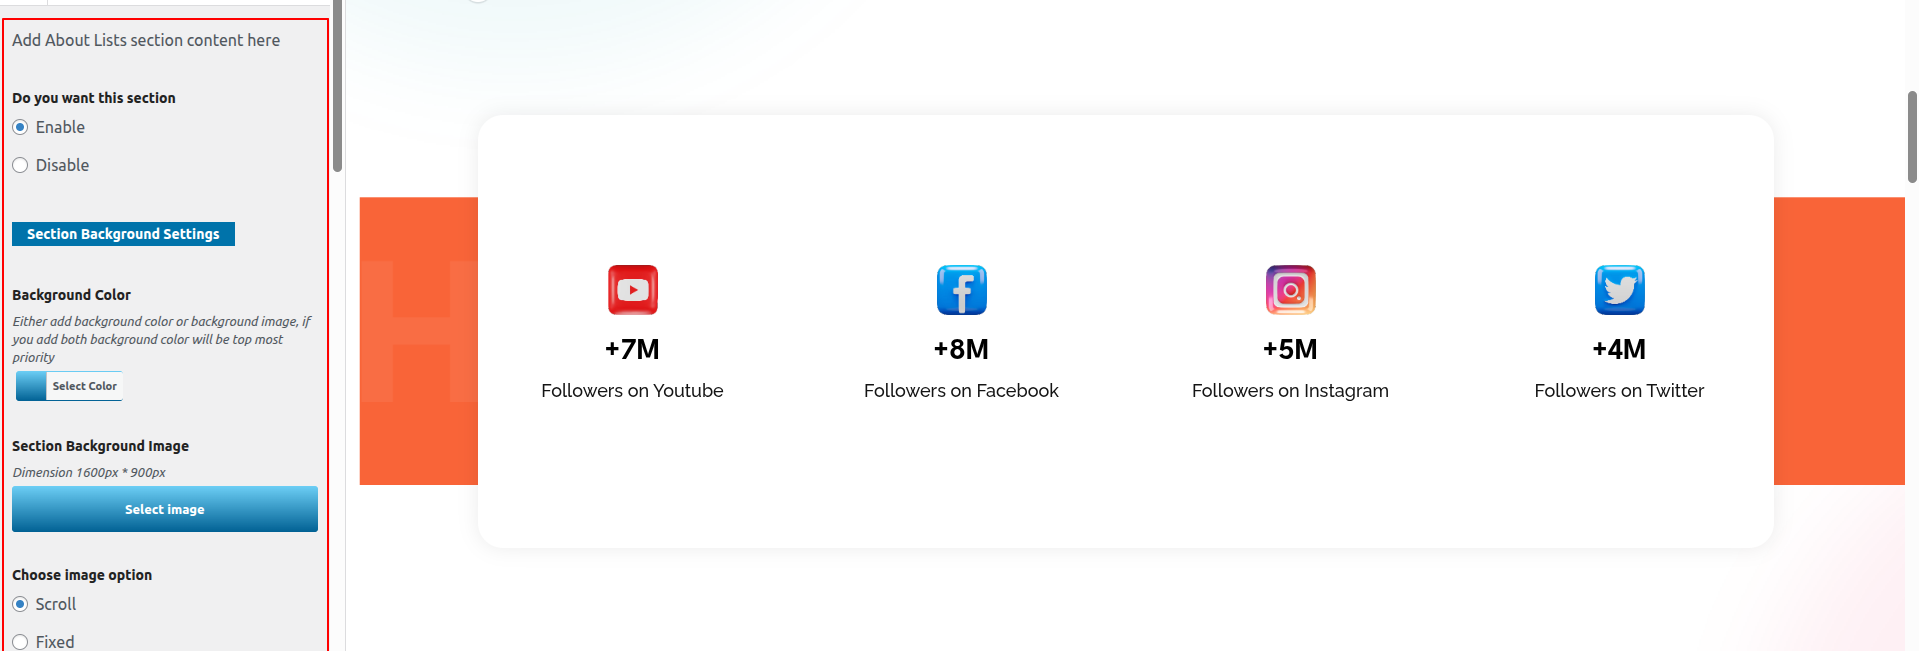
To proceed with the Followers Section ,
Go to Appearance >> Customize >> Theme Settings >>Followers Section
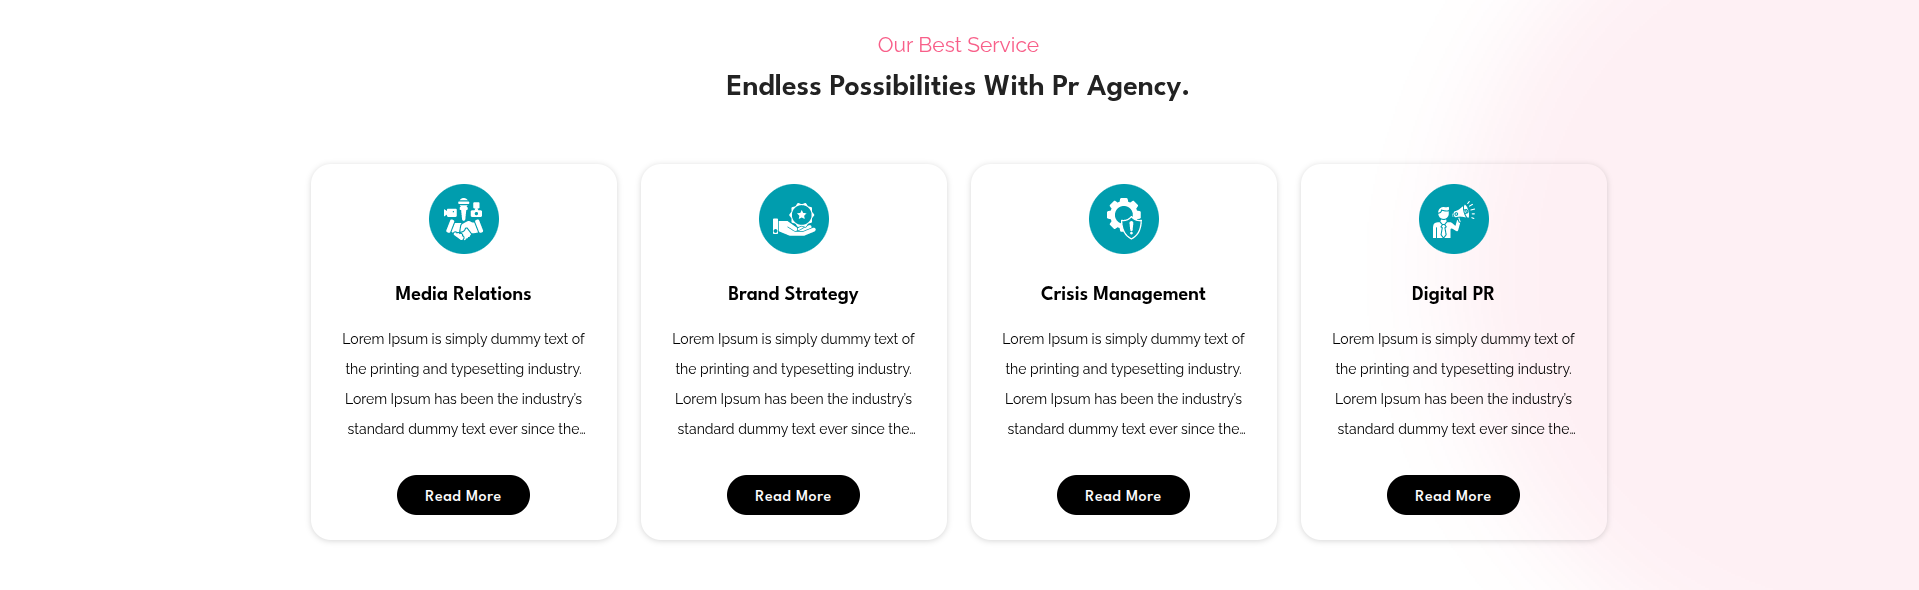
Go to Appearance >> Customize >> Theme Settings >>Best Services
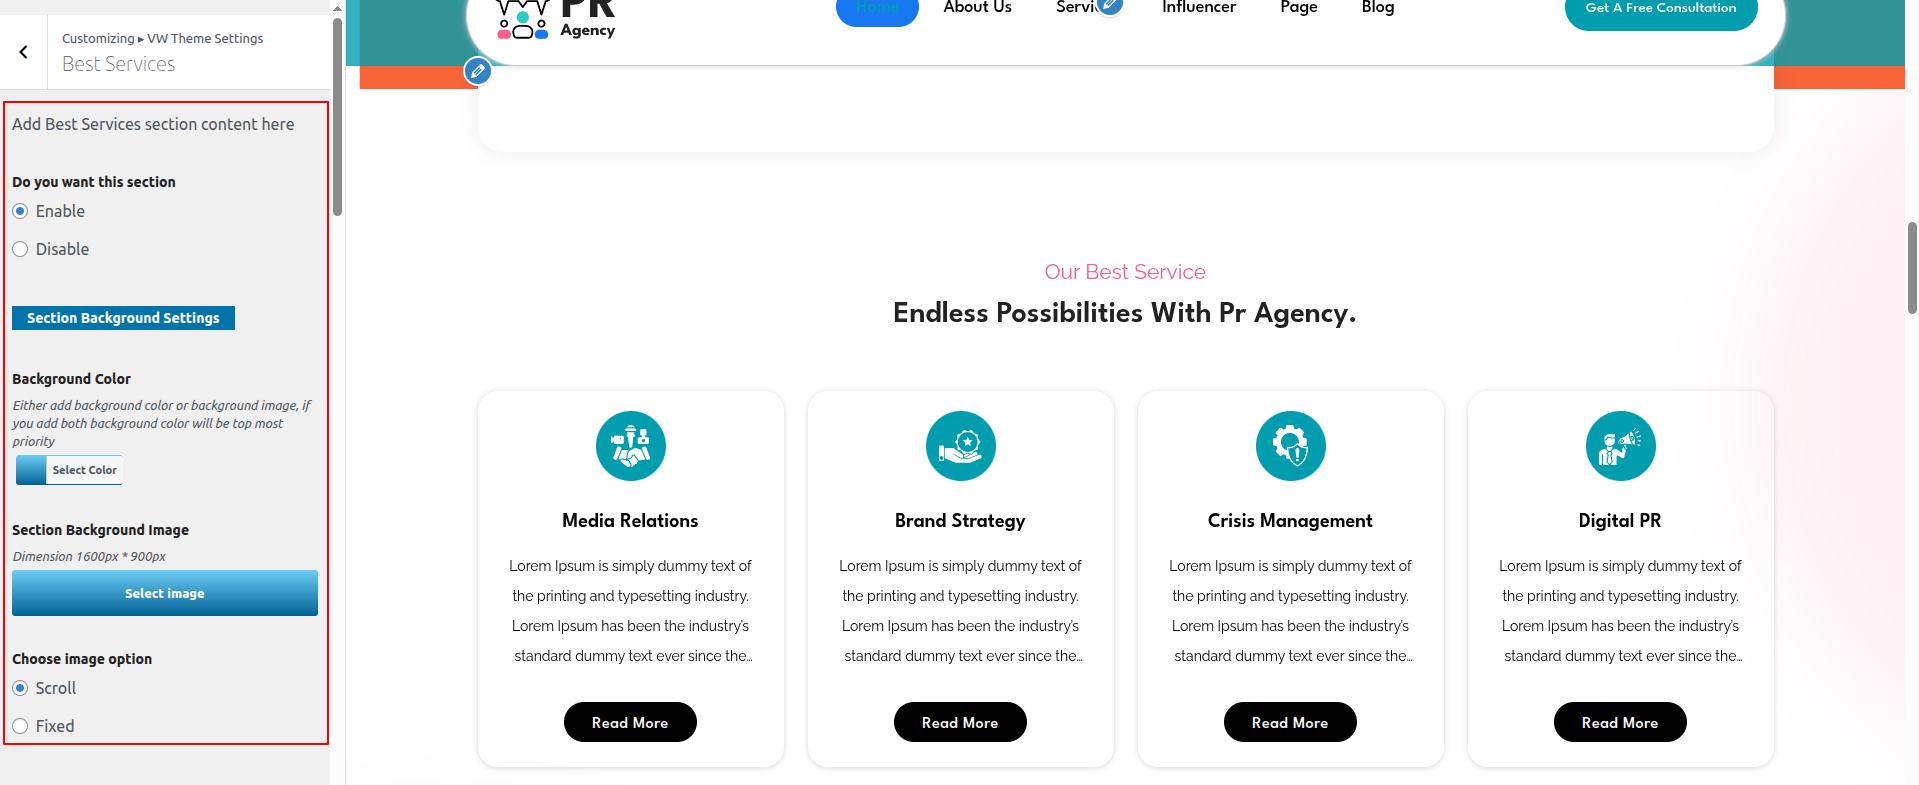
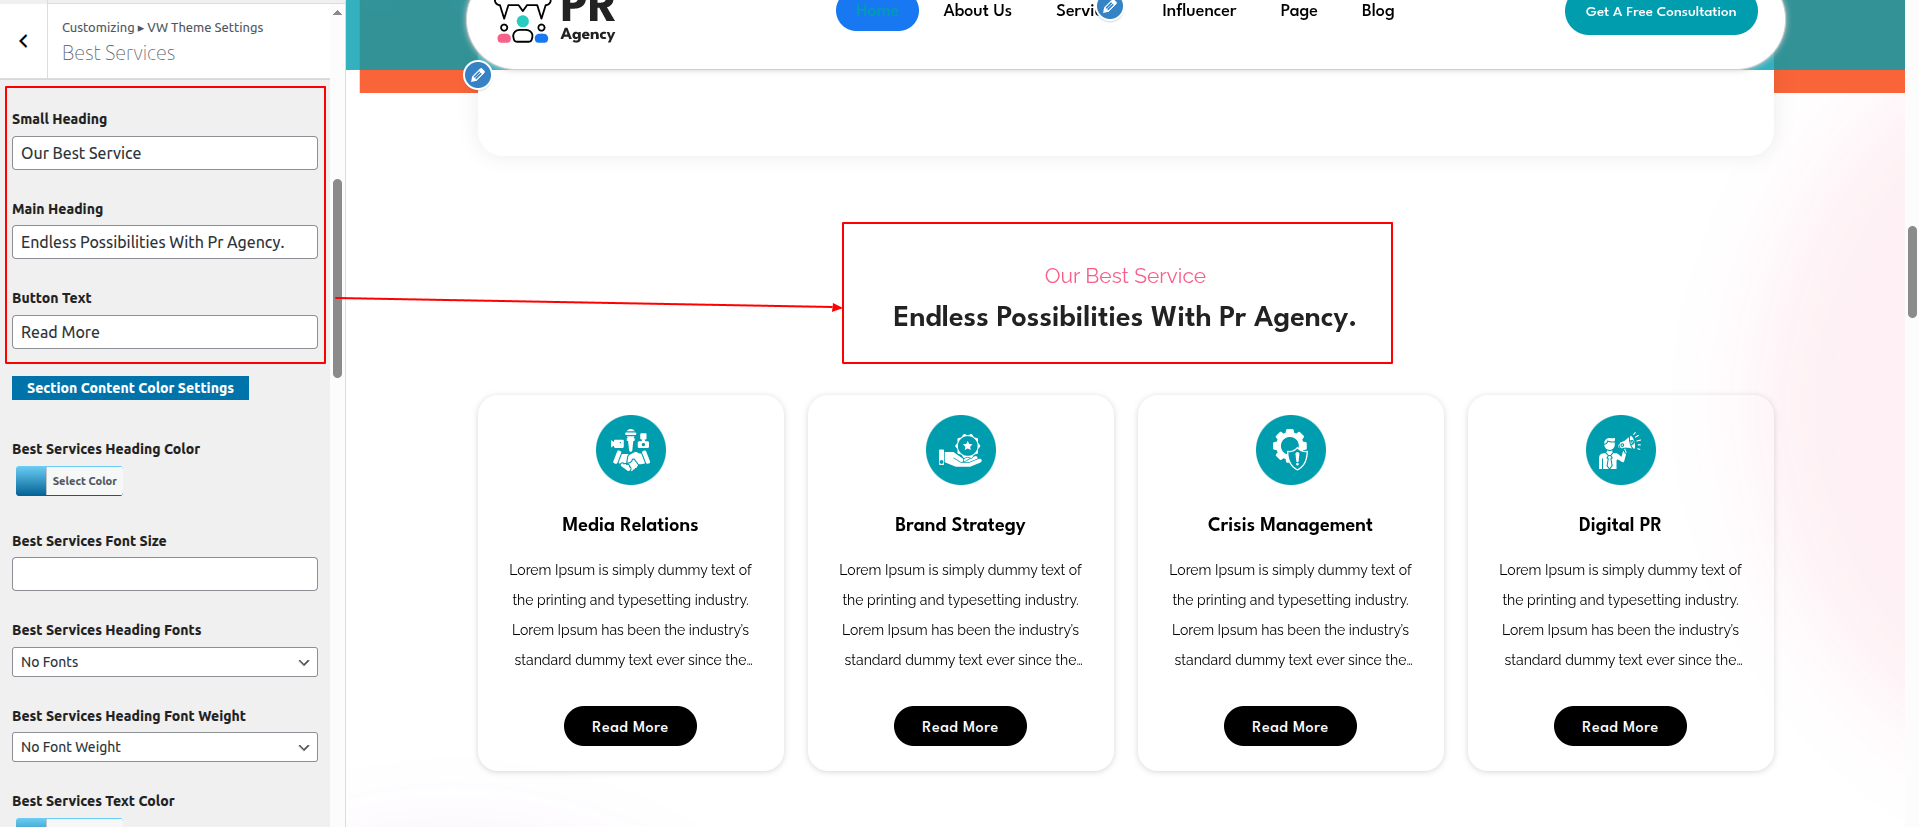
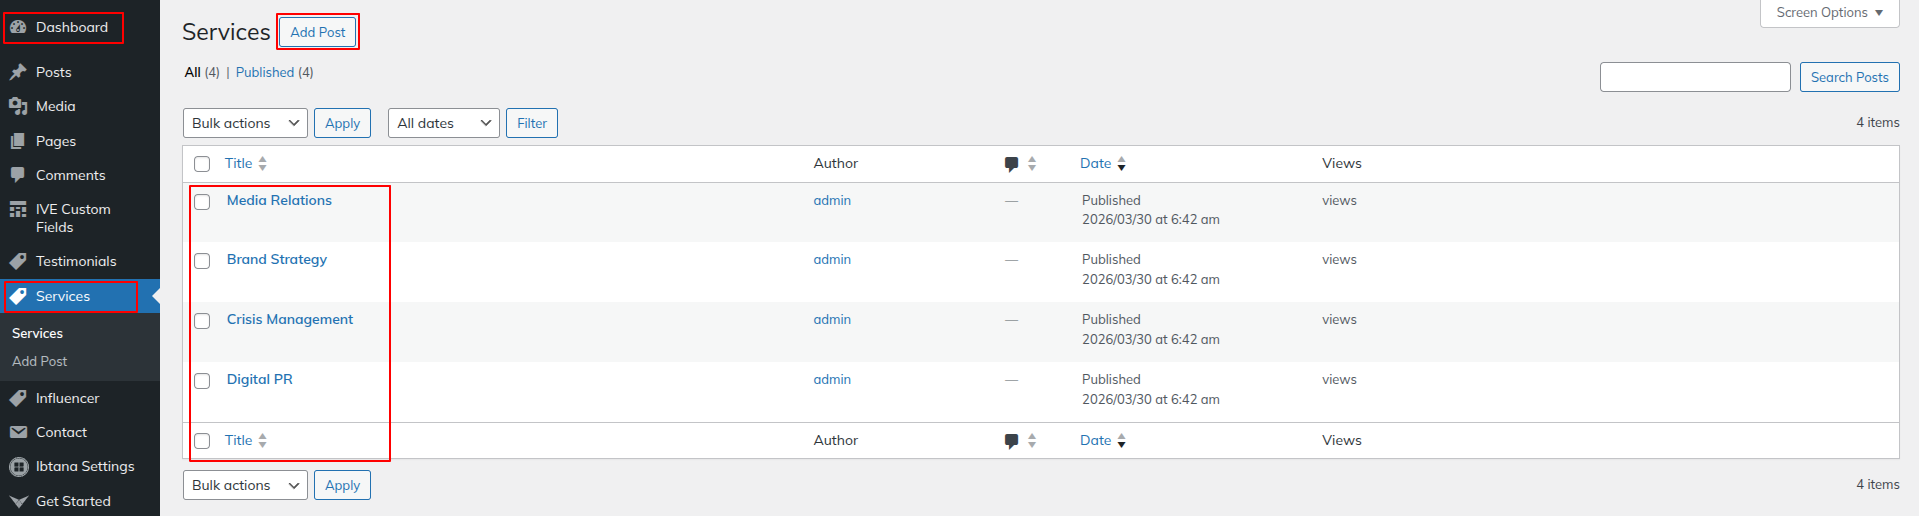
In order to showcase Best Services on home page.
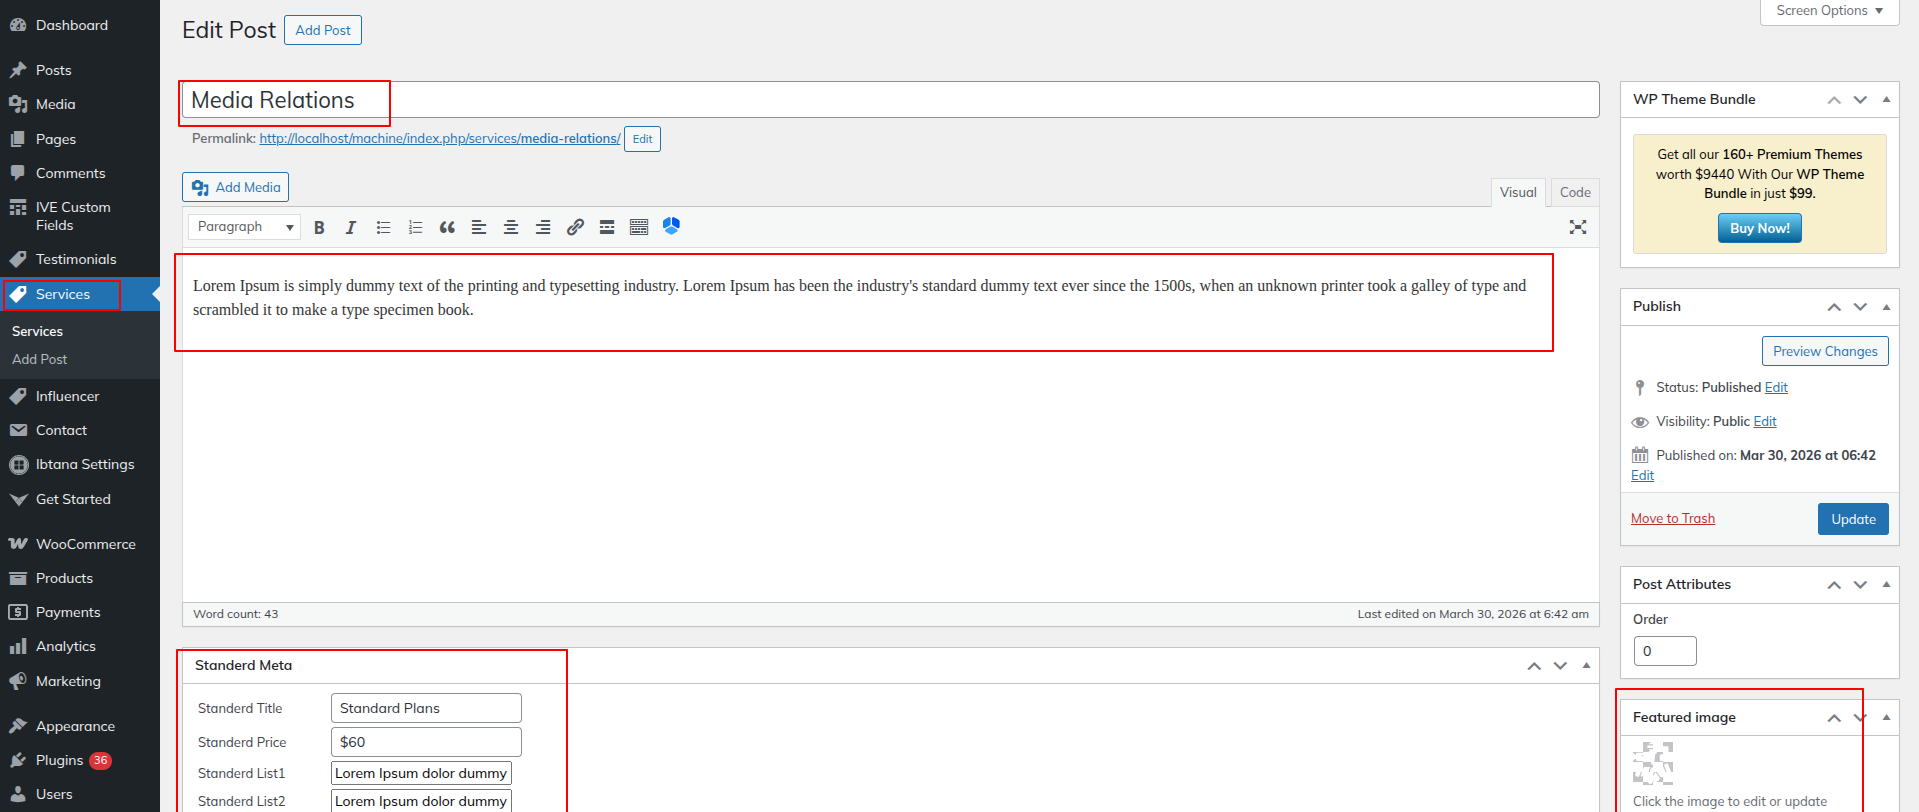
Go to Dashboard >> Services >> Add New.
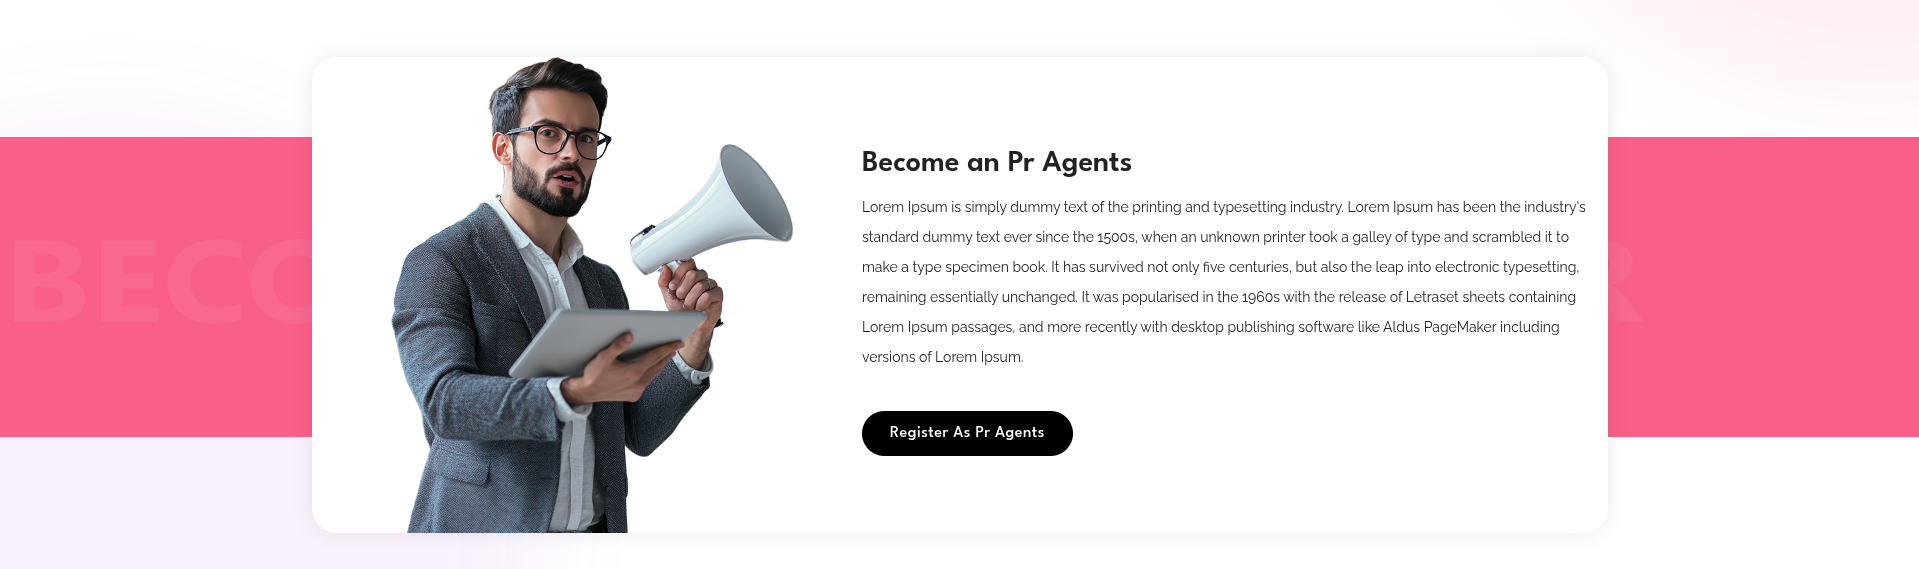
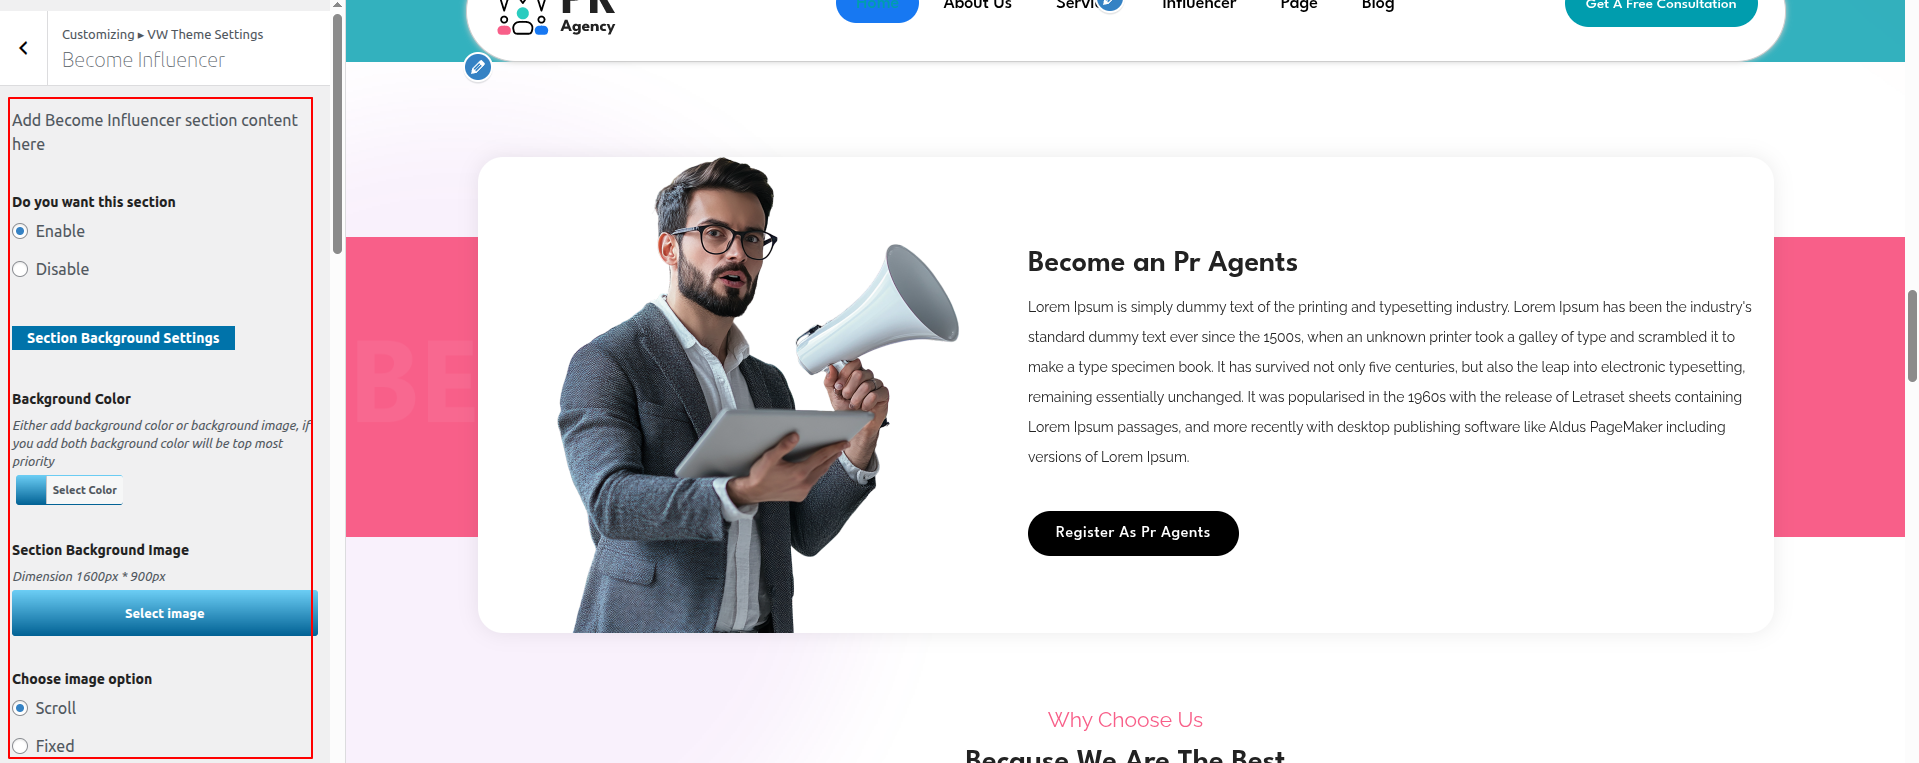
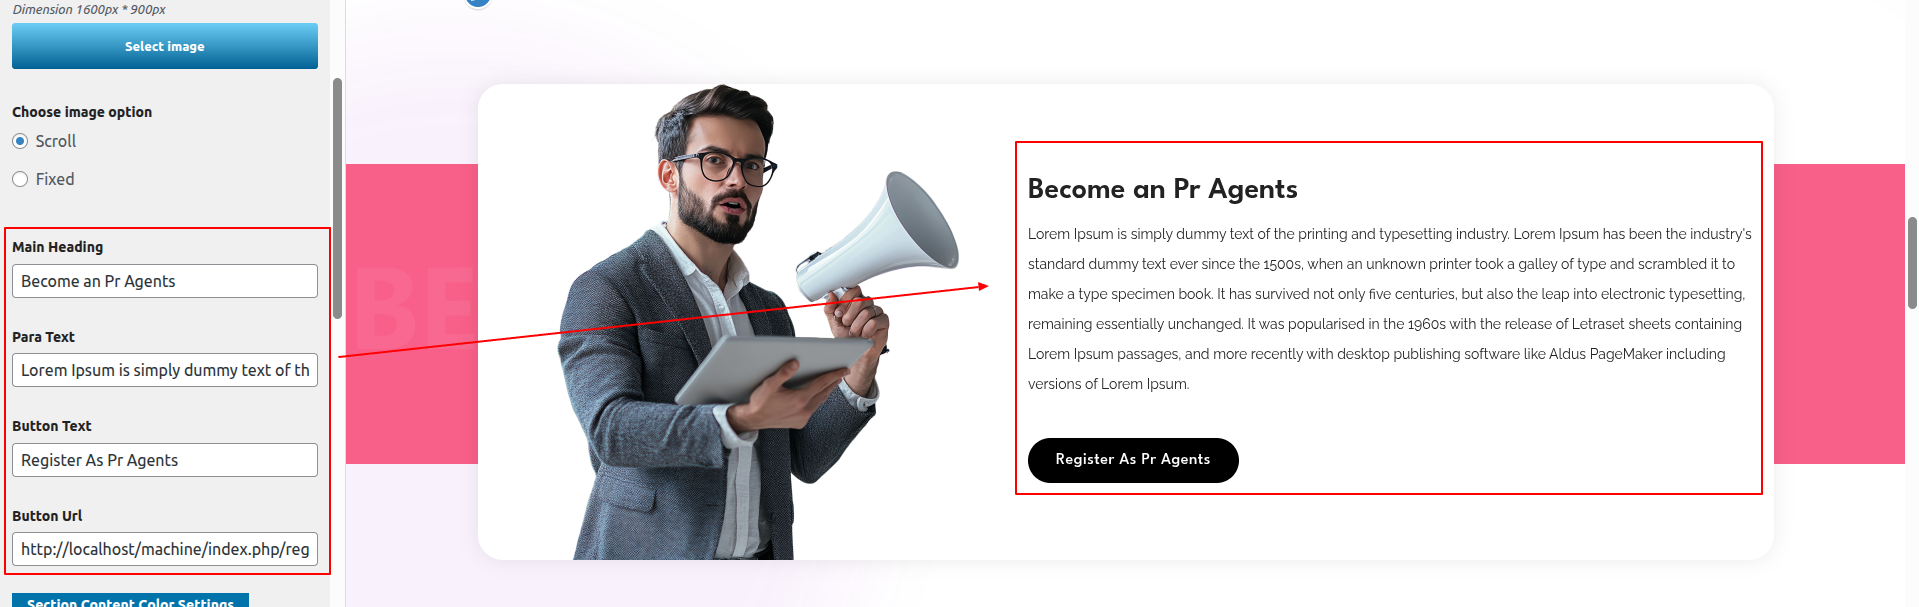
Go to Appearance >> Customize >> Theme Settings >>Become Influencer
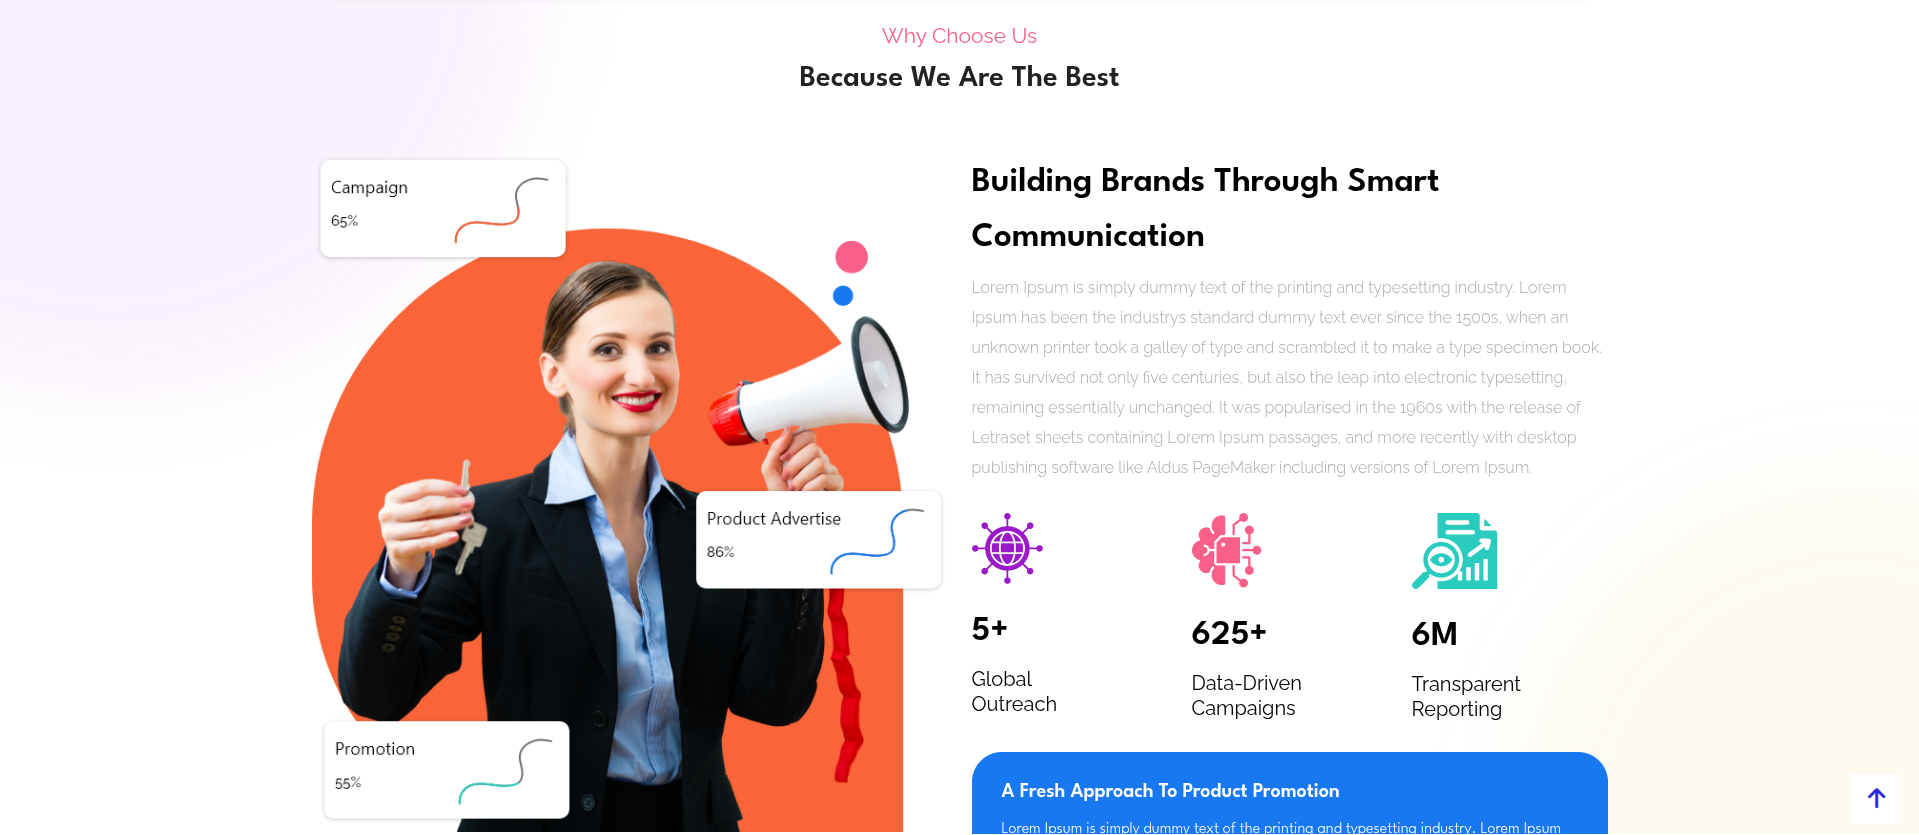
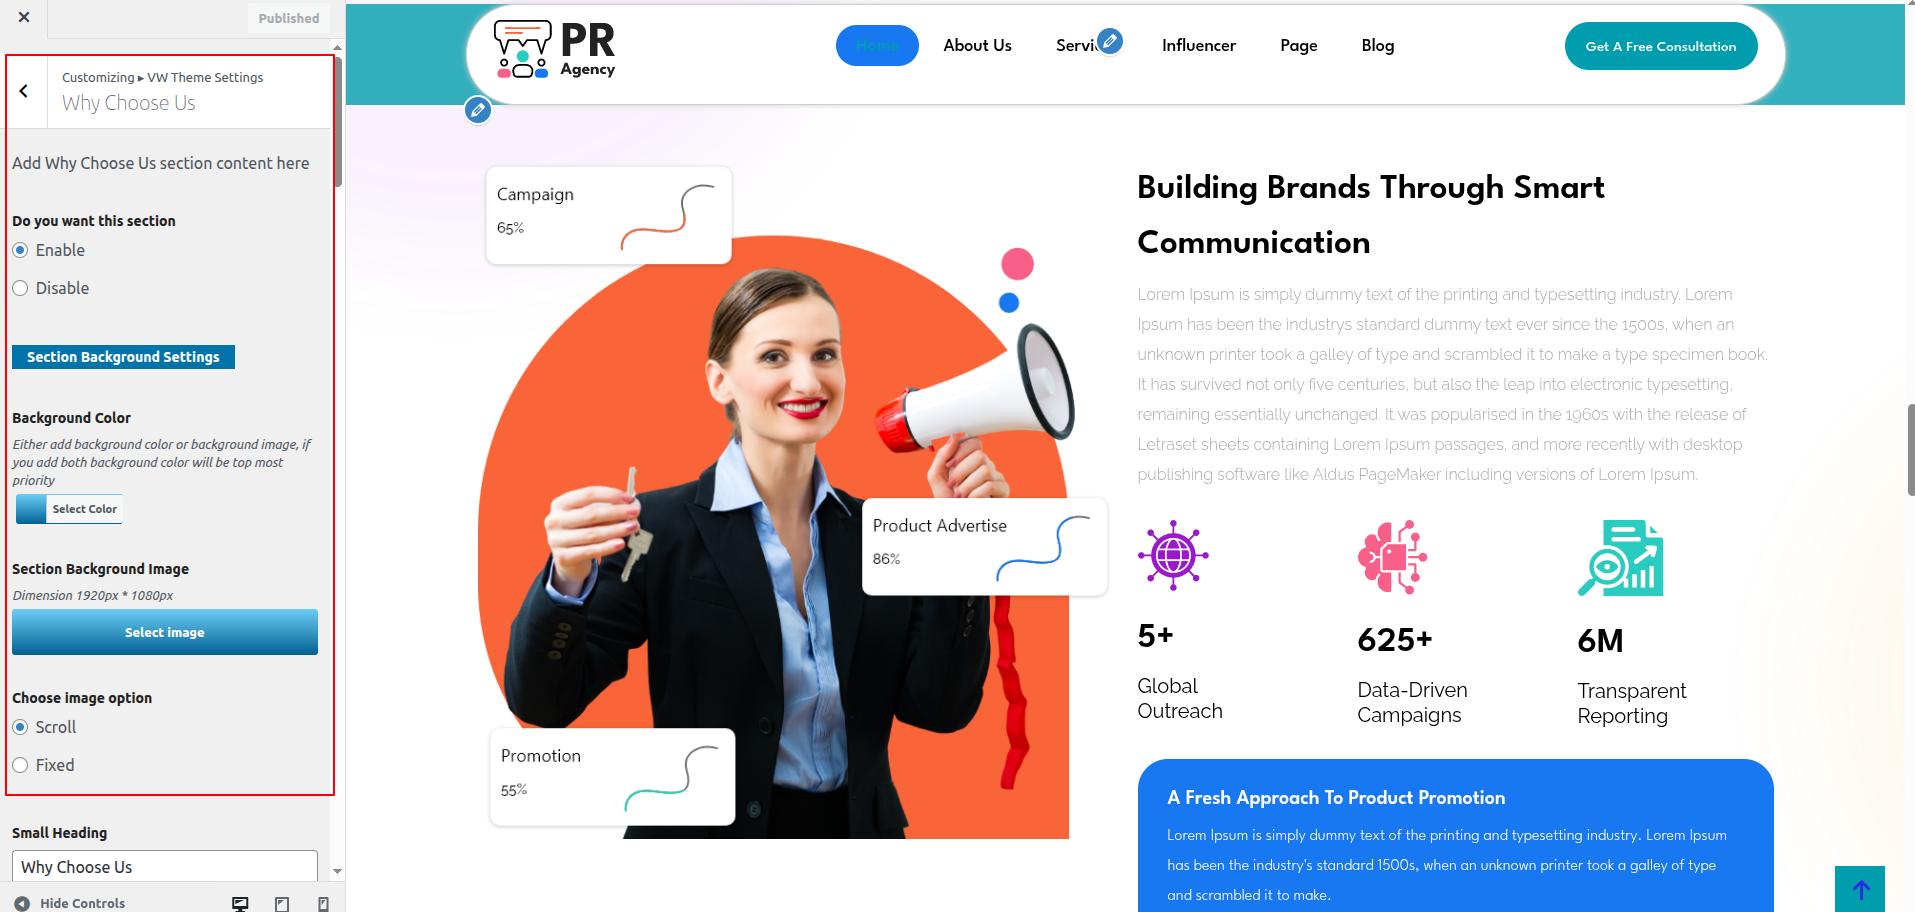
To proceed with the On Why Choose Us,
Go to Dashboard >> Appearance >> Customize >> Theme Settings >>Why Choose Us
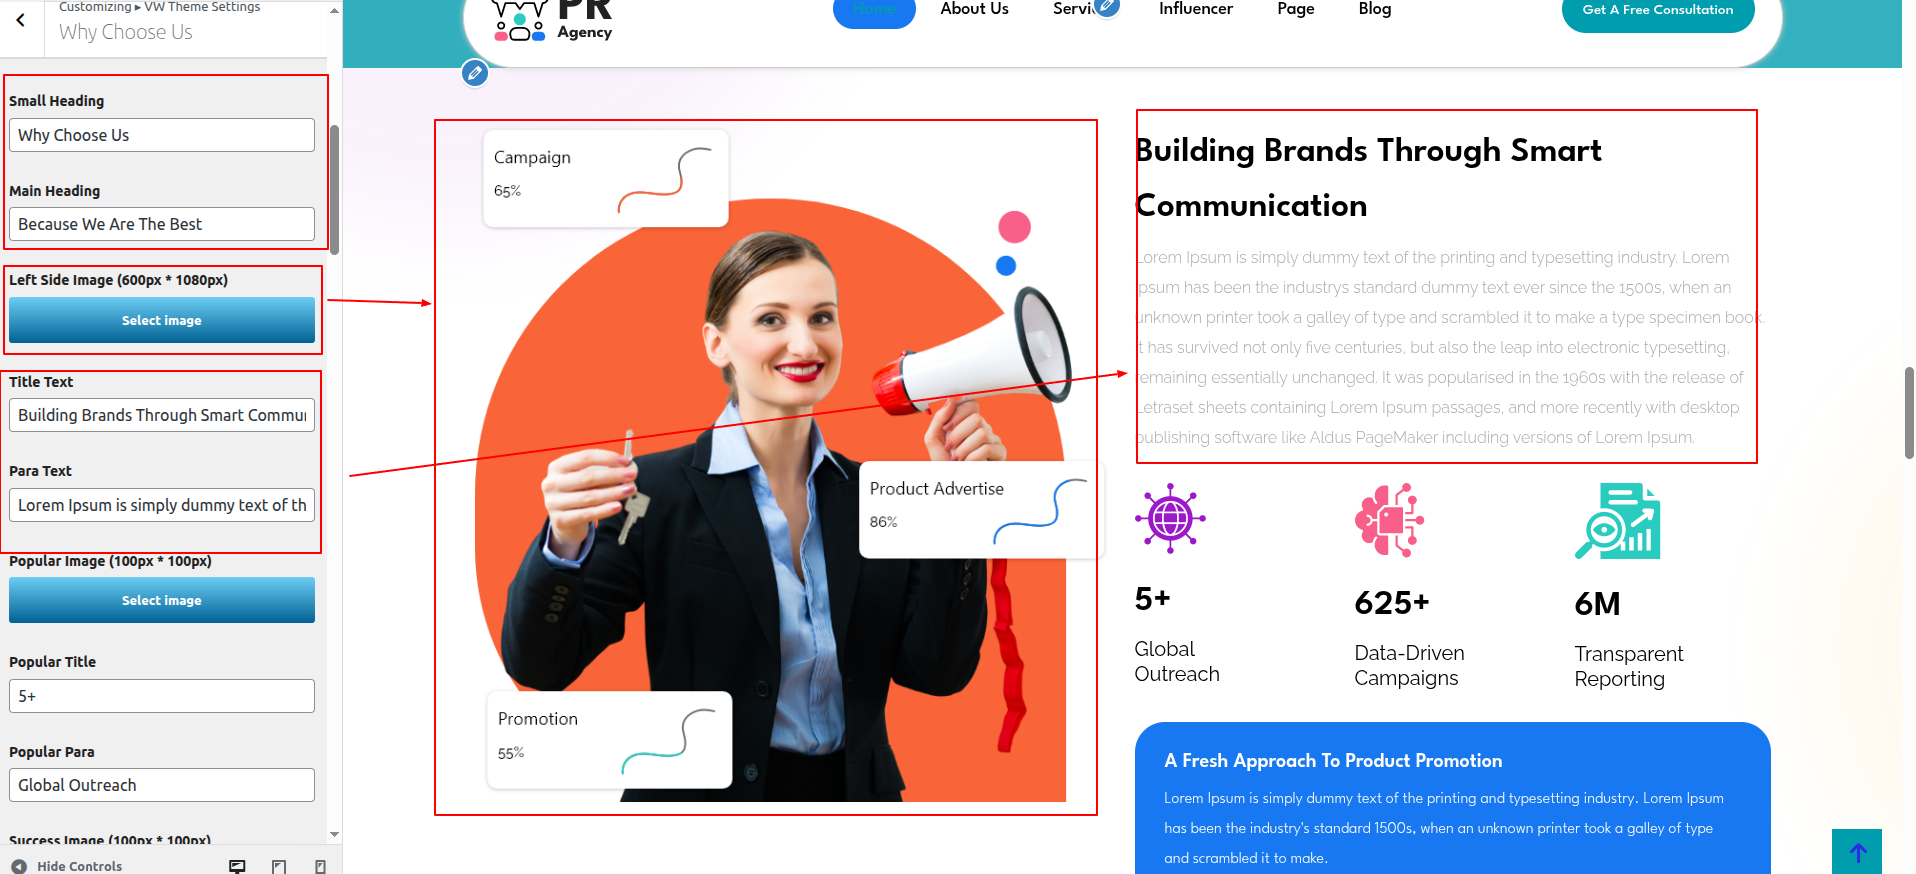
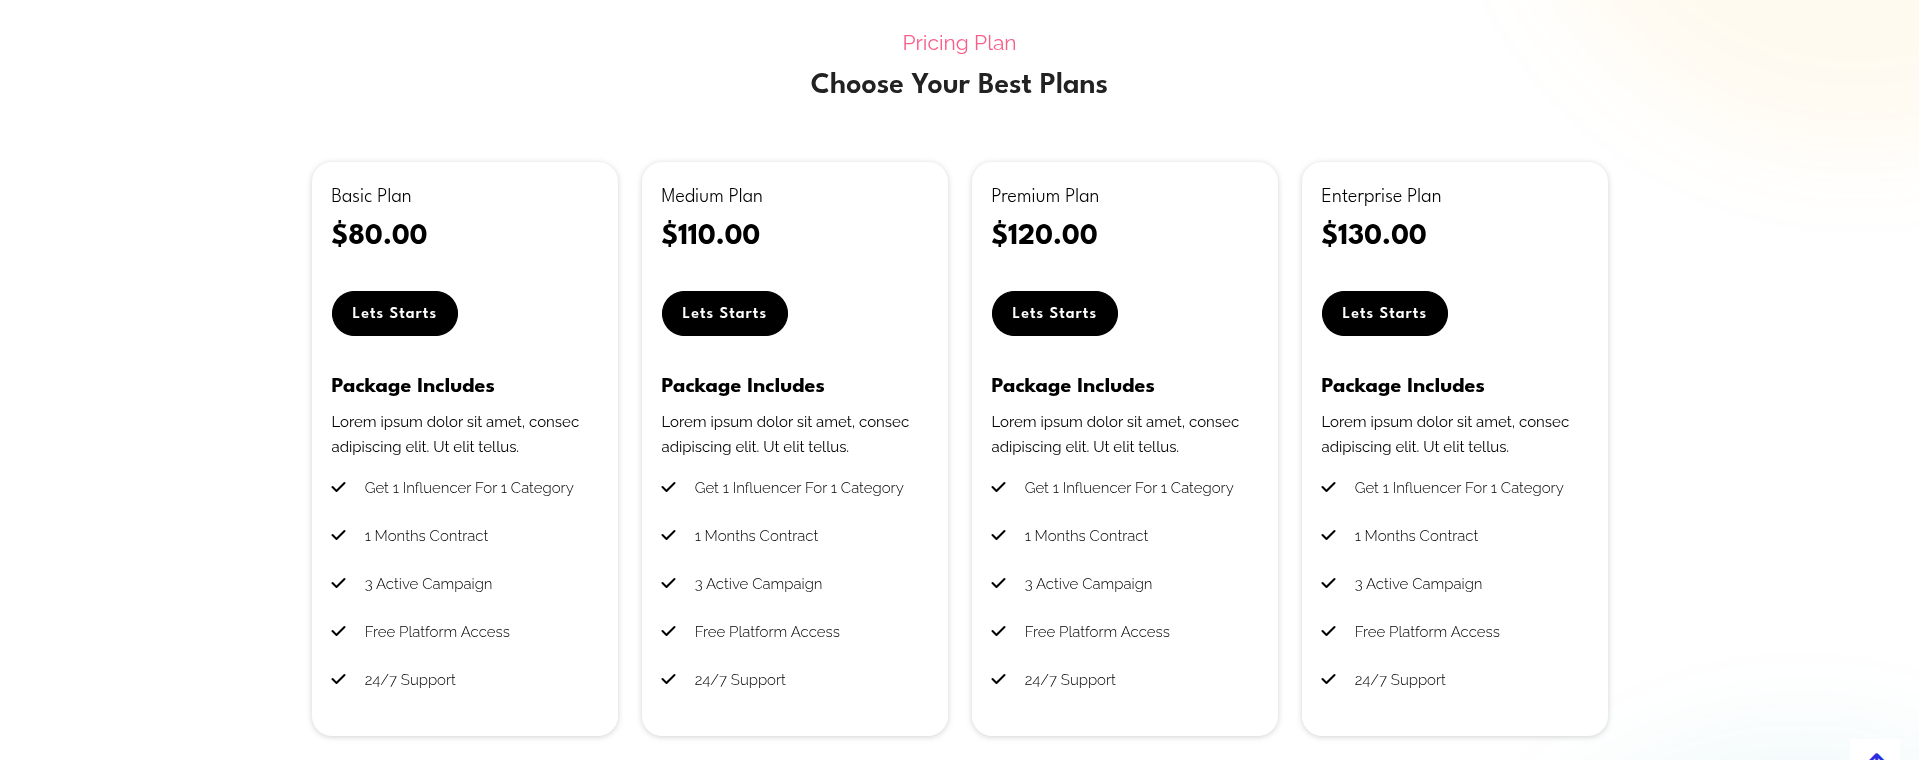
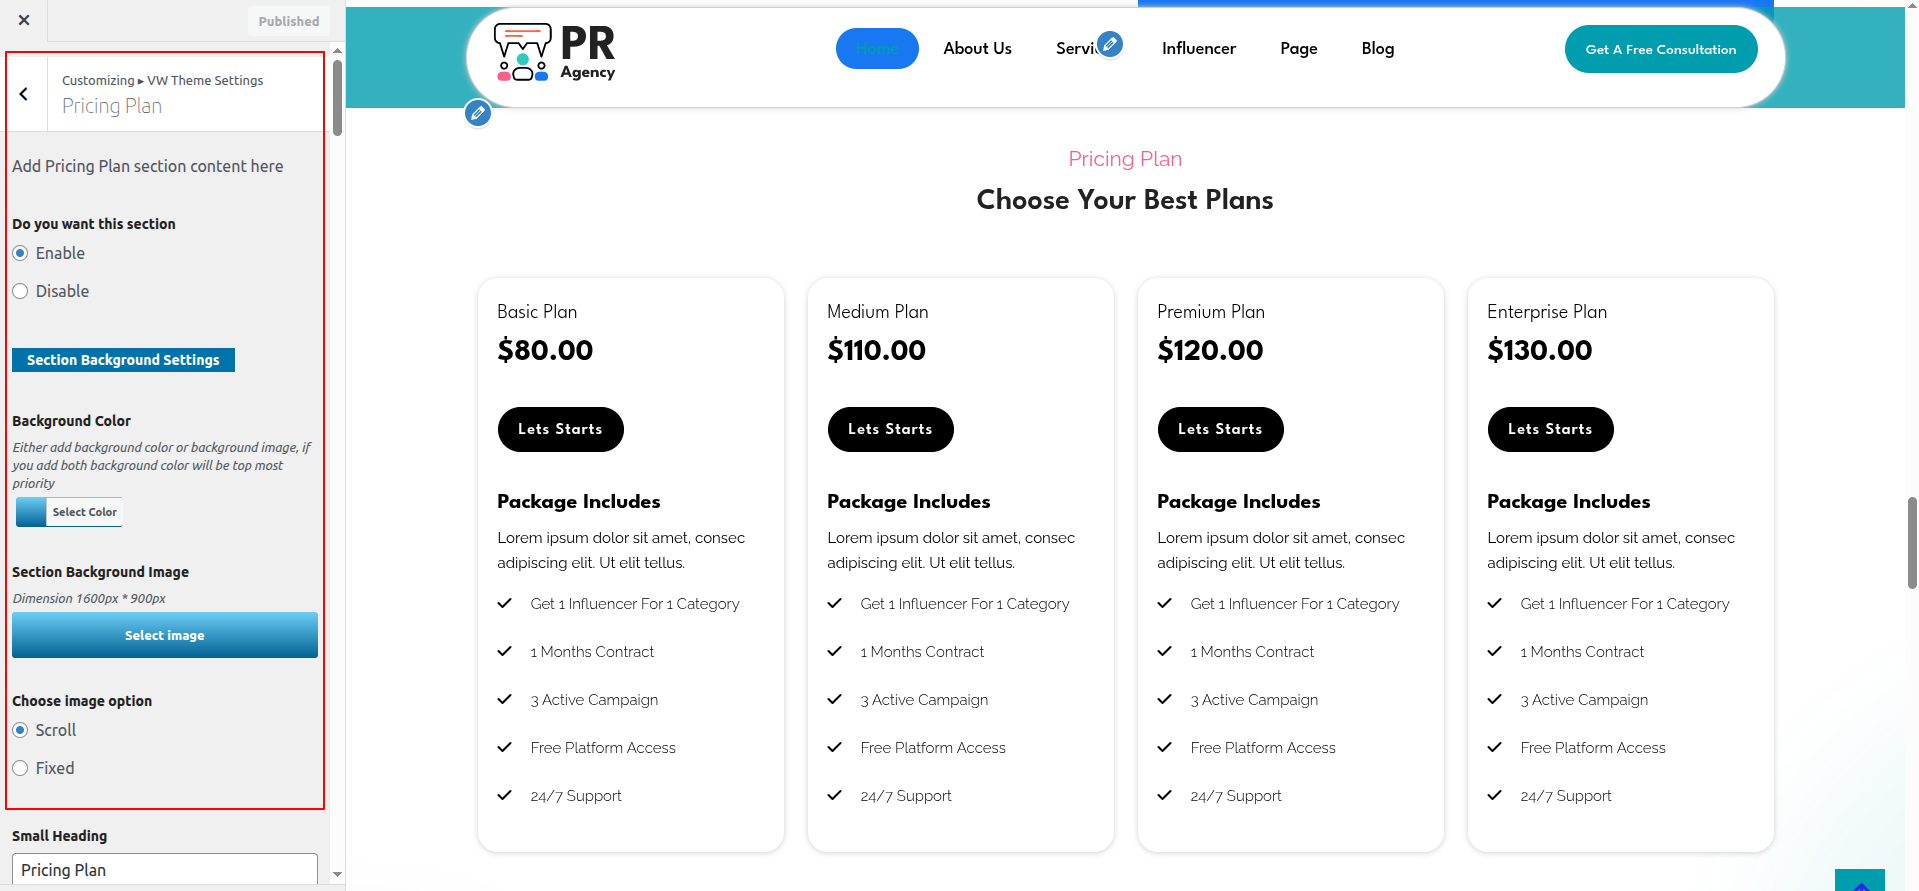
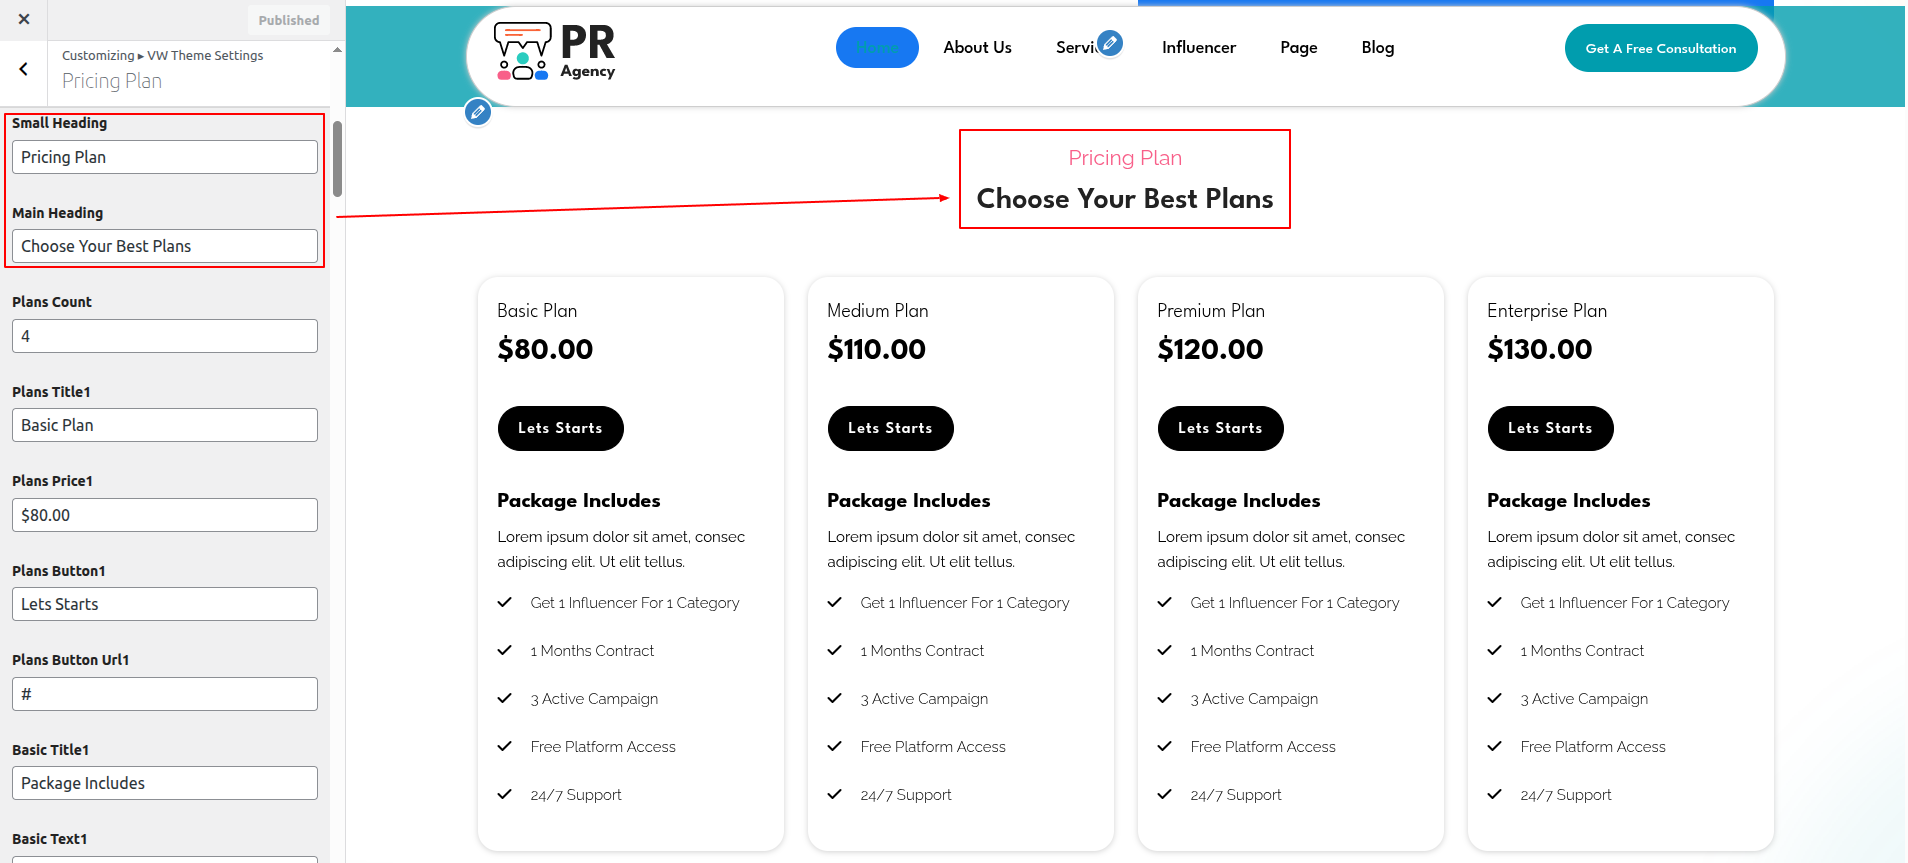
Go to Appearance >> Customize >> Theme Settings >> Pricing Plan Section.
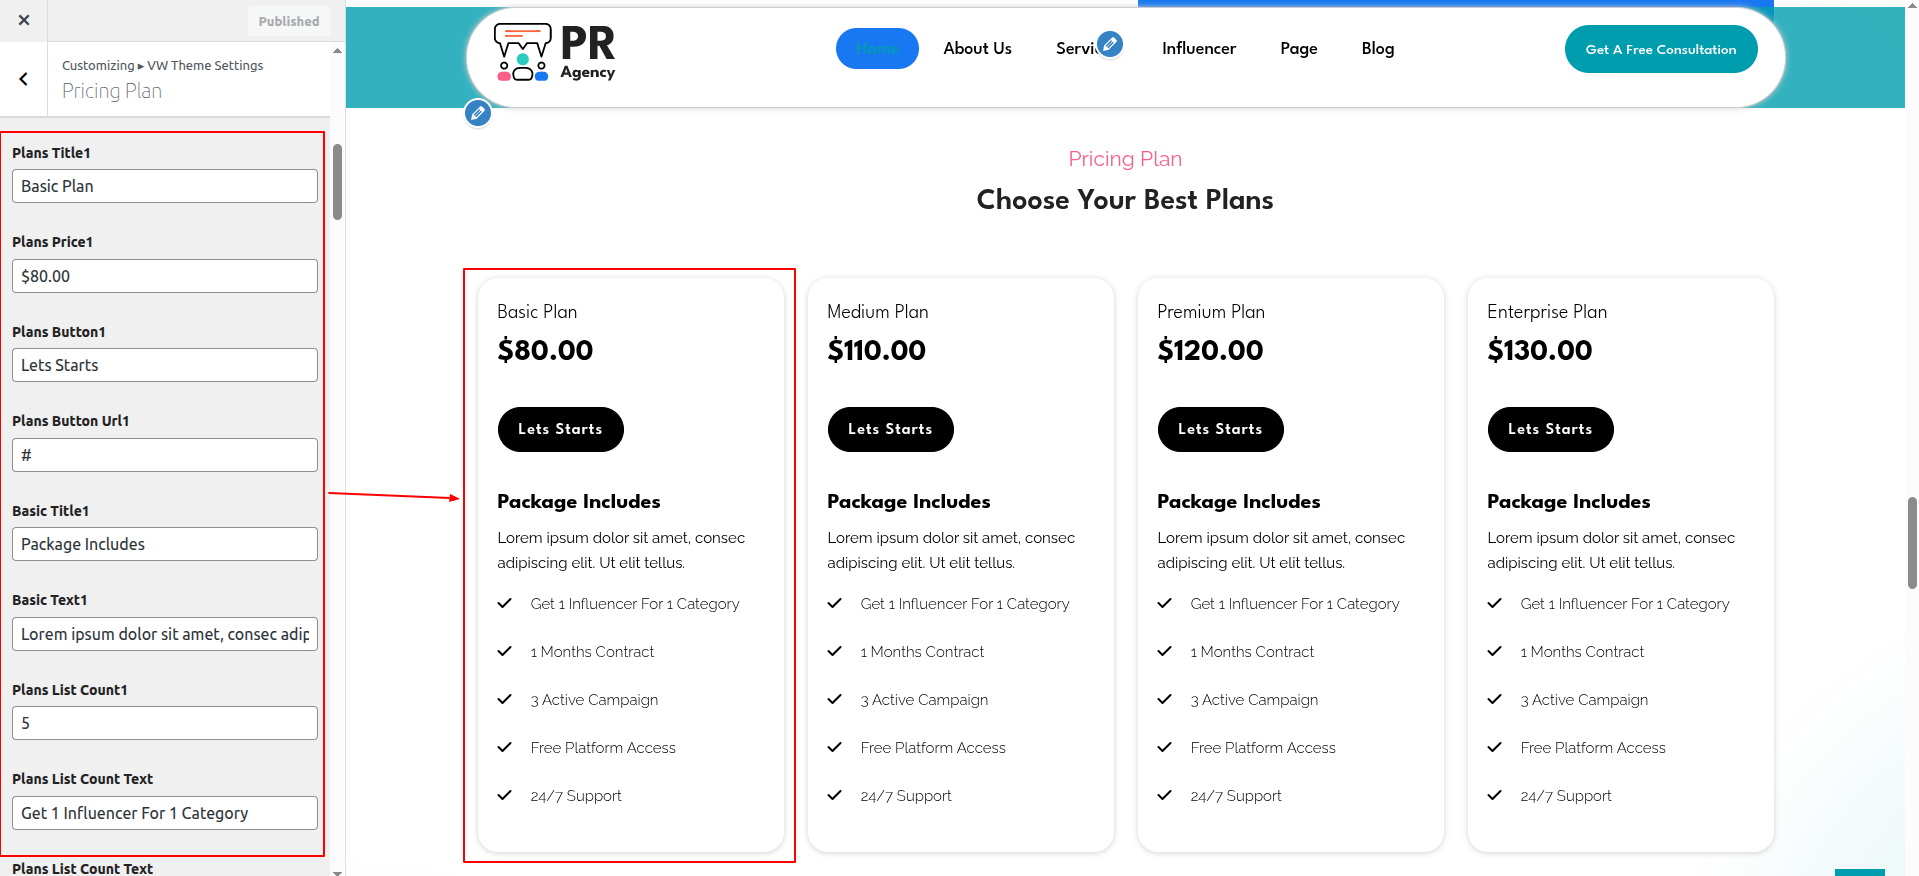
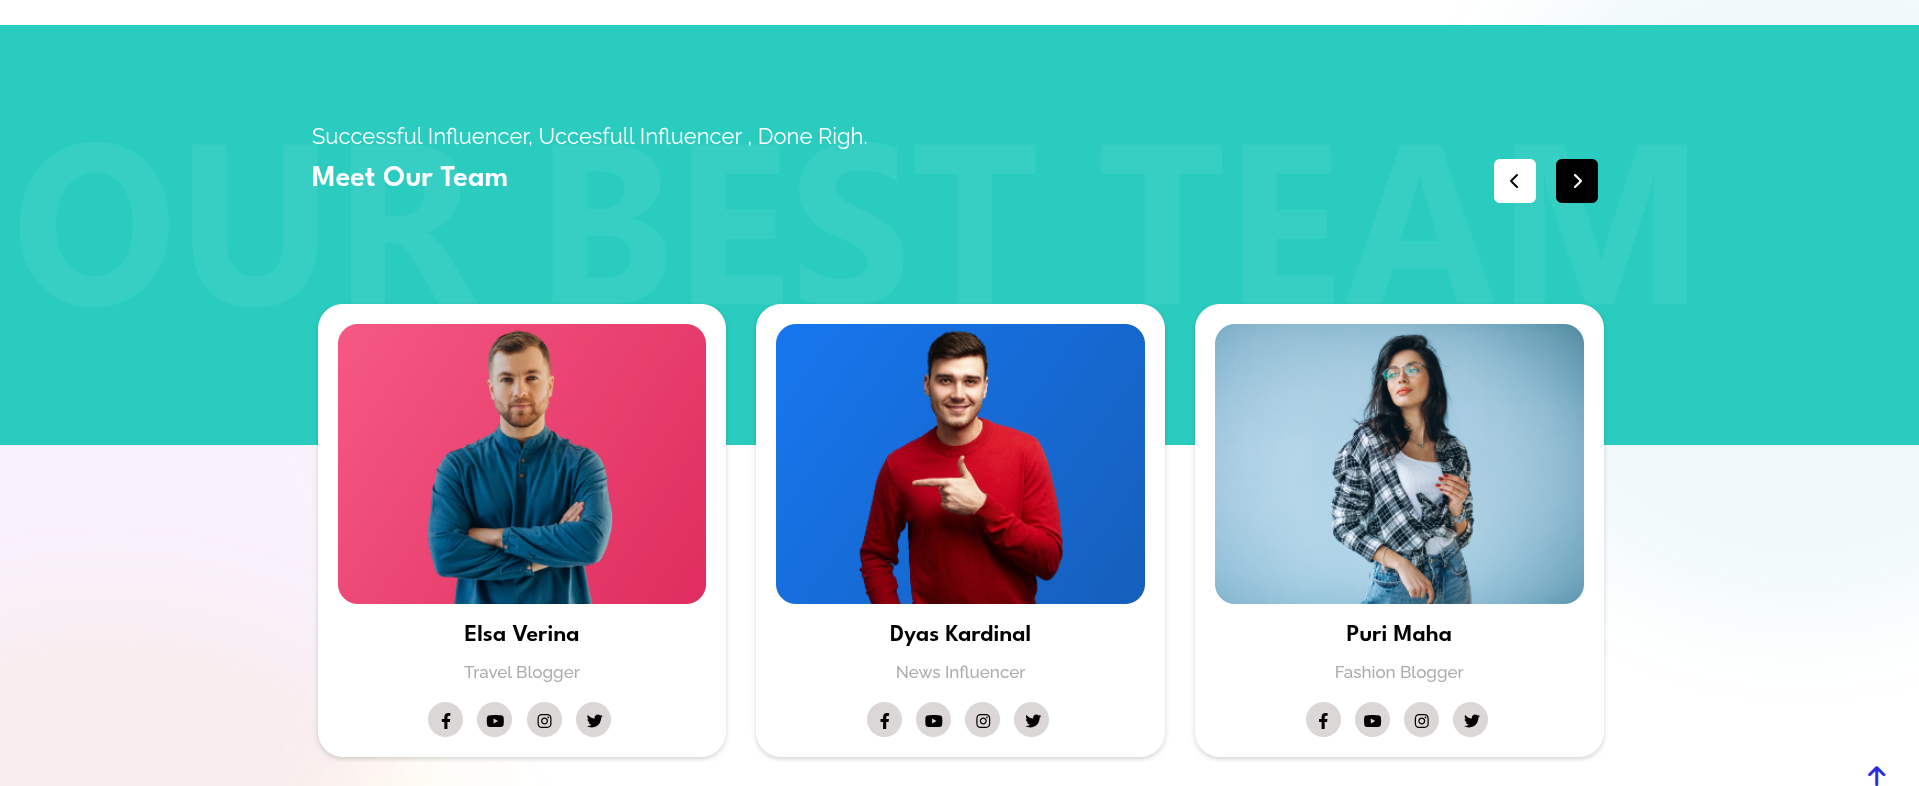
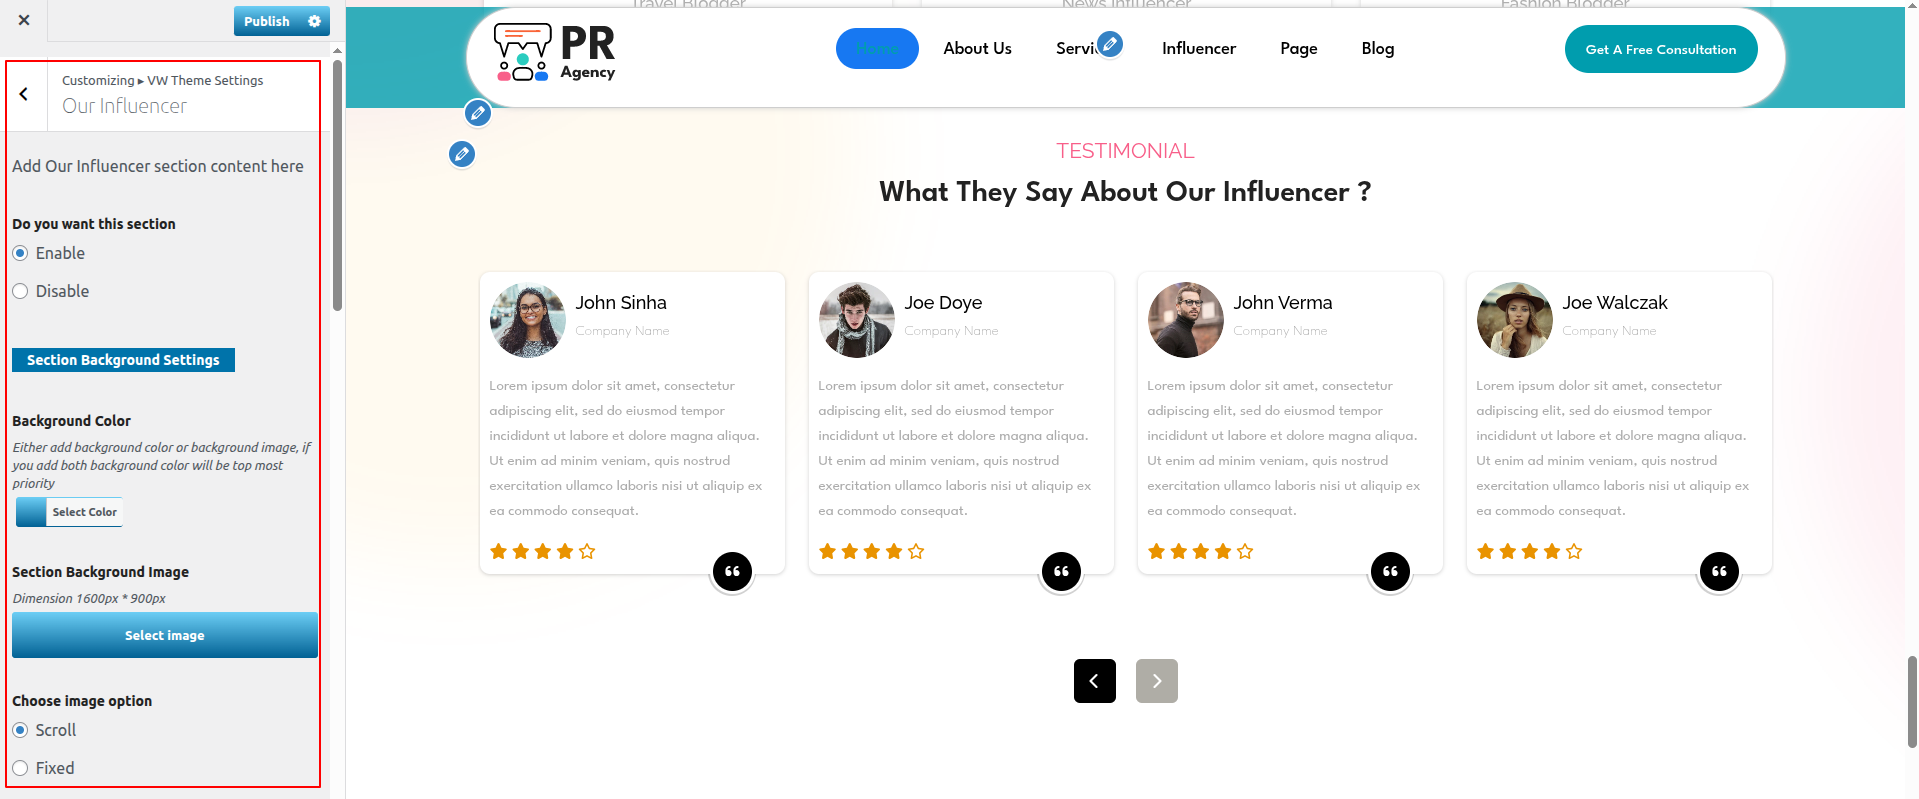
Go to Appearance >> Customize >> Theme Settings >>Our Influencer Section
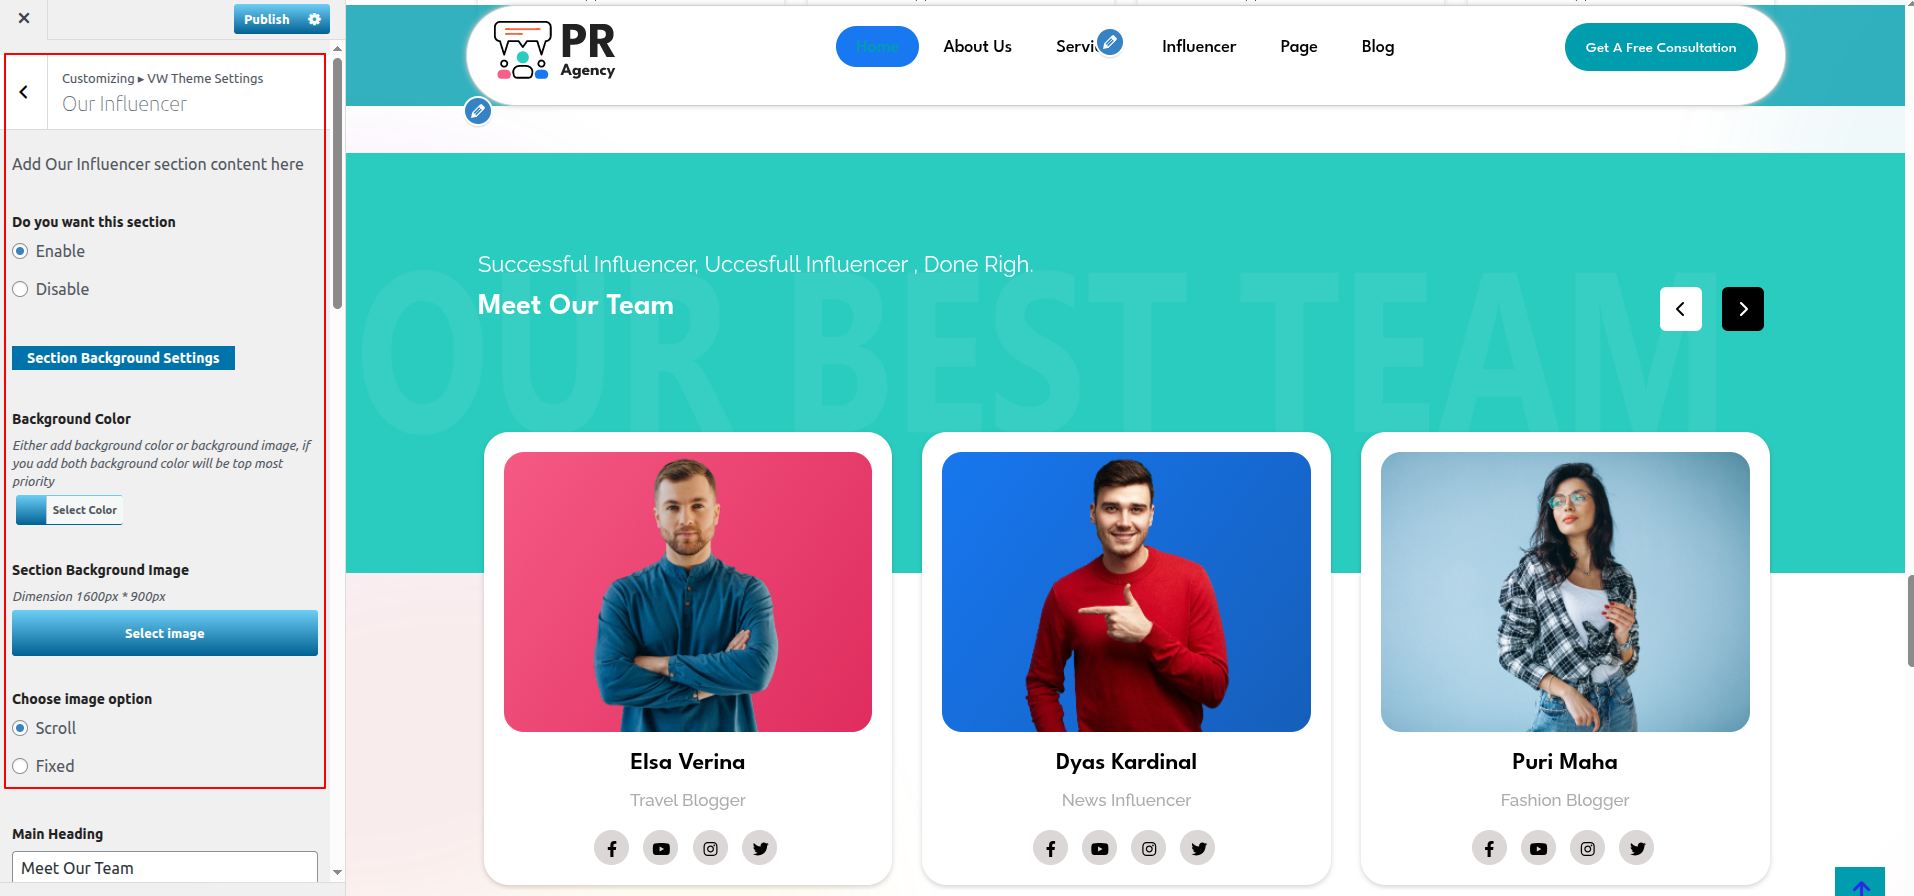
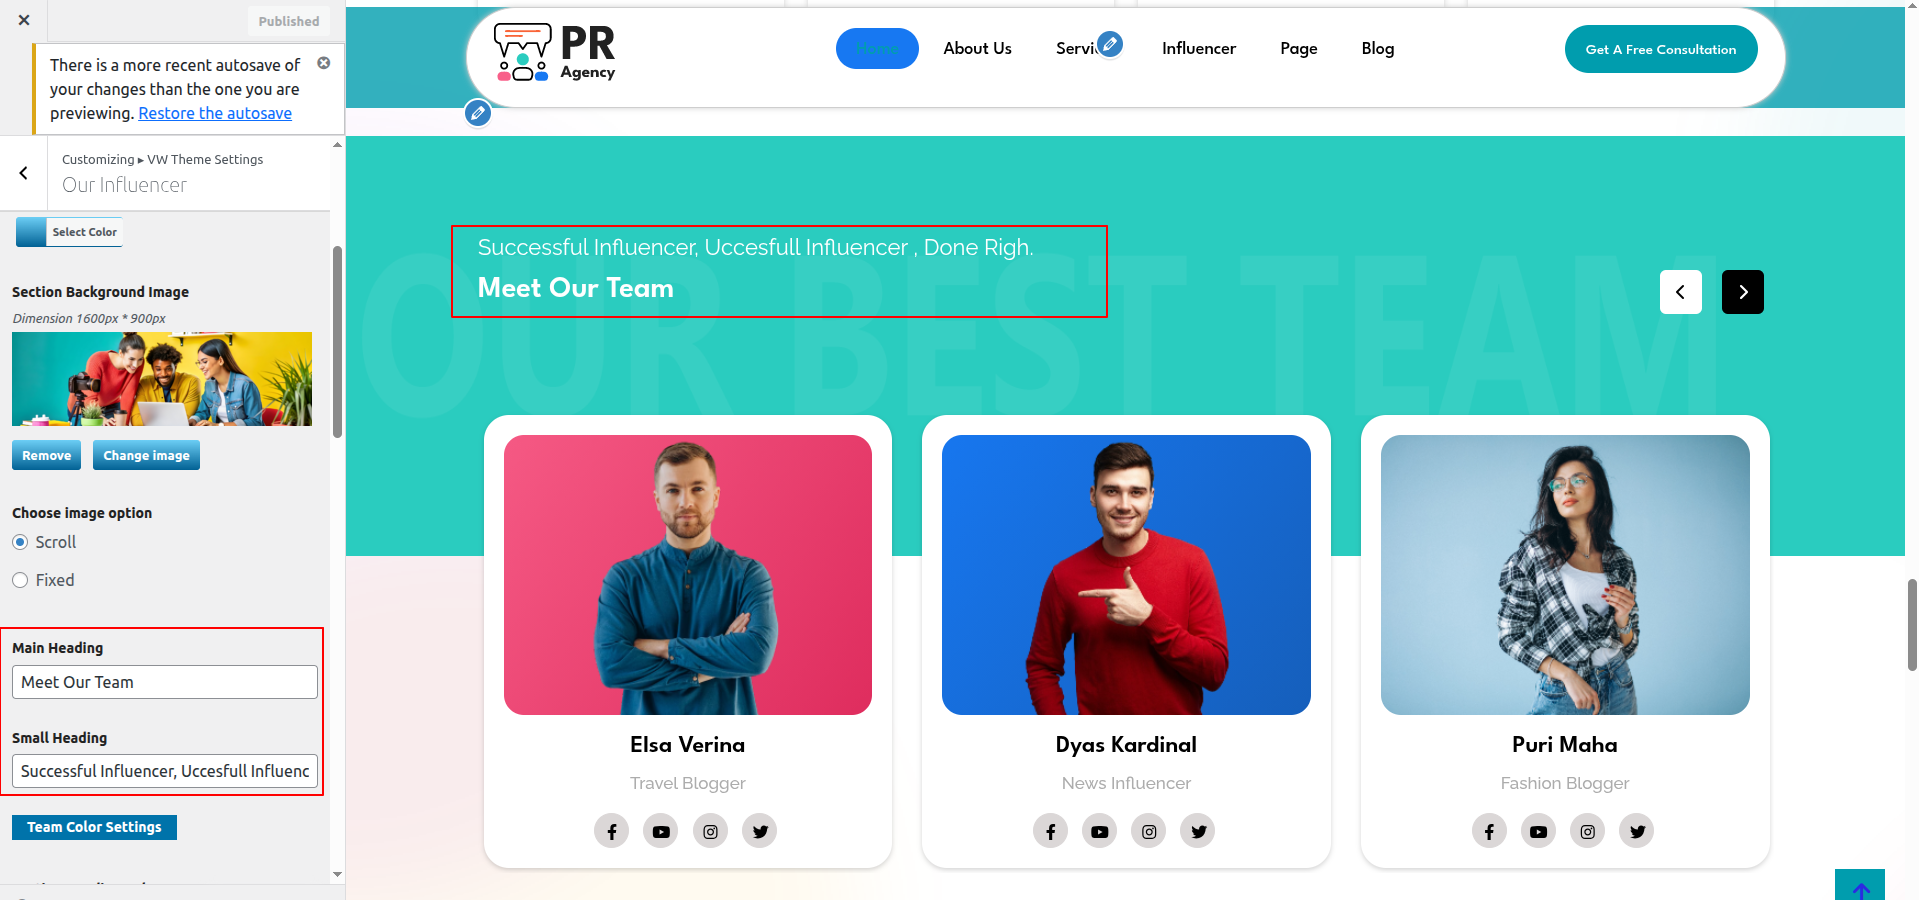
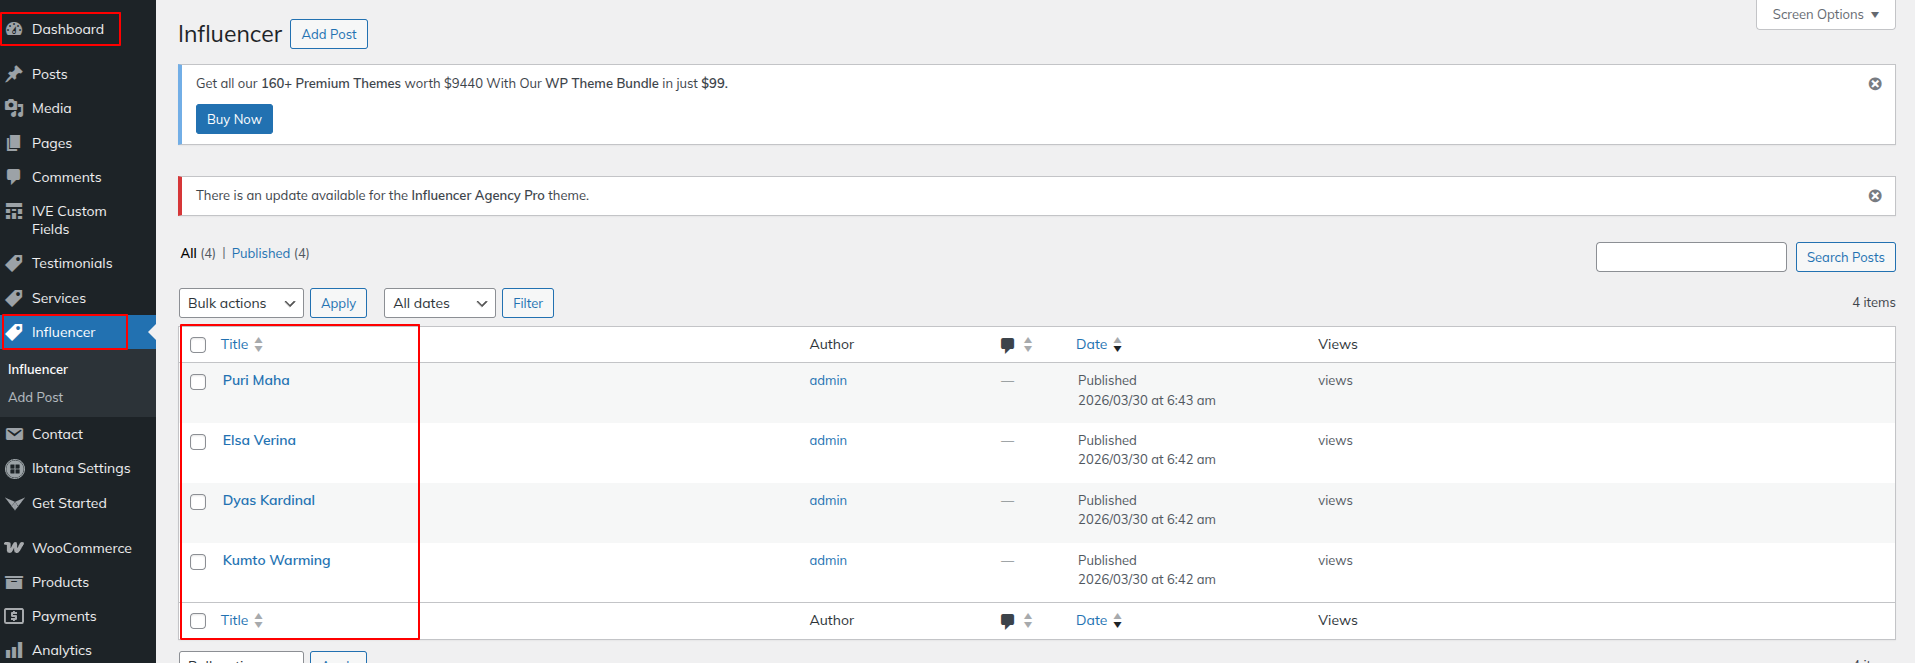
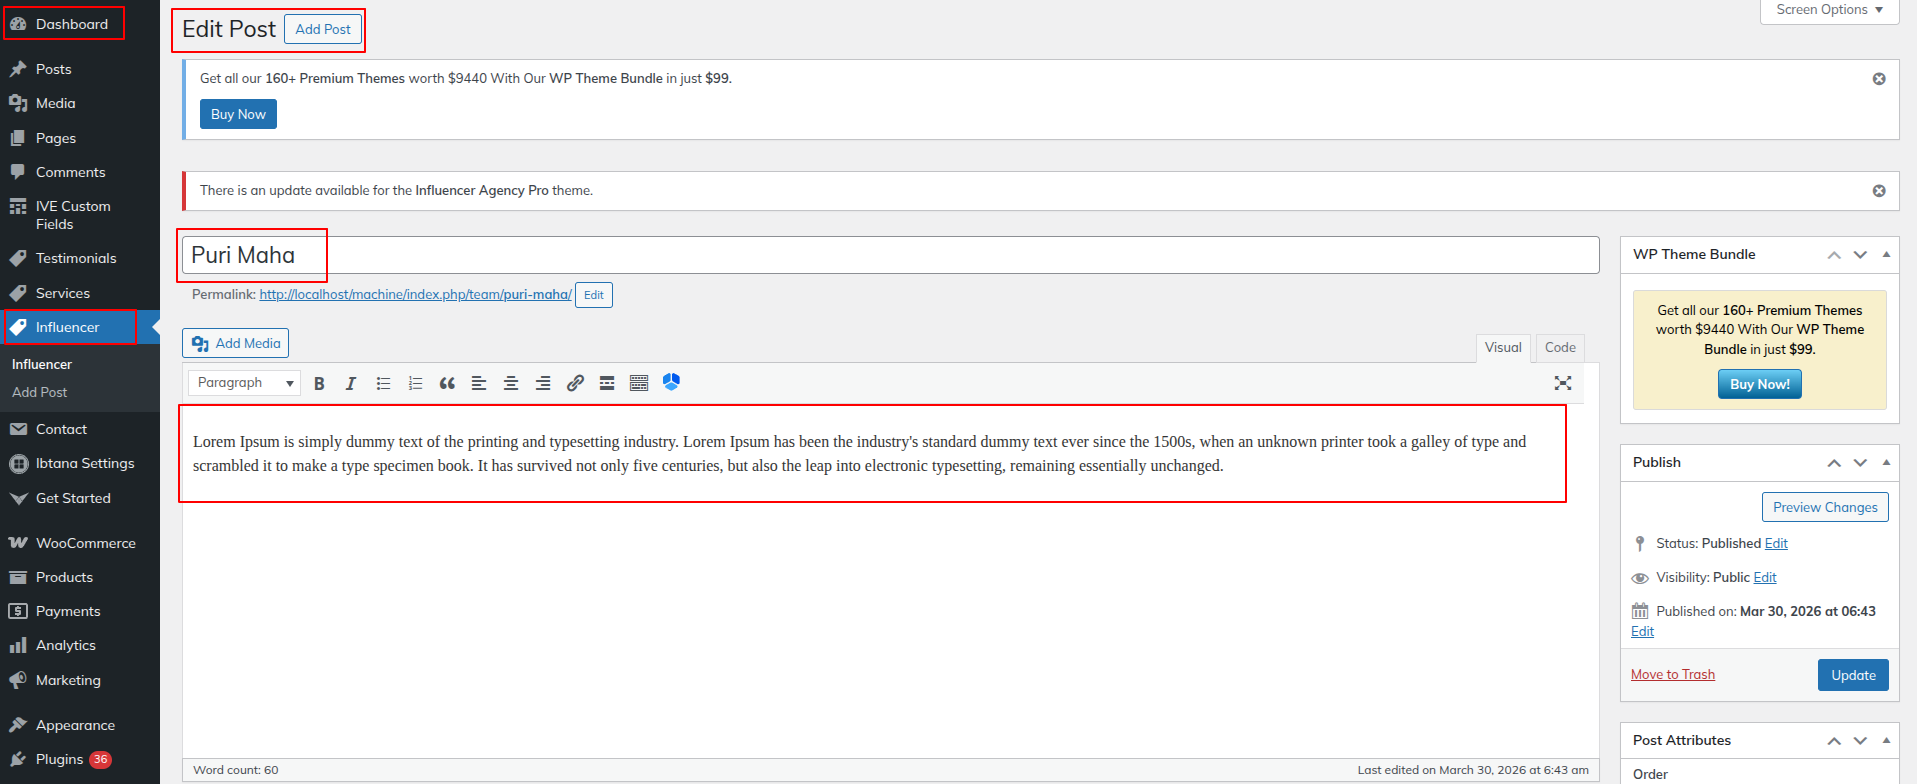
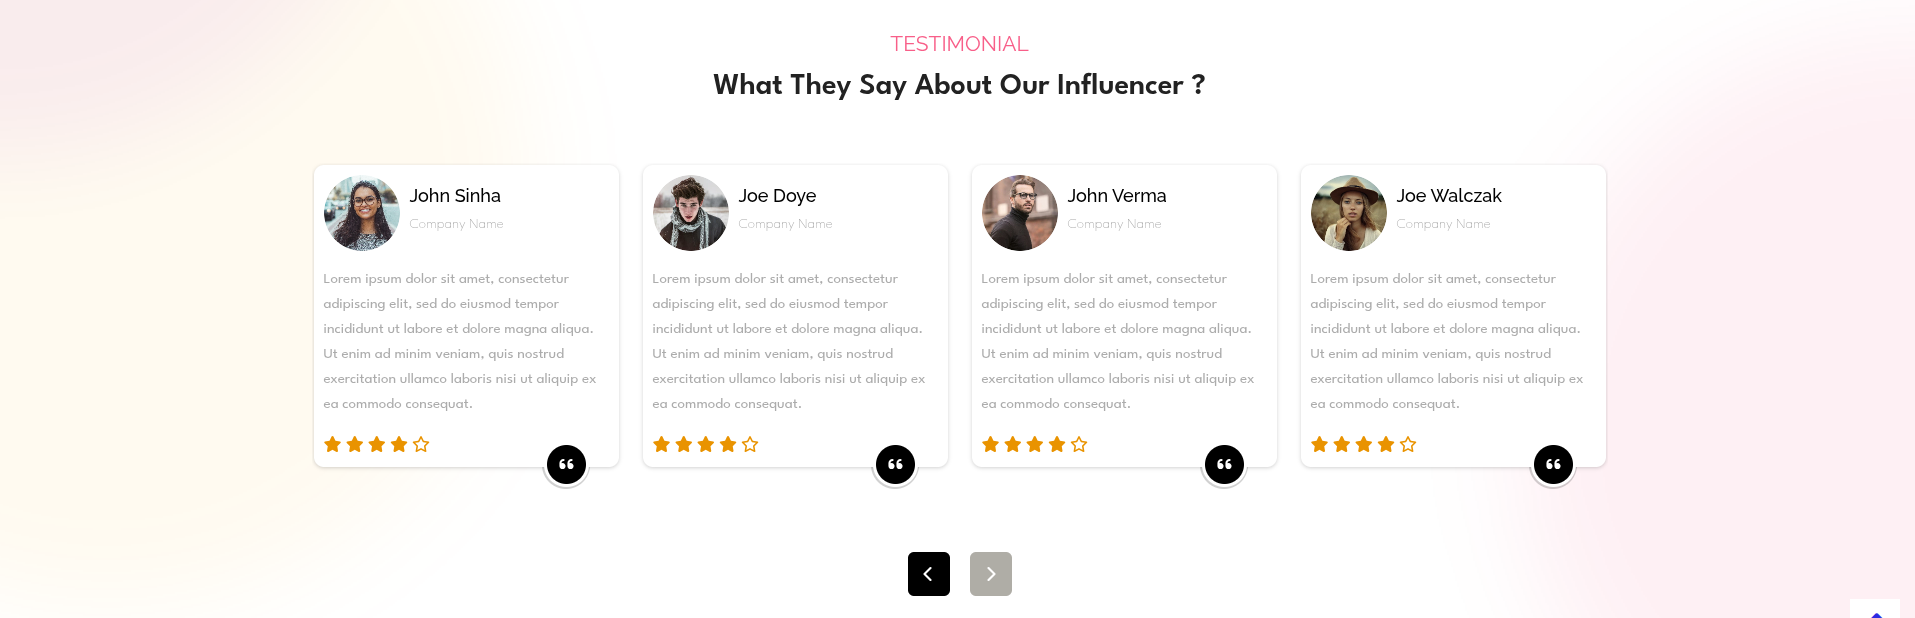
Go to Appearance >> Customize >> Theme Settings >>Our Influencer Section
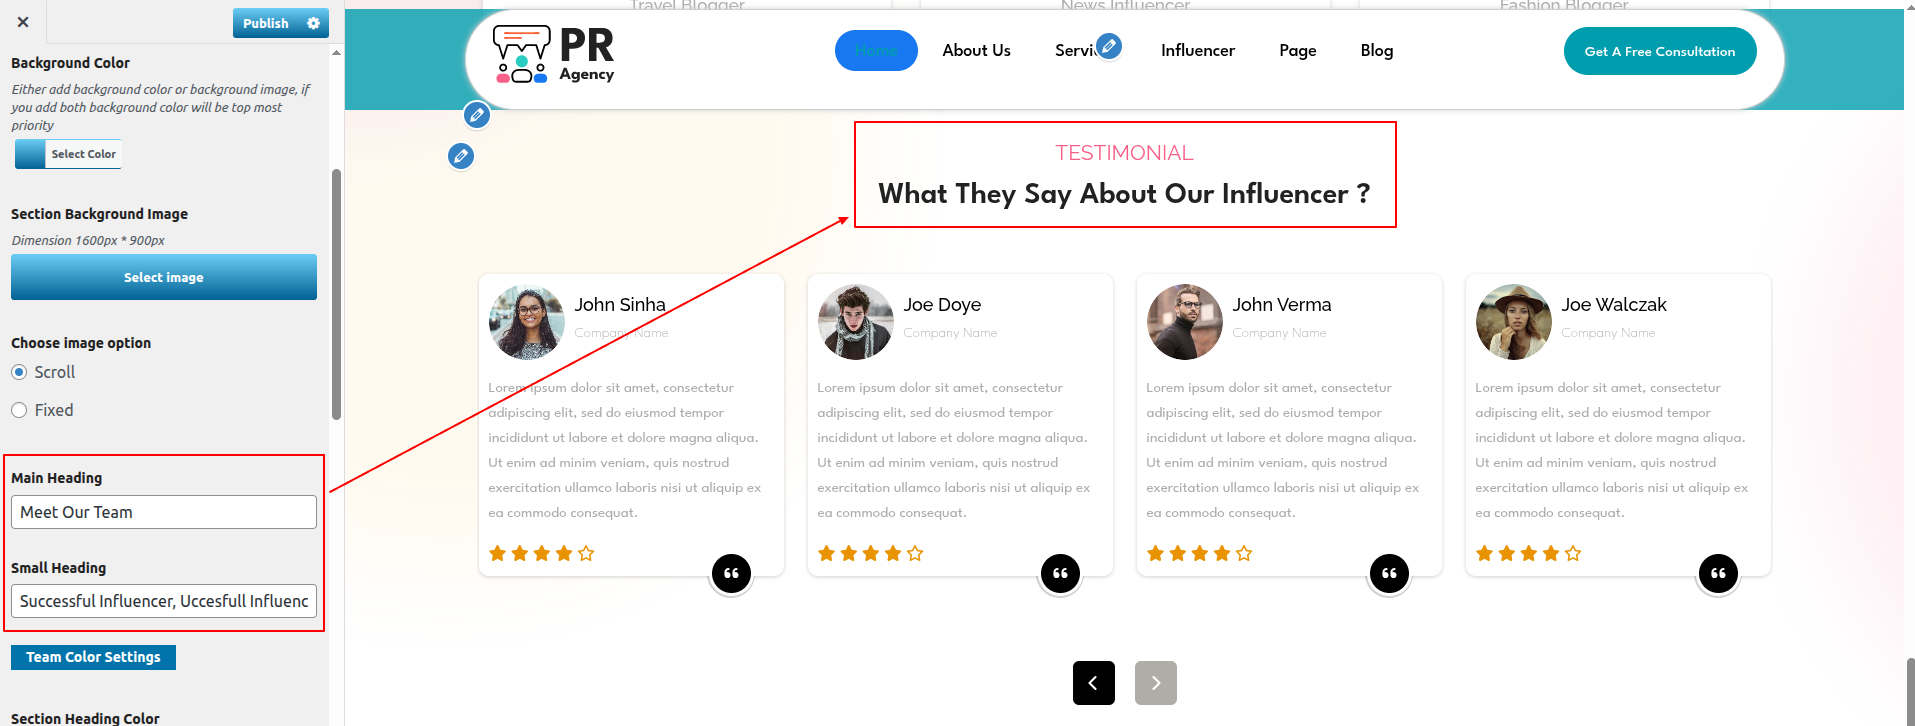
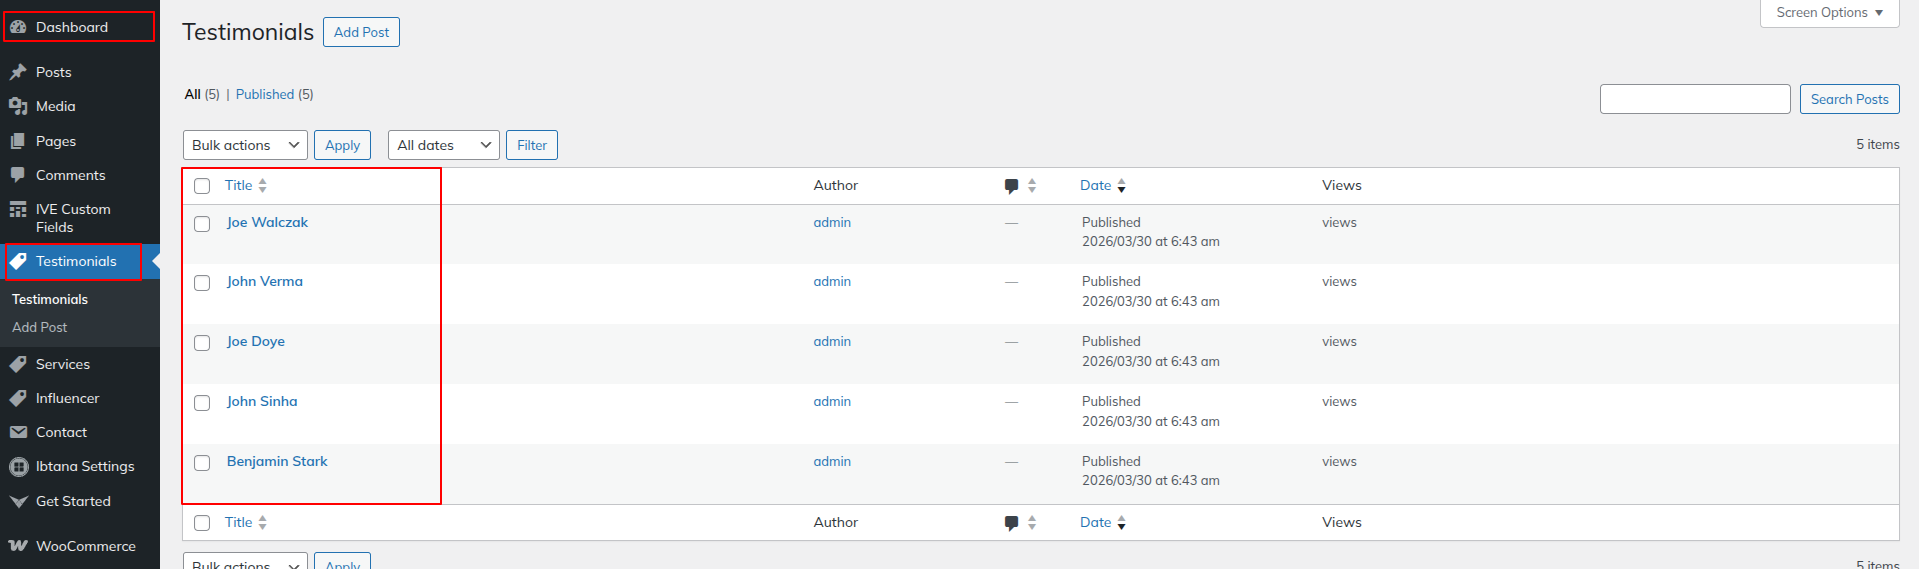
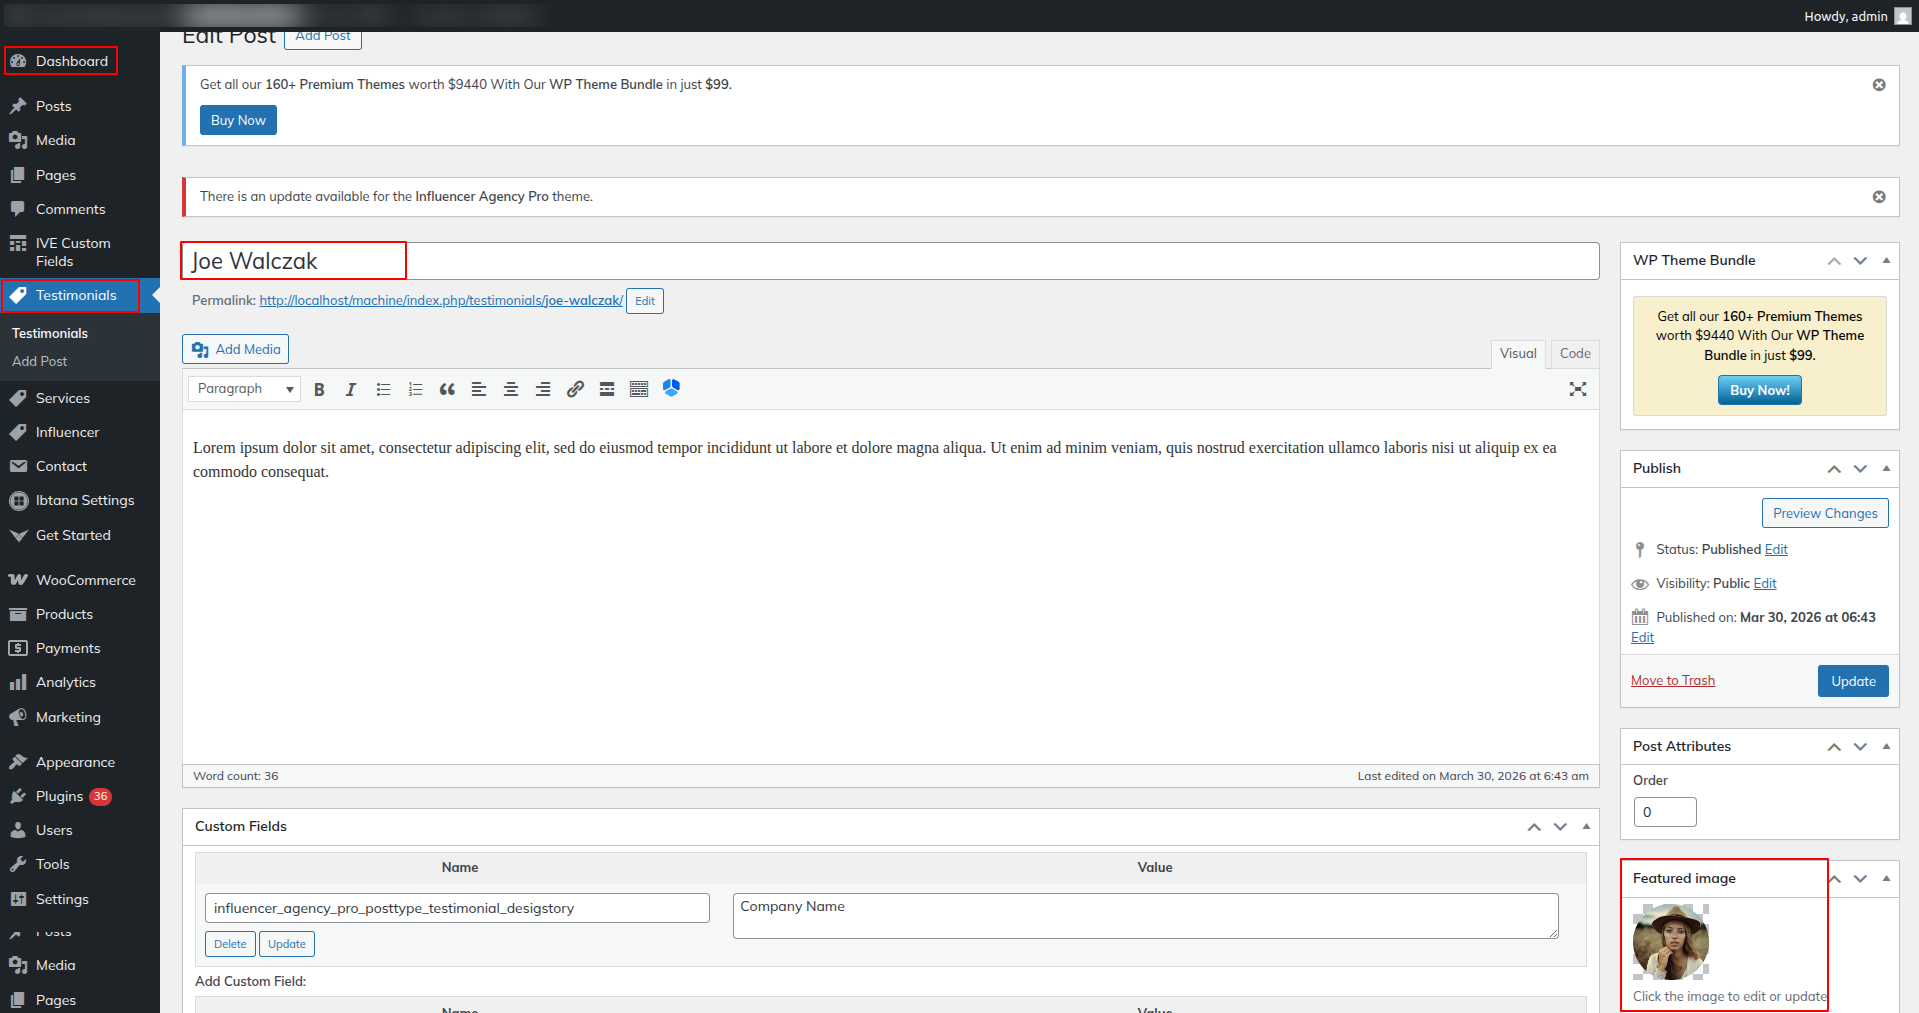
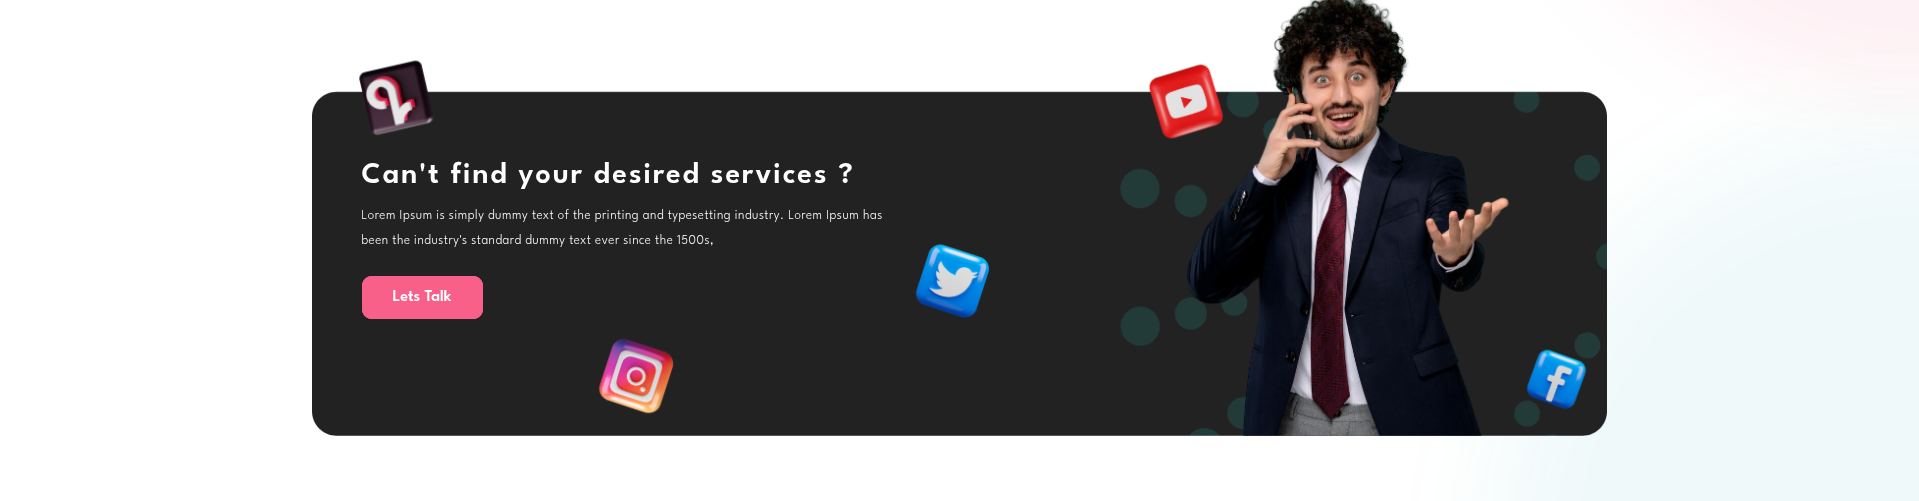
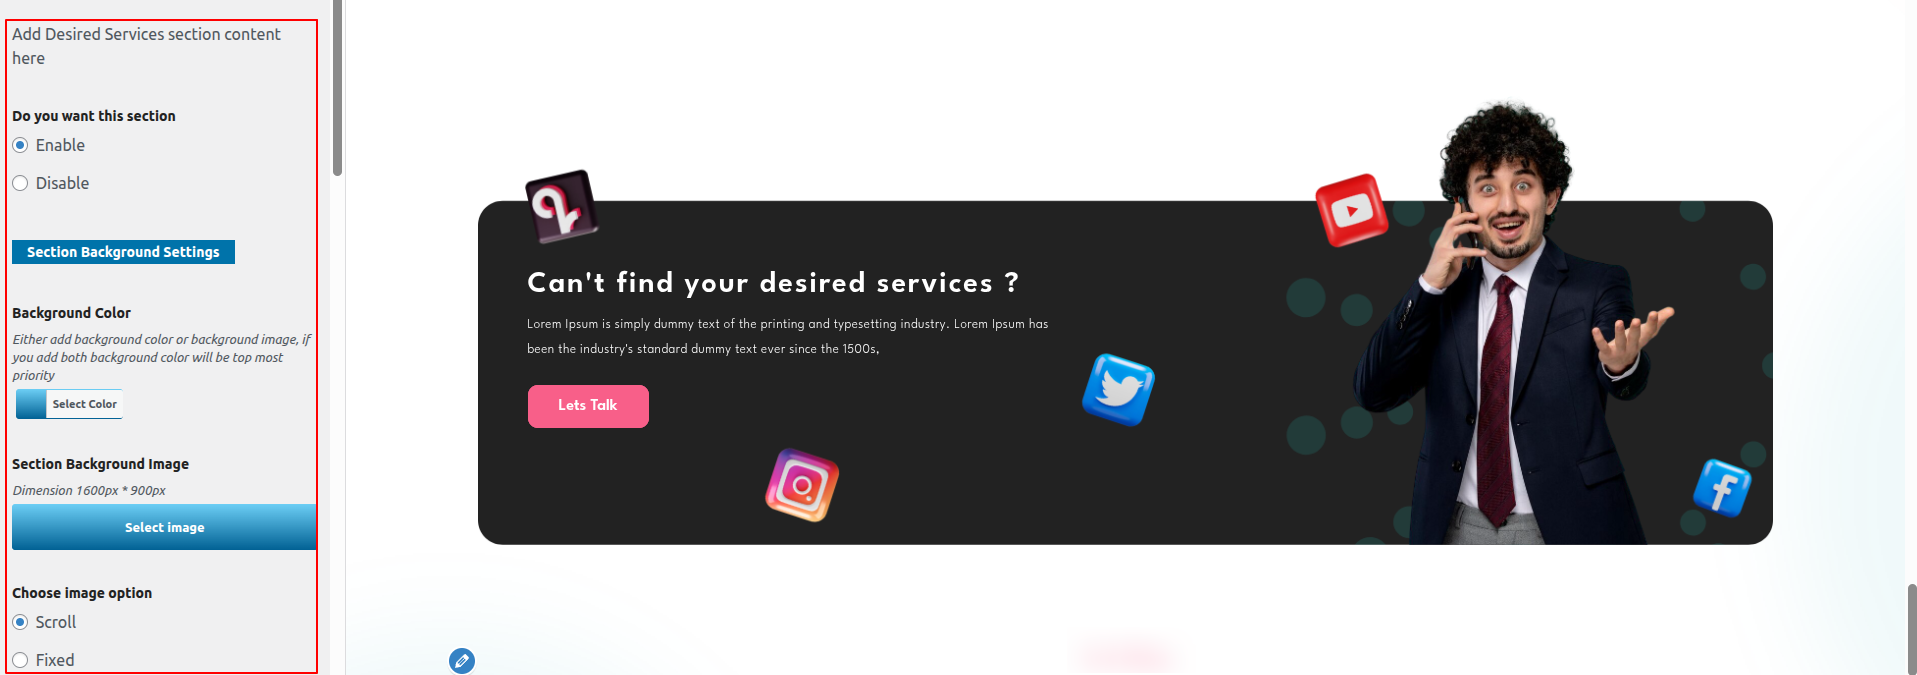
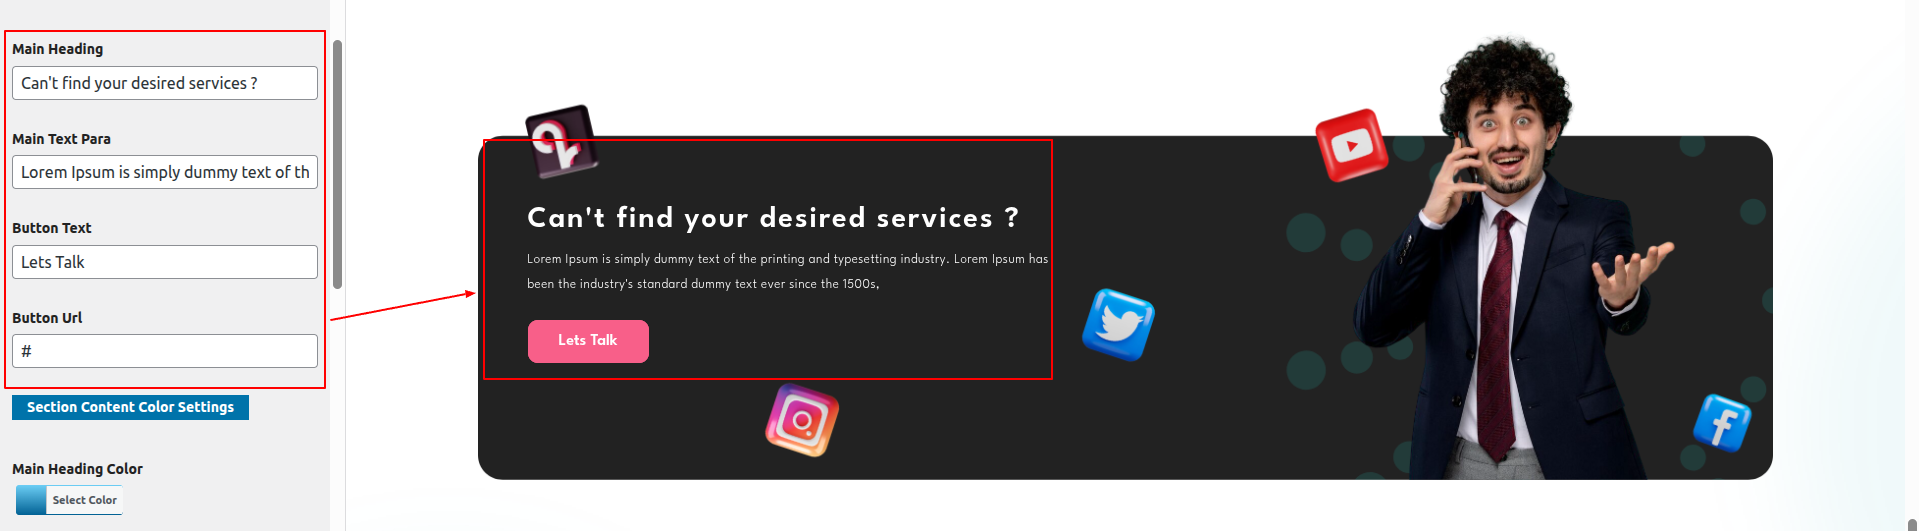
Go to Appearance >> Customize >> Theme Settings >>Desired Service Section
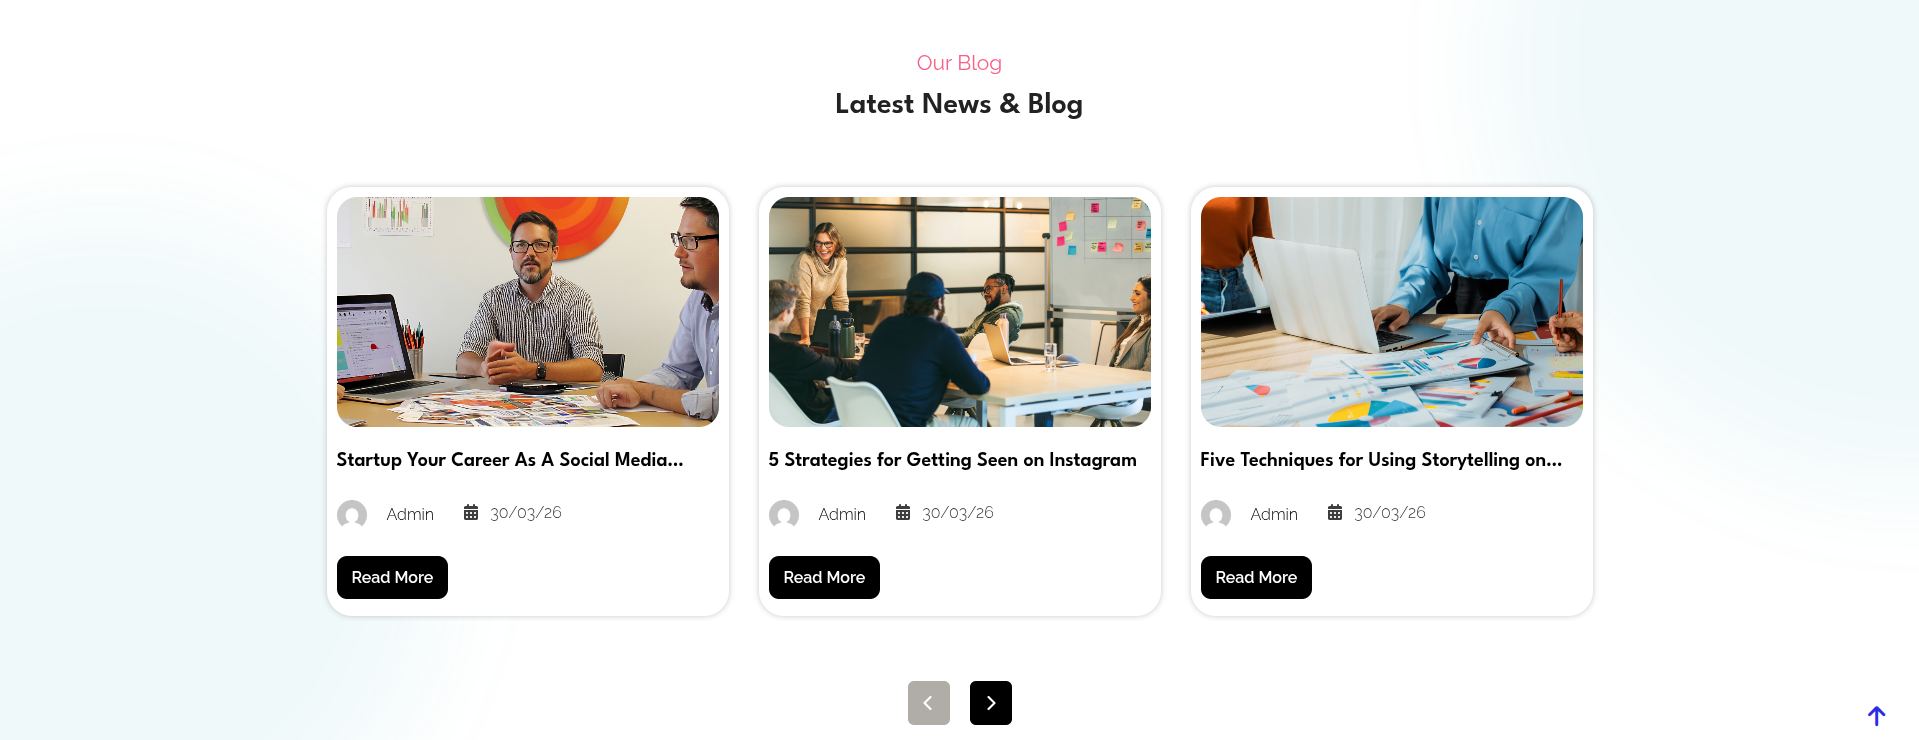
To proceed with the Our Blogs,
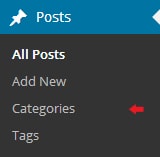
Go to Dashboard >> post >> Add New
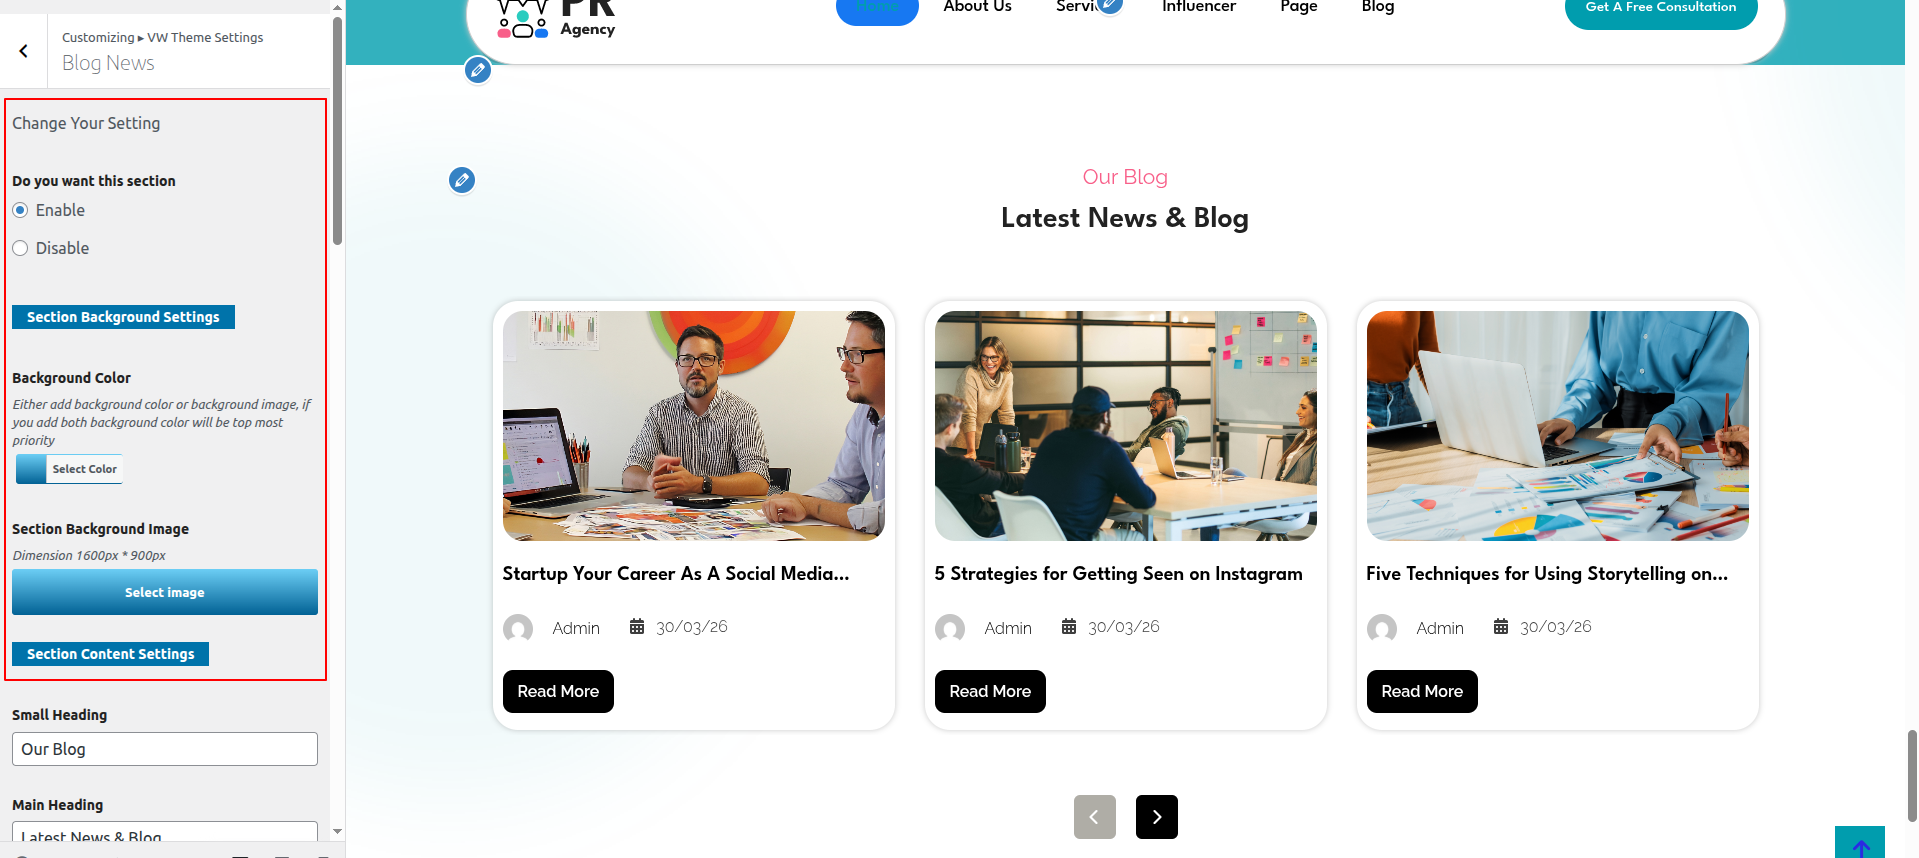
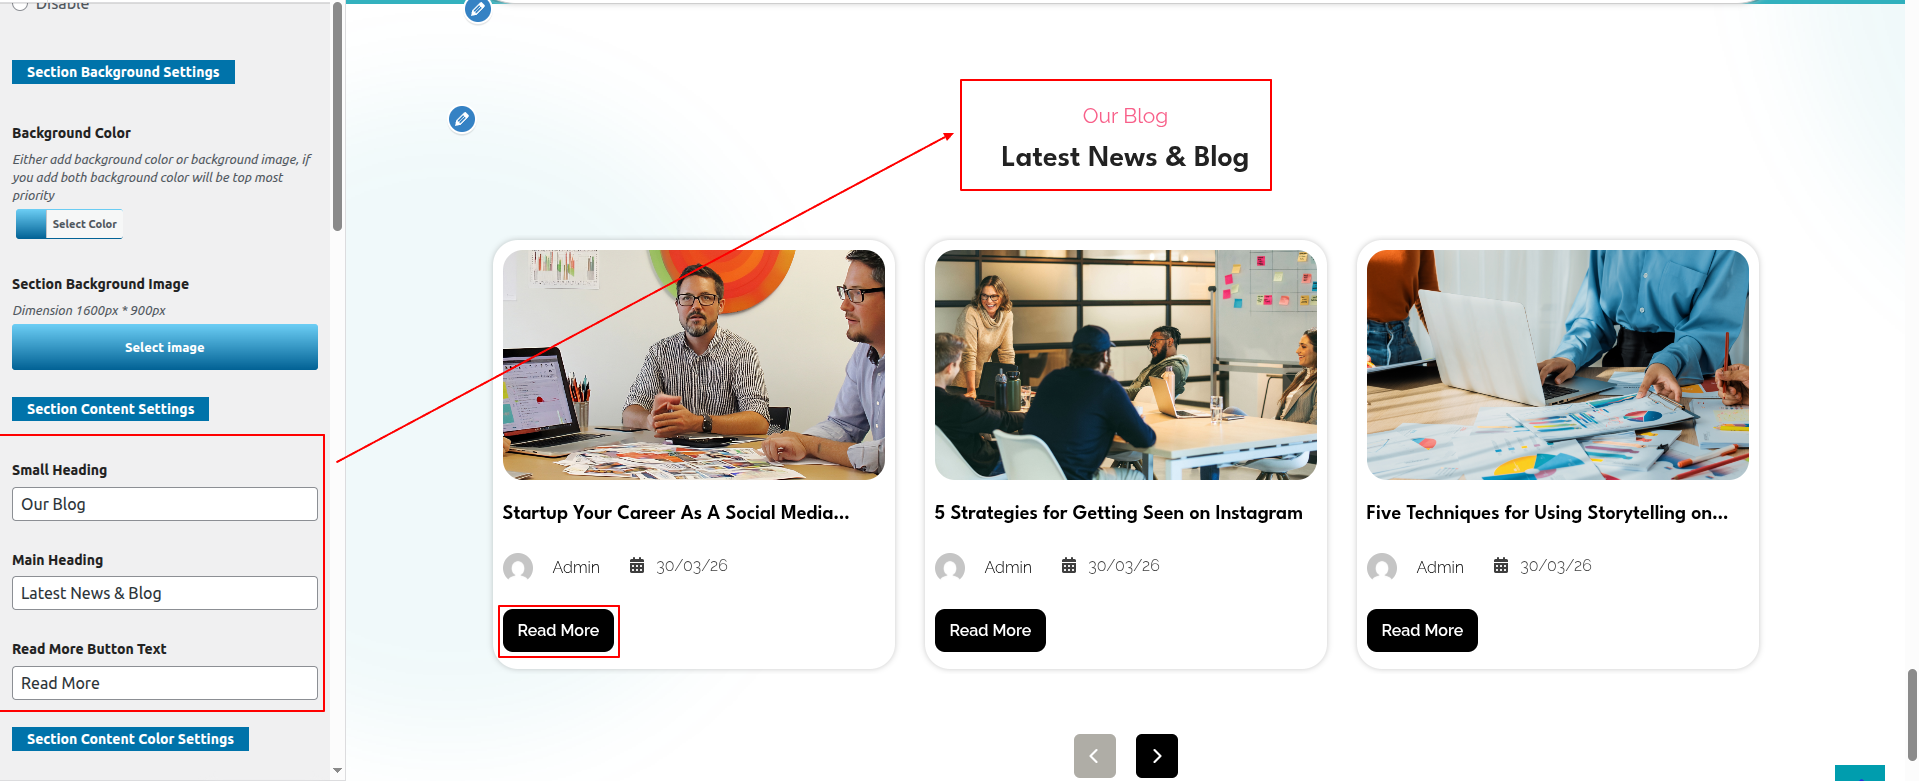
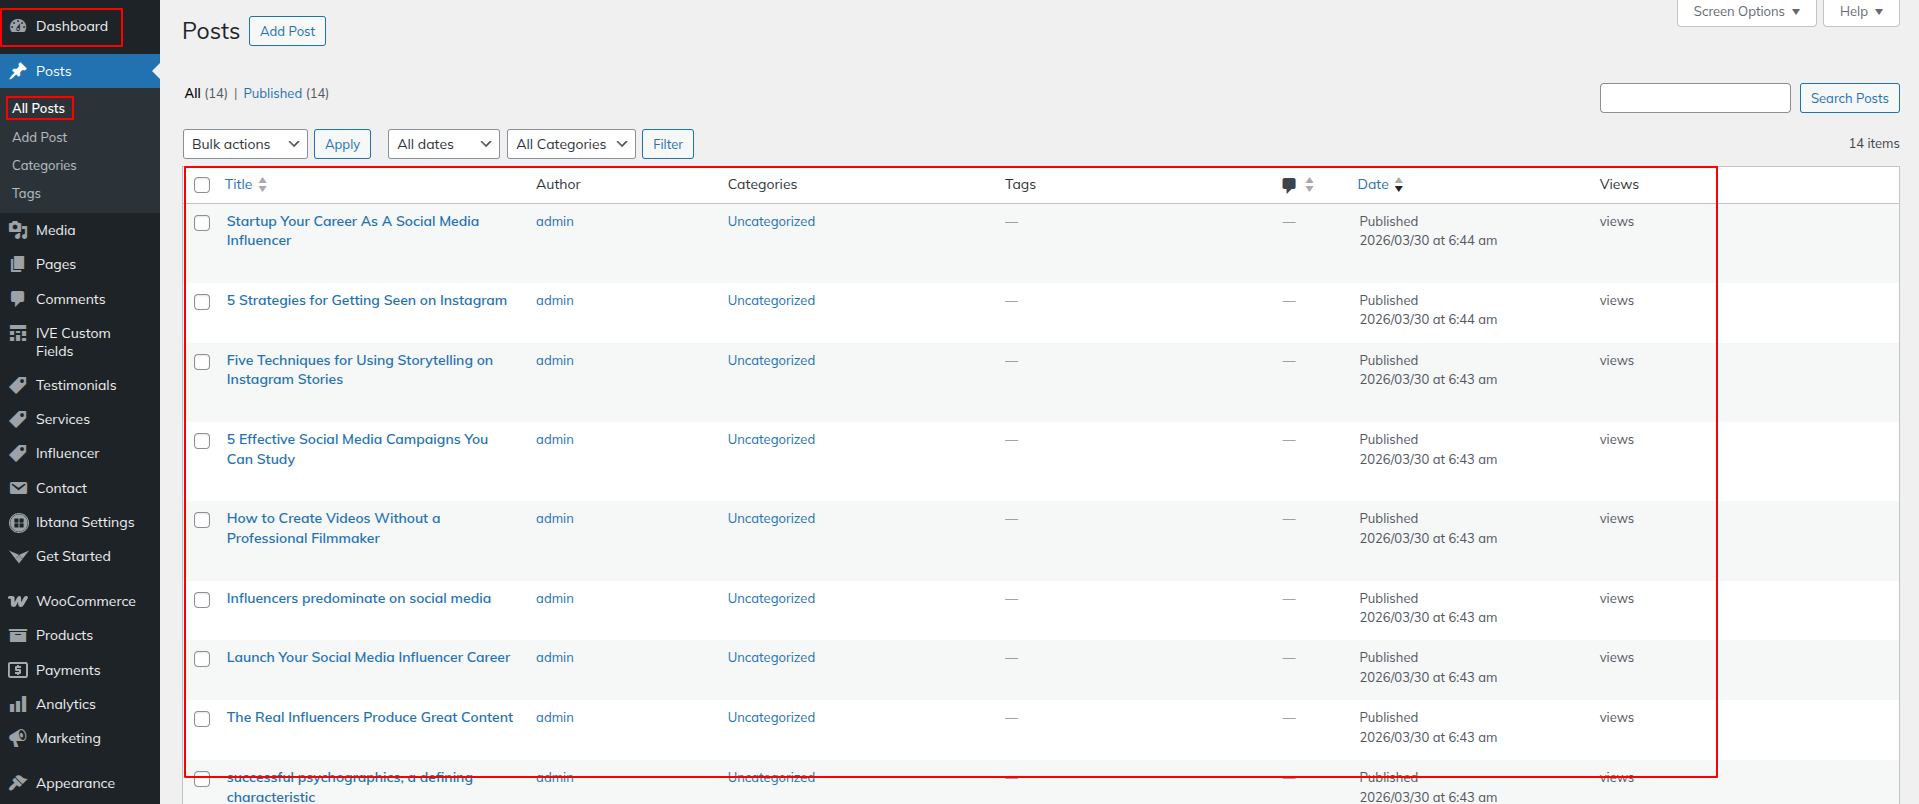
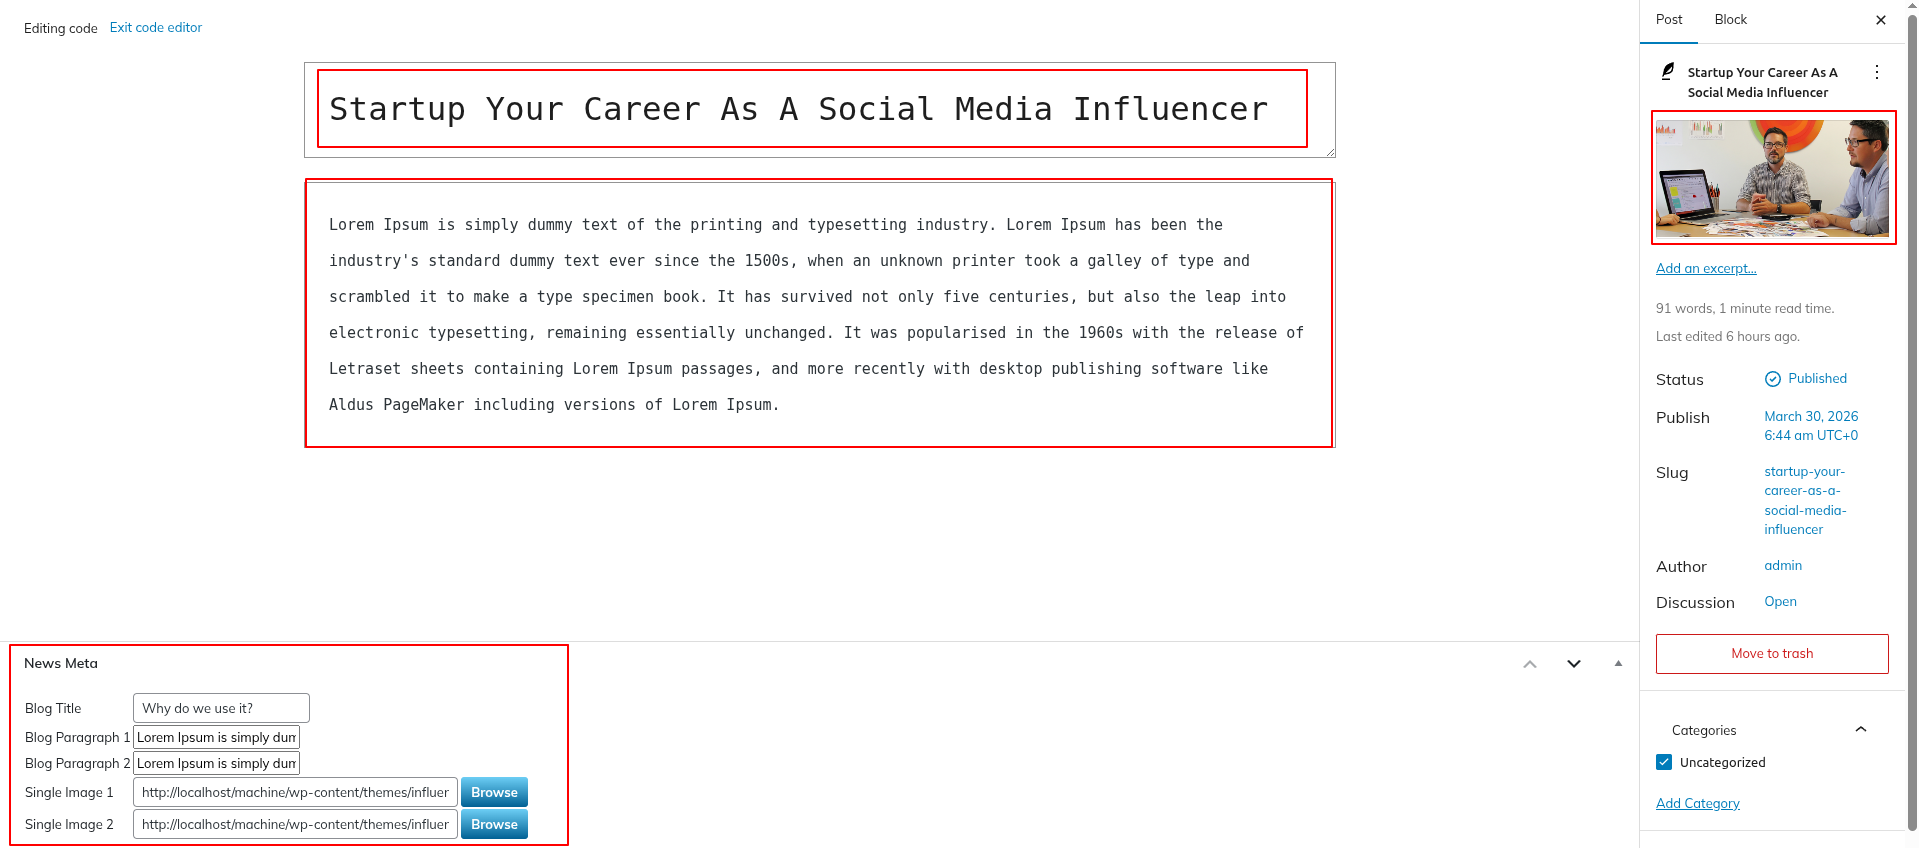
Use these guidelines to create Blog Section settings.
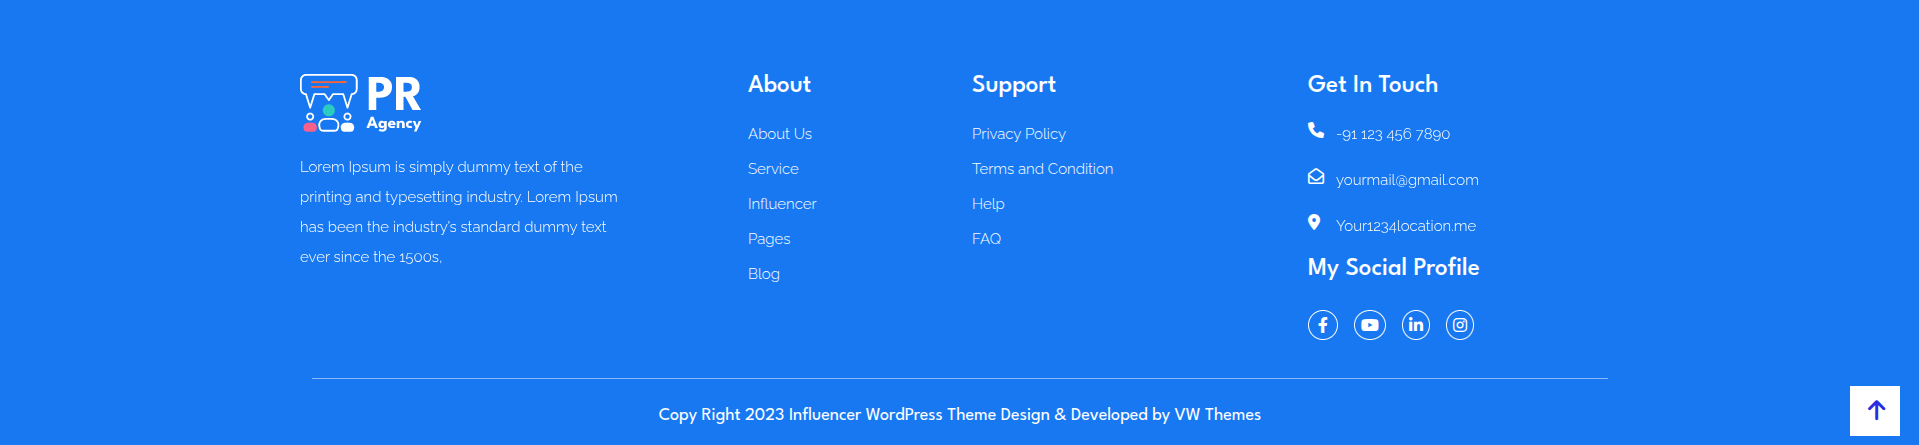
To create this section,
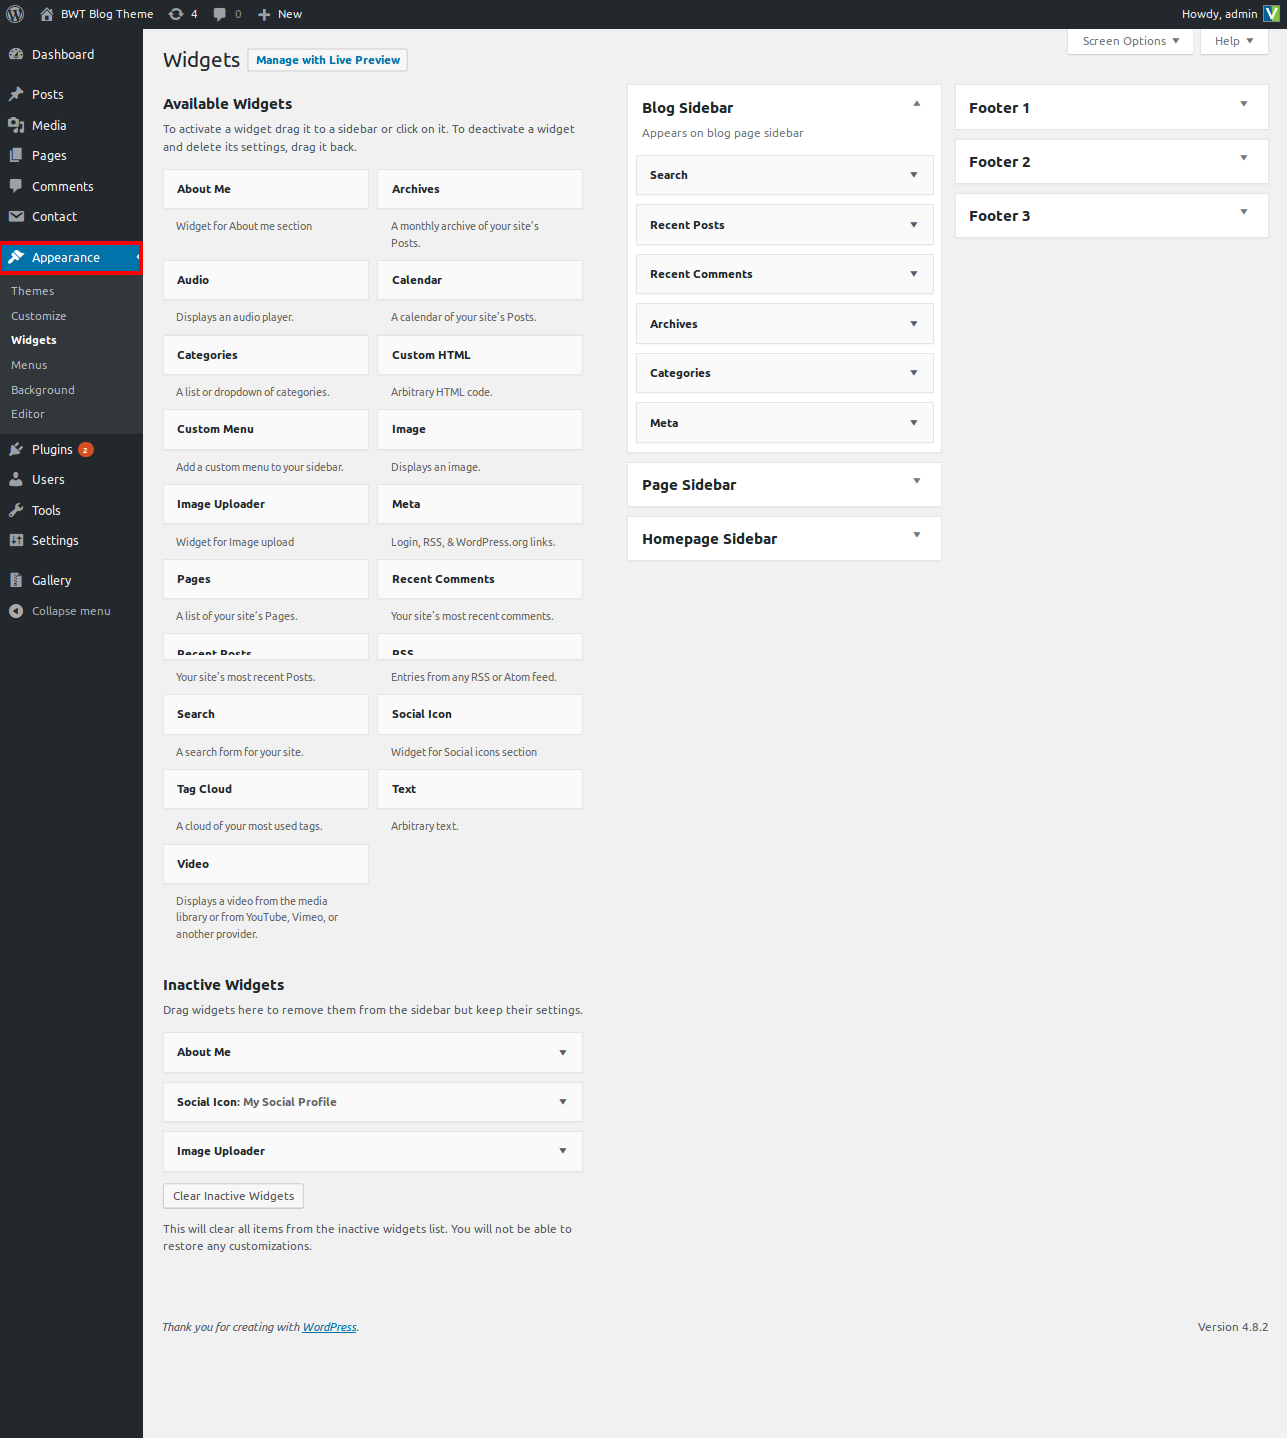
Go to Dashboard >> Appearance >> widgets
choose four columns for the logo picture, tags, gallery, and contacts in the footers.
The widgets area is explained in the image below.
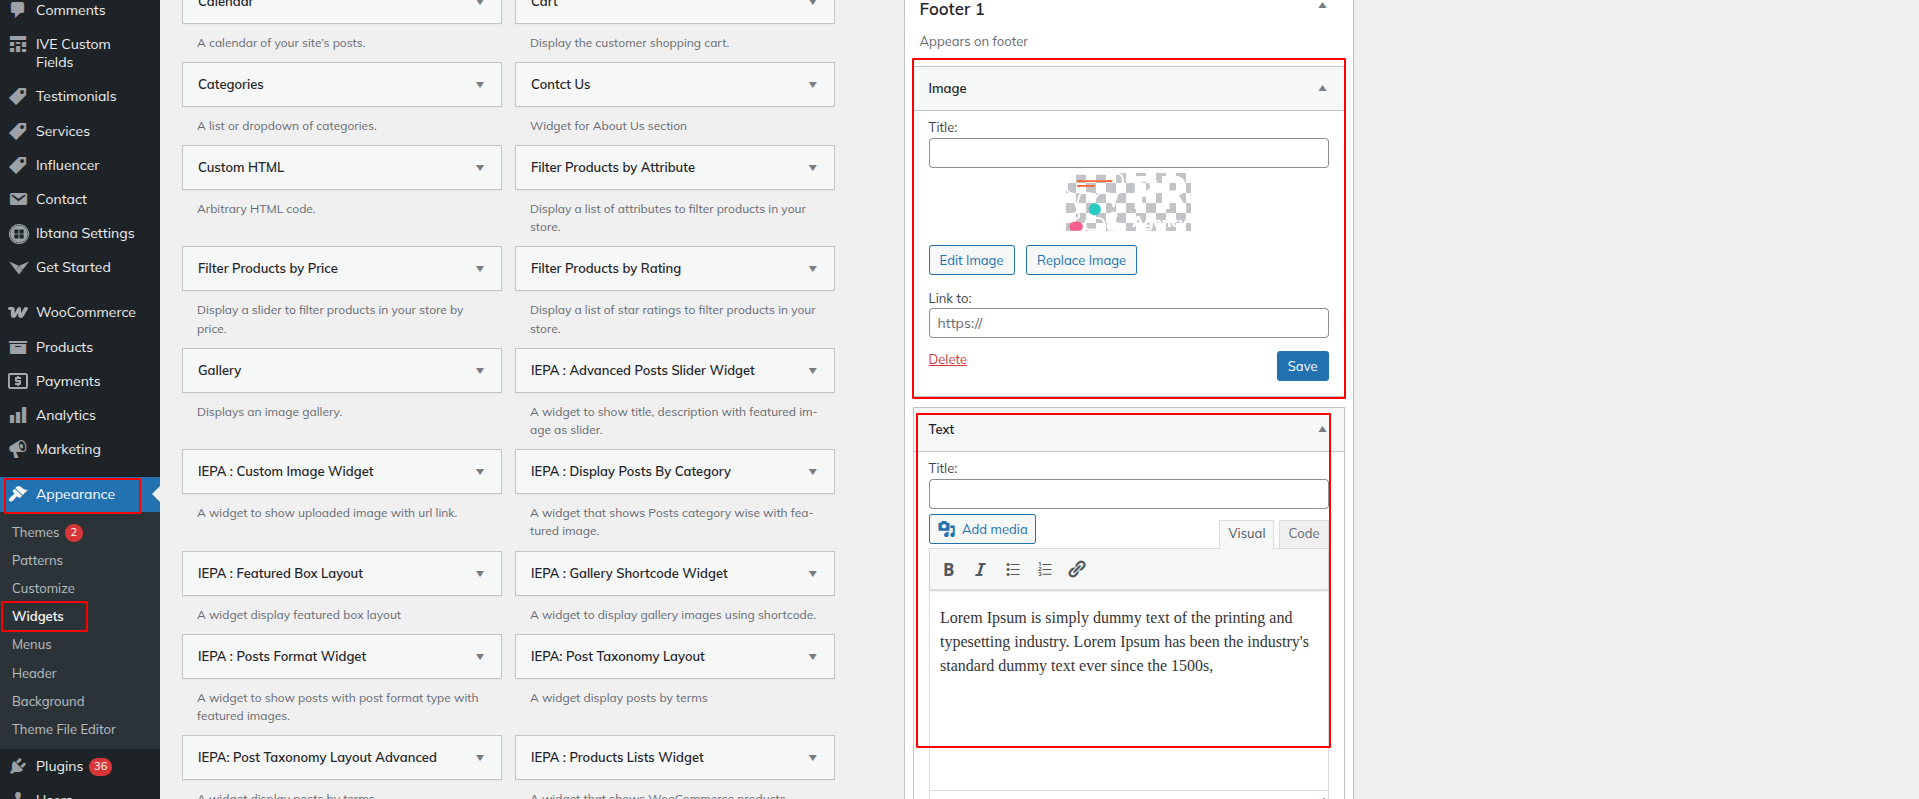
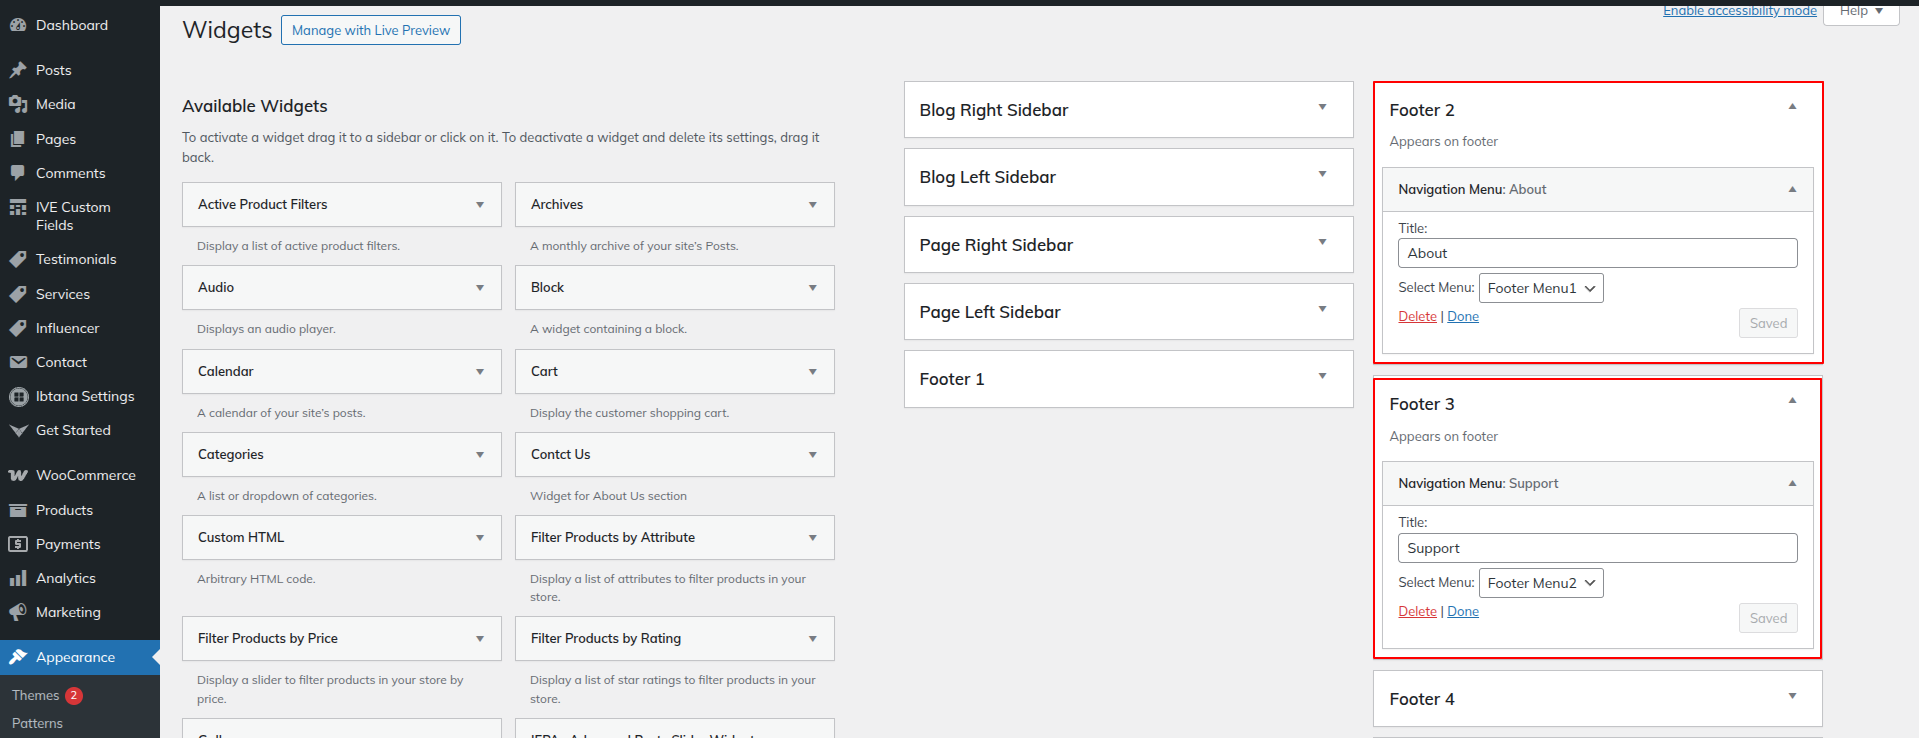
Go to Appearance >> Customize >> Theme Settings >>Footer Widgets
Use these guidelines to create Footer Section.
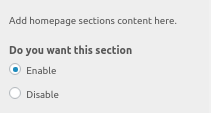

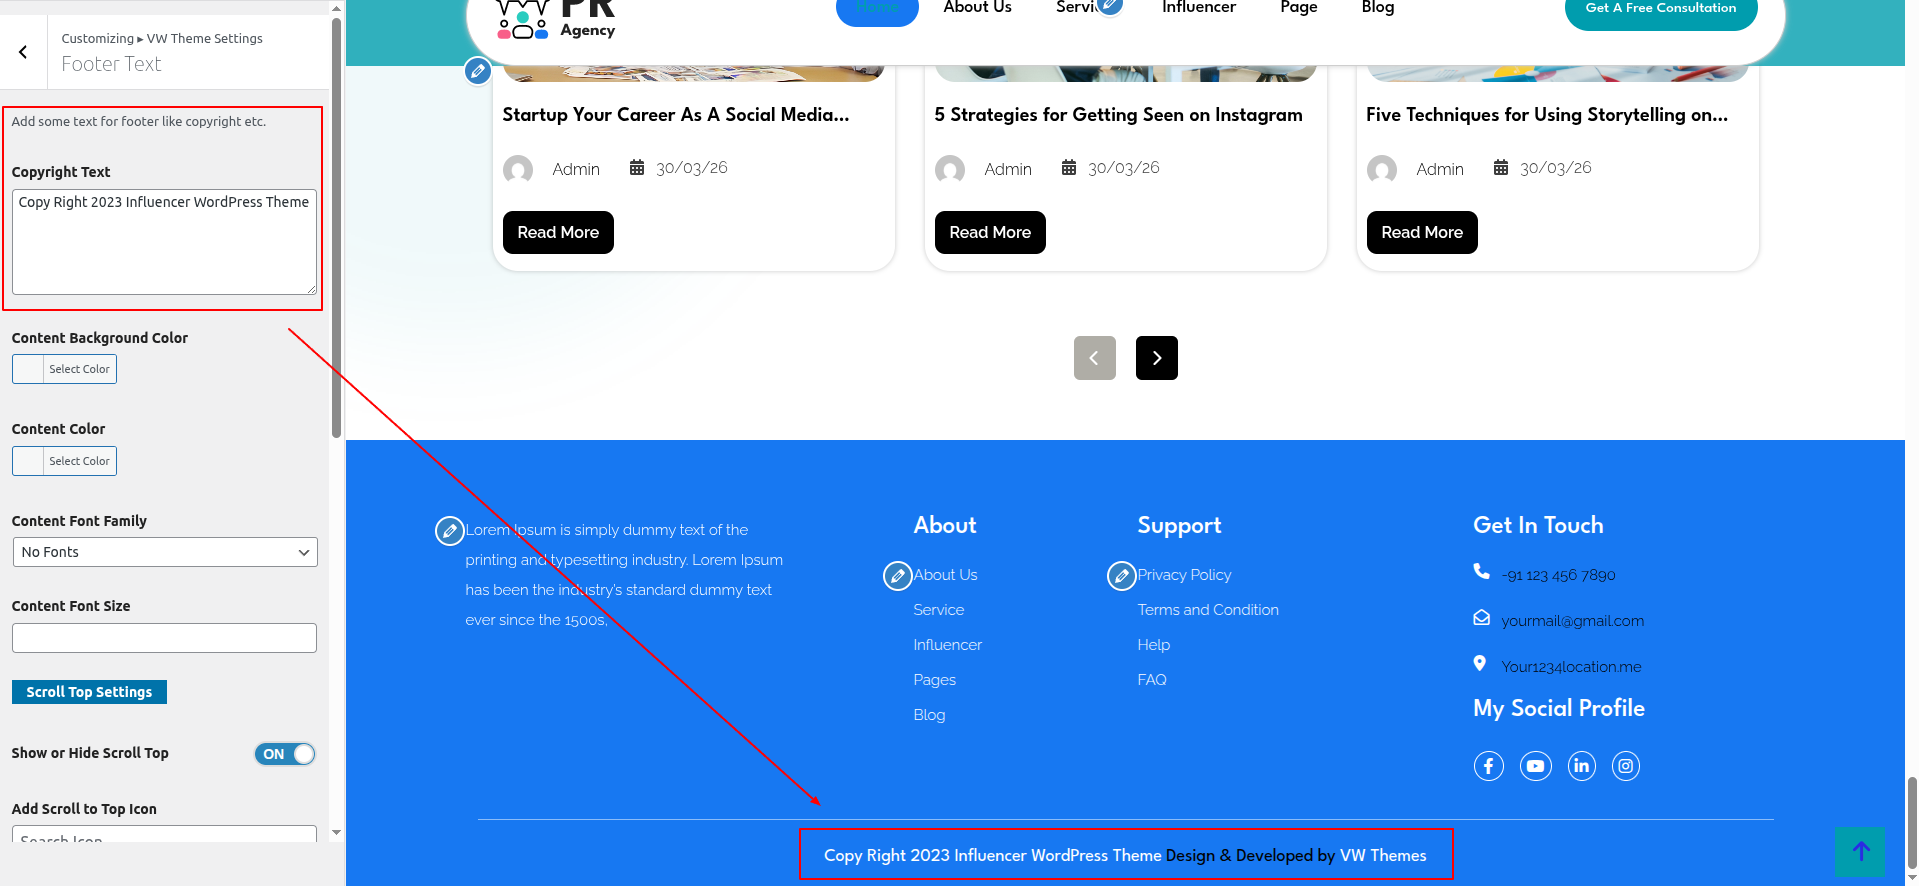
To proceed with the Footer Text section,
Go to Appearance >> Customize >> Themes Settings>> Footer Text.
Using plugins, you can increase and expand the capability that comes with WordPress.
If you want these features in your theme, you must enable the plugin. Use these guidelines to enable the plugin in your theme.
Go to Plugins >> Installed Plugins >> Plugin Name >>Activate
There are now three modules total. Refer to the image below for a better grasp.
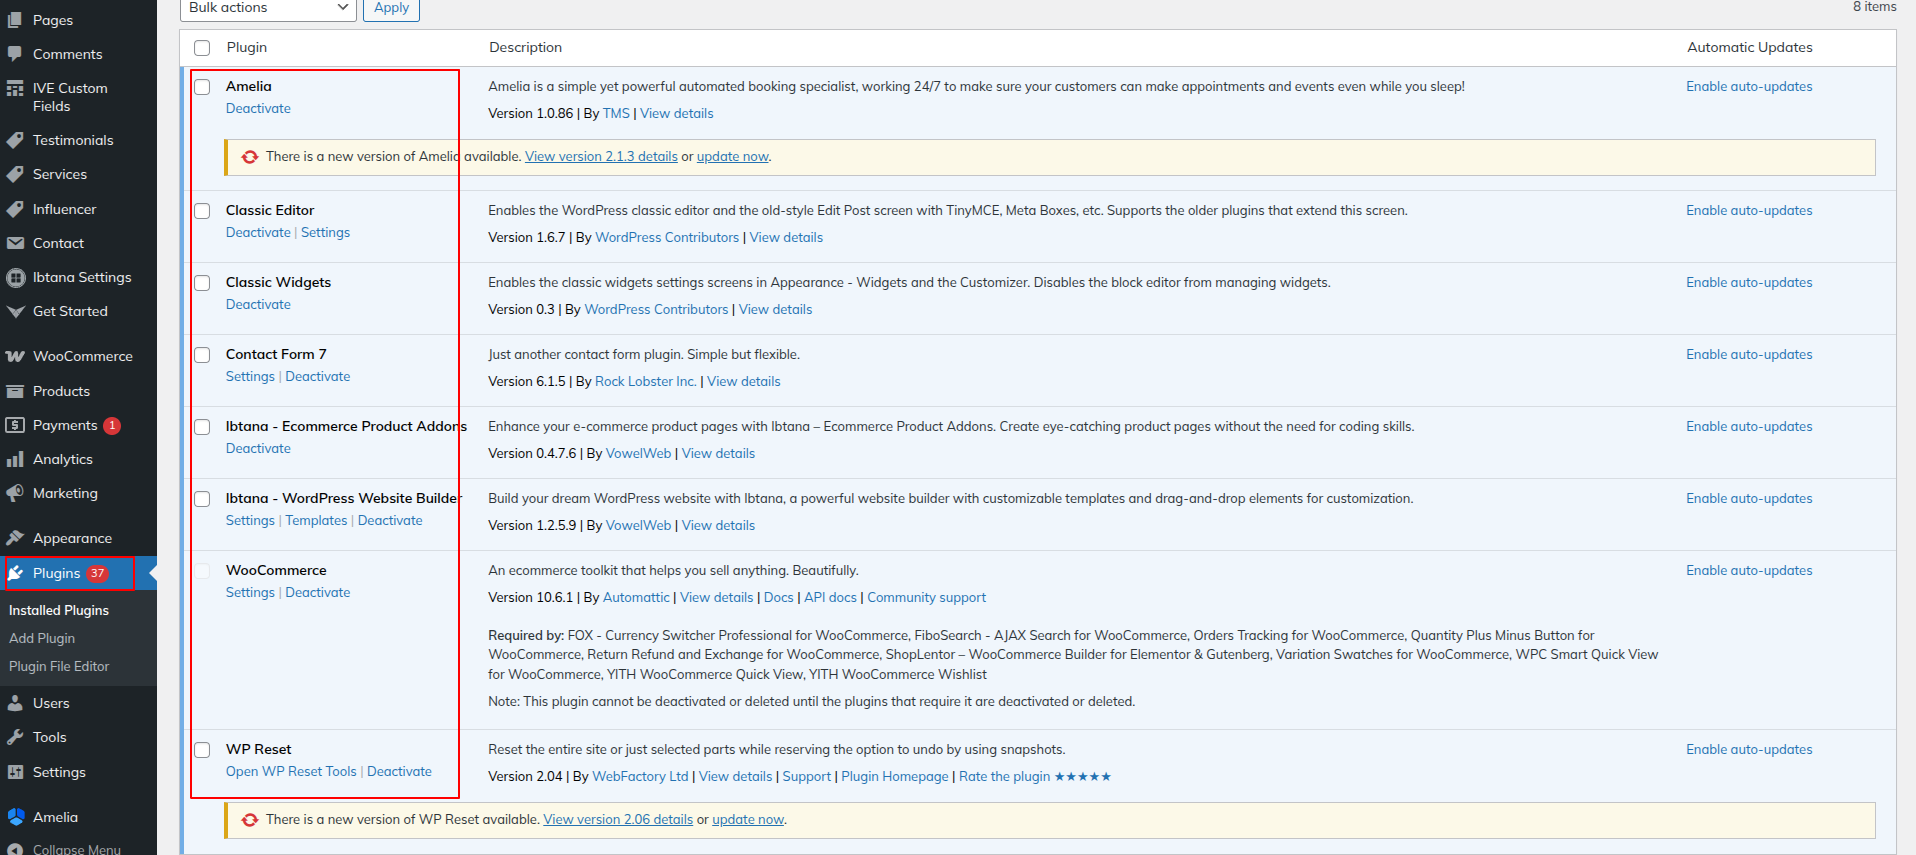
See this image for a clearer explanation.
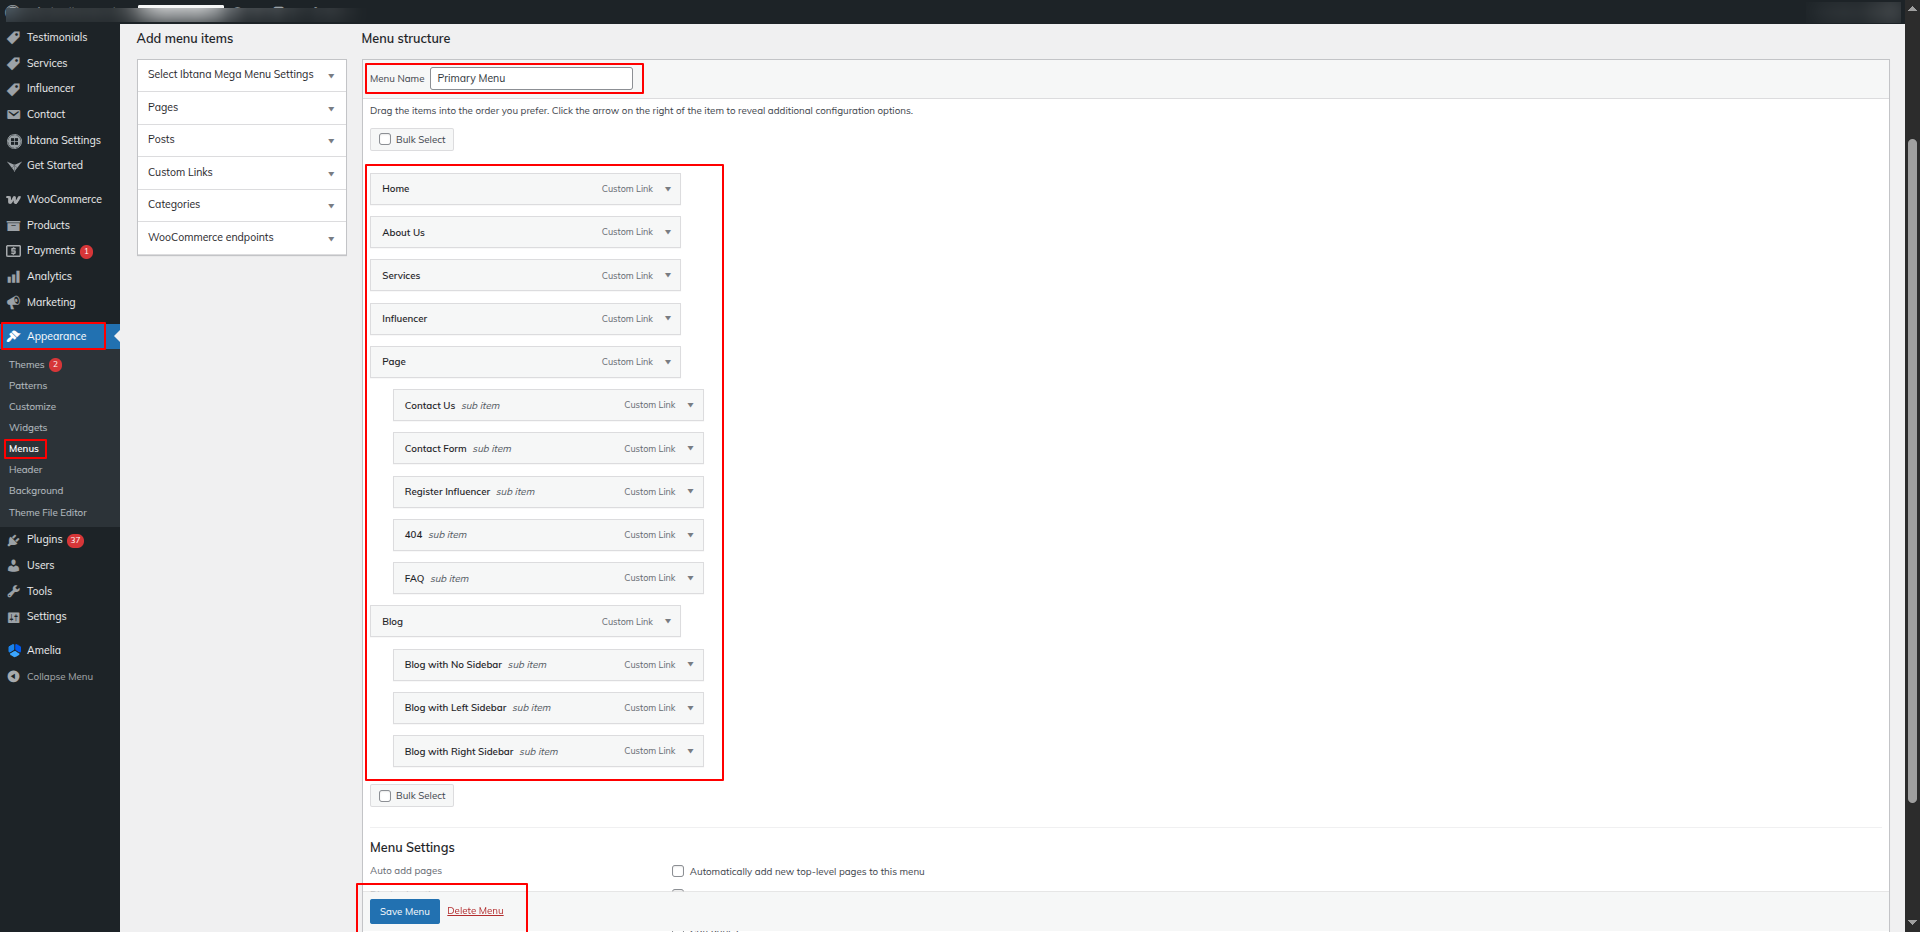
The list of new categories is shown below.