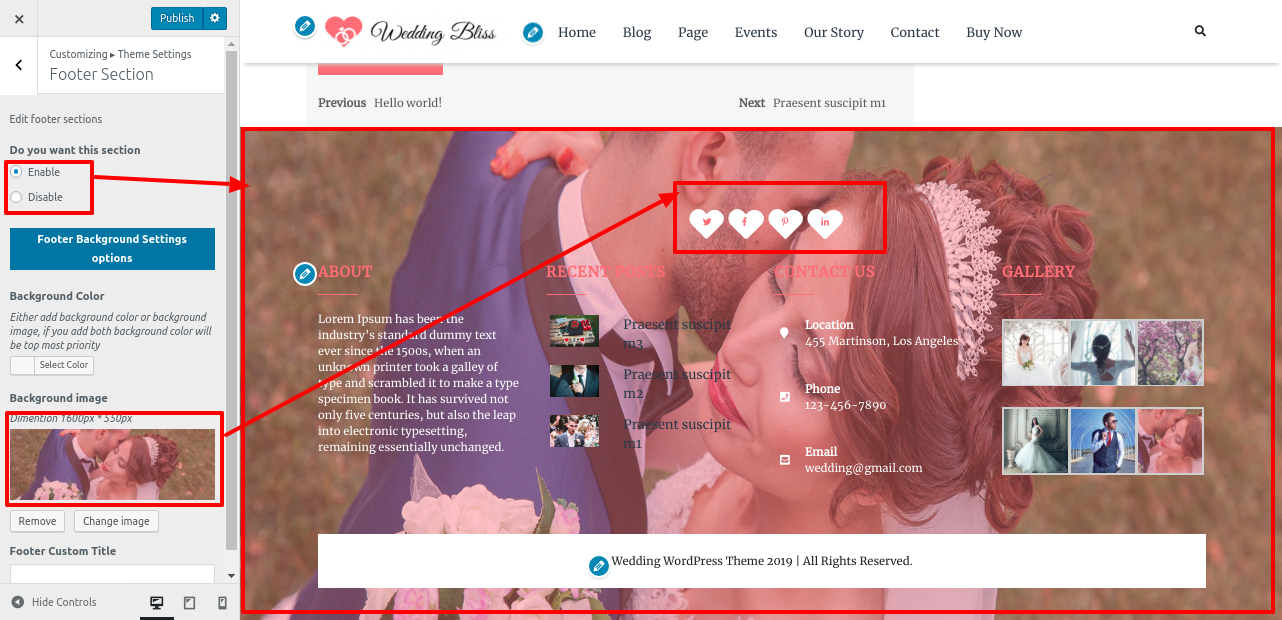
How to set up homepage
The index page with the most recent post will be visible when you access your site after activating the theme. You must now configure the home page design such that it displays the entire demo area on your front page.
Setup Home Page
To set up your home page, follow these directions.
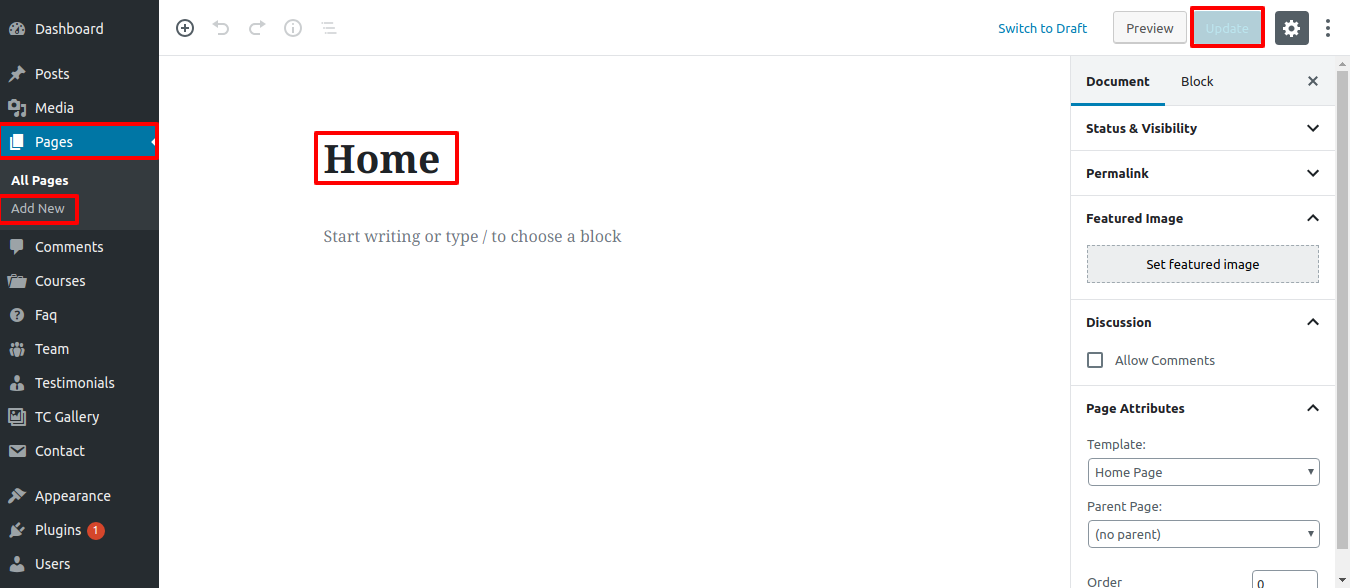
1. Create Page to set template : Go to Dashboard Pages Add New Page.
Select the template.
2. Set the front page: Go to Setting Reading Set the front page display static page to home page.
Once you have done with this, you can see all the demo content on front page.
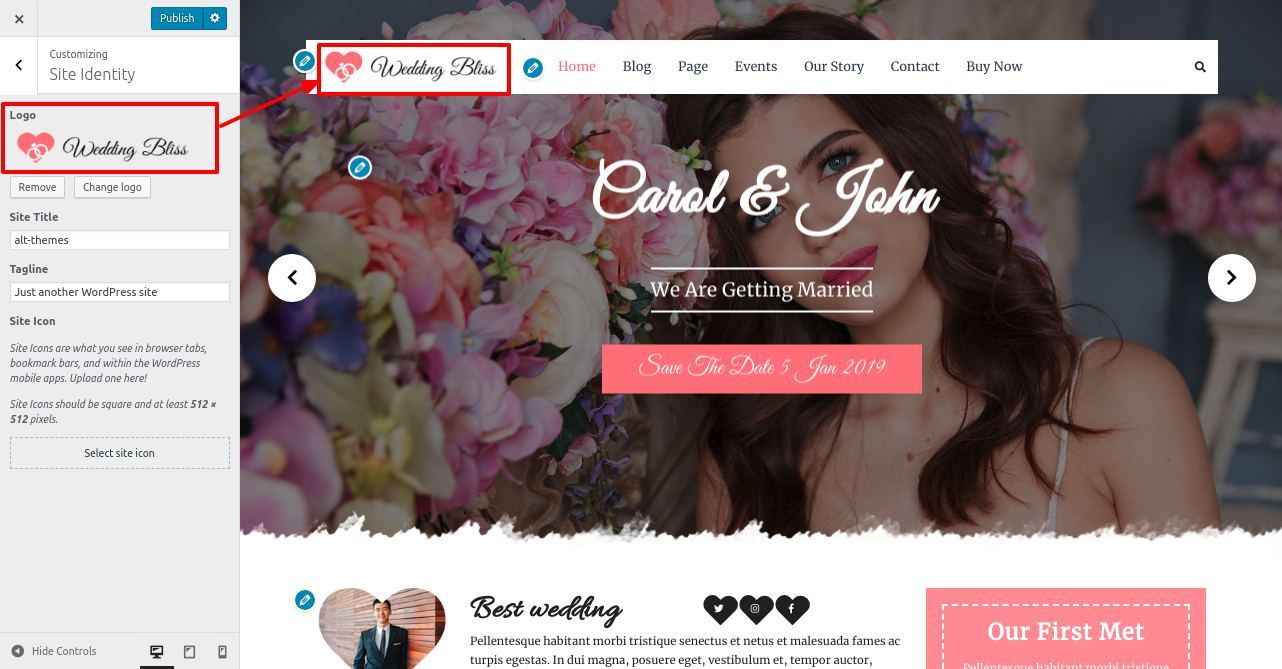
Site Identity
In order to continue Site Identity, follow the below steps.
Site Identity
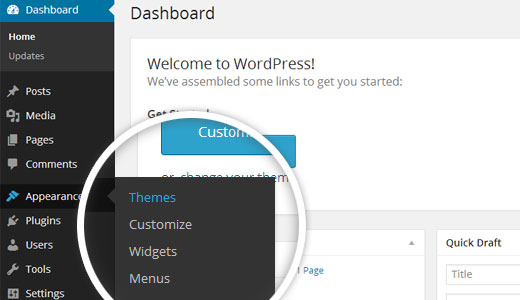
Go to Appearance Customize Site Identity .
Setup Slider Section
In order to continue with slider.
Go to Appearance Customize Theme Settings Slider Section.
In this manner you can add the slider section.
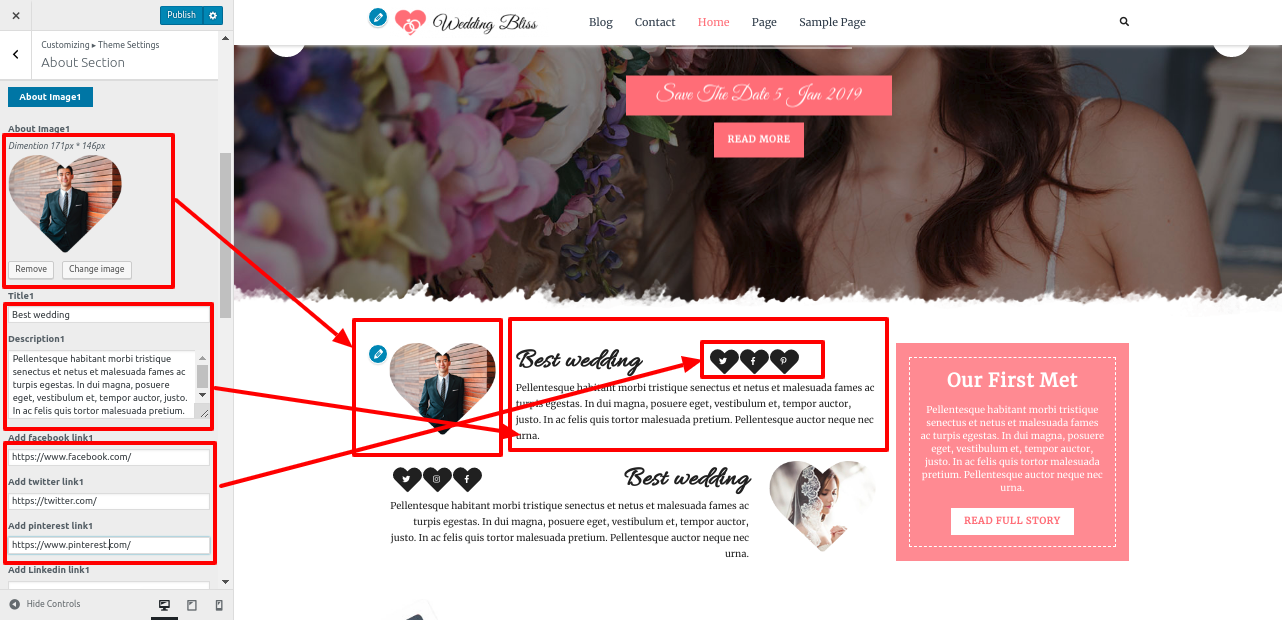
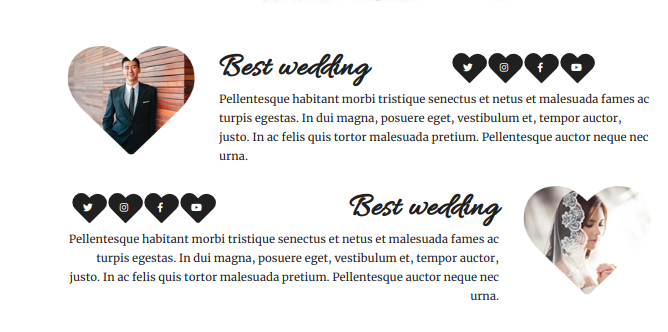
Setup About Section
In order to continue with About Section.
To further configure this part, please see the screenshots below.
Go to Appearance Customize Theme Settings About Section.
In this manner you can setup About Section
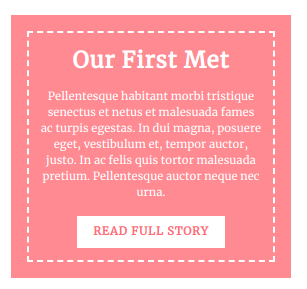
Setup First Met Section
In order to continue with First Met Section.
To further configure this part, please see the screenshots below.
Go to Appearance Customize Theme Settings First Met Section.
In this manner you can setup First Met Section
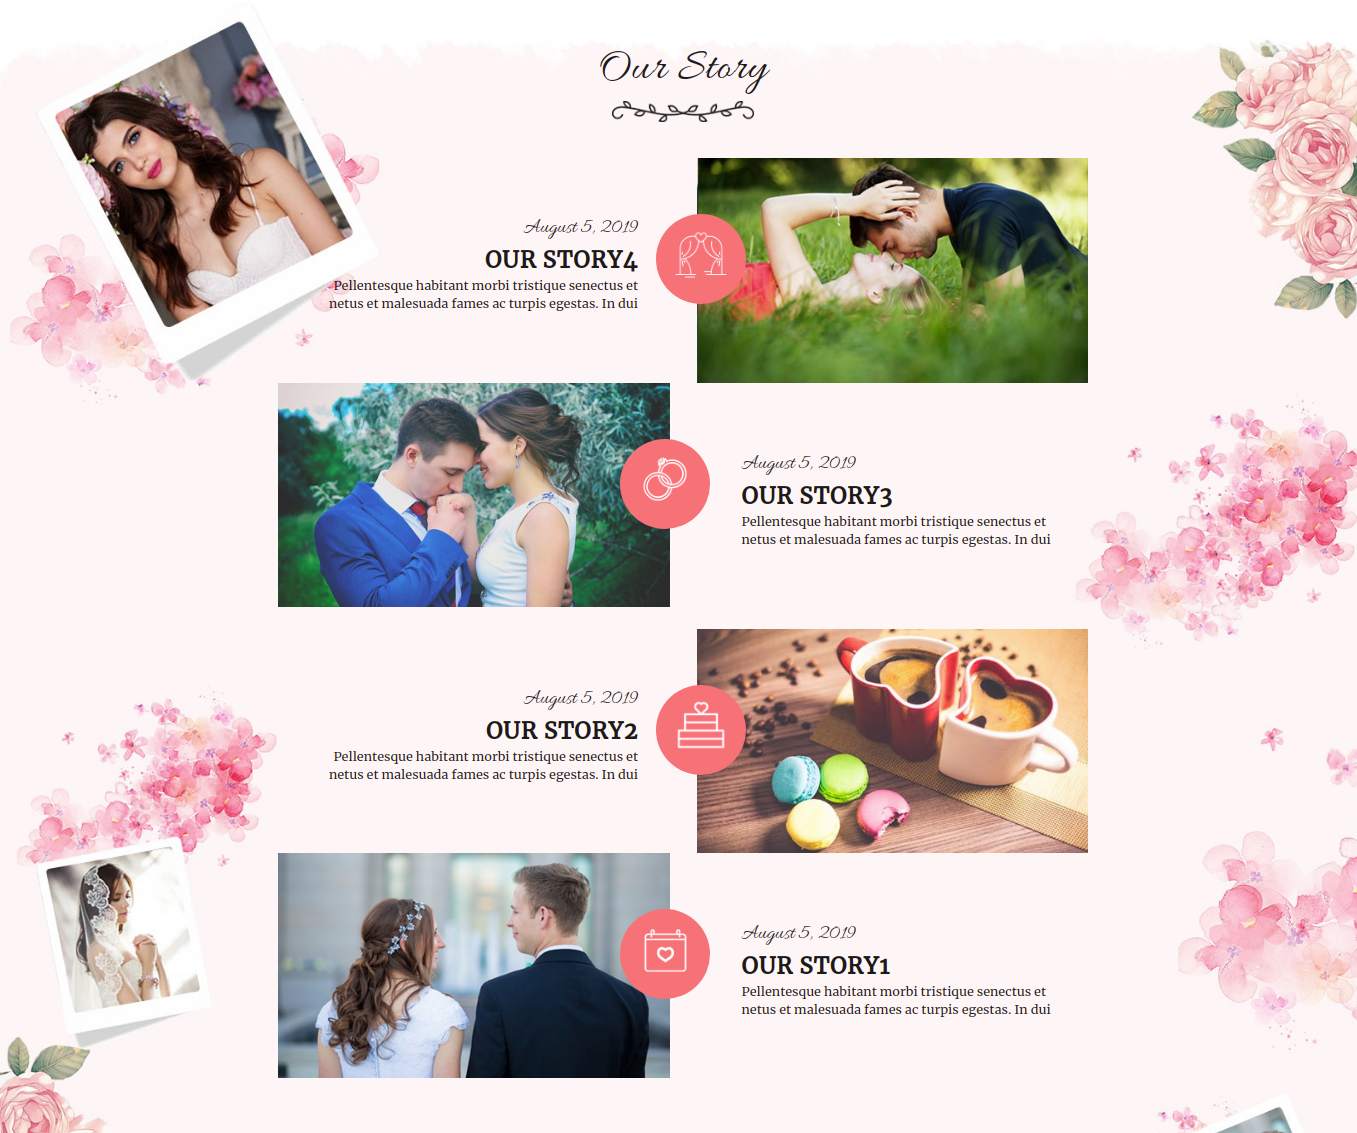
Setup Our Story Section
In order to continue with Our Story Section.
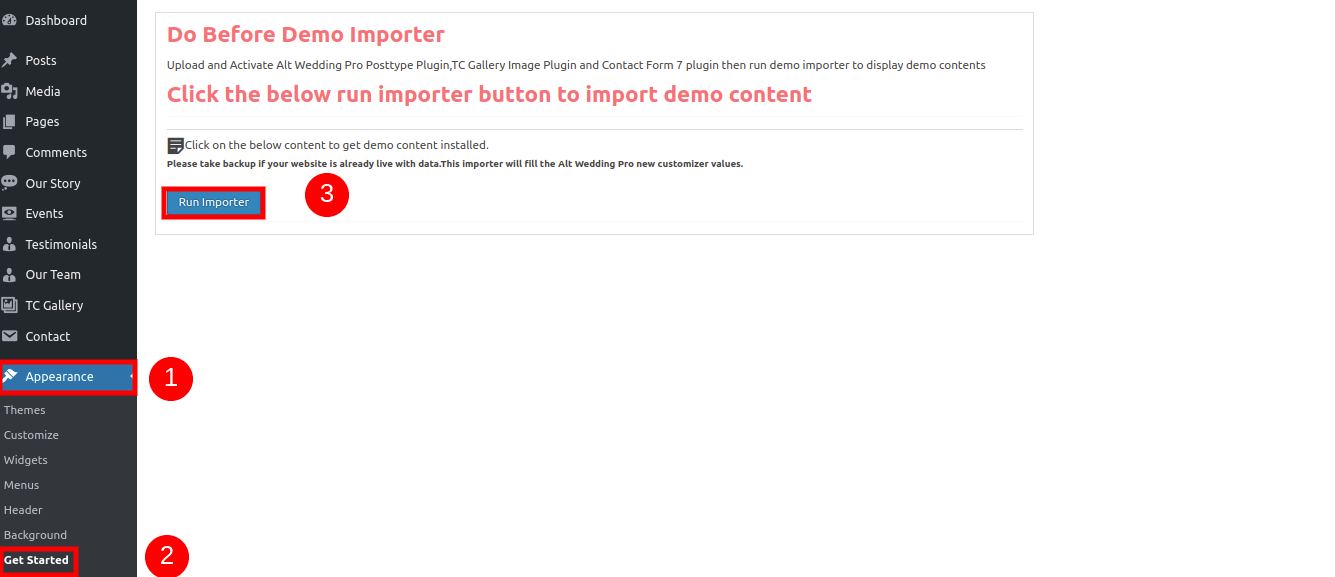
To further configure this part, please refer to the screenshots below. To begin, upload and activate the Alt Wedding Pro Posttype plugin.
Go to Dashboard Story Add New
To further configure this part, please see the screenshots below.
Go to Appearance Customize Theme Settings Our Story Section.
In this manner you can setup Our Story Section
Setup Gallery Section
Follow these instructions to setup Gallery .
In order to set up this section, First you need to upload and activate the TC Gallery plugin.
The dashboard will display a gallery option after installation.
Go to Dashboard TC Gallery Add New Gallery.
Go to Appearance Customize Theme Settings Gallery .
In this manner you can setup Gallery Sections.
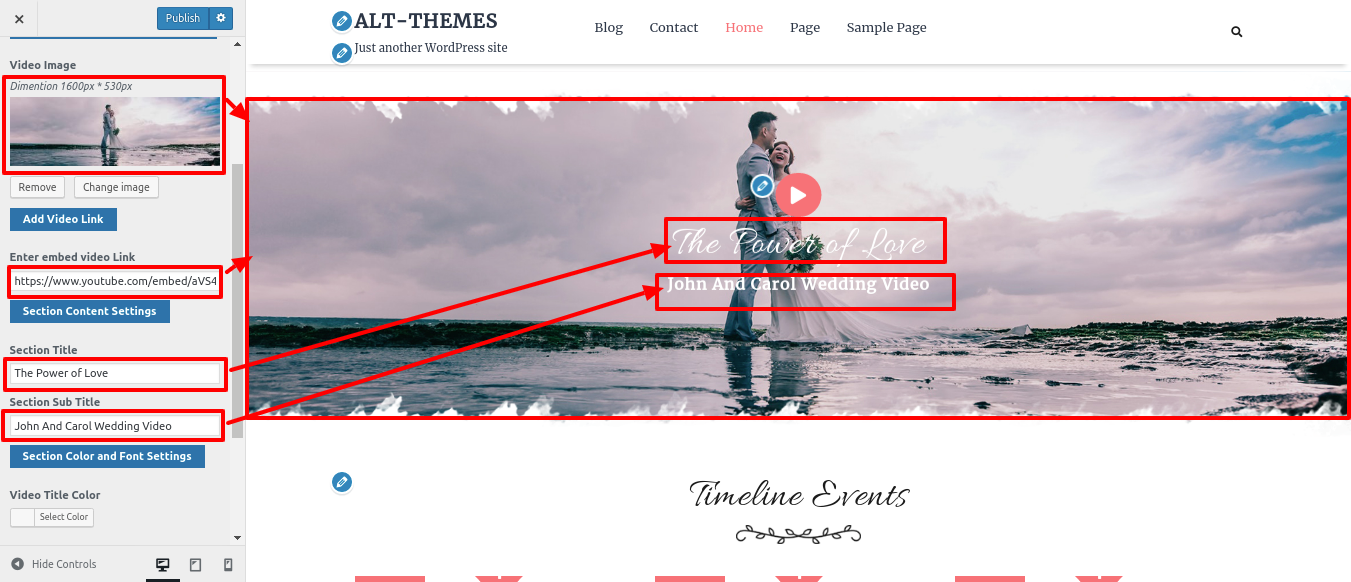
Setup Video Section
Go to Appearance Customize Theme Settings Video Section .
In this manner you can setup Vedio Sections.
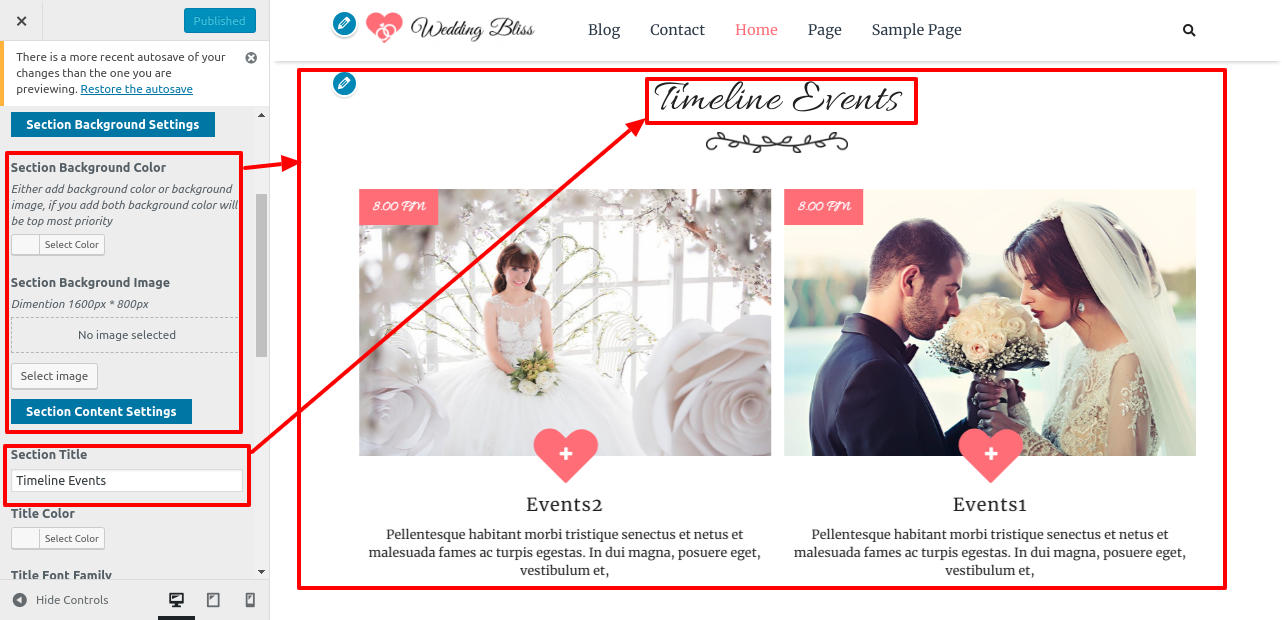
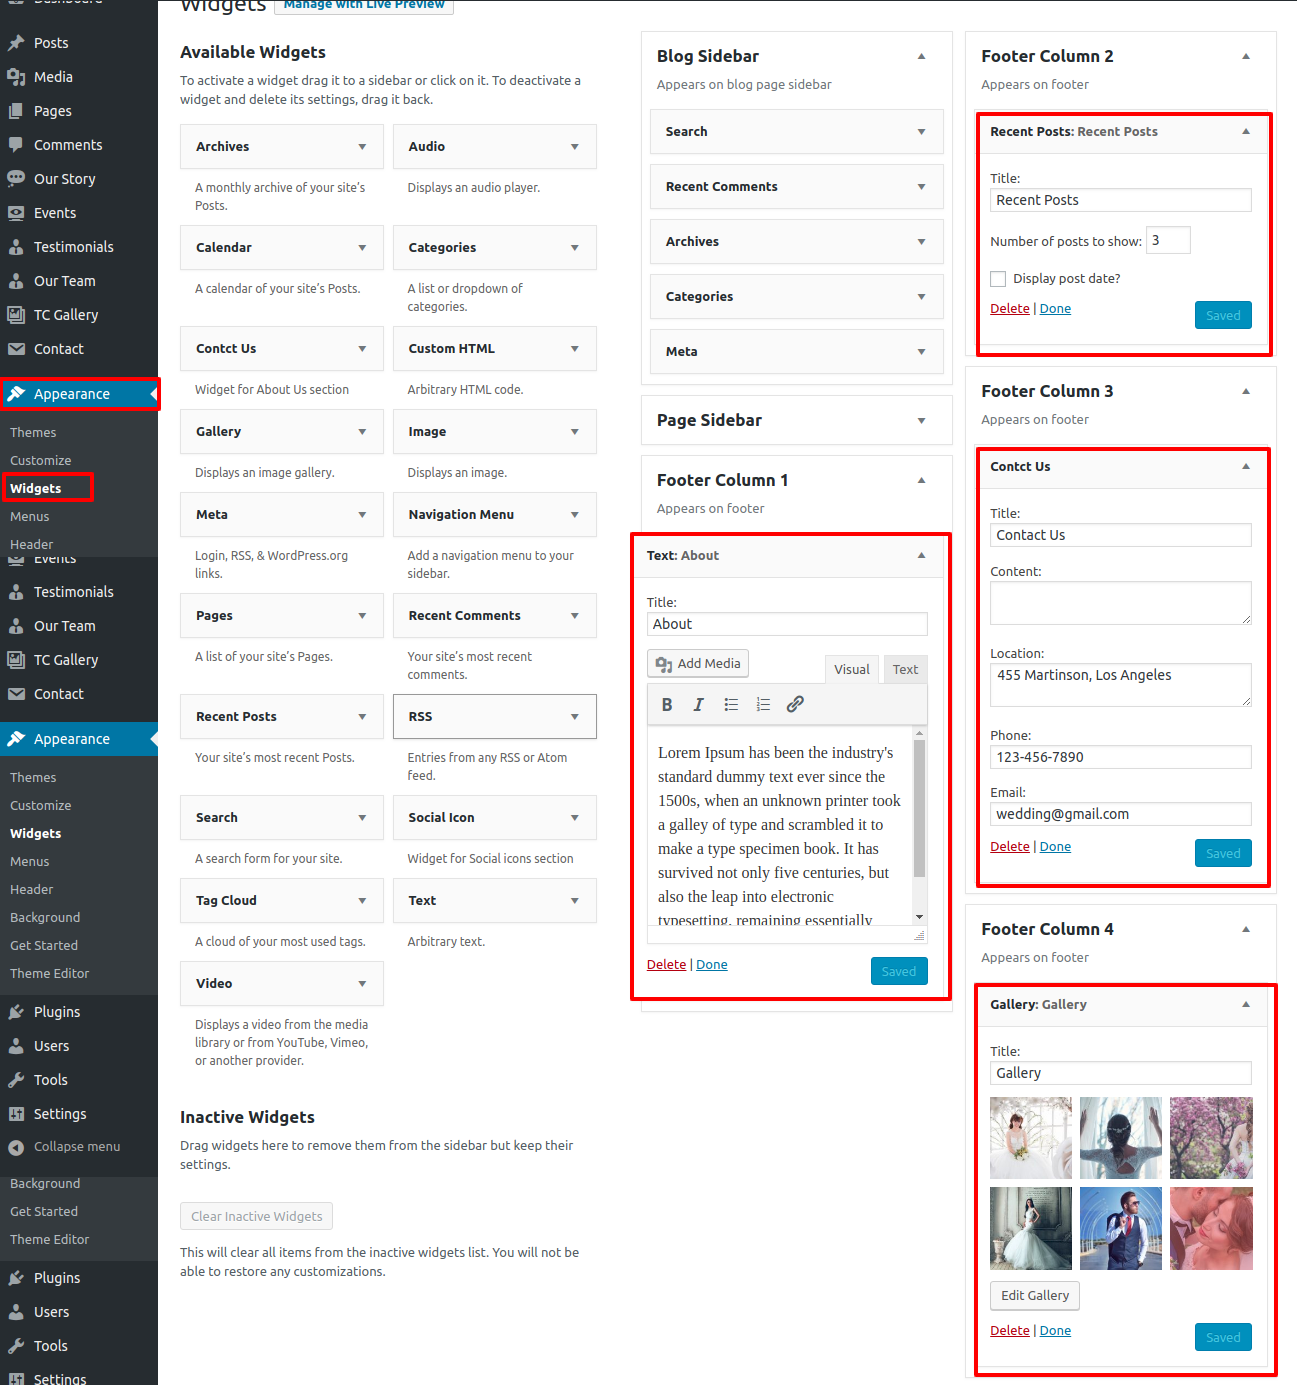
Setup For Events Section
To further configure this part, please refer to the screenshots below. To begin, you must upload and activate the Alt Wedding Pro Posttype plugin.
Go to Dashboard Event Add New
Go to Appearance Customize Theme Settings Events Section.
In this manner you can setup Event Section
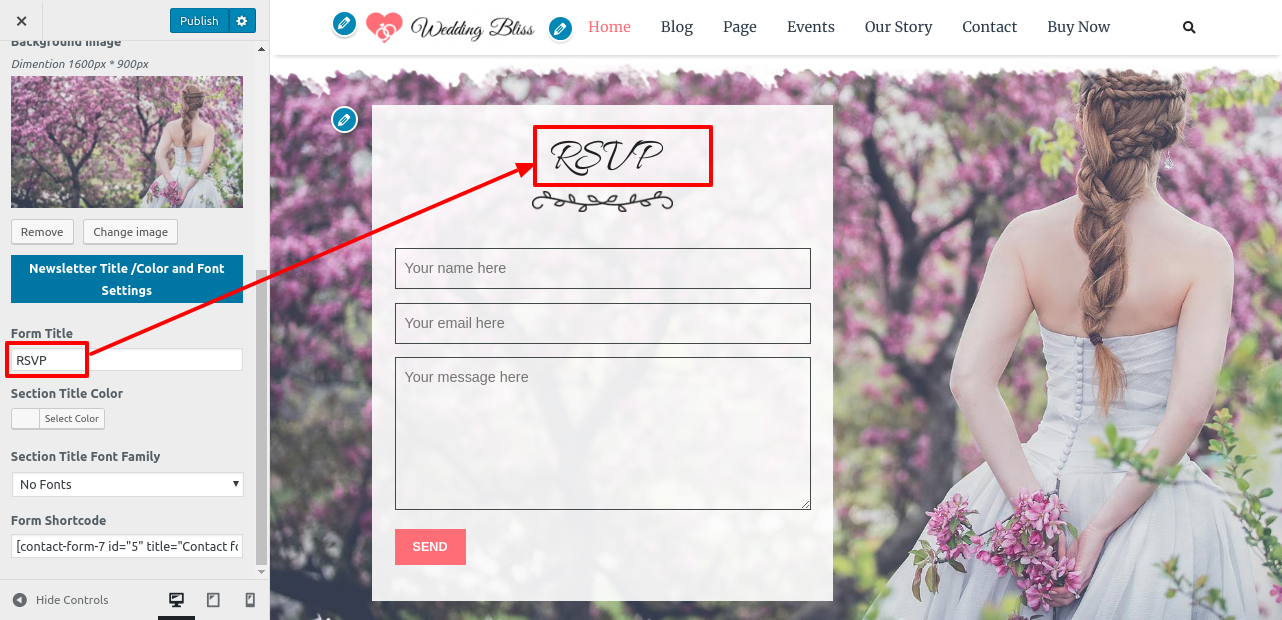
Setup Newsletter Section
In order to set up the Newsletter Section you need upload and activate contact form 7 plugin.
After installation, the Contact option will show up on the dashboard.
Go to Dashboard Contact Add New .
Go to Appearance Customize Theme Settings Newsletter Section
In this manner you can setup Newsletter Section
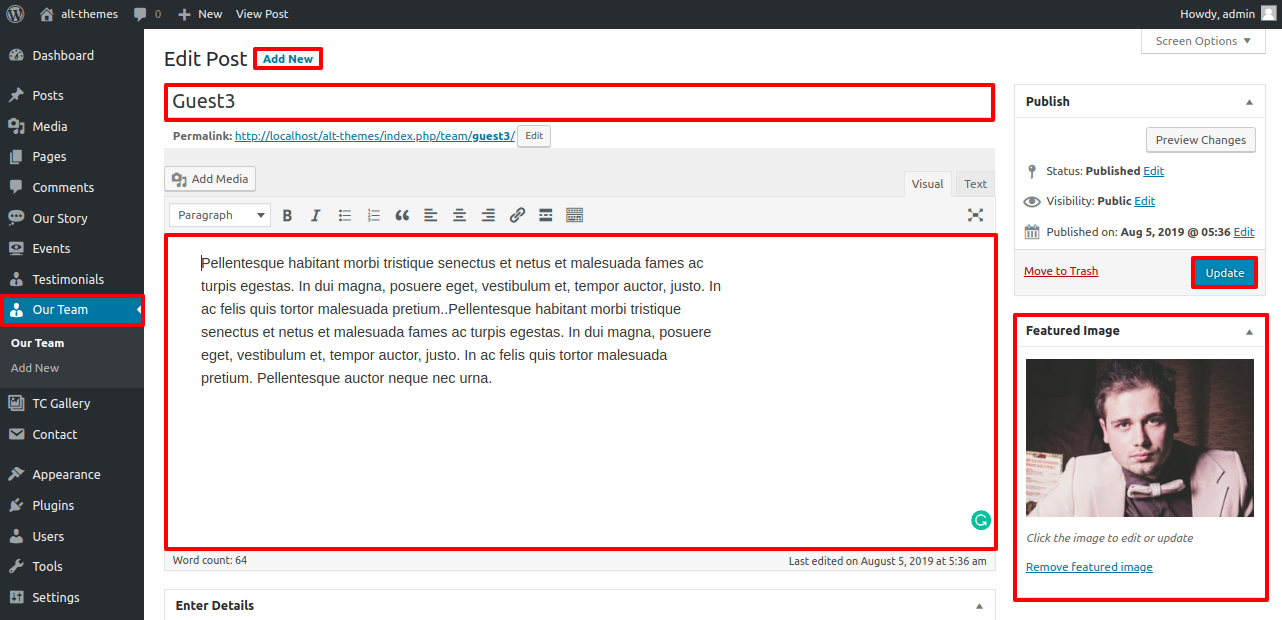
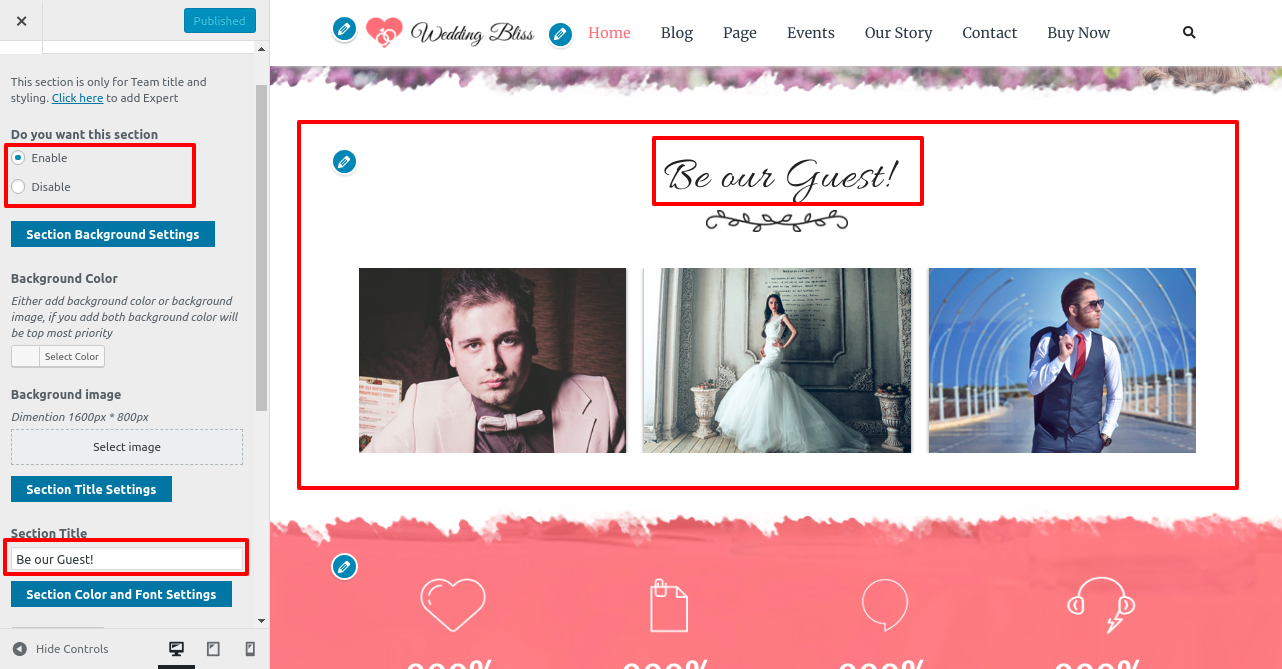
Setup Team Section
To further configure this part, please refer to the screenshots below. To begin, you must upload and activate the Alt Wedding Pro Posttype plugin.
Go to Dashboard Our Team Add New .
Go to Appearance Customize Theme Settings Team Section
In this manner you can setup Team Section
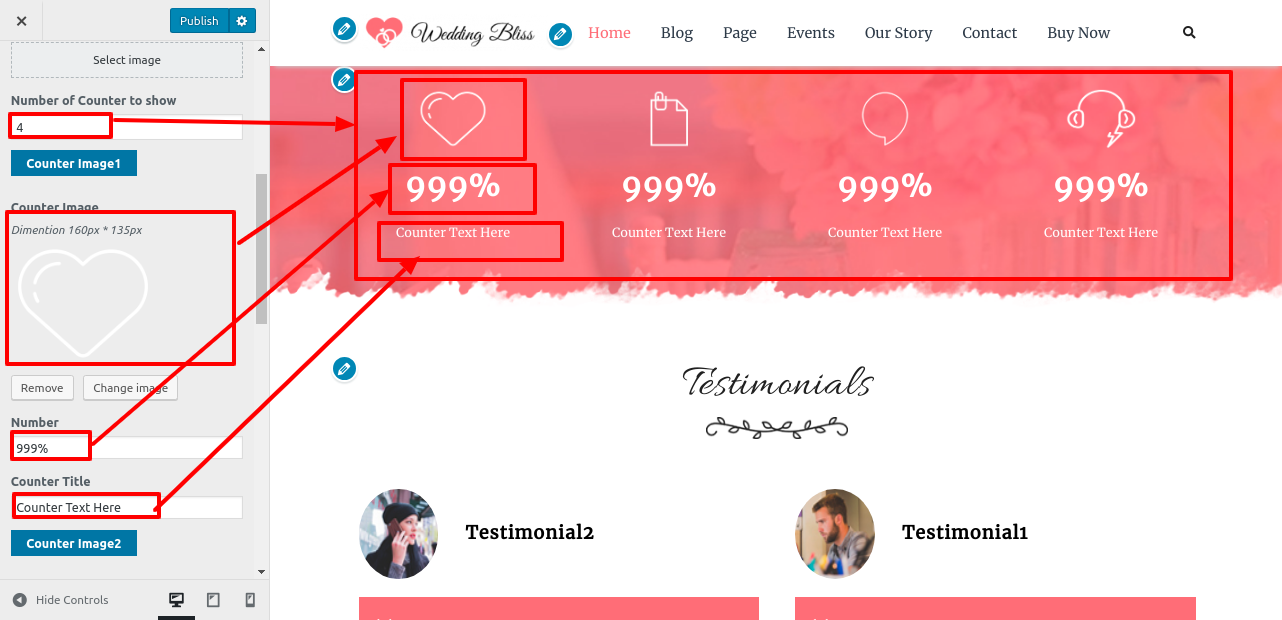
Setup Our Records Section
In order to continue with Our Records.
To further configure this part, please see the screenshots below.
Go to Appearance Customize Theme Settings Our Records.
In this manner you can setup Our Records
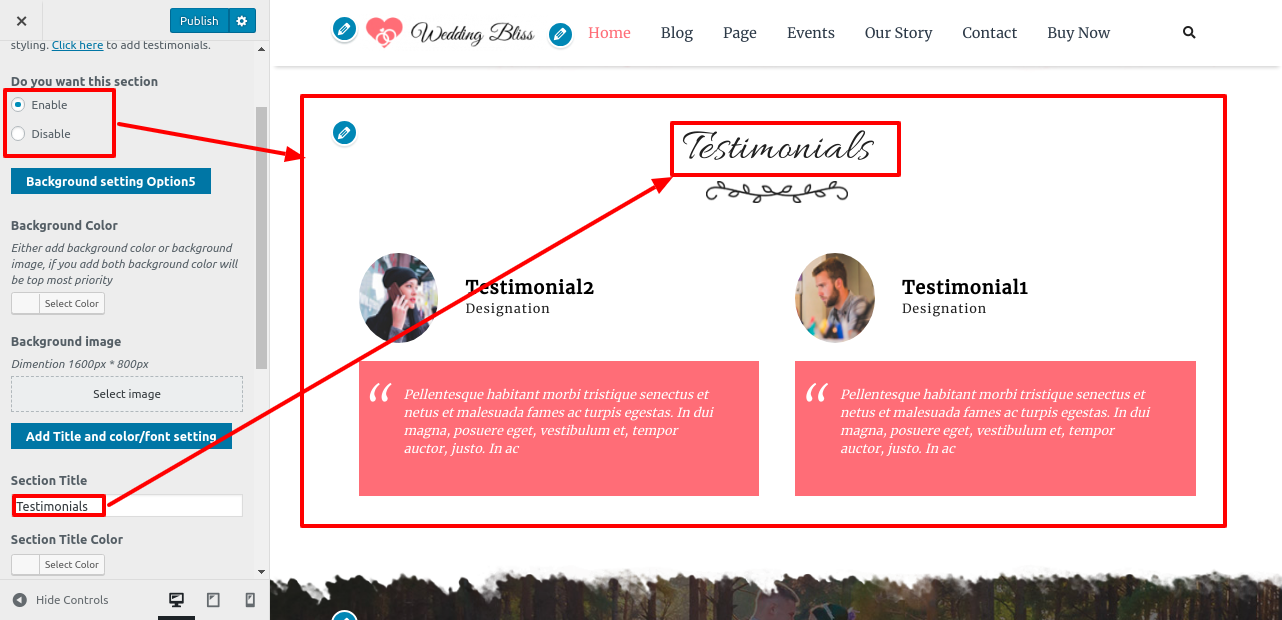
Setup Testimonial Section
To further configure this part, please refer to the screenshots below. To begin, you must upload and activate the Alt Wedding Pro Posttype plugin.
Go to Dashboard Testimonials Add New .
Go to Appearance Customize Theme Settings Testimonial Section.
In this manner you can setup Testimonial Section
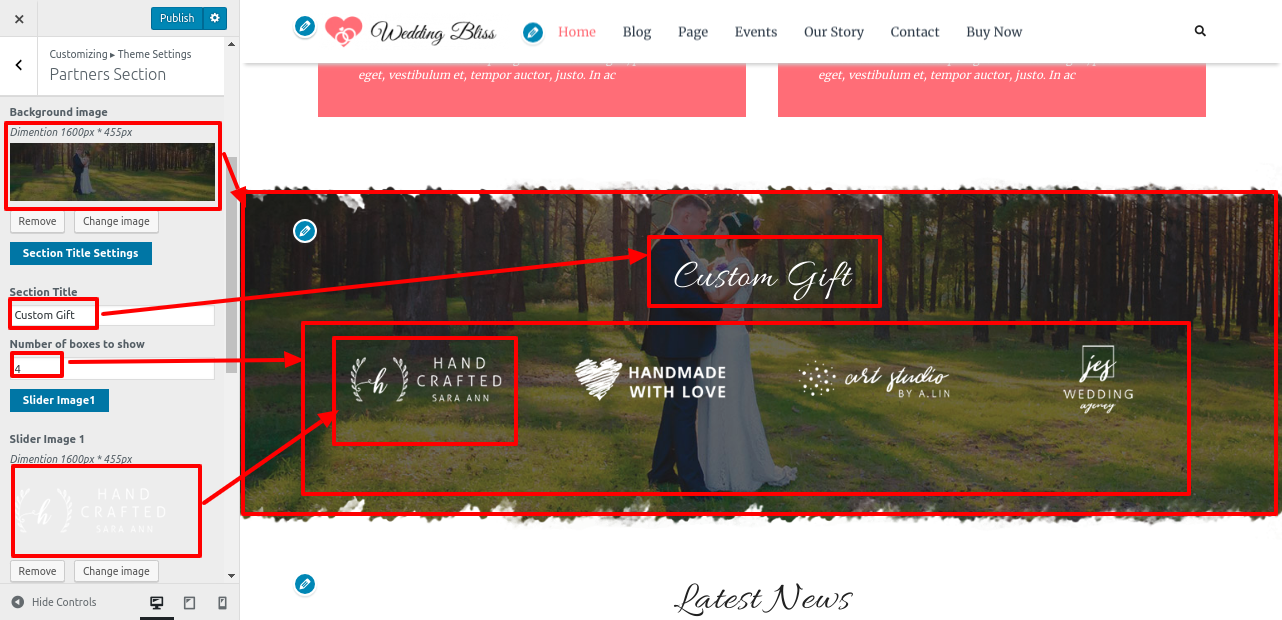
Setup Partners Section
In order to continue with Partners Section.
To further configure this part, please see the screenshots below.
Go to Appearance Customize Theme Settings Partners Section.
In this manner you can setup Partners Section
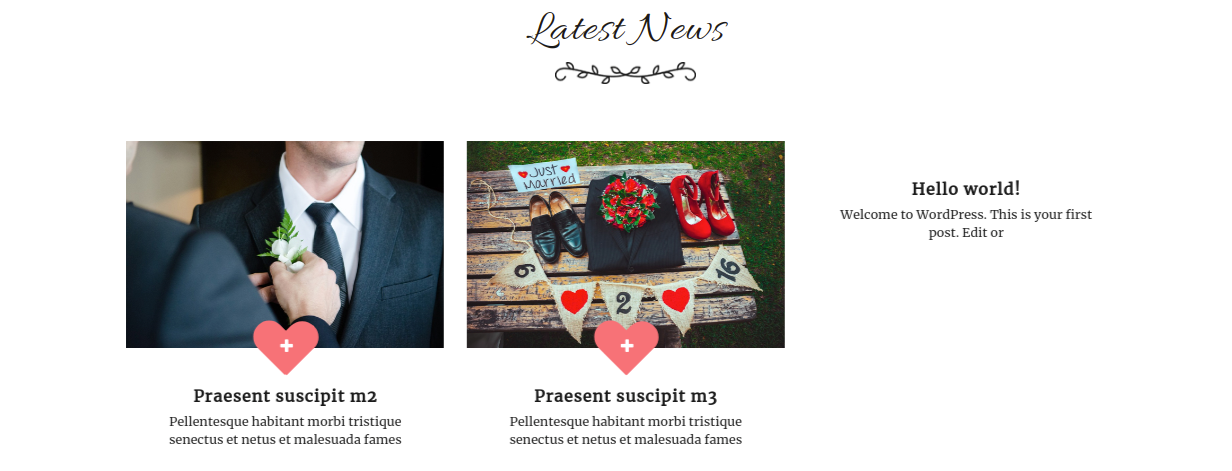
Setup Latest blog Section
Refer screenshots below to further set up this section, First you need upload and activate Alt Wedding Pro Posttype plugin.
Go to Dashboard Post Add New .
Go to Appearance Customize Theme Settings Latest Post .
In this manner you can setup Latest Post Section
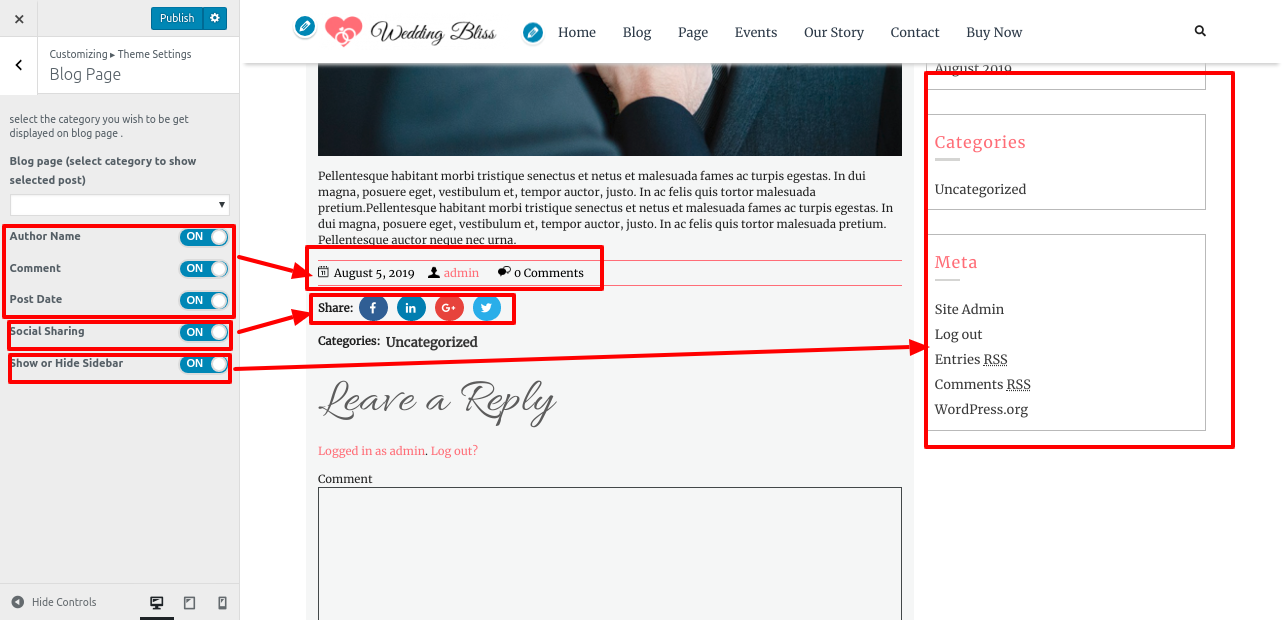
Setup Blog Page Section
In order to continue with Single Blog Page Section.
To further configure this part, please see the screenshots below.
Go to Appearance Customize Theme Settings Blog Page.
In this manner you can setup Blog Page Section
Setup Social Icons Section
In order to continue with Social Icons,
To further configure this part, please see the screenshots below.
Go to Appearance Customize Theme Settings Social Icons.
In this manner you can setup Social Icons.
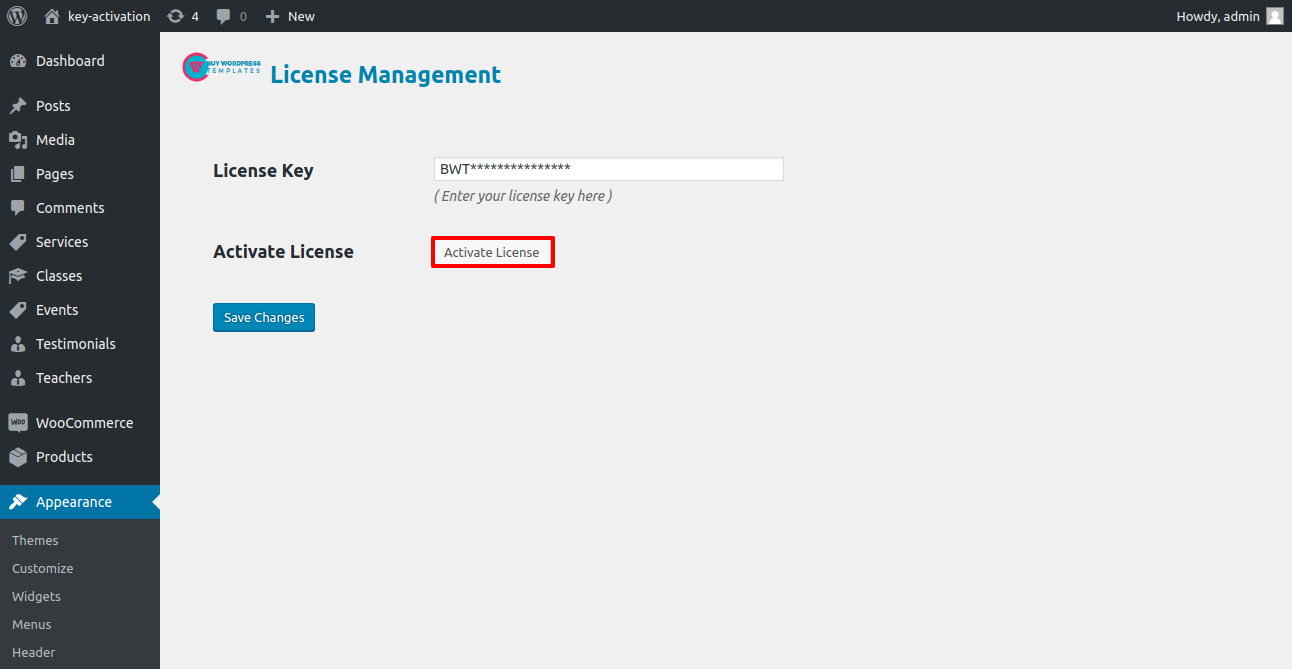
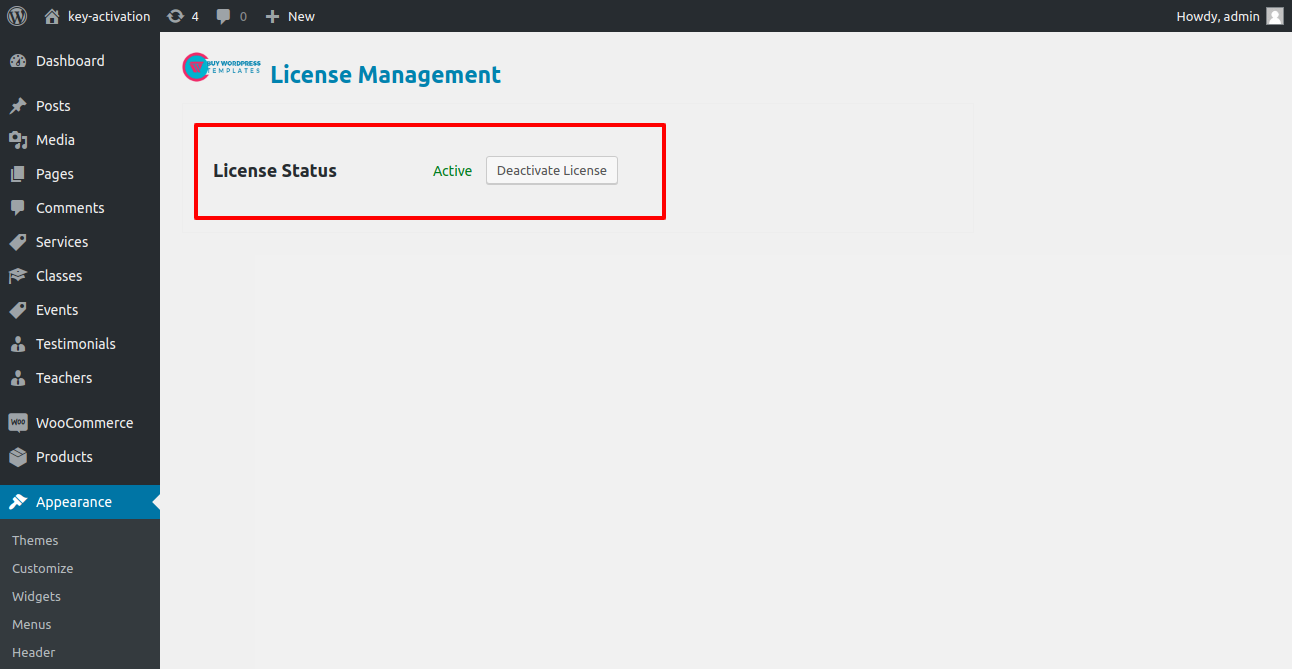
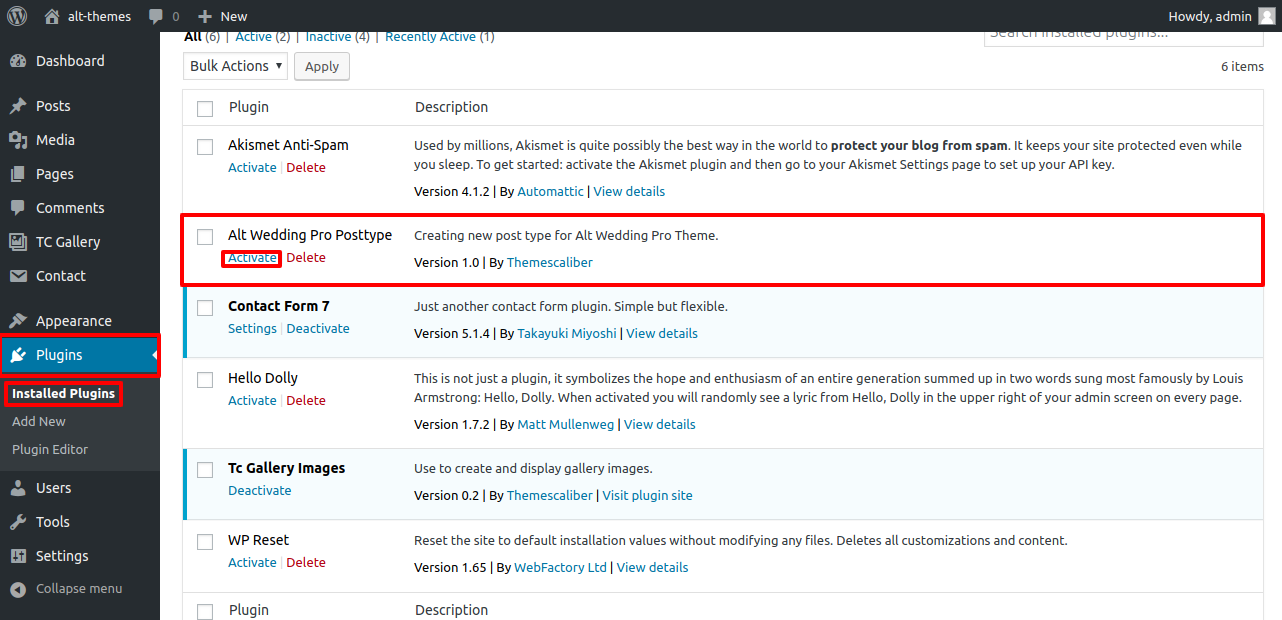
Themes Plugin
-
With plugins, you can increase and expand the functionality that comes with WordPress.
If you want these features in your theme, you must activate the plugin. Use these guidelines to activate the plugin in your theme.
Go to Plugins Installed Plugins alt-Wedding-pro-Posttype Activate.
Go to Dashboard Plugins Add New Upload Plugins
Setup Navigation
-
First of all create pages from Go to Dashboard Pages Add New Page.
-
Go to Appearance Menu.
Click on Create a new menu link
-
Give your menu a name in Menu name, then click the Save Menu button.
-
Once the menu has been created. By checking the appropriate boxes, you must add pages. Drag and drop can be used to arrange the menu list after adding it.
-
Choose the position of the menu theme from the checkboxes below.
See this screenshot for better understanding.
Page Templates and Sidebars
Page Templates
-
Default Template (The default page template with a right sidebar position)
-
Home Page Template (Front page with the demo content)
-
Blog Full Width Extend (Page template with no sidebar position)
-
Blog with Left Sidebar (A page templates with left sidebar position)
-
Blog With Right Sidebar (A page template with right sidebar position)
-
Page with Left Sidebar (A page templates with left sidebar position)
-
Page With Right Sidebar (A page template with right sidebar position)
-
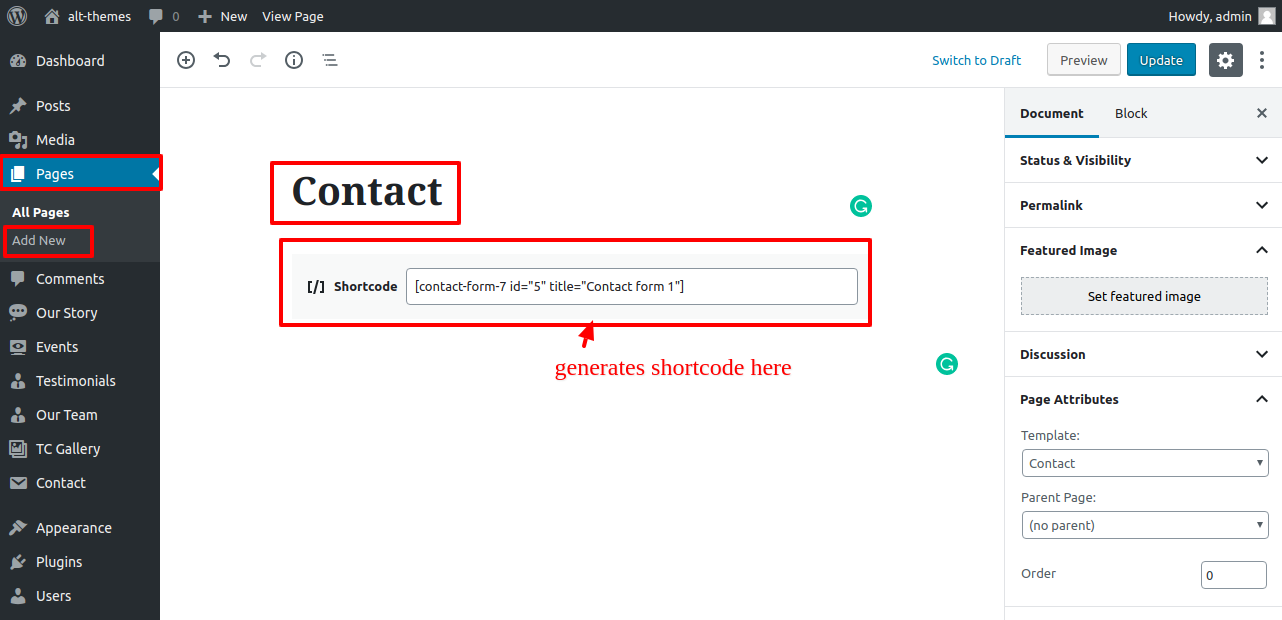
Contact Template (The default Contact template with no sidebar position)
Posts, Categories and Post Formats
Adding category
Review the following article for more information on adding categories: click here

-
Log into your WordPress Administration Panel (Dashboard).
-
Click the Posts tab.
-
With that done, click Categories for blog posts.
-
Type in the name of your new category.
-
After that, click the Add New Category button.
Click the Publish button.
Creating a Blog post

-
Log into your WordPress Administration Panel (Dashboard).
-
Click the Posts tab.
-
Click the Add New tab.
-
Type in your post content. For more information on adding posts, please check the following link click here
Shortcodes
A shortcode is a powerful content building tool click here Shortcodes are easy to use. First of all, make sure that the editing mode is set to Visual.
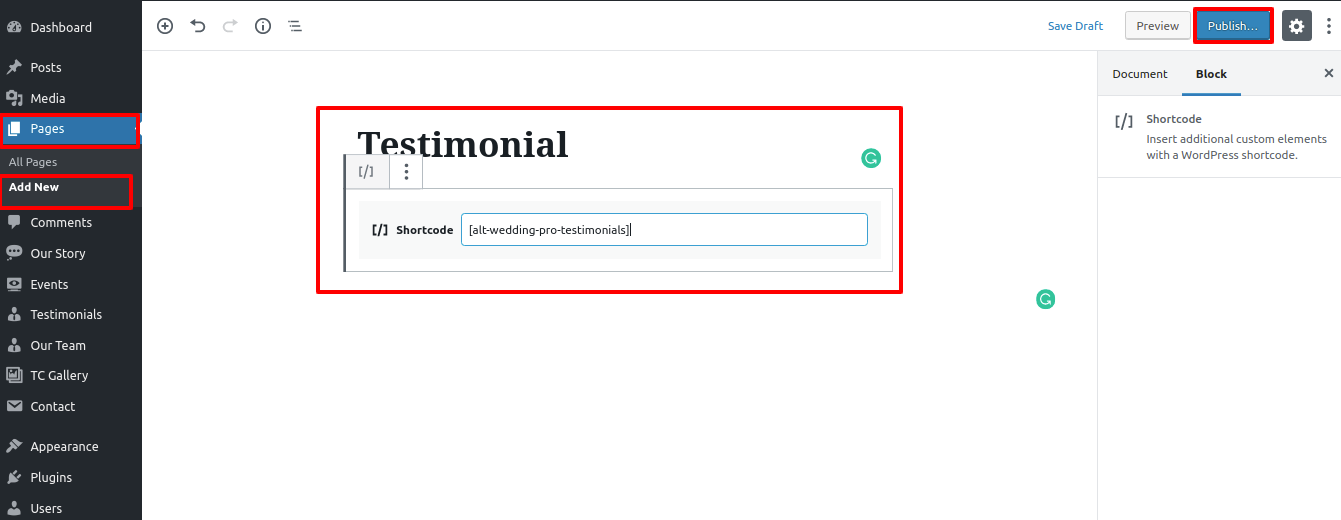
Testimonials
See this screenshot for better understanding.
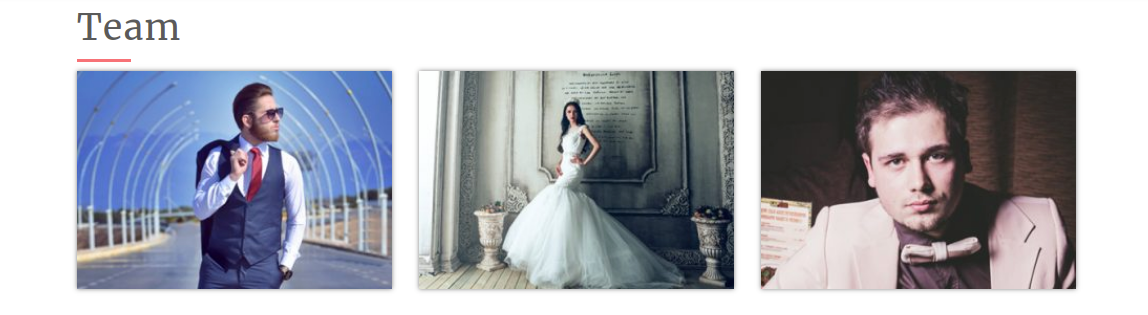
Team
See this screenshot for better understanding.
Story
See this screenshot for better understanding.
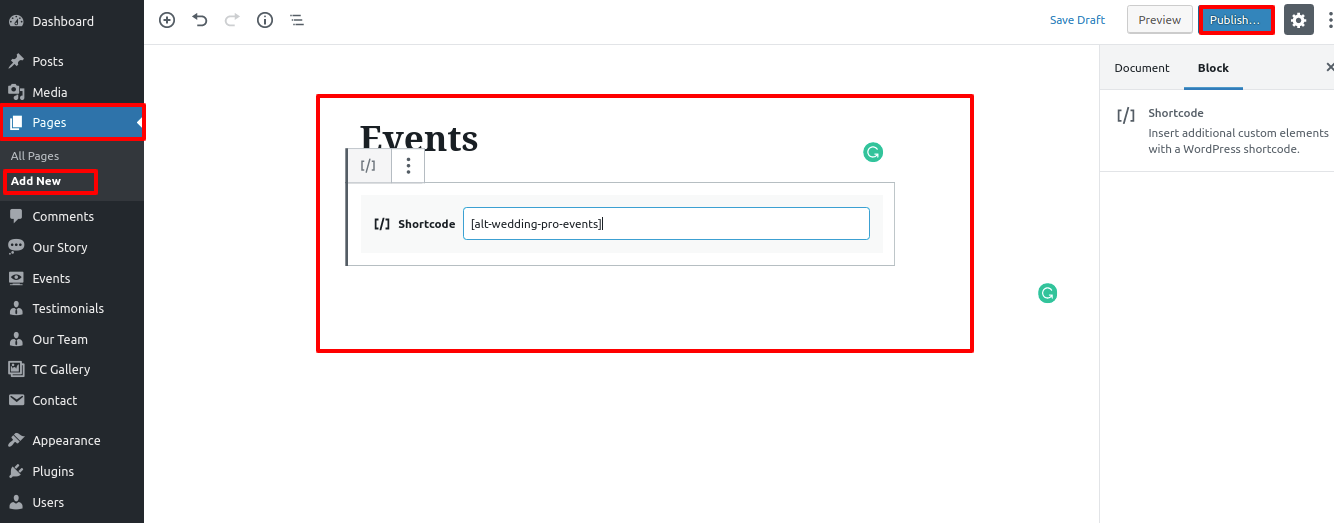
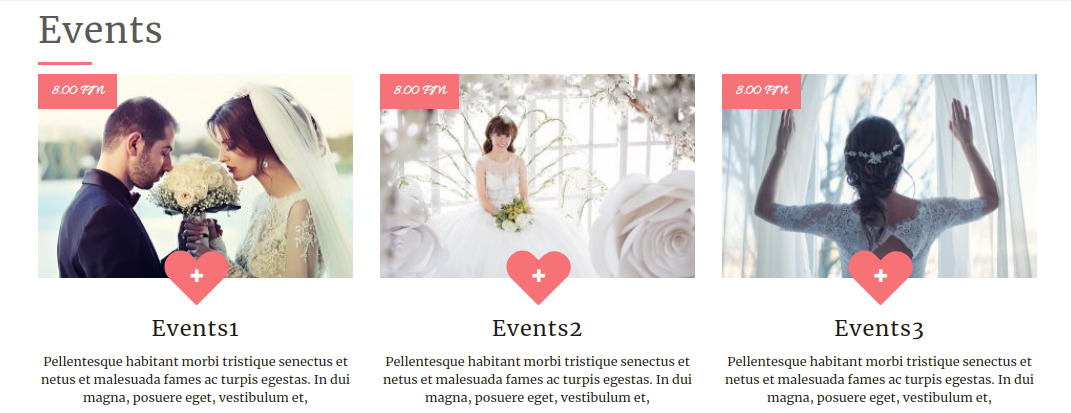
Event
See this screenshot for better understanding.
How to Setup Additional Theme AddOns
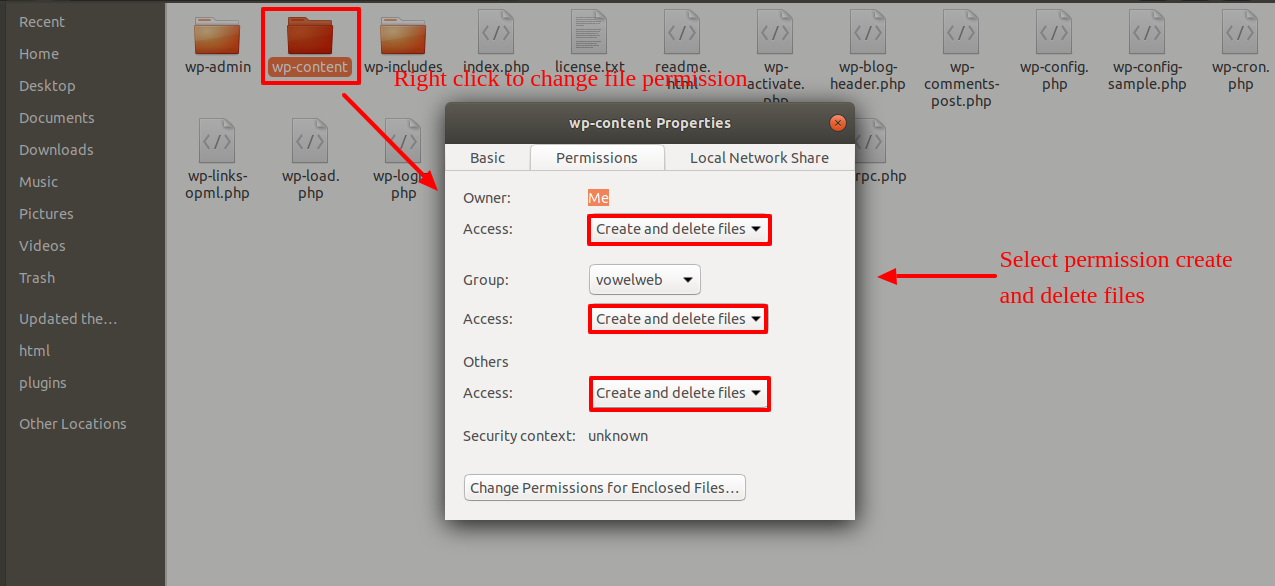
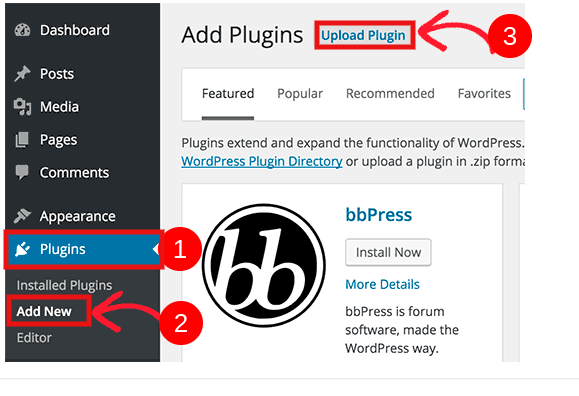
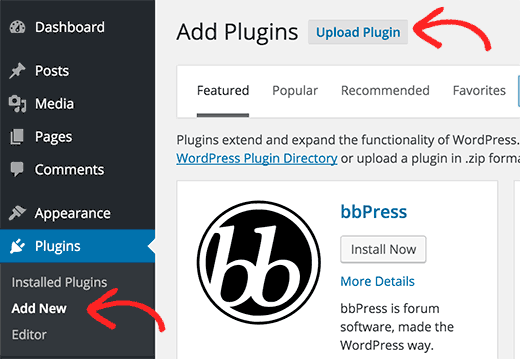
1.First, you need to download the plugin from the source (which will be a zip file ( Post Type plugin.zip). Next, you need to go to WordPress admin area and visit Plugins » Add New page.
2.Then select the Upload Plugin button at the top of the page.
3.You will then be taken to the plugin upload page. Here, you must click the Choose File button and choose the plugin file that you already downloaded to your computer.
4.After choosing the file, you must select the install now button.
5.The plugin file from your computer will now be uploaded to WordPress, where it will be installed. After installation is complete, a notice like this will appear.
6.Once the plugin has been installed, you must click the Activate Plugin link to use it.


Setup Social Icons Section
In order to continue with Social Icons,
To further configure this part, please see the screenshots below.
Go to Appearance Customize Theme Settings Social Icons.
In this manner you can setup Social Icons.