1-To install a theme using WordPress admin, follow these steps:
First, log in to your WordPress admin dashboard.
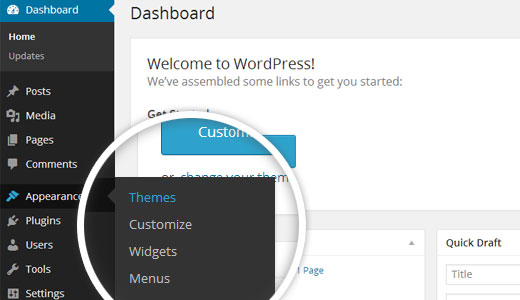
1.Next, navigate to the "Appearance" menu and select "Themes."
The template bundle that you downloaded is divided into various directories. Let's examine the contents of each folder:
Screenshots - contains a screenshot of a template. Not for manufacturing.
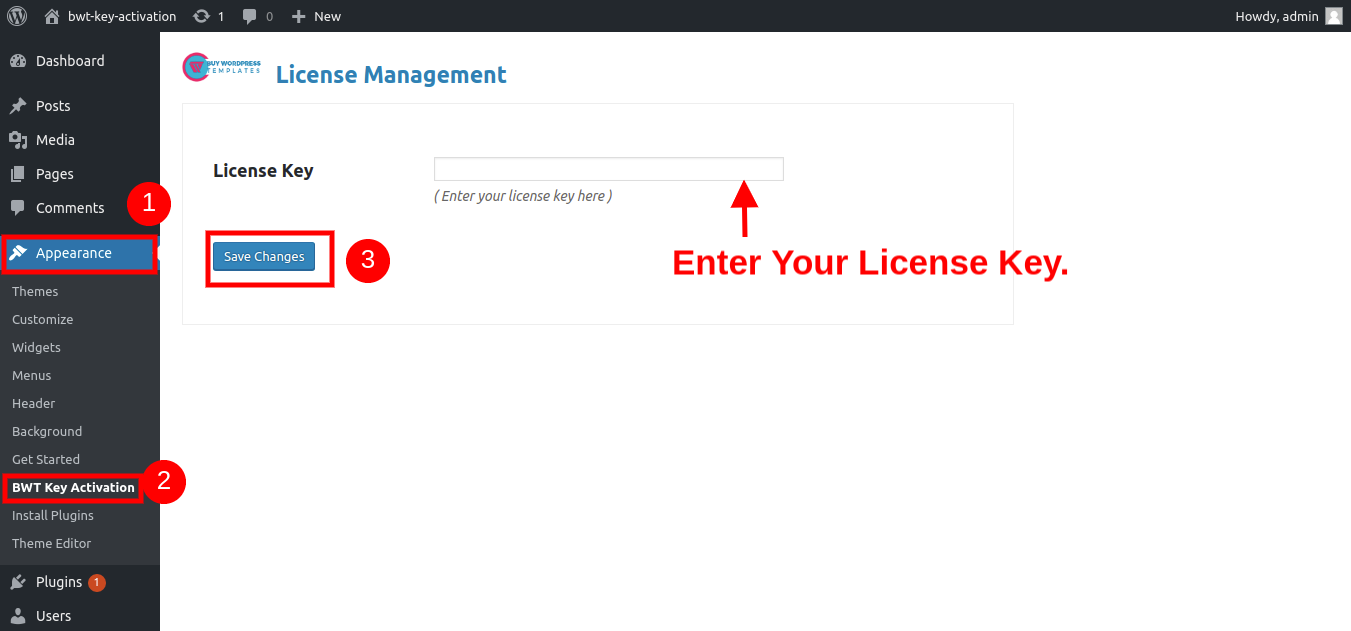
The steps for activating a BWT key are as follows.
Given that you will receive the License Key viaEmail, use that key to Activate License.
Use the procedure below to Activate License.
Go to Dashboard >> Appearance >>BWT Key Activation>>Enter Key>>Save Changes.
The key after entering it >> Activate Licence.
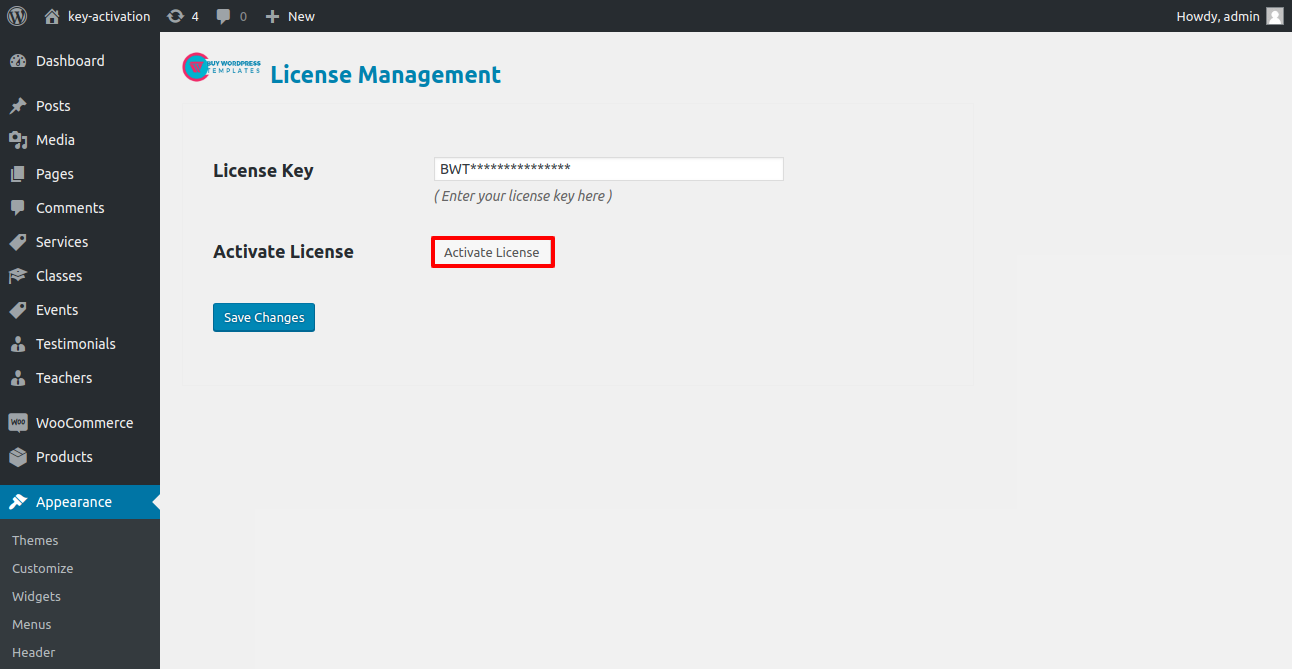
After you Activate Licence,the key will be active and then you can Getstarted with the Theme.
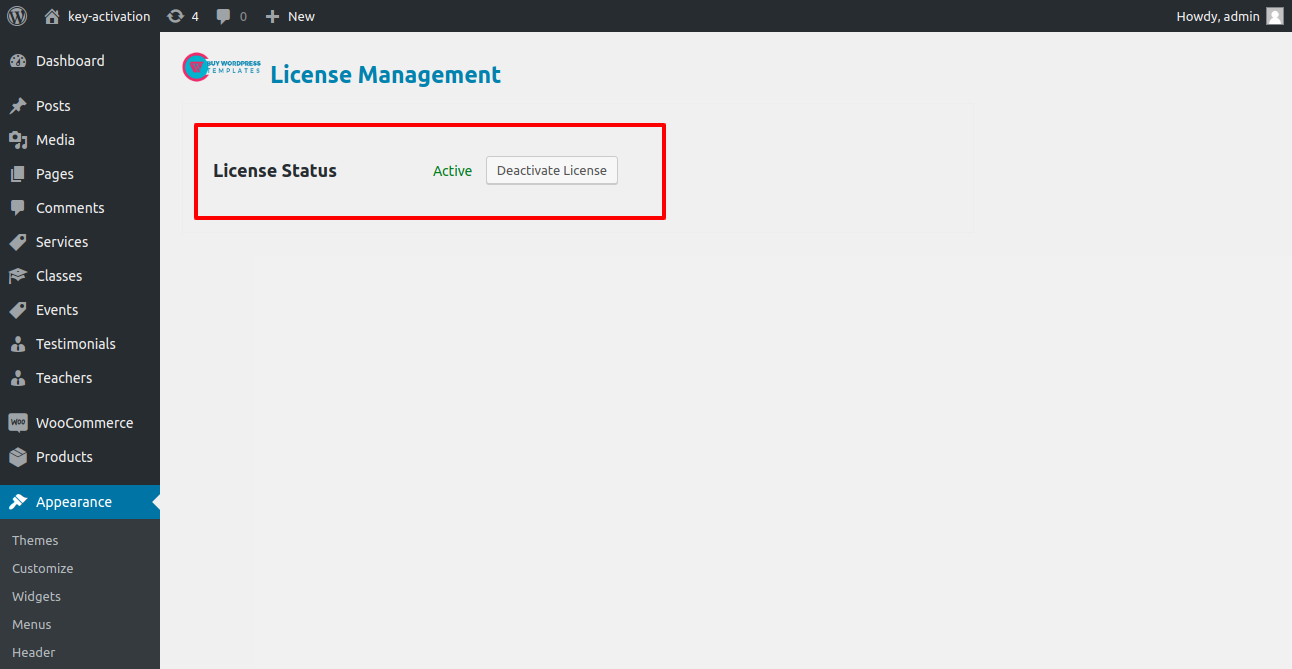
In this way you can activate your Licence Key.
First, log in to your WordPress admin dashboard.
1.Next, navigate to the "Appearance" menu and select "Themes."
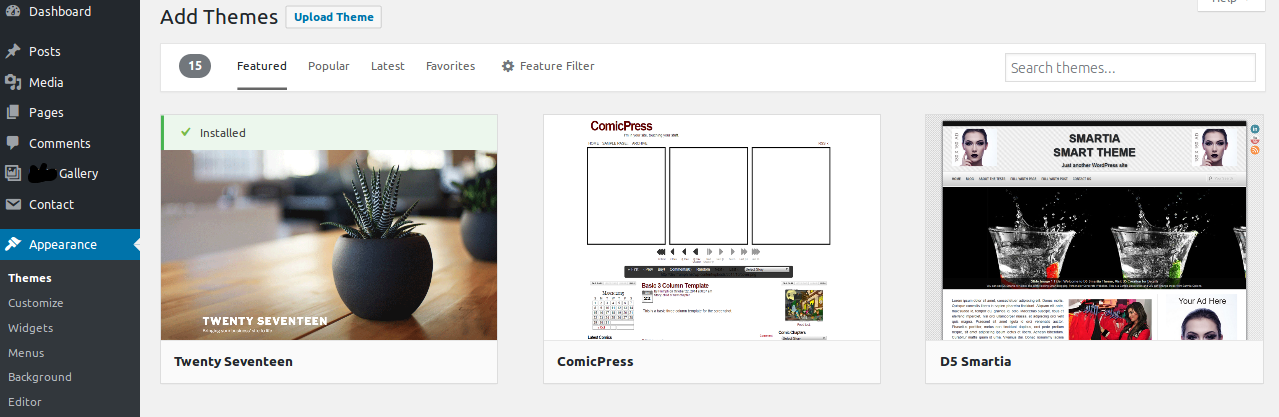
2. Once you are on the themes page, click on the "Add New" button located at the top of the page.
3. To upload a theme, click the button.
4. Choose your bwt-multipurpose-blog 1.0.zip theme by clicking the Browse button, and then click the Install Now button.

5. WordPress will now proceed with installing your selected theme and display a success message, along with options to either activate or preview the theme live.
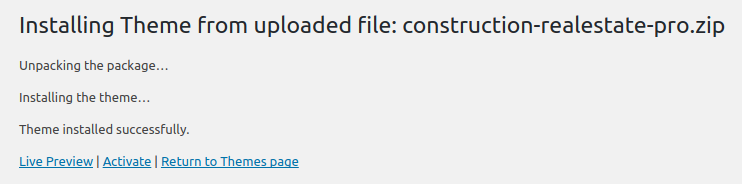
Congratulations! Your theme has been successfully installed.
The method of changing the colour or font is quite simple. These choices are available in all customizer areas. It is a comprehensive graphic that demonstrates the typeface and colour palette. You can change the colour and font of the headings, paragraphs, and buttons with a single quick click.
Depending on the number of options accessible in each part, each one has the ability to choose the colour scheme for the headings, title/text, paragraph, button text, and button backdrop.


This theme supports the standard Site Identity area that WordPress provides, and we have added some options to this section.
Set up your home page by following these instructions.
You can call the page "Home" or anything else you like. Then, from the dropdown menu of available templates, select the "home-page" option.

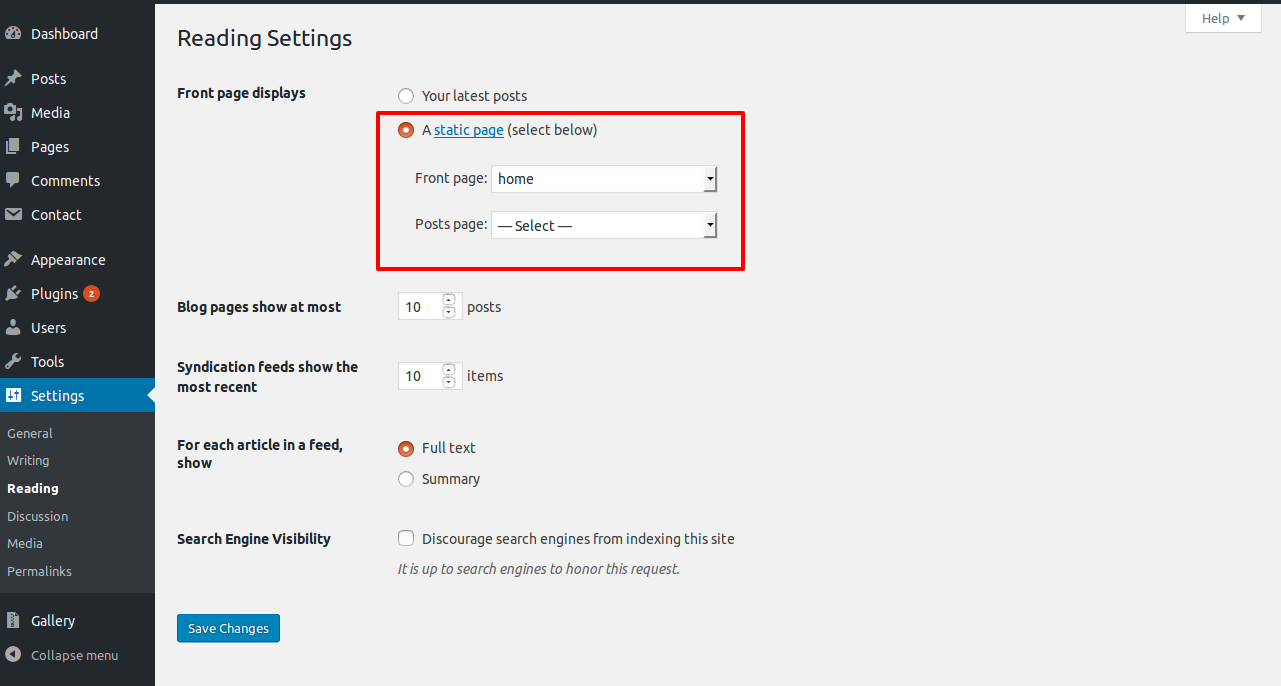
When you're finished, you can view the entire demo on the top page.
The simple method for setting or modifying the site's colour and fonts is called "color/fonts setting."
The choices included in this section are as follows:
This area offers the ability to change the font family used for paragraphs and other website content.
 This area offers the ability to change the font family for all of your website's headlines.
The actions listed below should be followed to proceed with Site Identity.
Go to Appearance >> Customize >> Site Identity
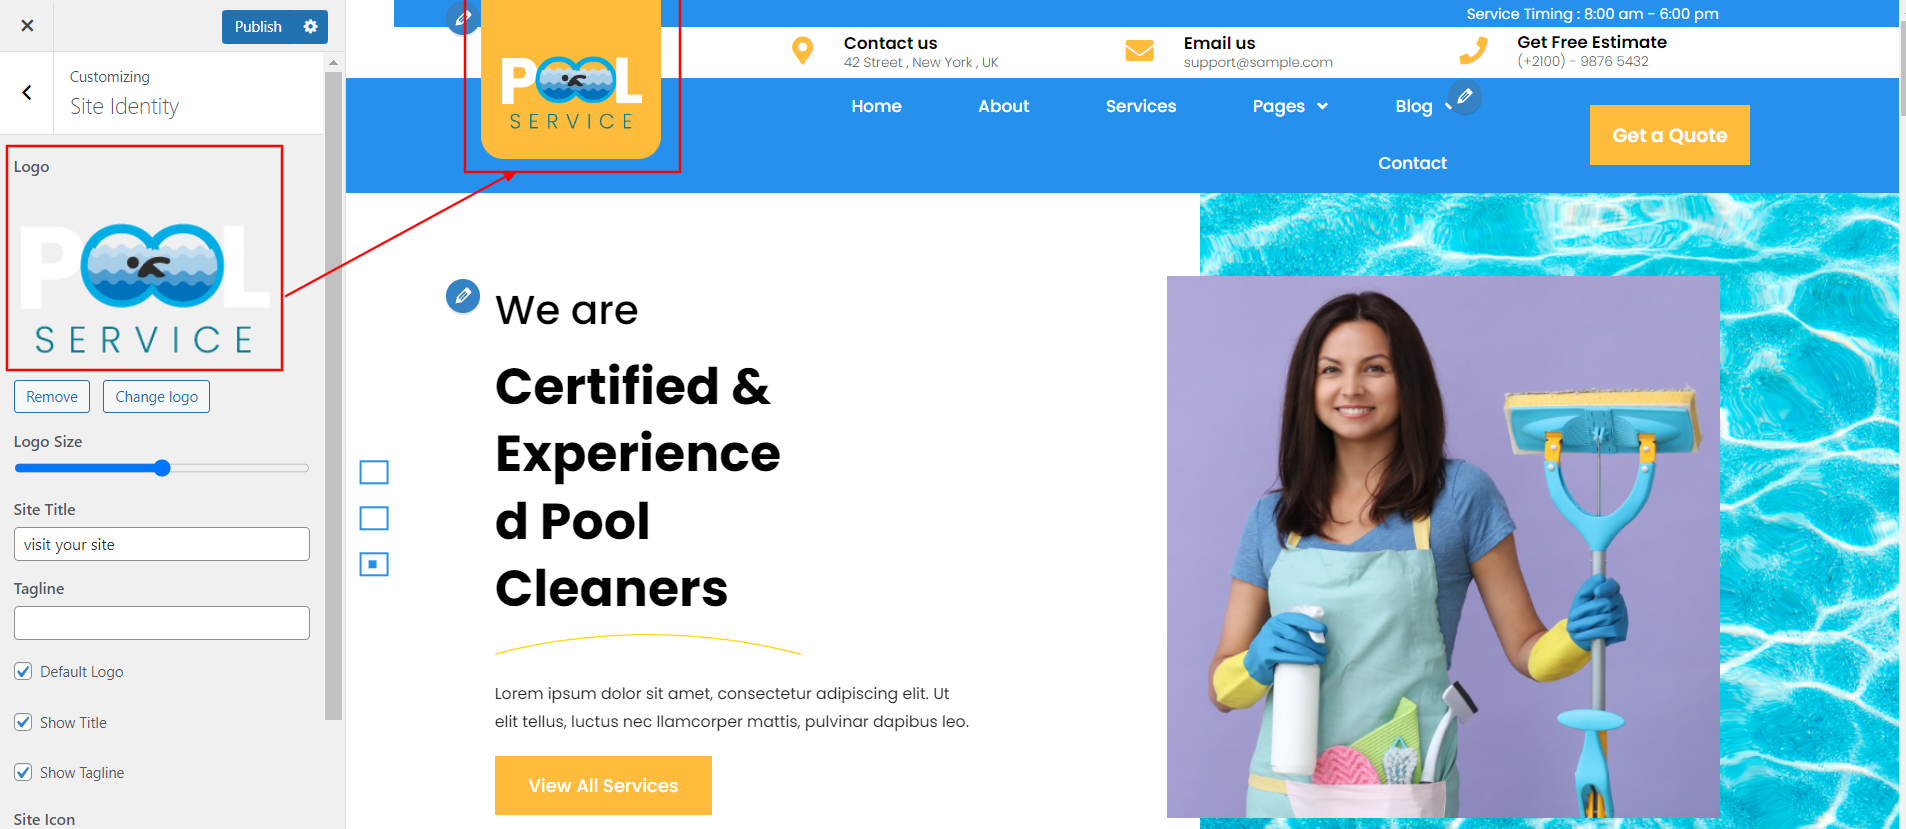
You can set the Site Identity in this manner.

Continue with Top Bar by following the steps below.
Go to Appearance >> Customize >> Theme Settings >>Top bar

You can adjust the Top Bar in this manner.

Do the actions listed below in order to continue with Top Header.
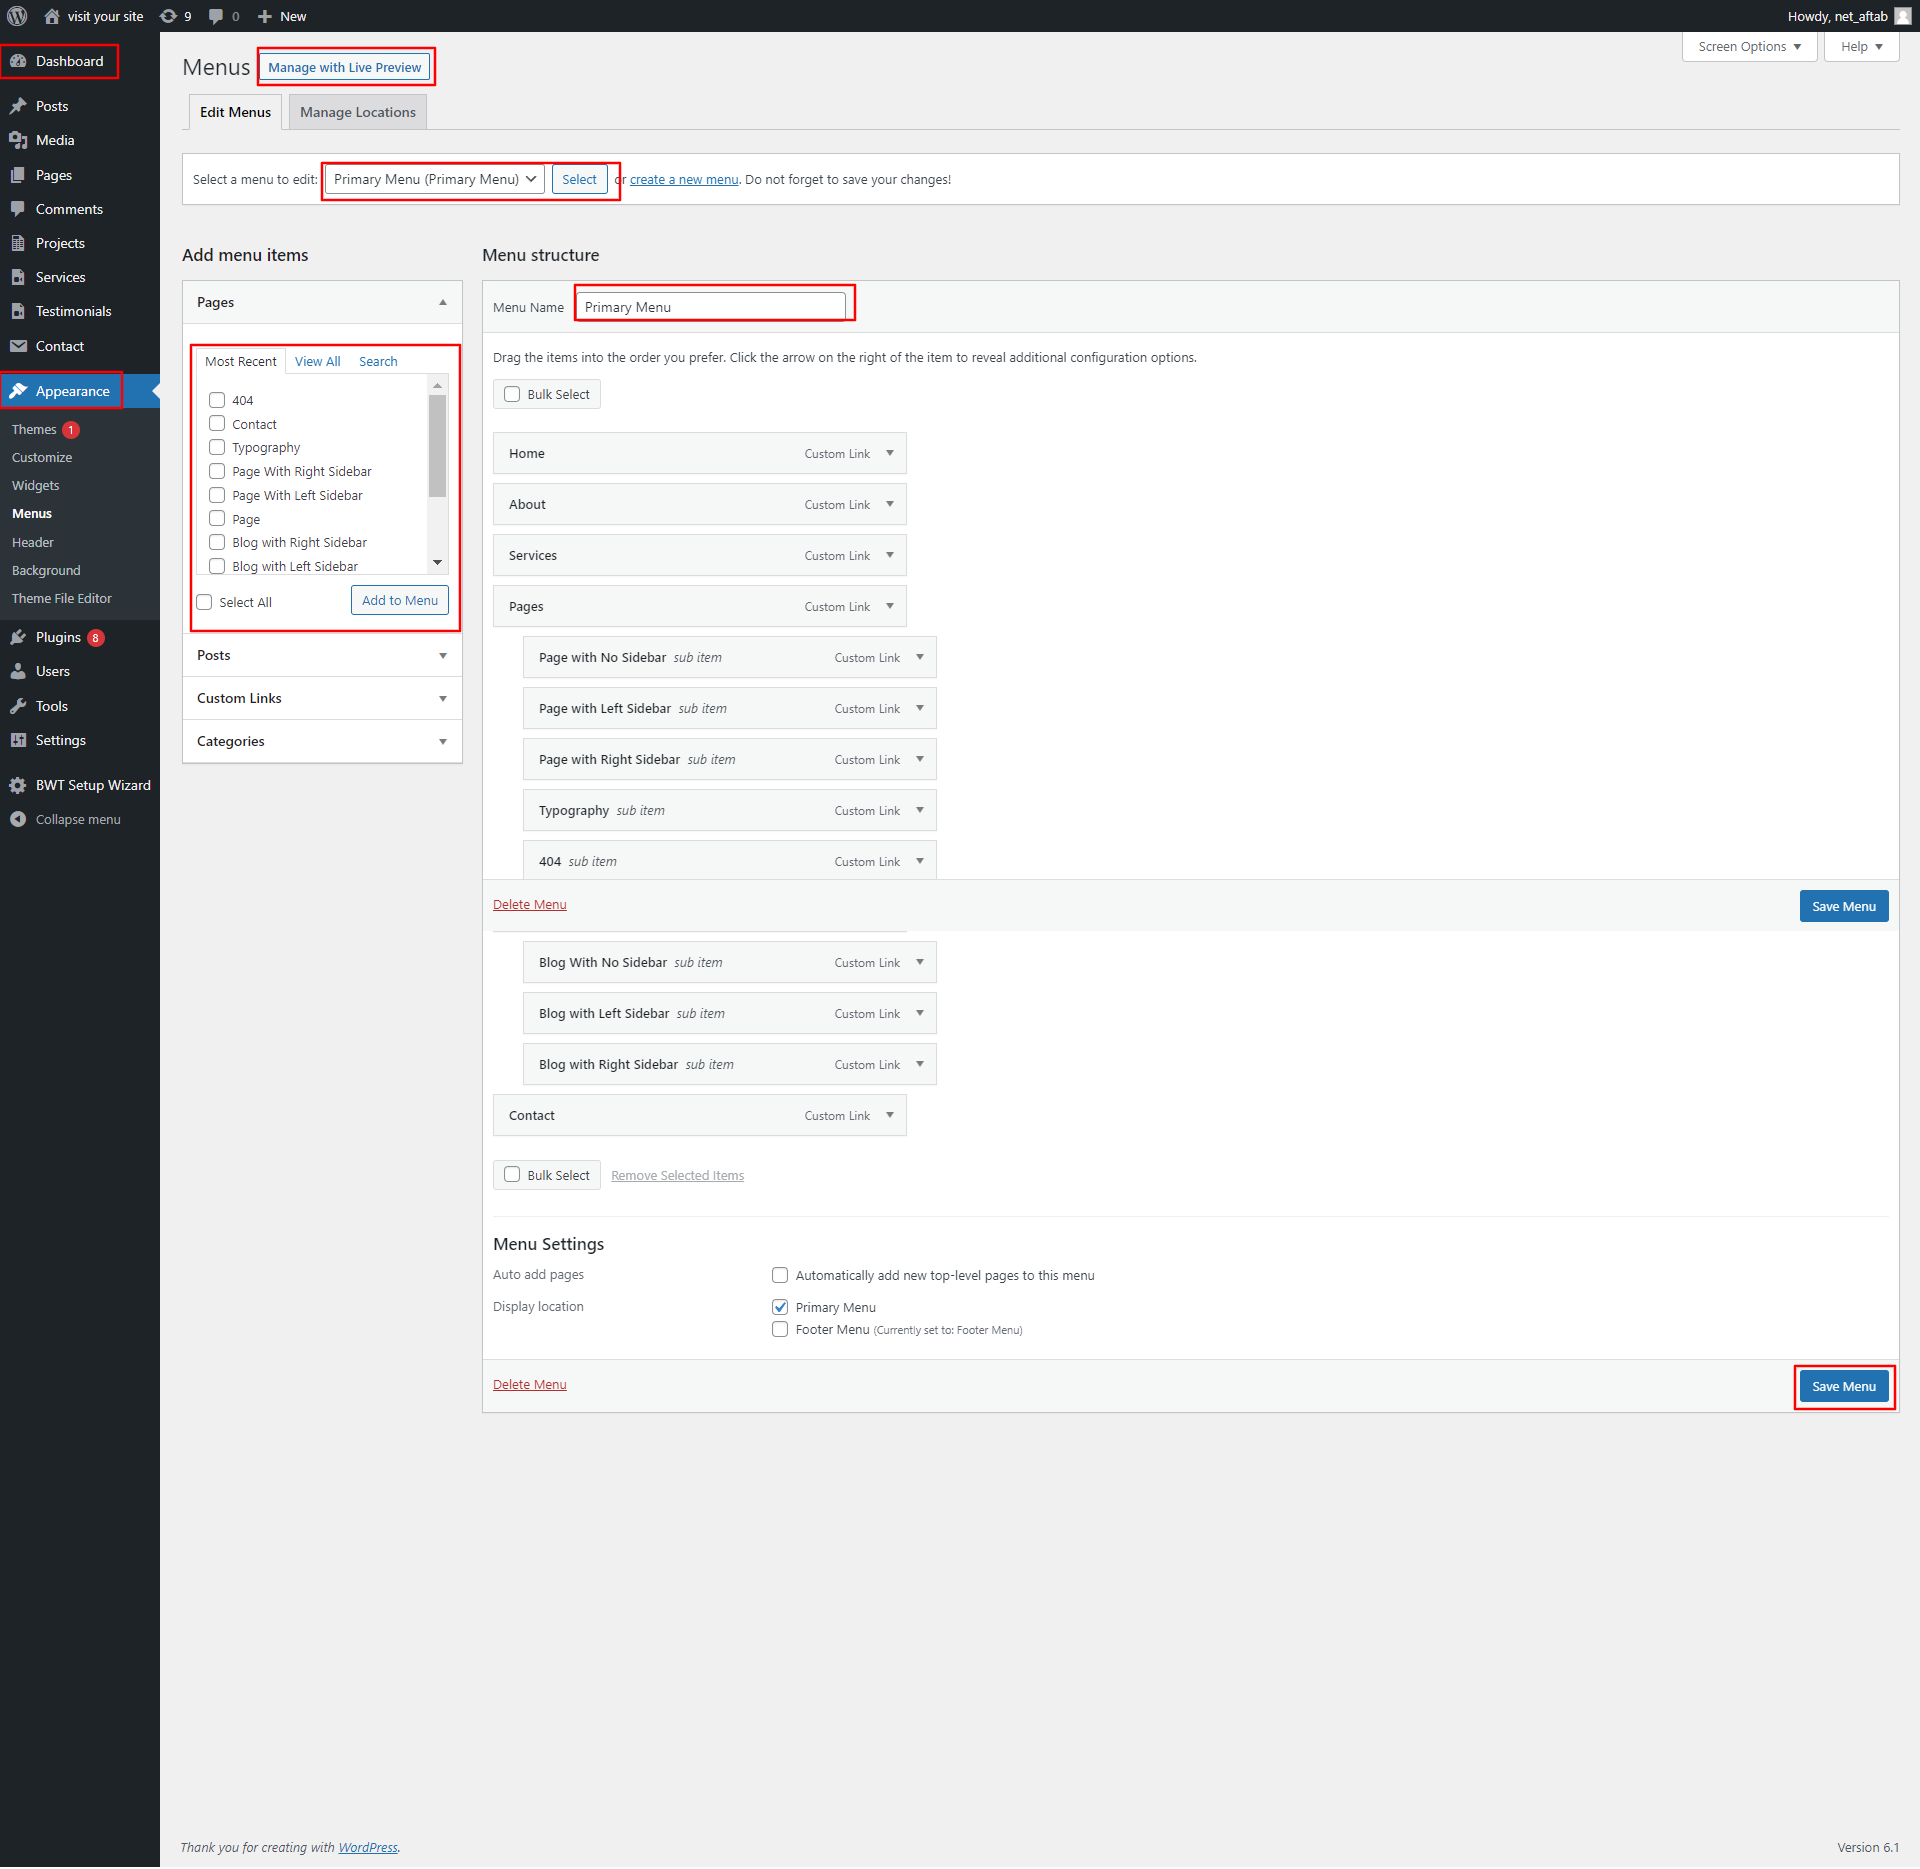
You must first create a menu and then add menus from the Add menu items menu.
Go to Dashboard >> Appearance >> Menu

Go to Appearance >> Customize >> Theme Settings >>Header section
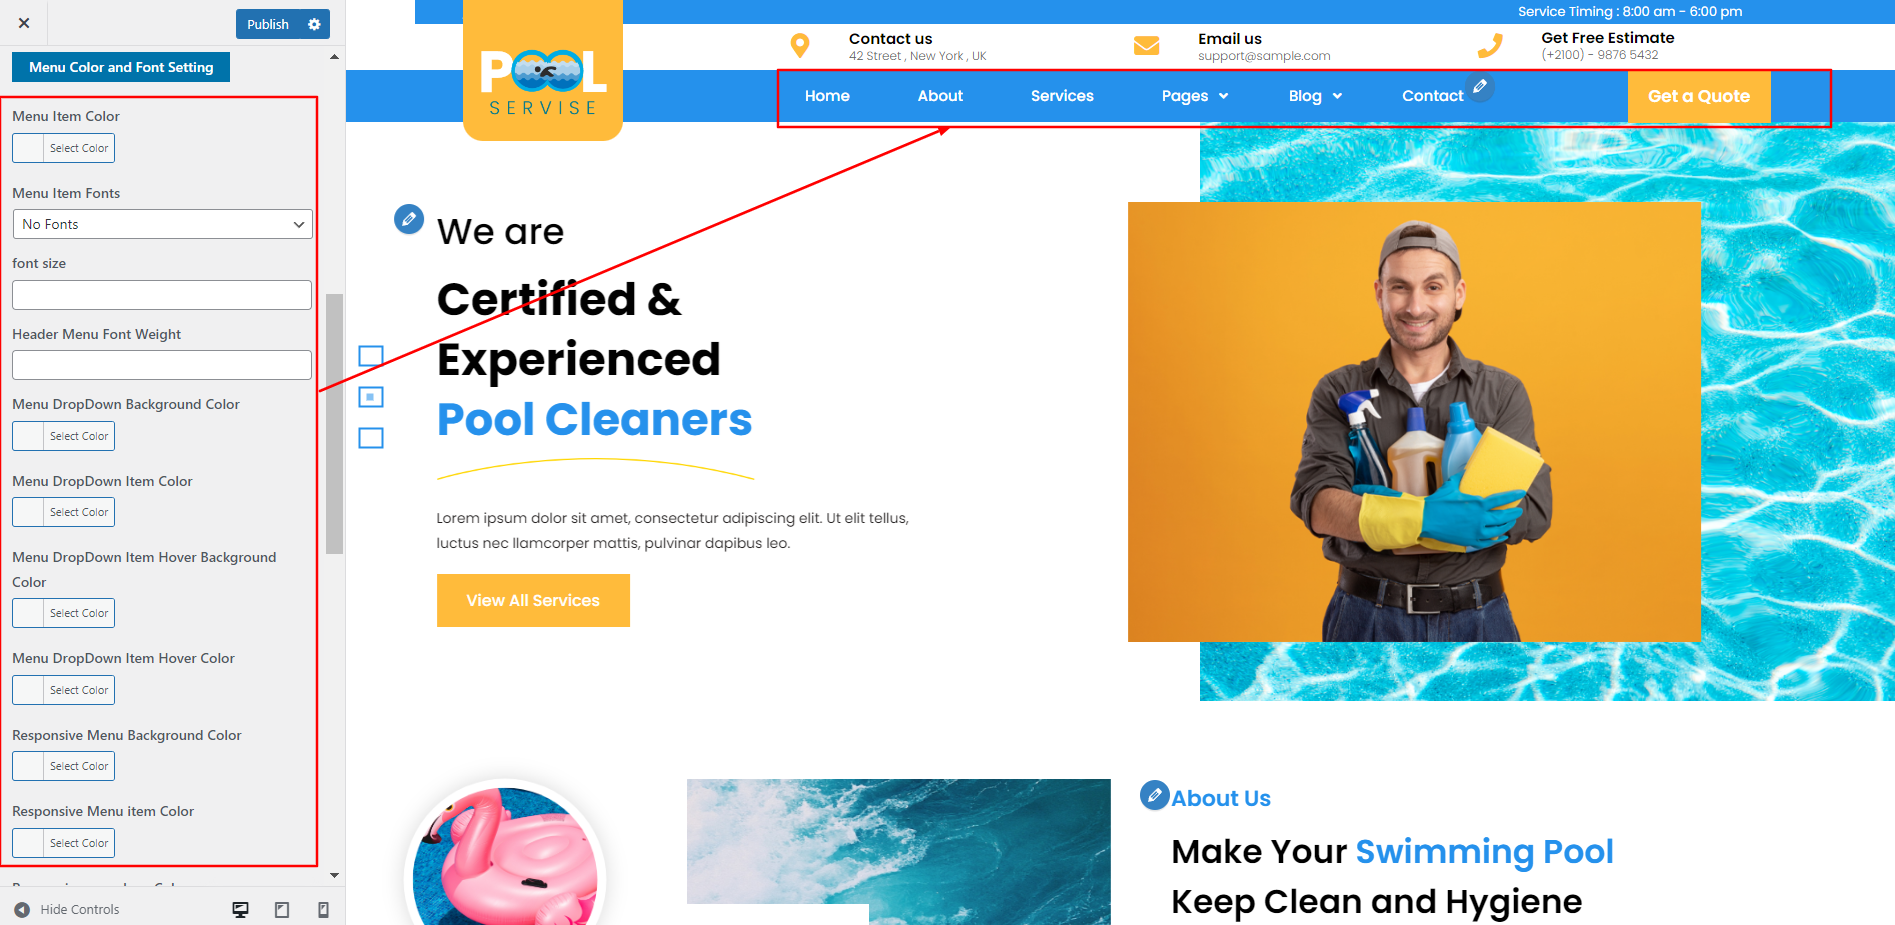
You can set the Set Header in this manner.

To move the slider, please.
Go to Appearance >> Customize >> Theme Settings >>Slider Settings
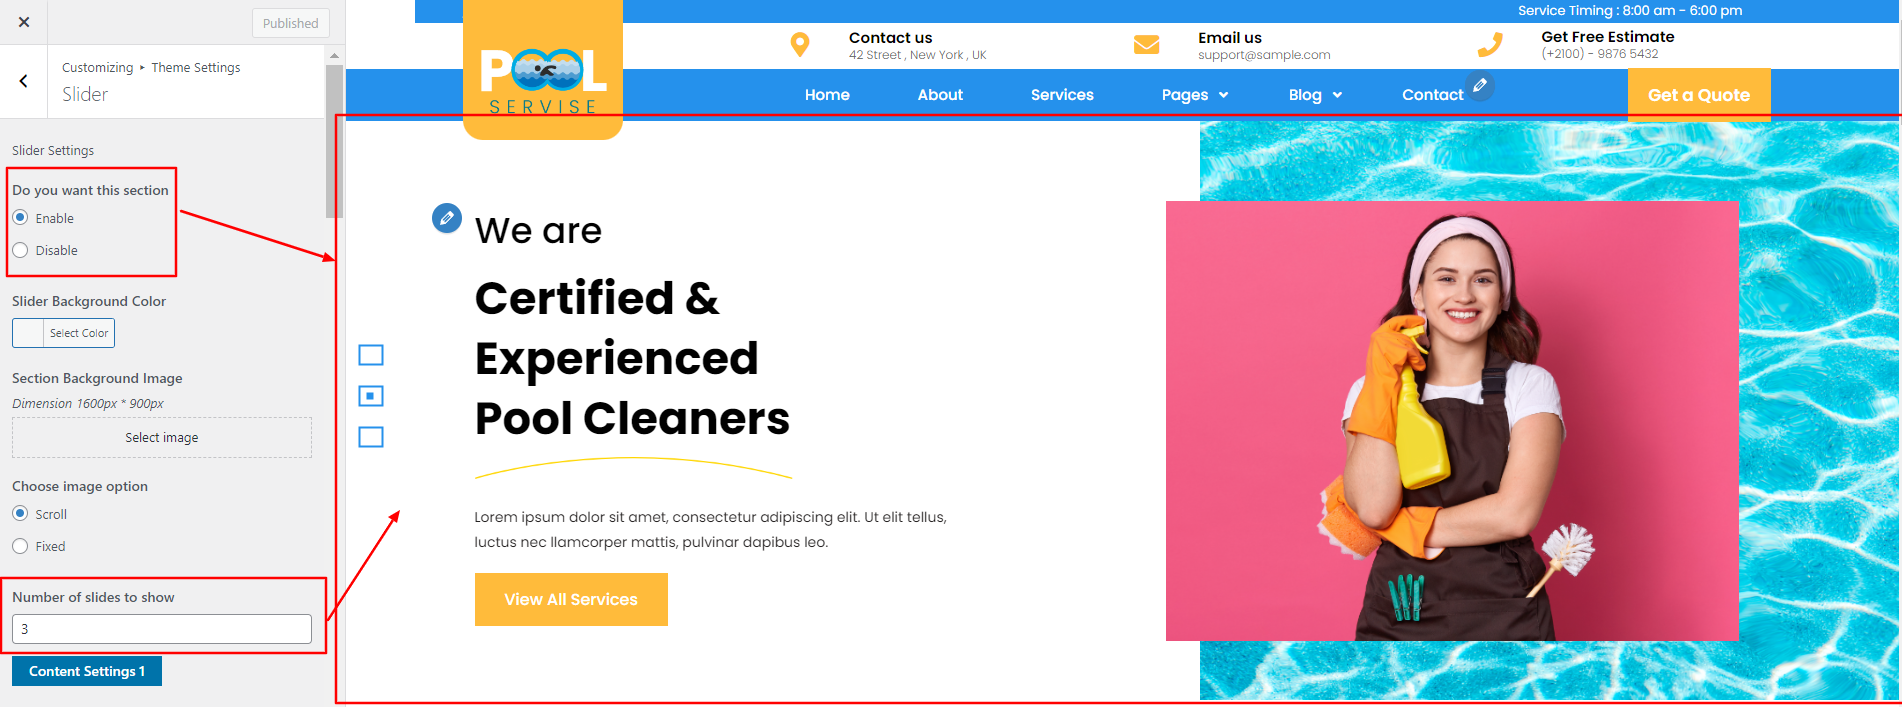
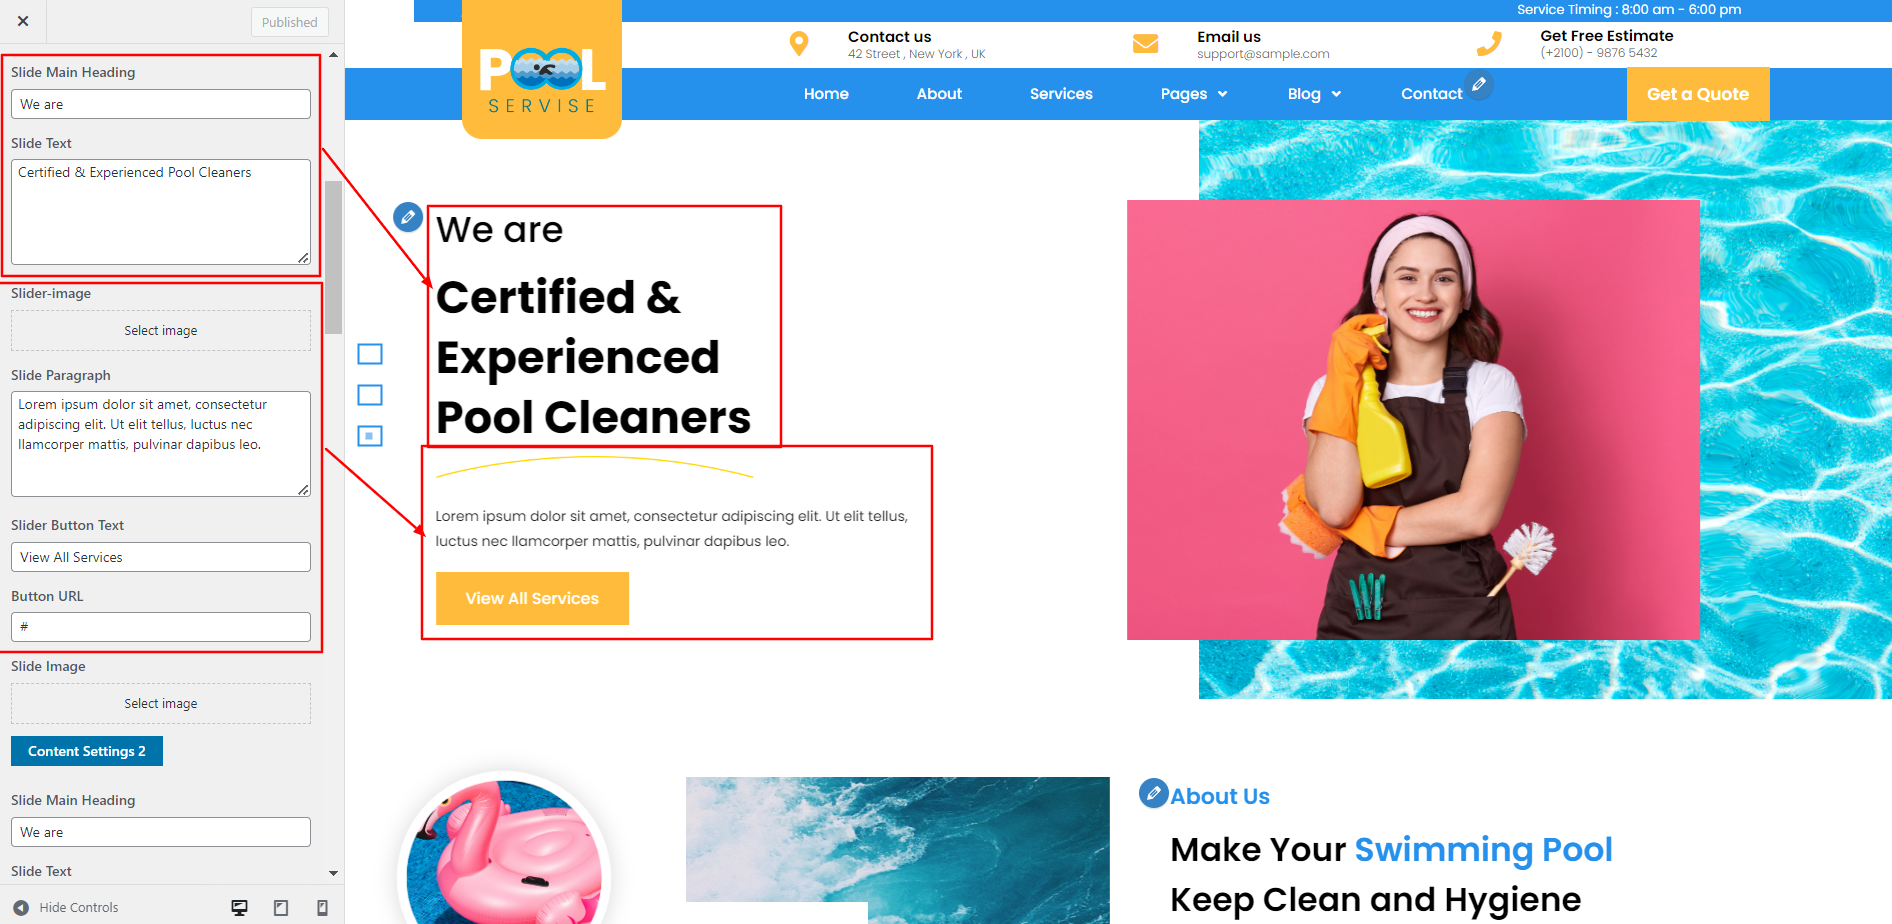
You can add the slider section in this fashion.
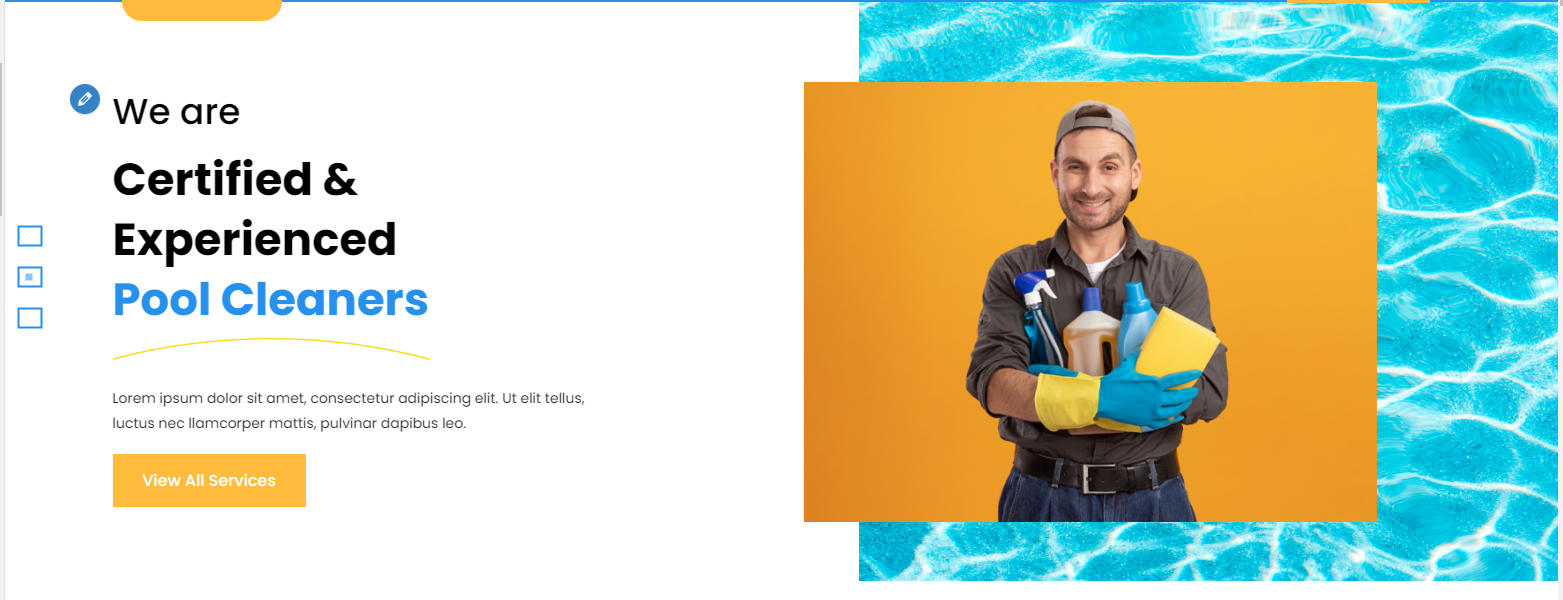
for the purpose of moving on to About Us.
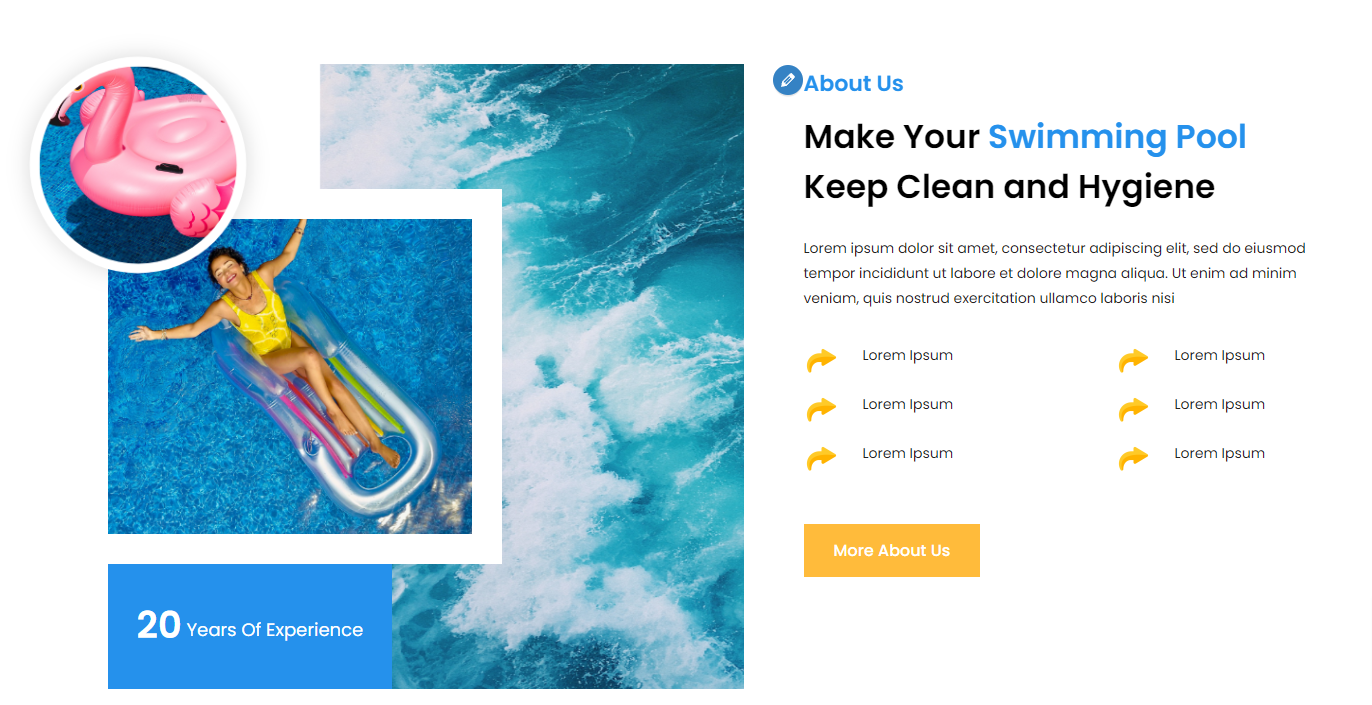
Go to Appearance >> Customize >> Theme Settings >> About Us
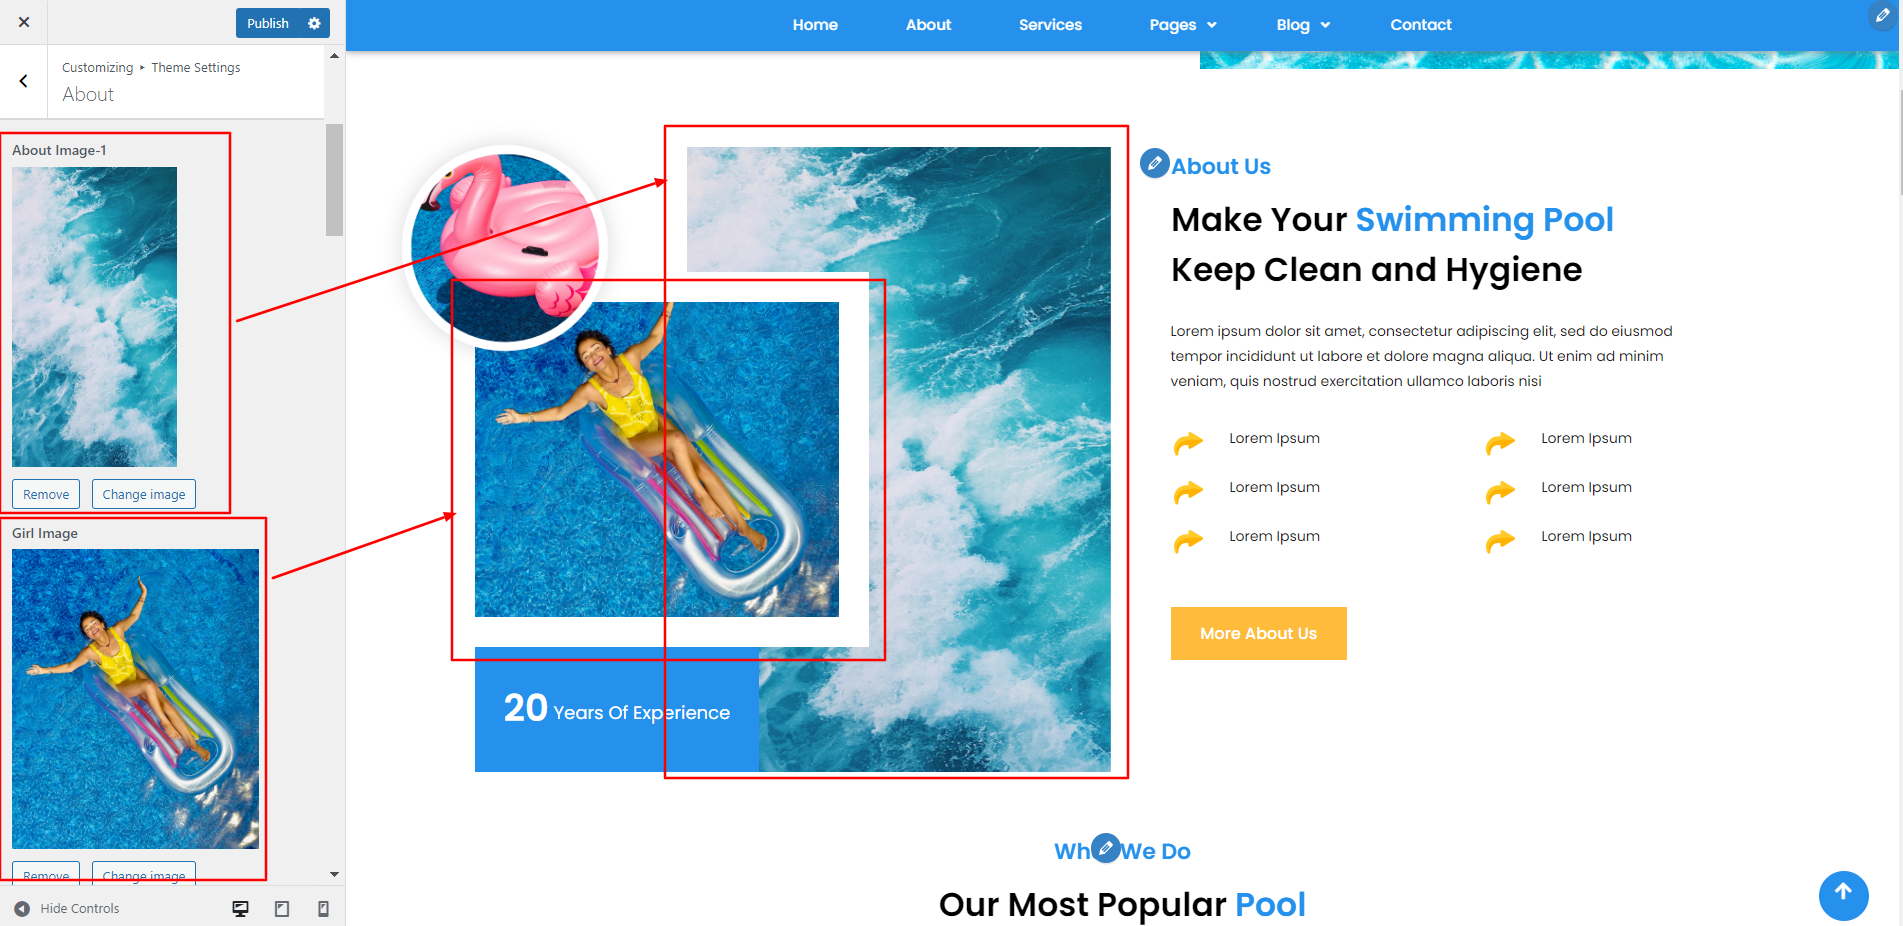
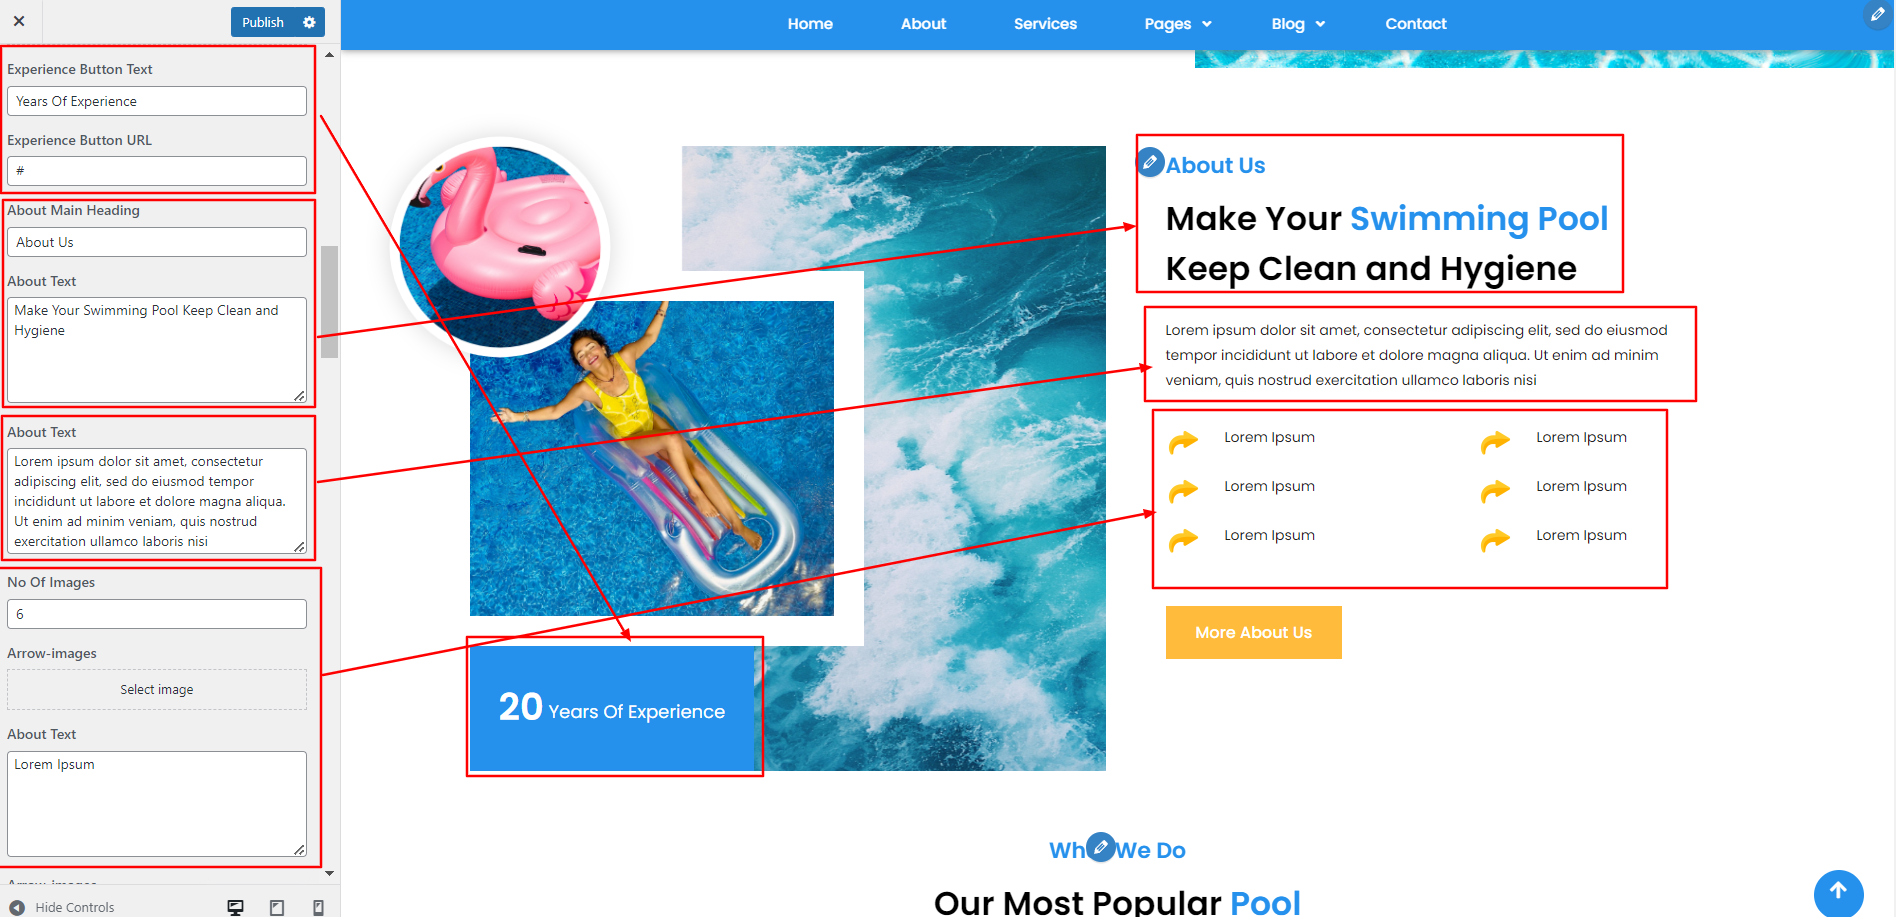
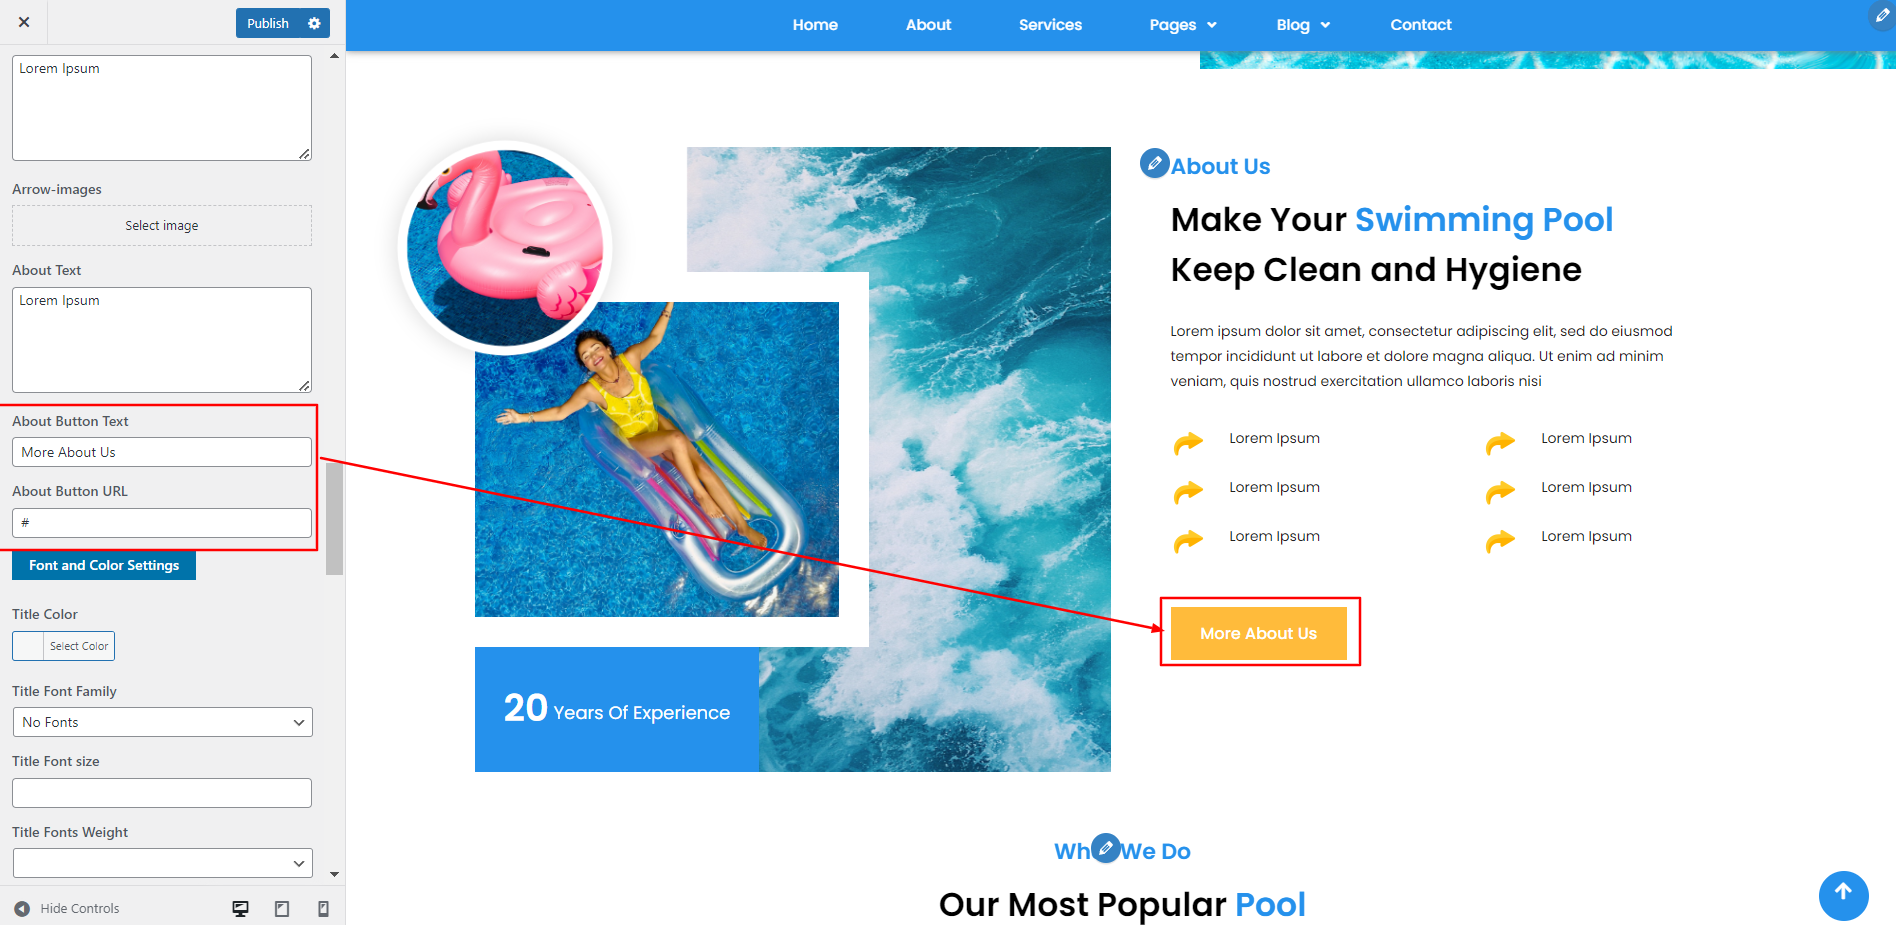
You can add the About section in this fashion.
In order to continue, Popular Settings,
Go to Dashboard >> Services>> Add New
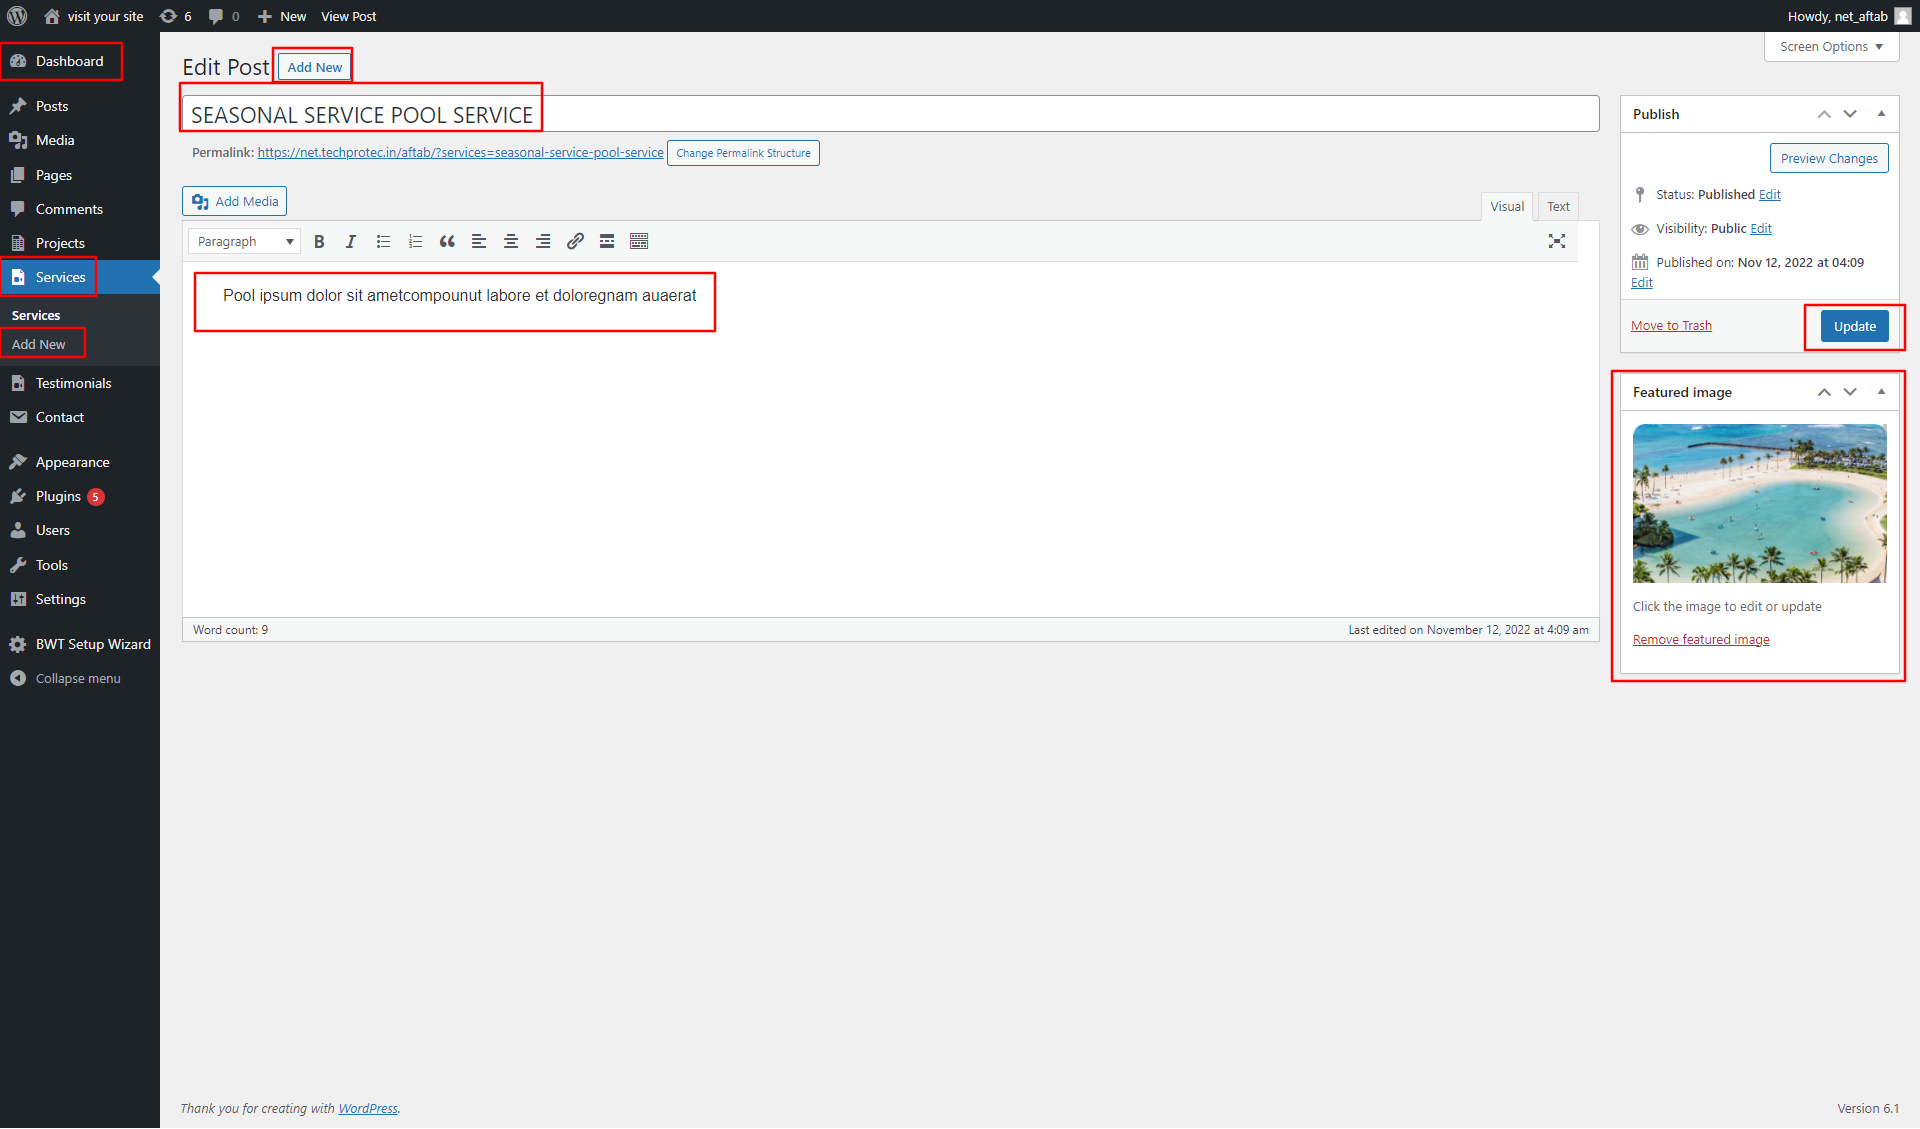
Go to Appearance >> Customize >> Theme Settings >>Popular Settings
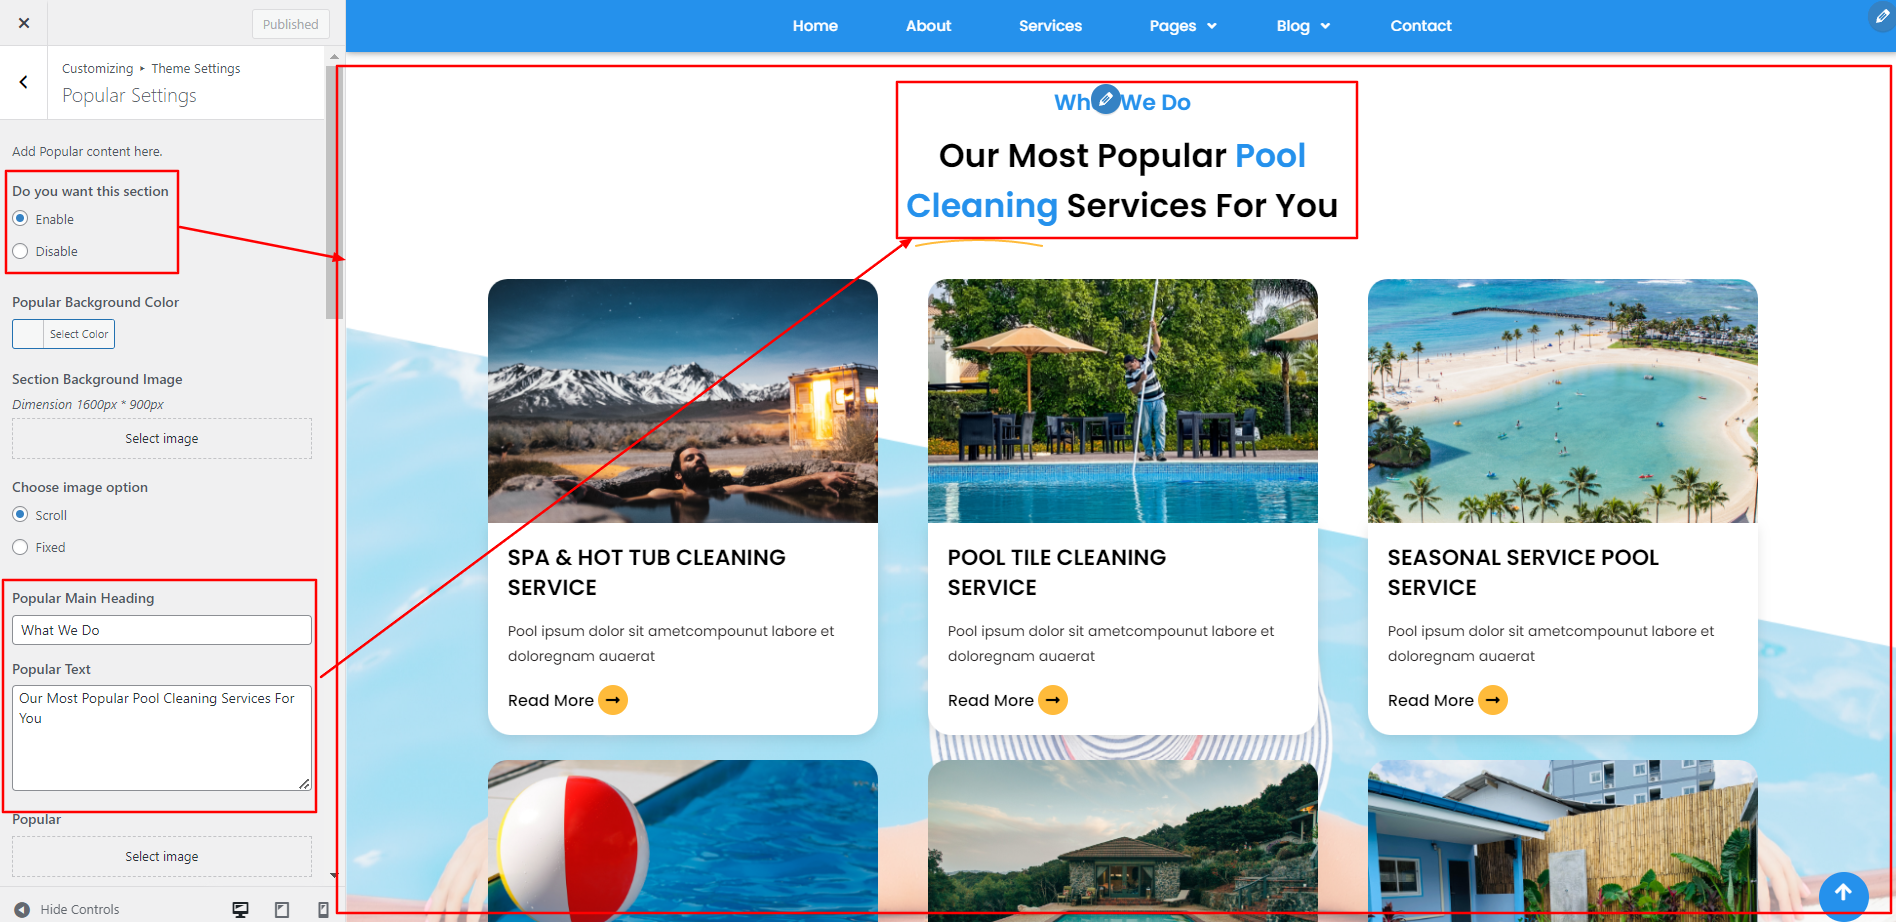
This allows you to include the Popular Settings section,

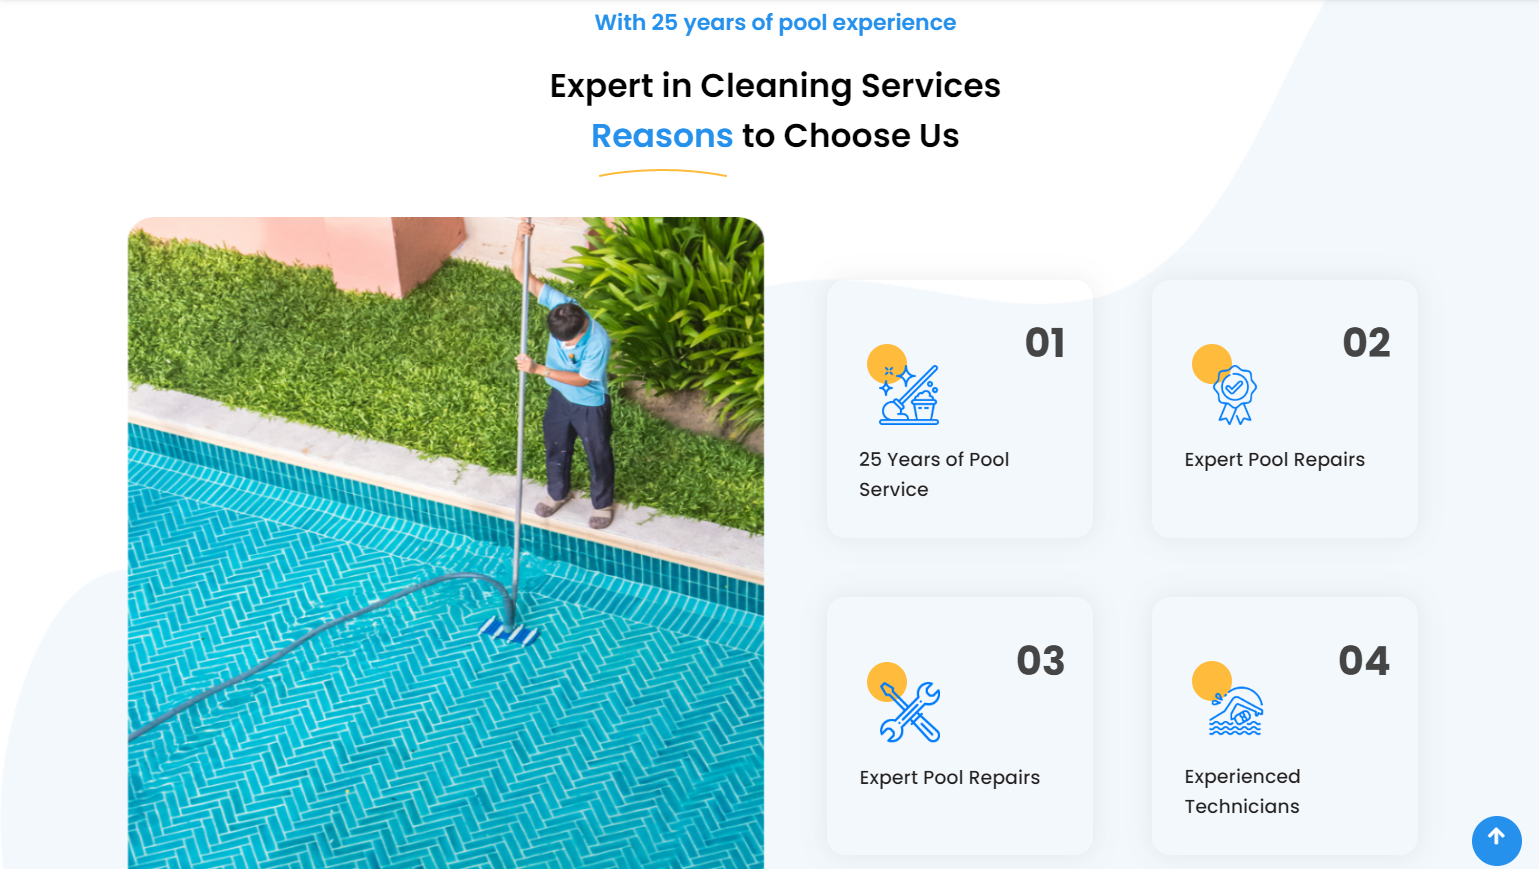
In order to continue, Services Section,
Go to Appearance >> Customize >> Theme Settings >>Services Section
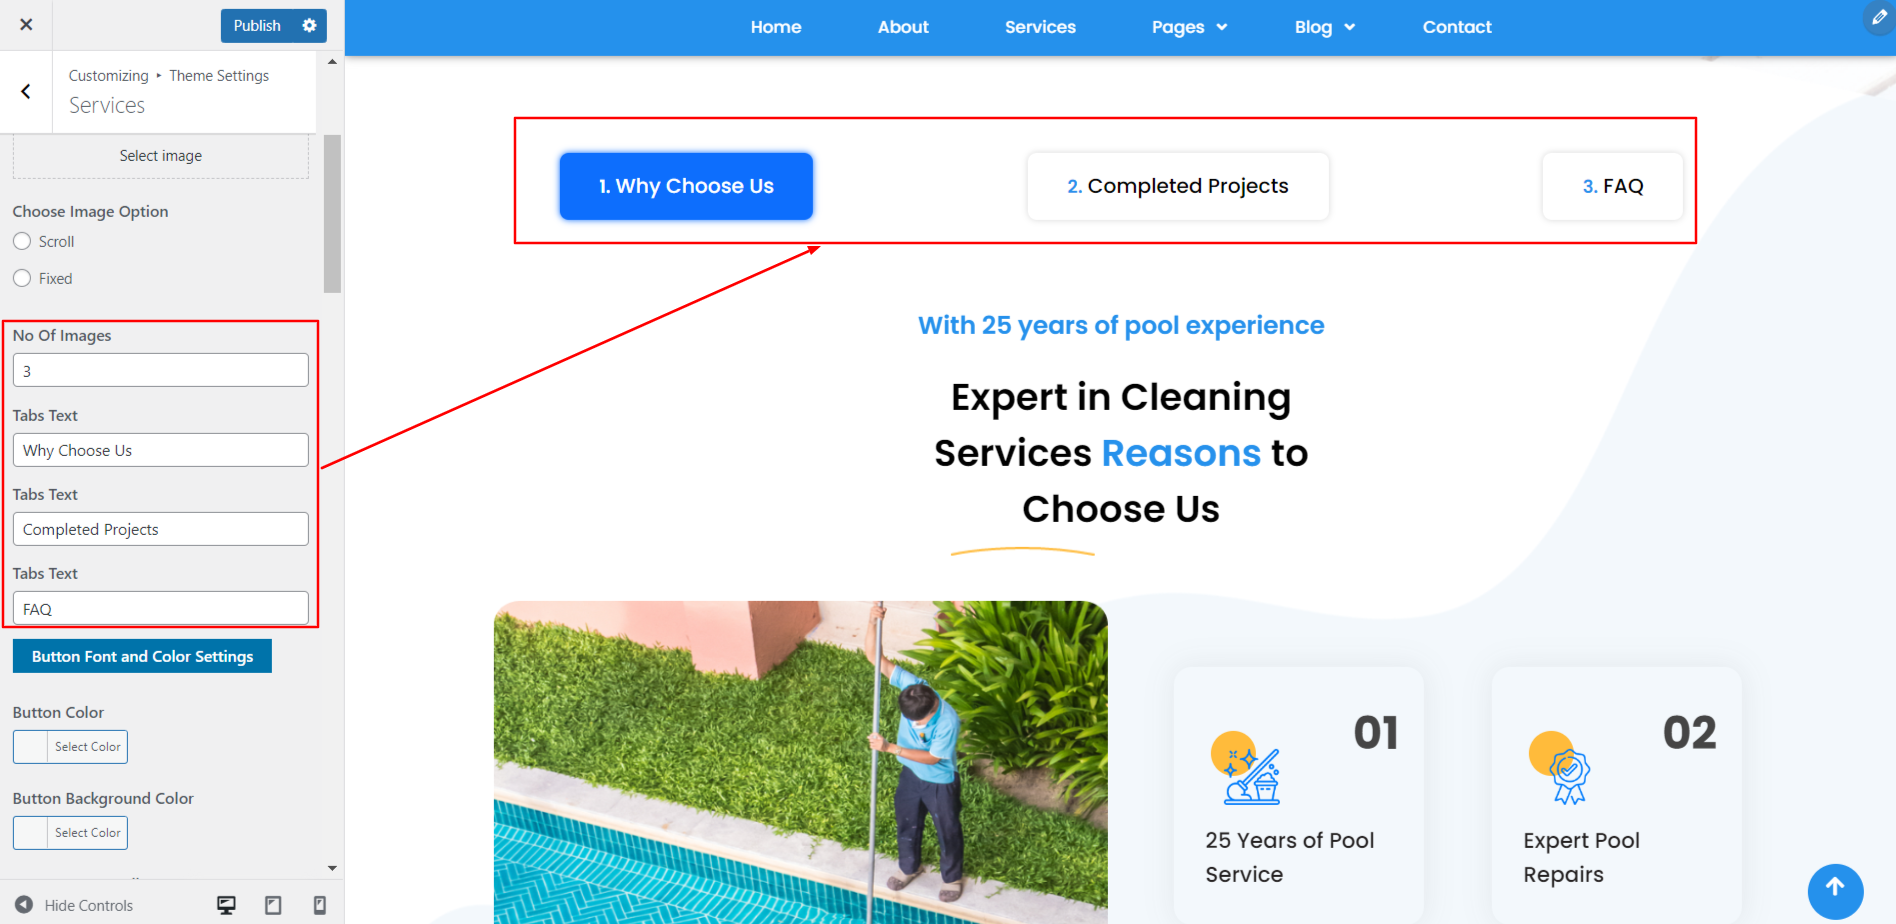
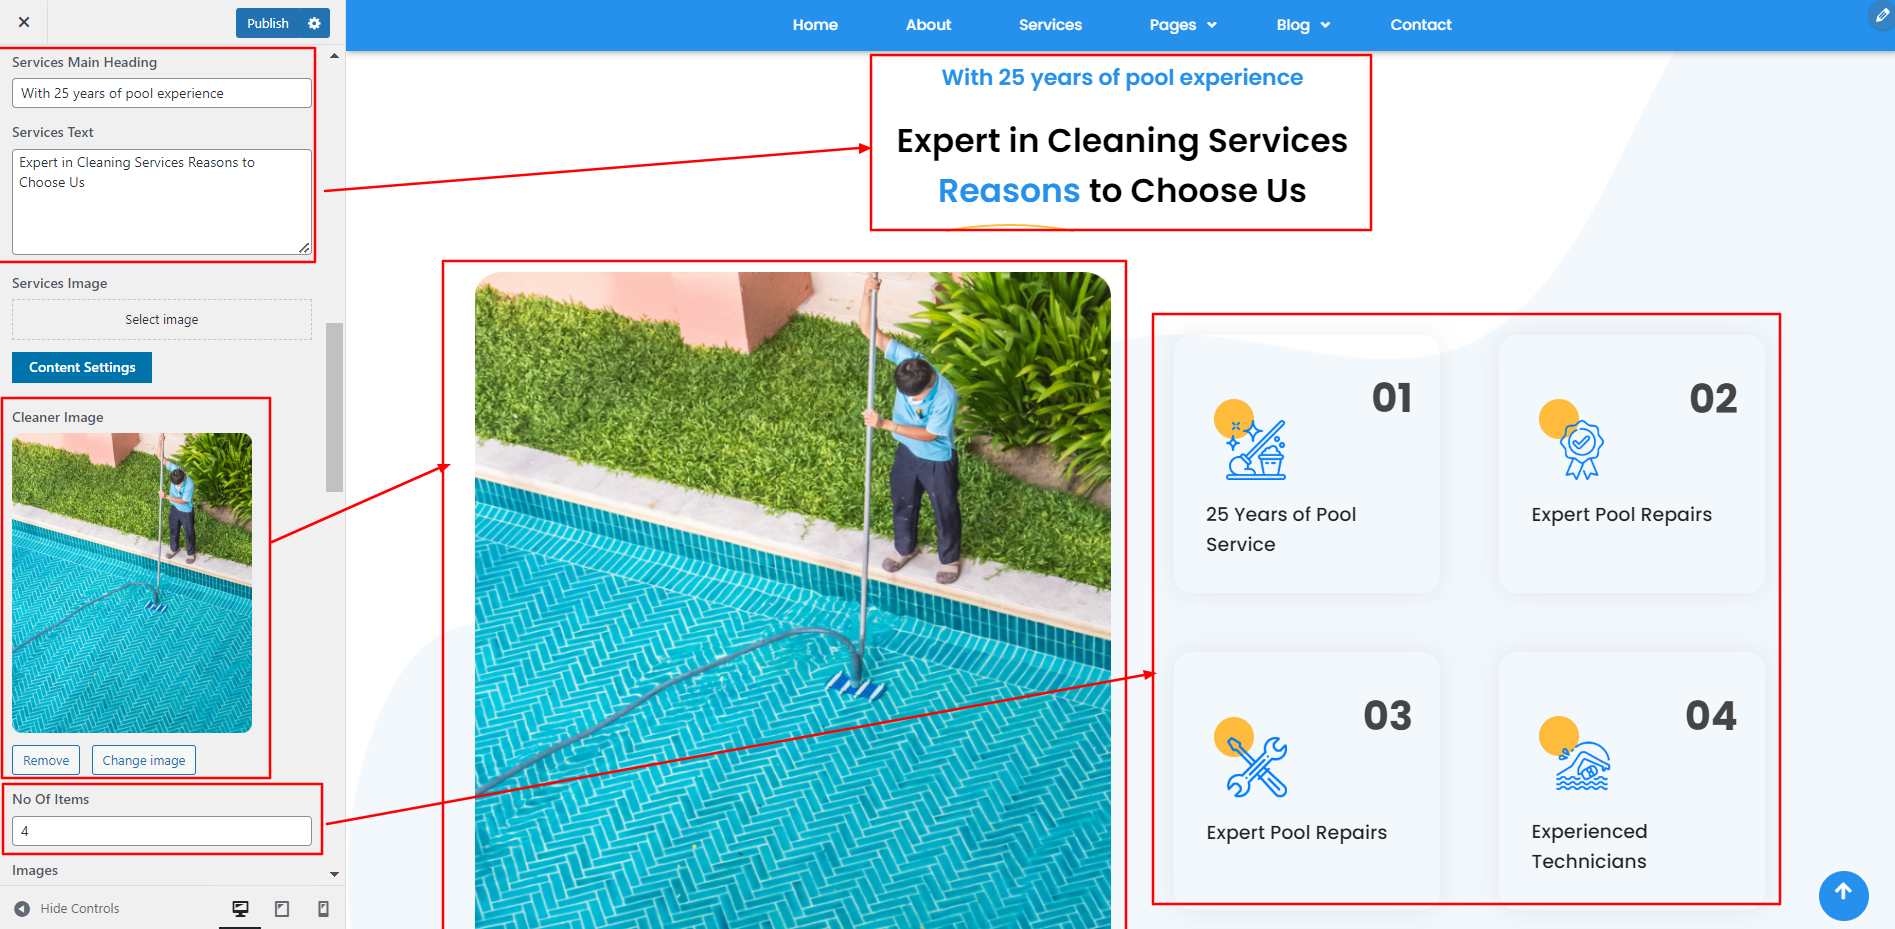
This allows you to include the Service section,
In order to continue, Complete Projects,
The dashboard will display an option for the Project area after installation.
Go to Dashboard >> Projects>> Add New

Go to Appearance >> Customize >> Theme Settings >>Complete Projects

This allows you to include the Complete Projects,

In order to continue, FAQ Section,
Choose the FAQ option after navigating to the Theme Settings section of the Appearance customization choices.
This allows you to include the Complete FAQ,
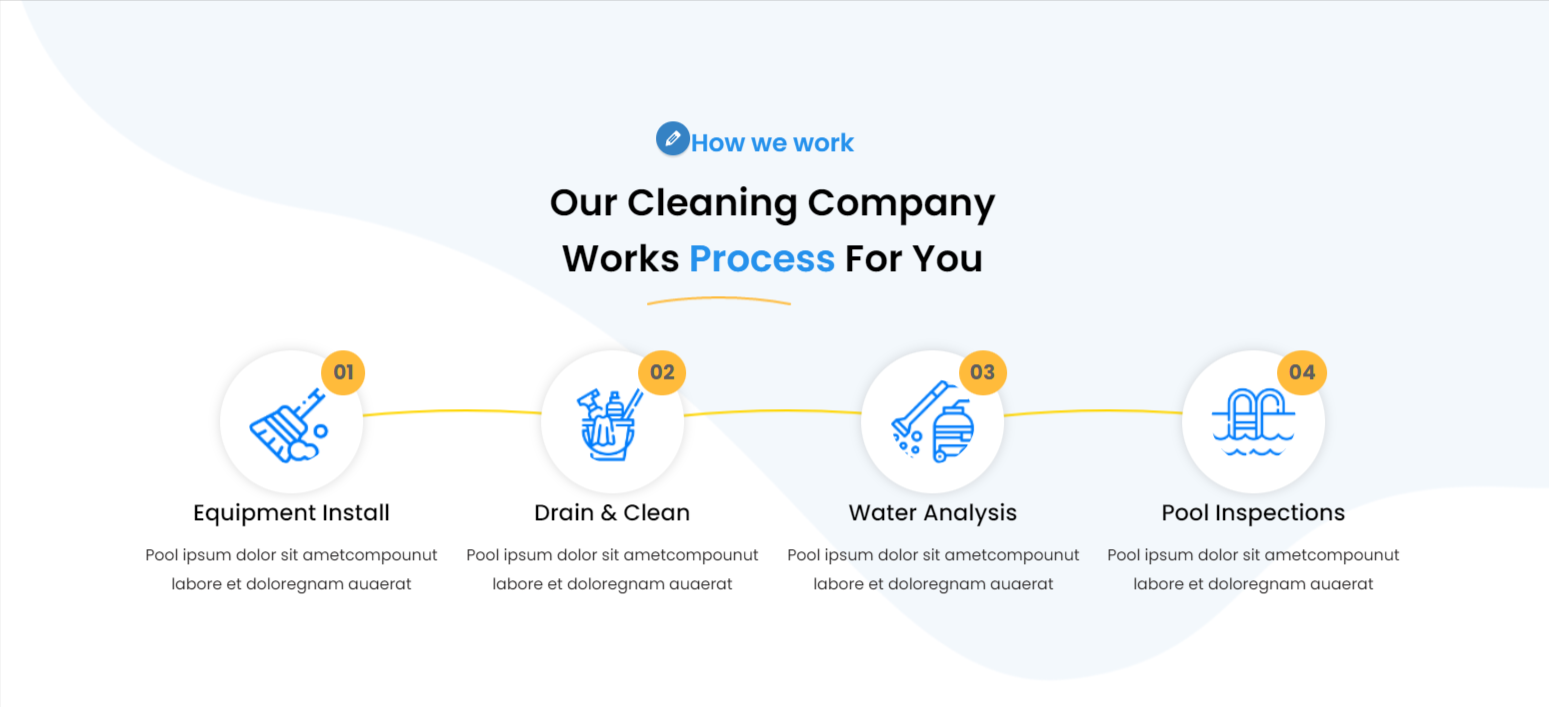
In order to continue, Our Process,
Go to Appearance >> Customize >> Theme Settings >>Our Process
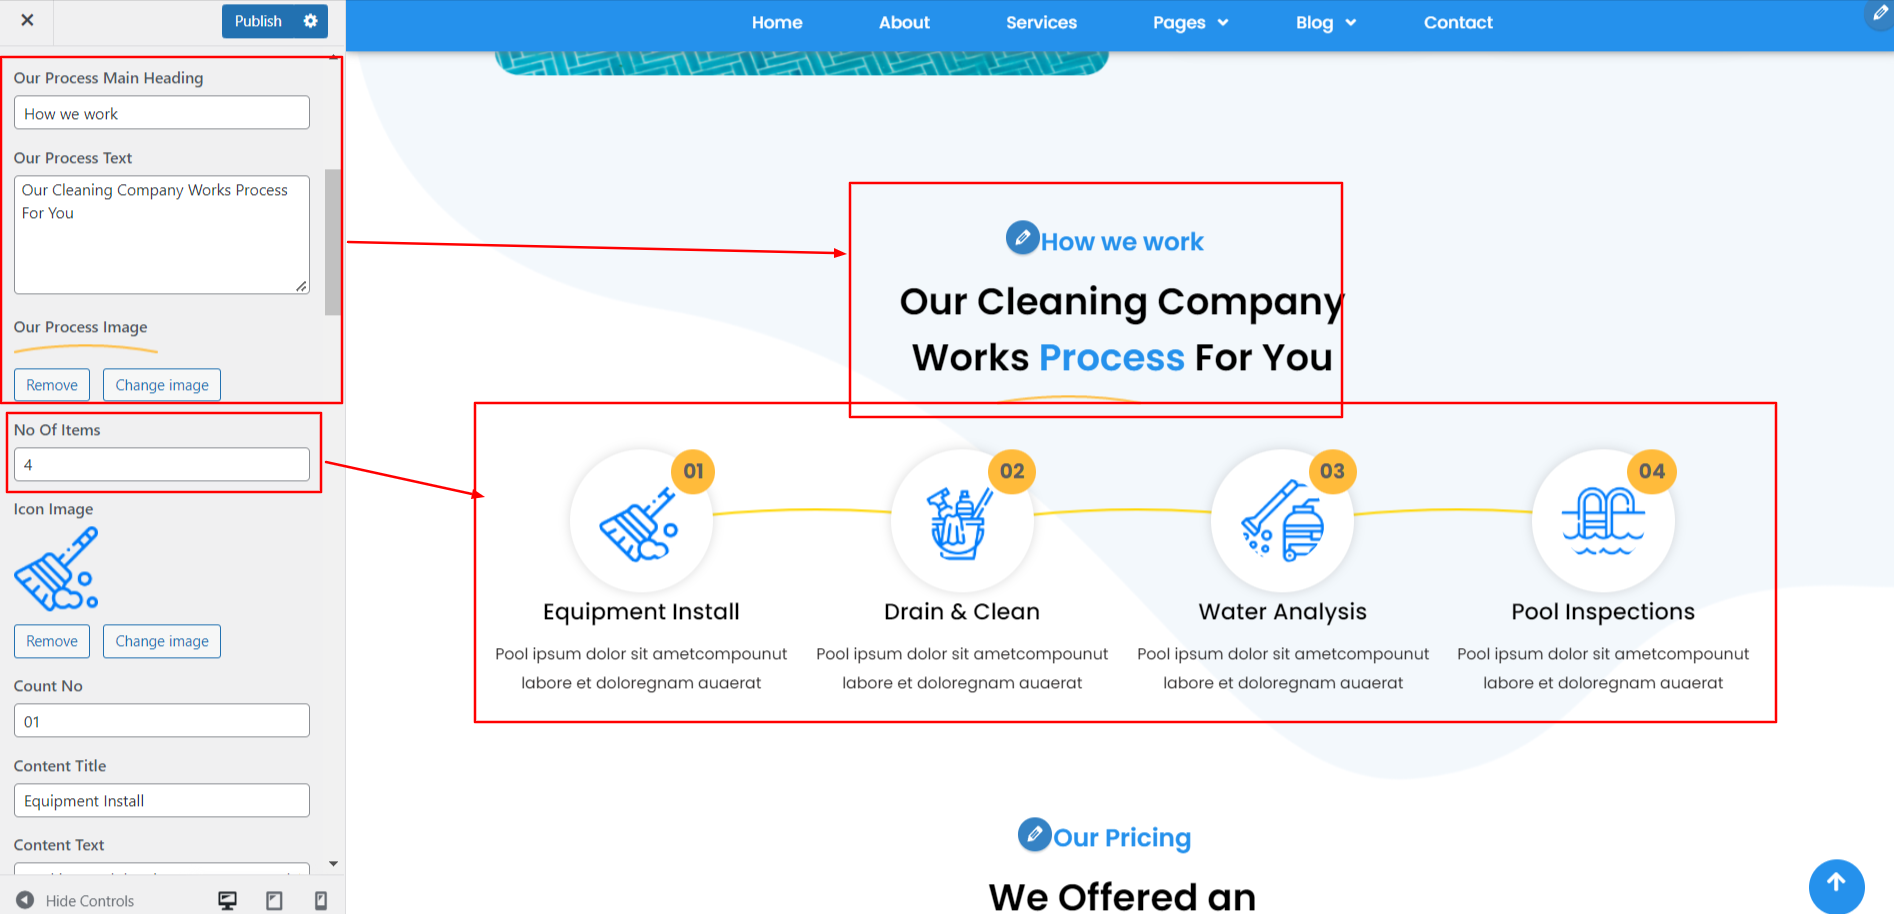

In order to continue, Our Process,
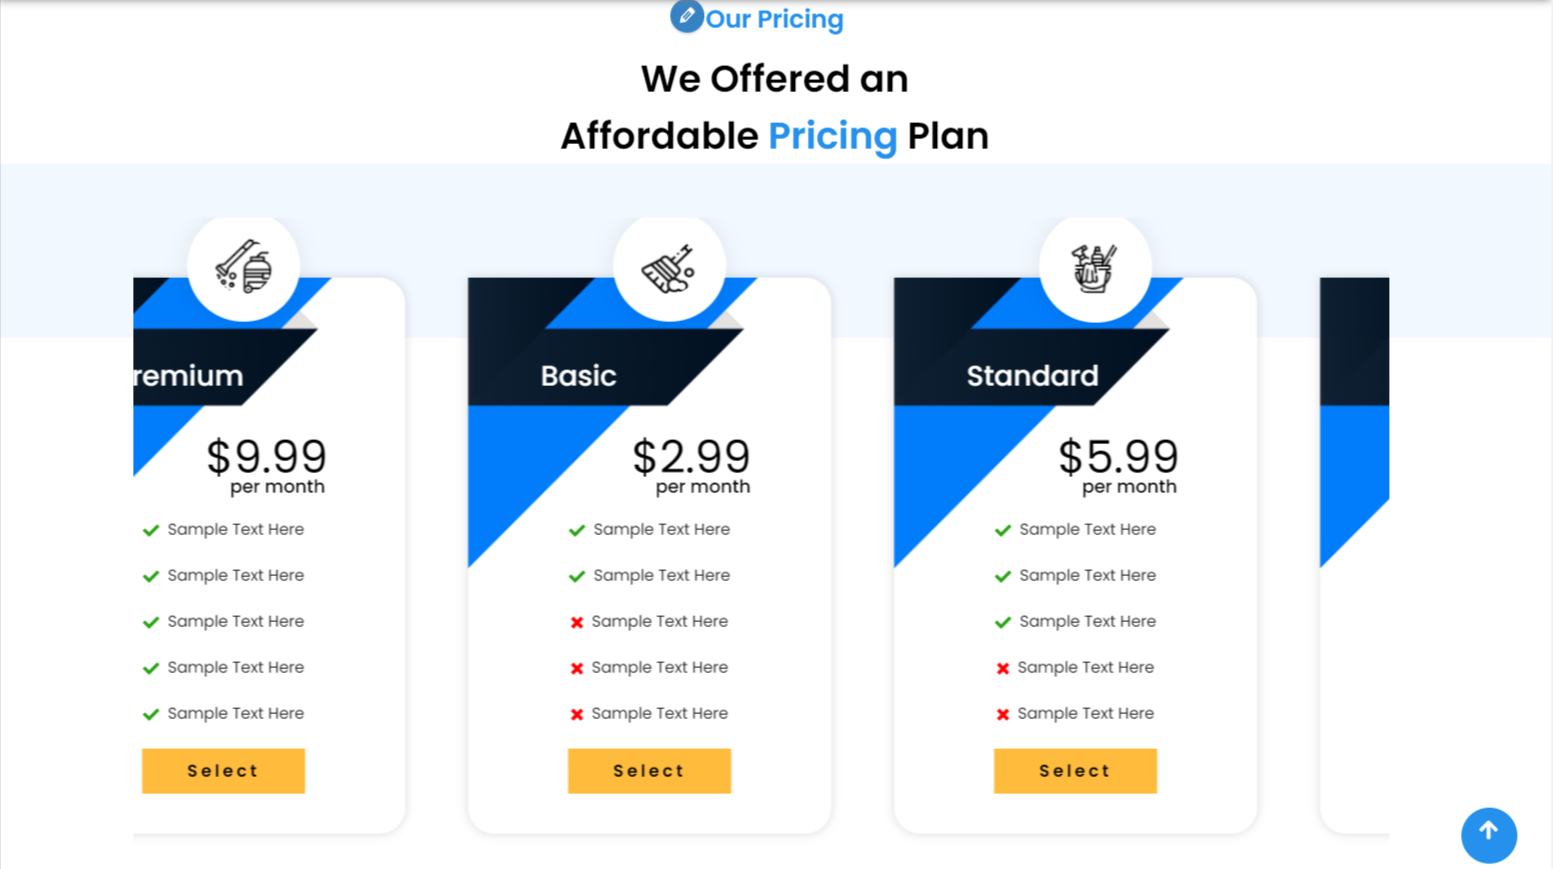
In order to continue, Pricing Plan,
Go to Appearance >> Customize >> Theme Settings >>Our Pricing Plan
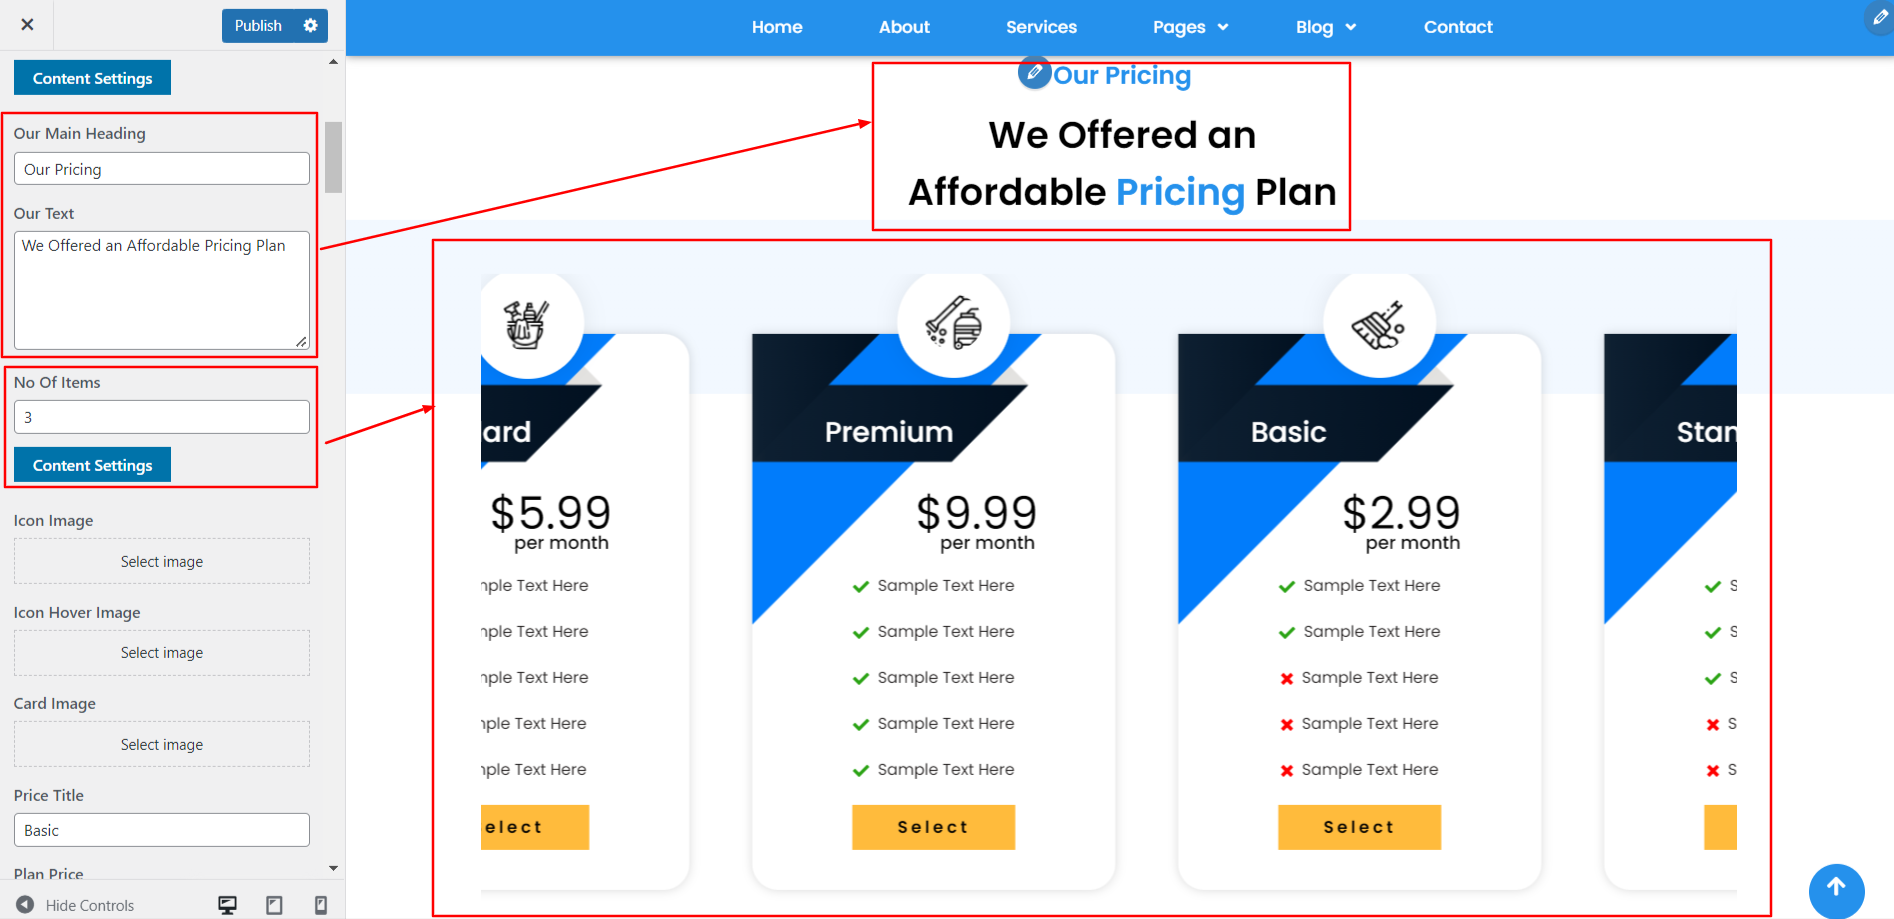
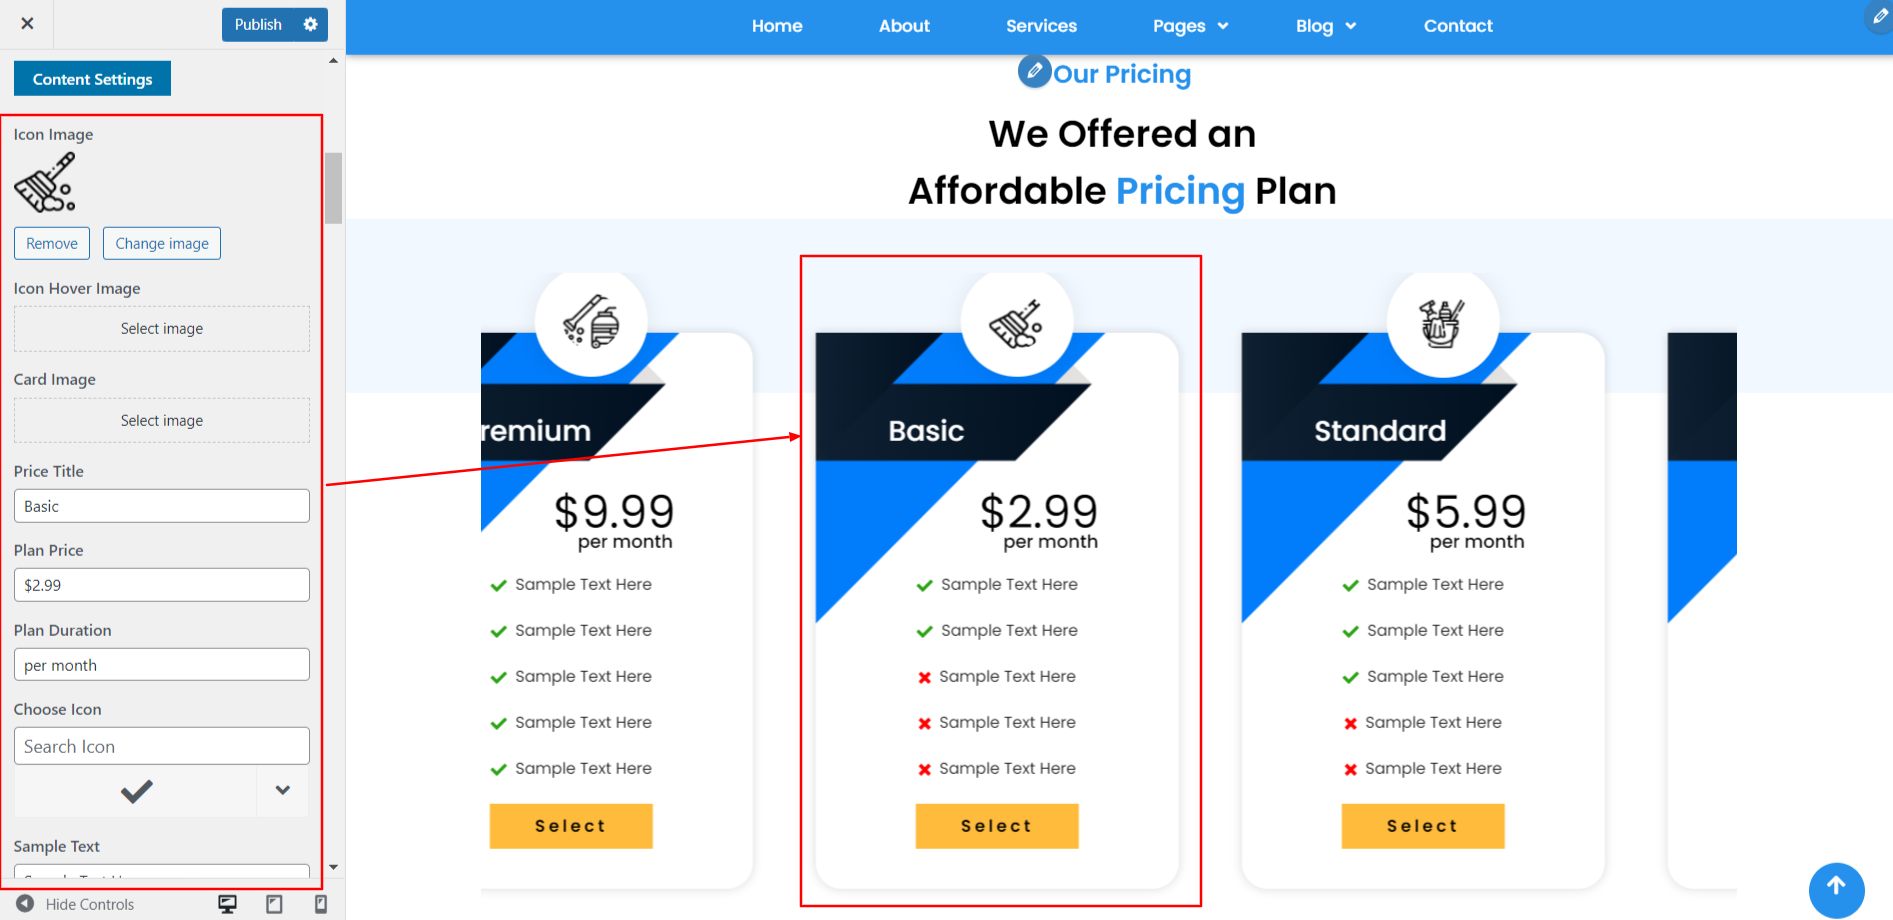
In order to continue, Our Pricing Plan,
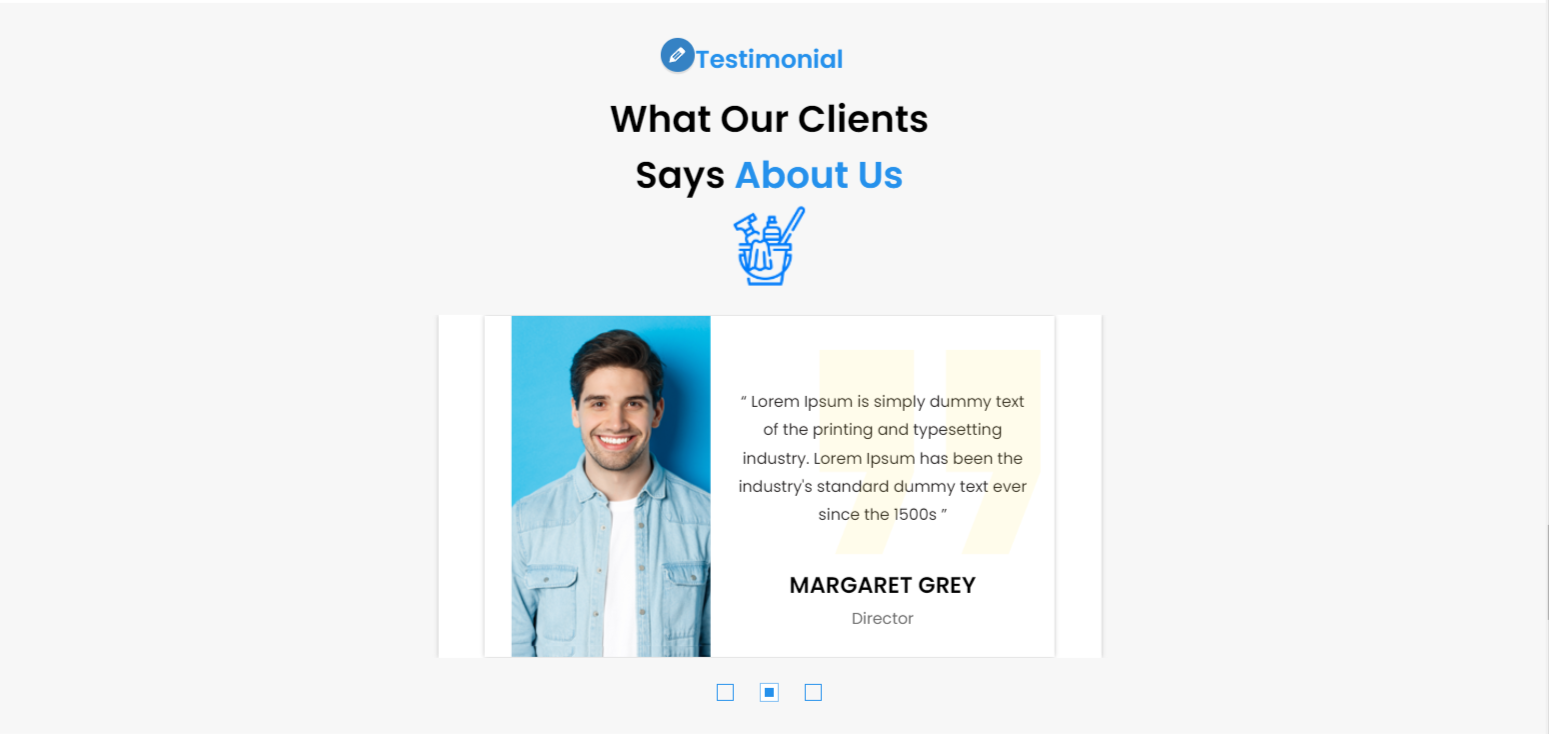
In order to continue, Testimonial Section,
Go to Dashboard>>Testimonial >>Add New

Go to Appearance >> Customize >> Theme Settings >>Testimonial
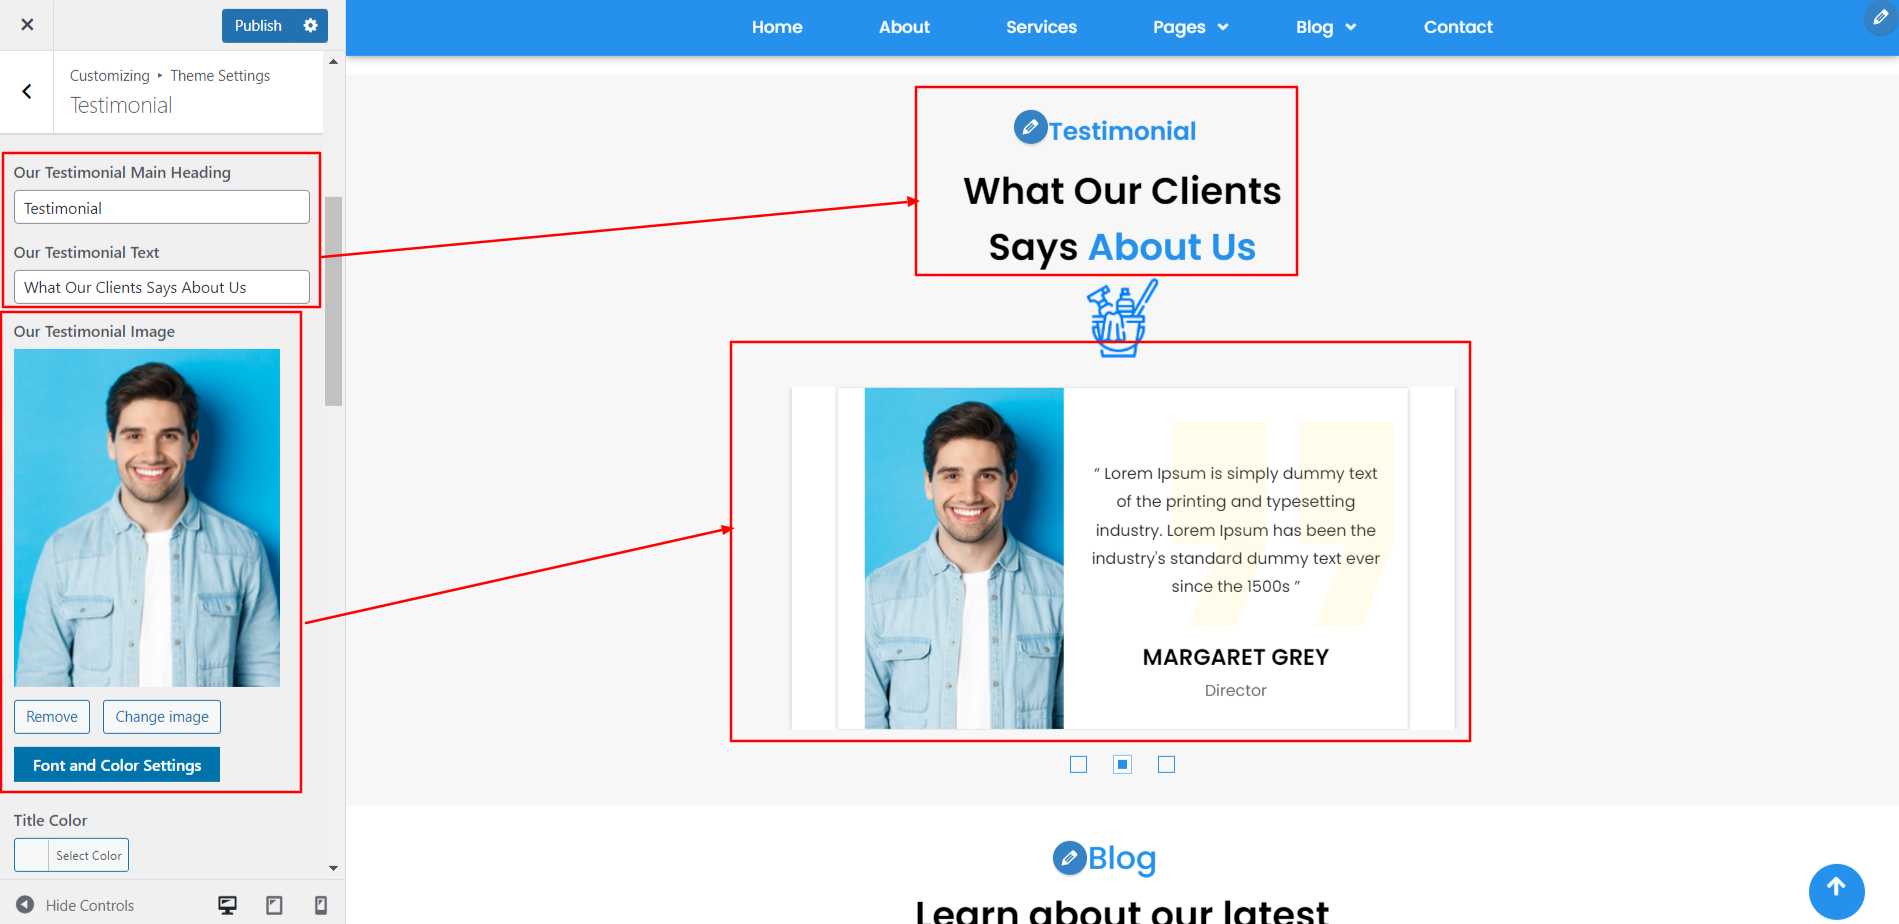
In order to continue, Our Testimonial,
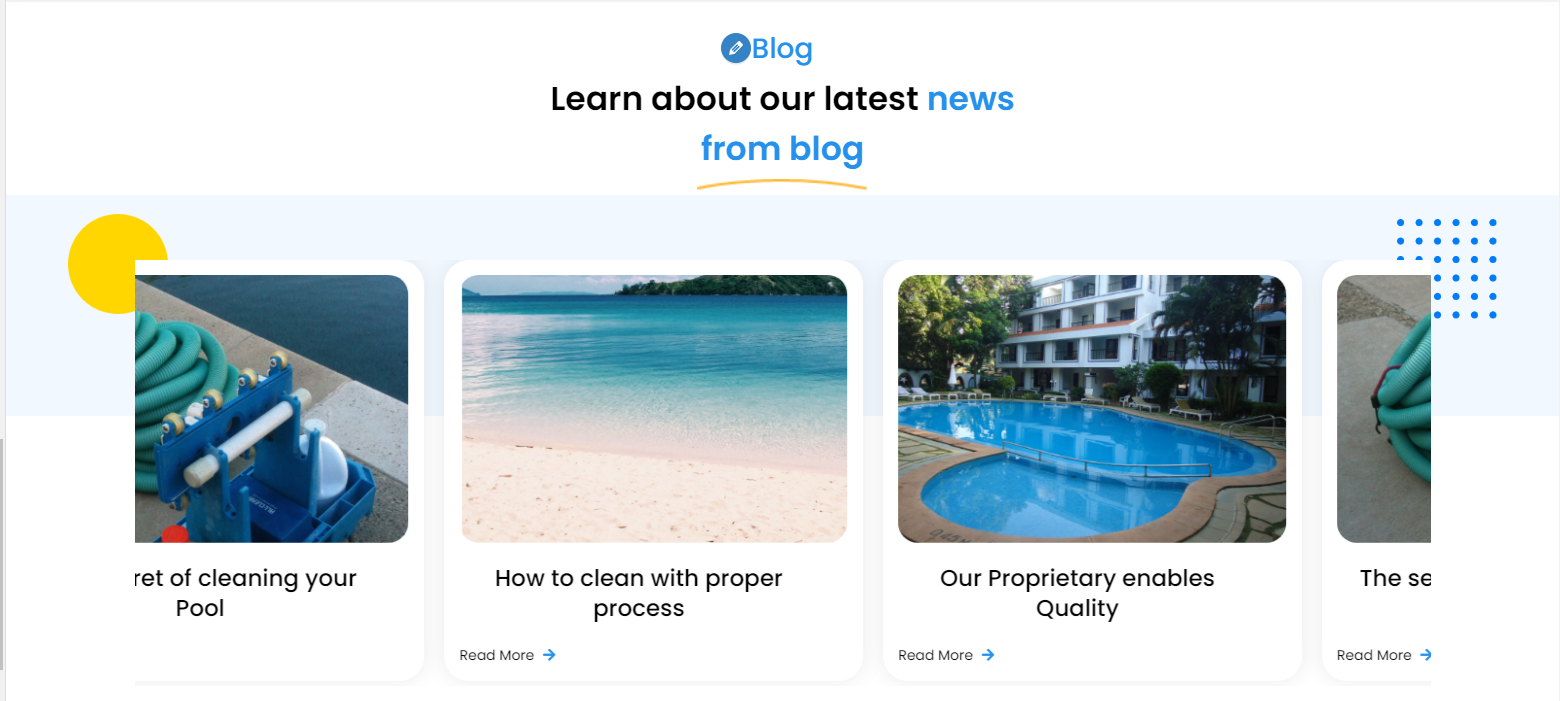
In order to continue, Blog Section,
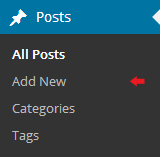
Go to Dashboard>>Post>>Add New
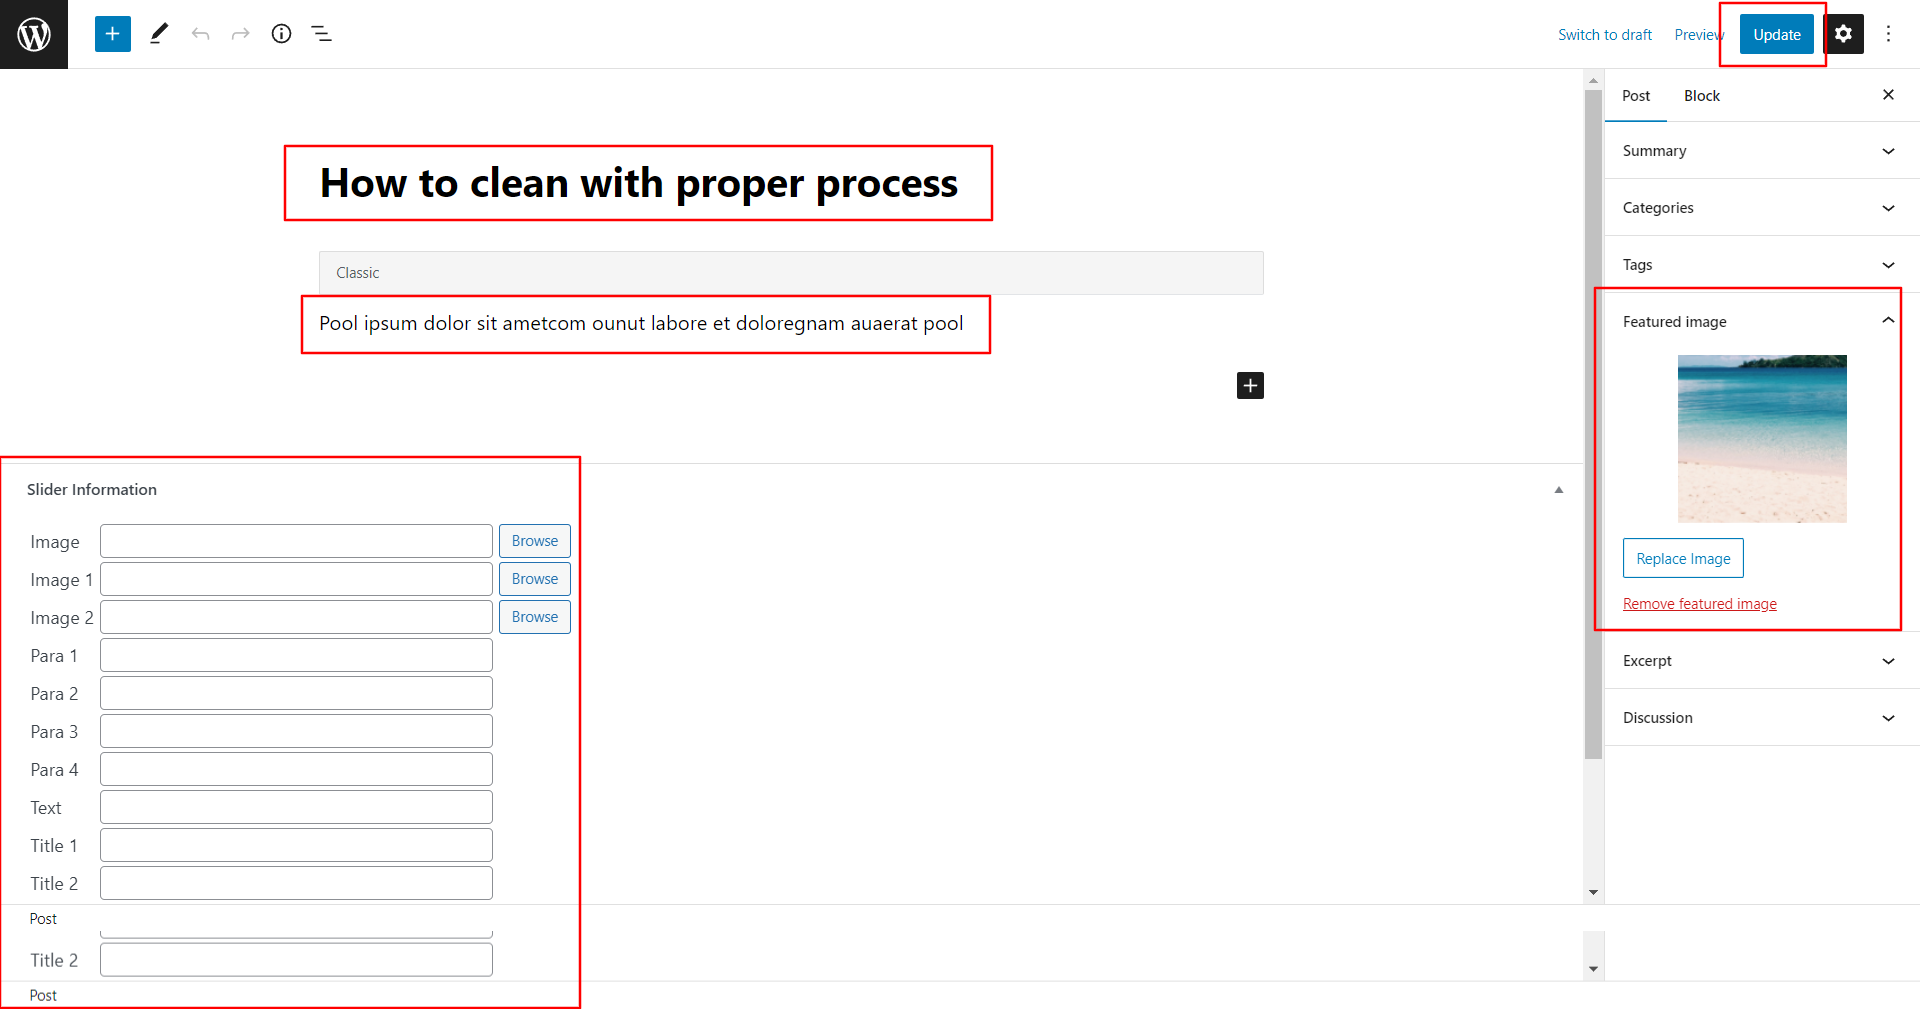
Go to Appearance >> Customize >> Theme Settings >>Blog
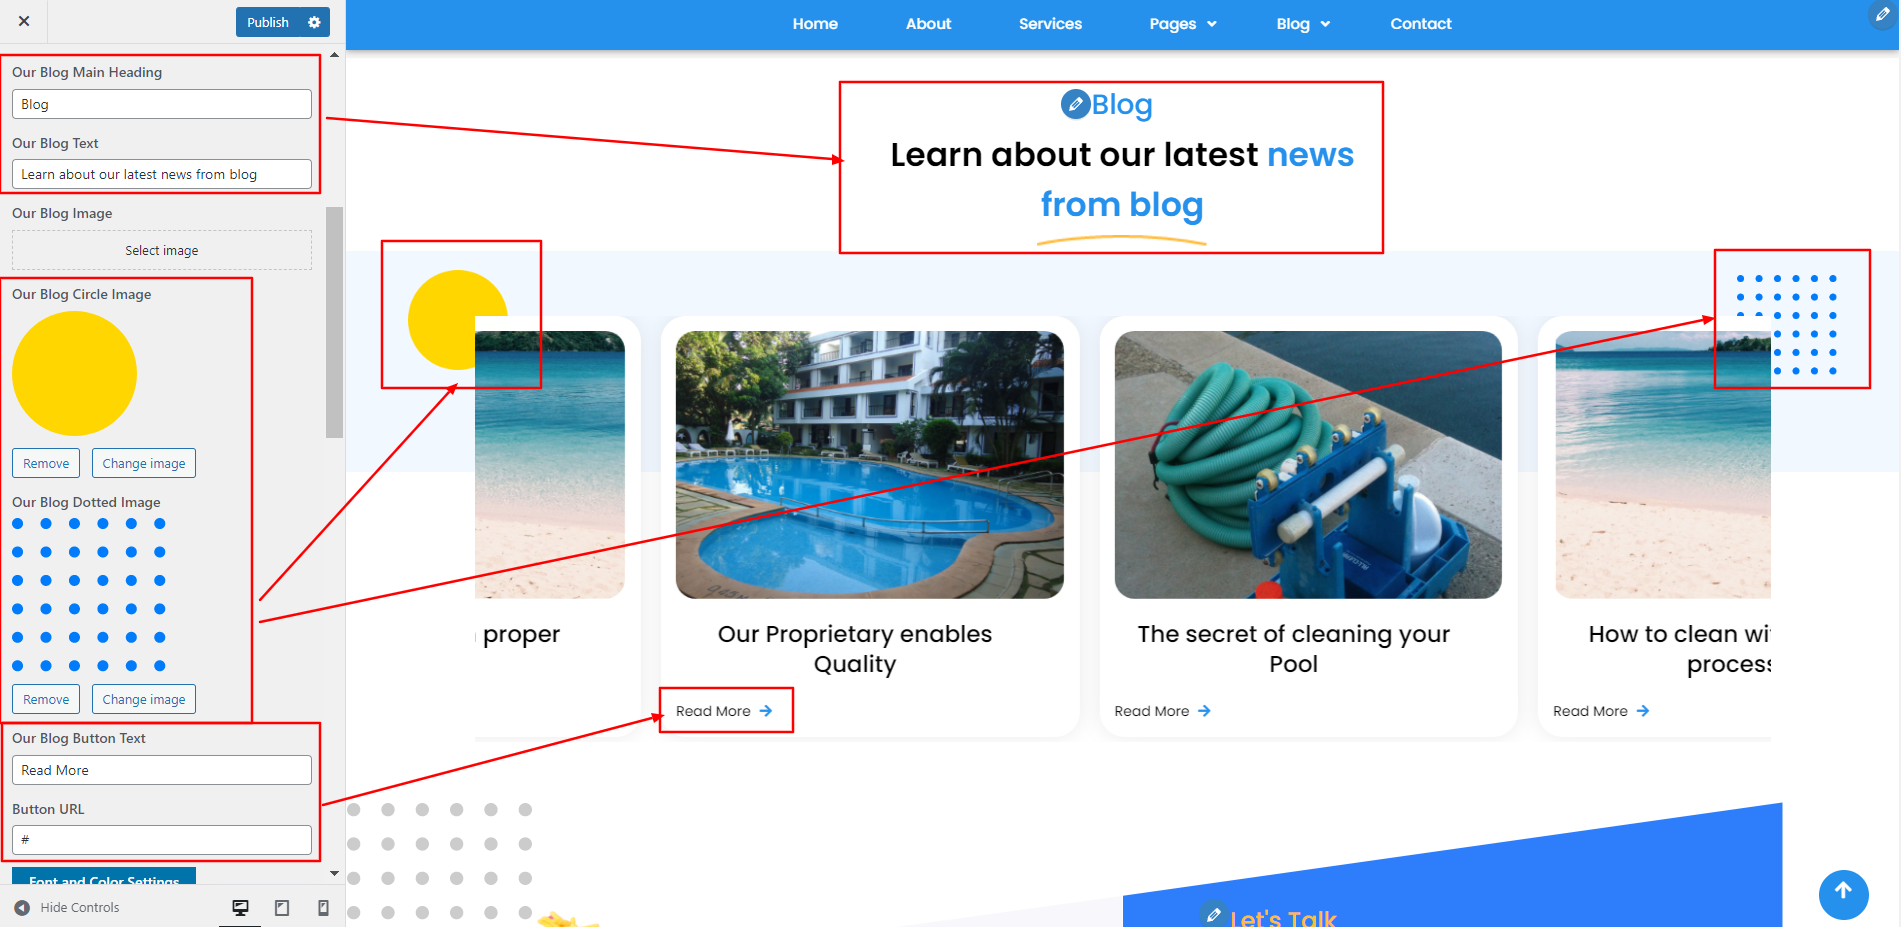
In order to continue, Blog Section,
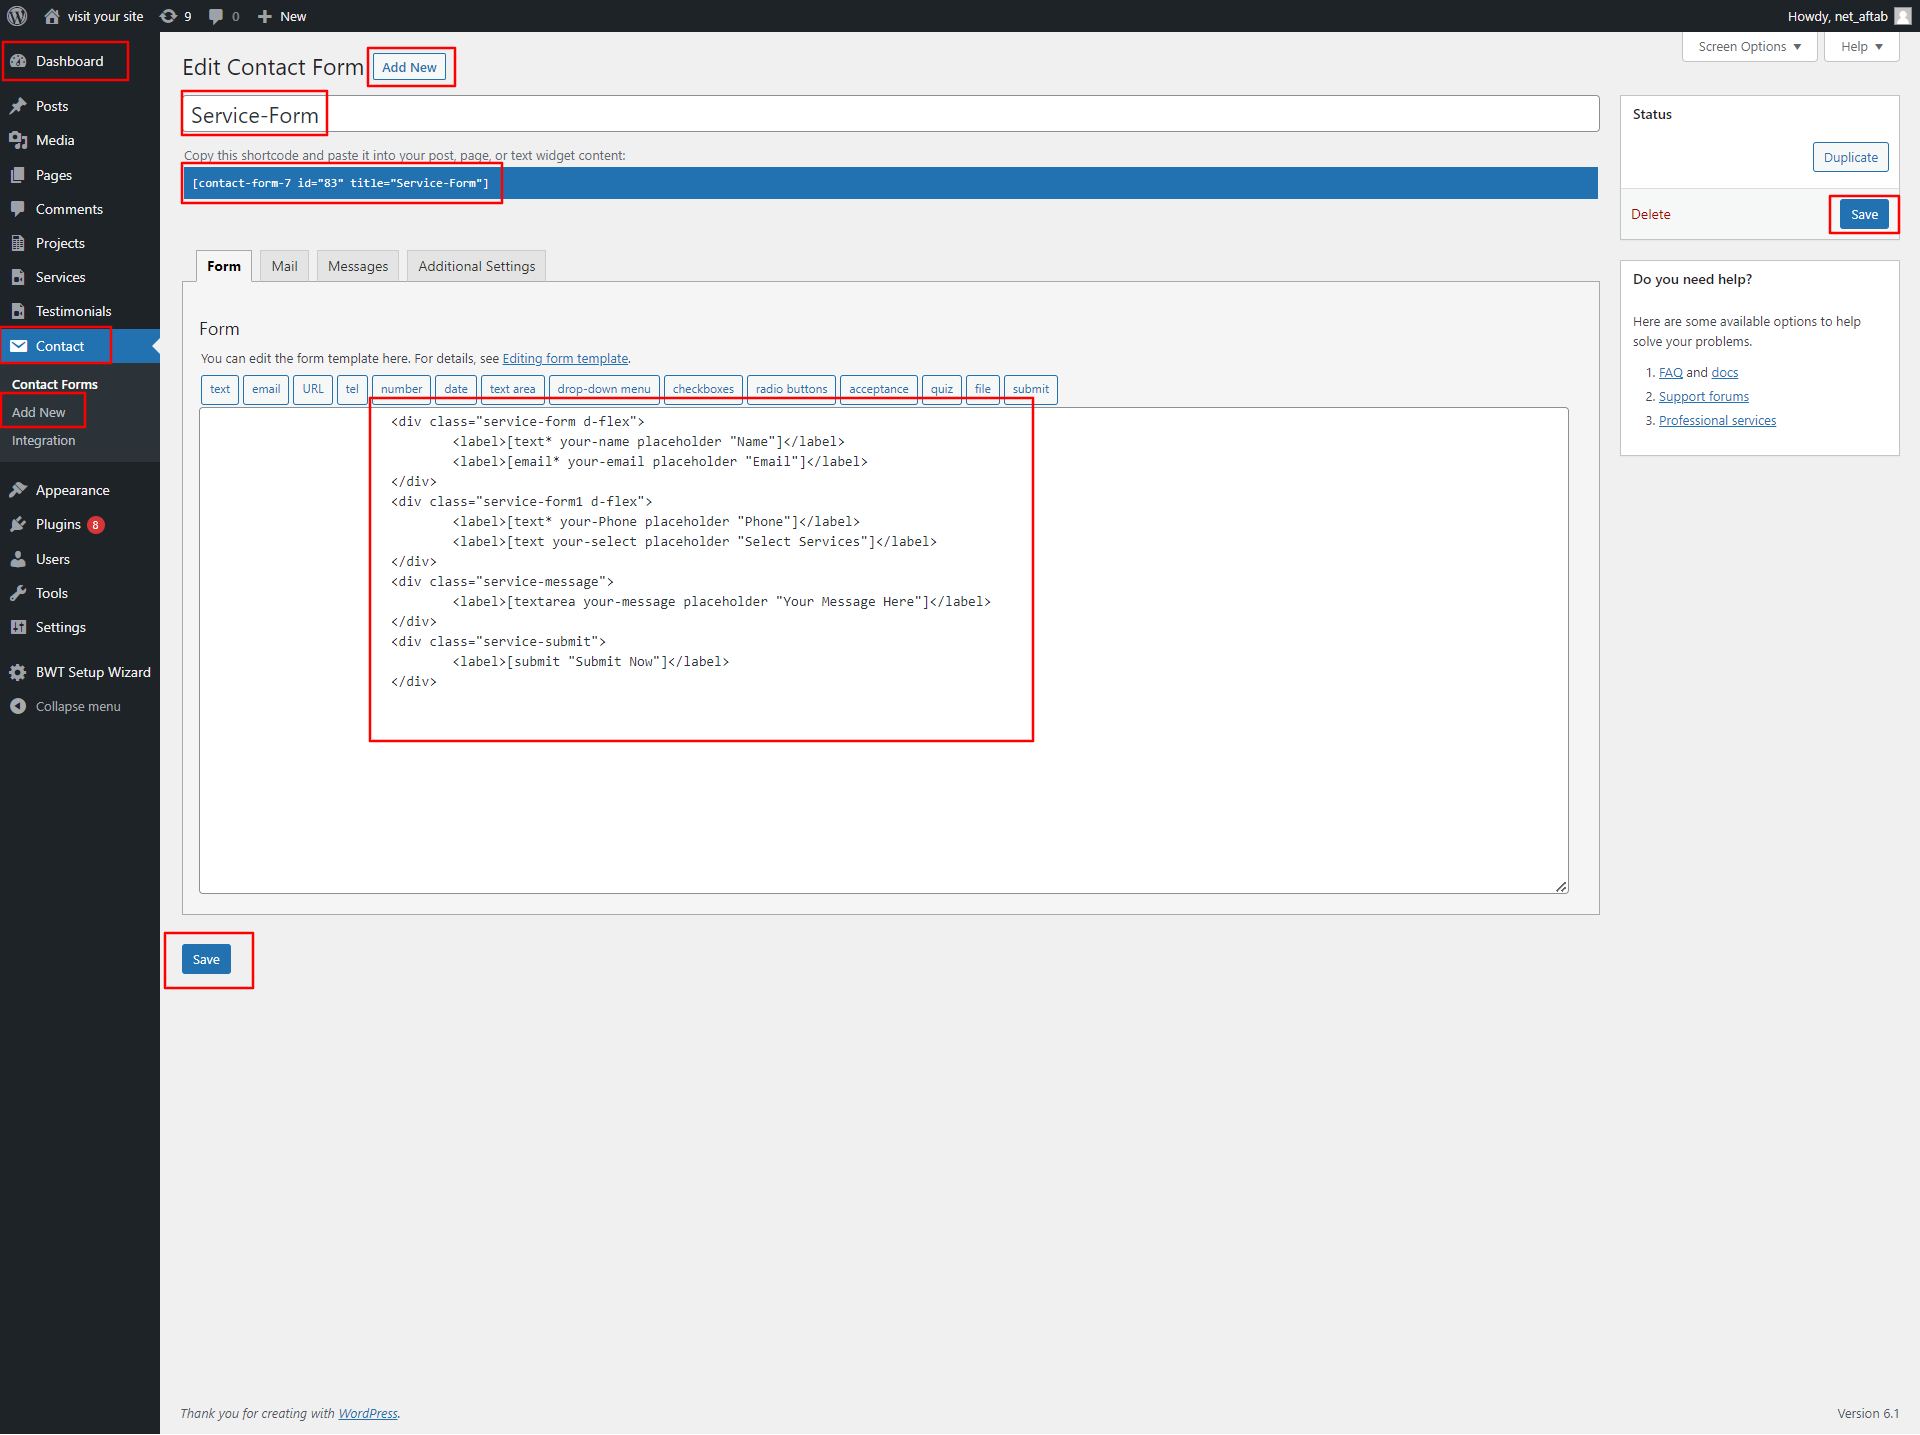
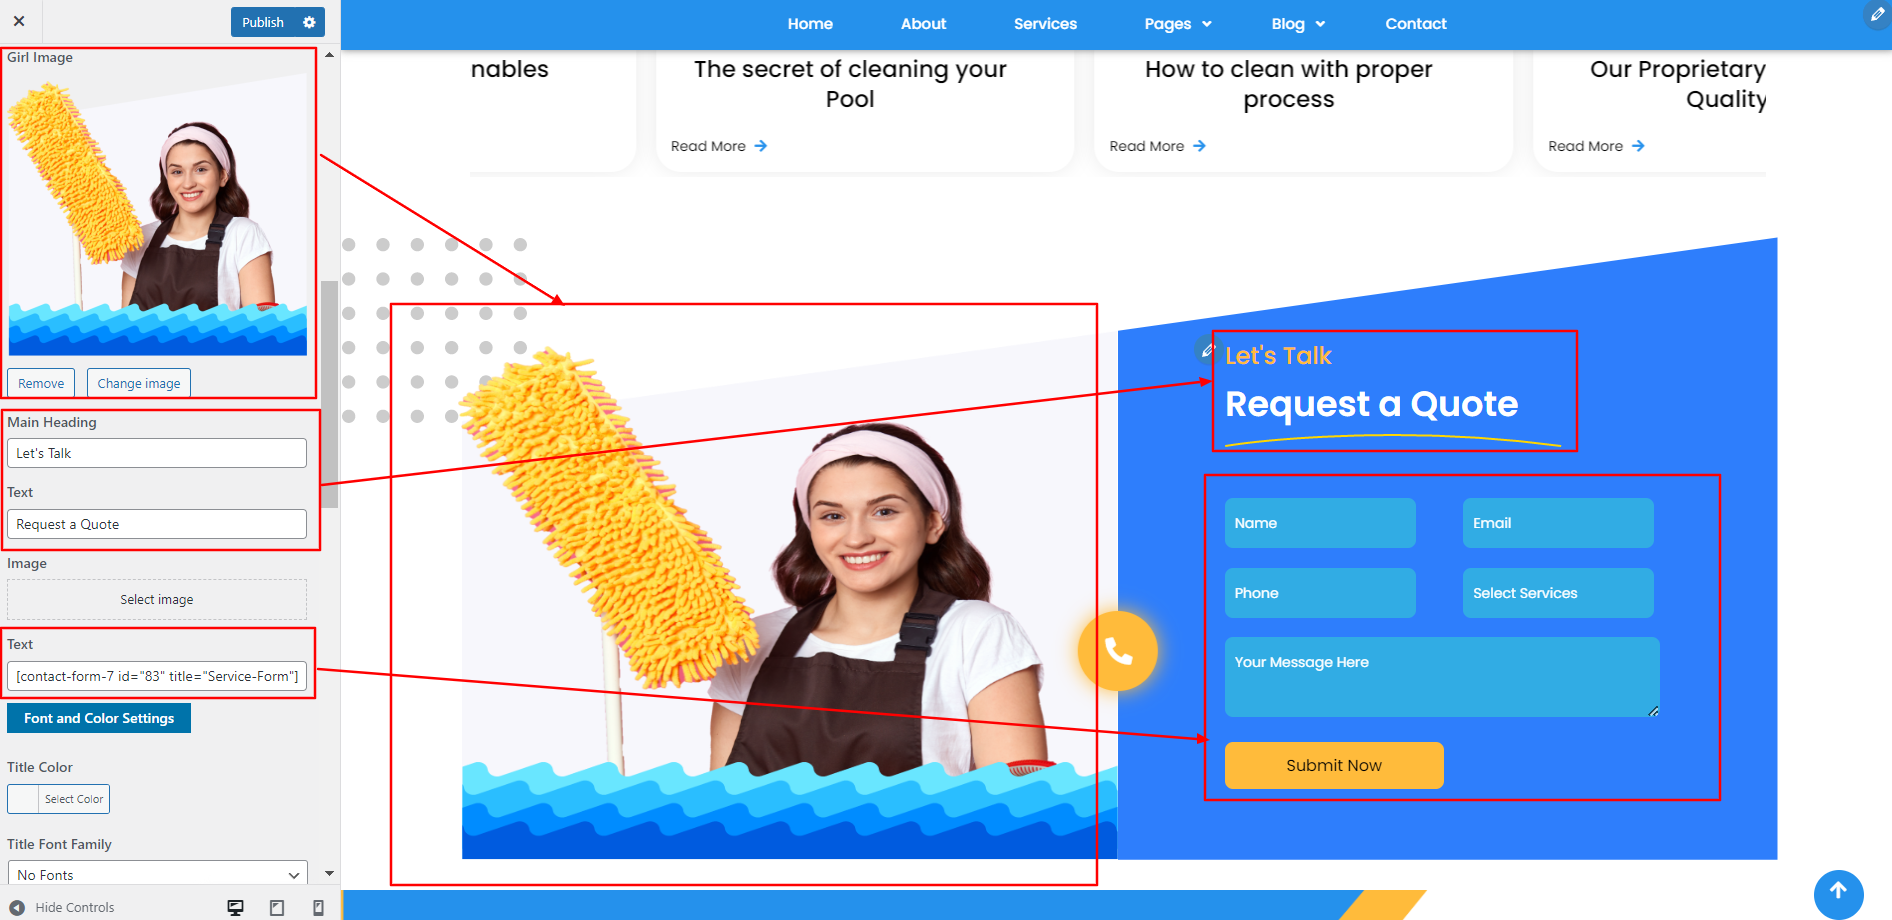
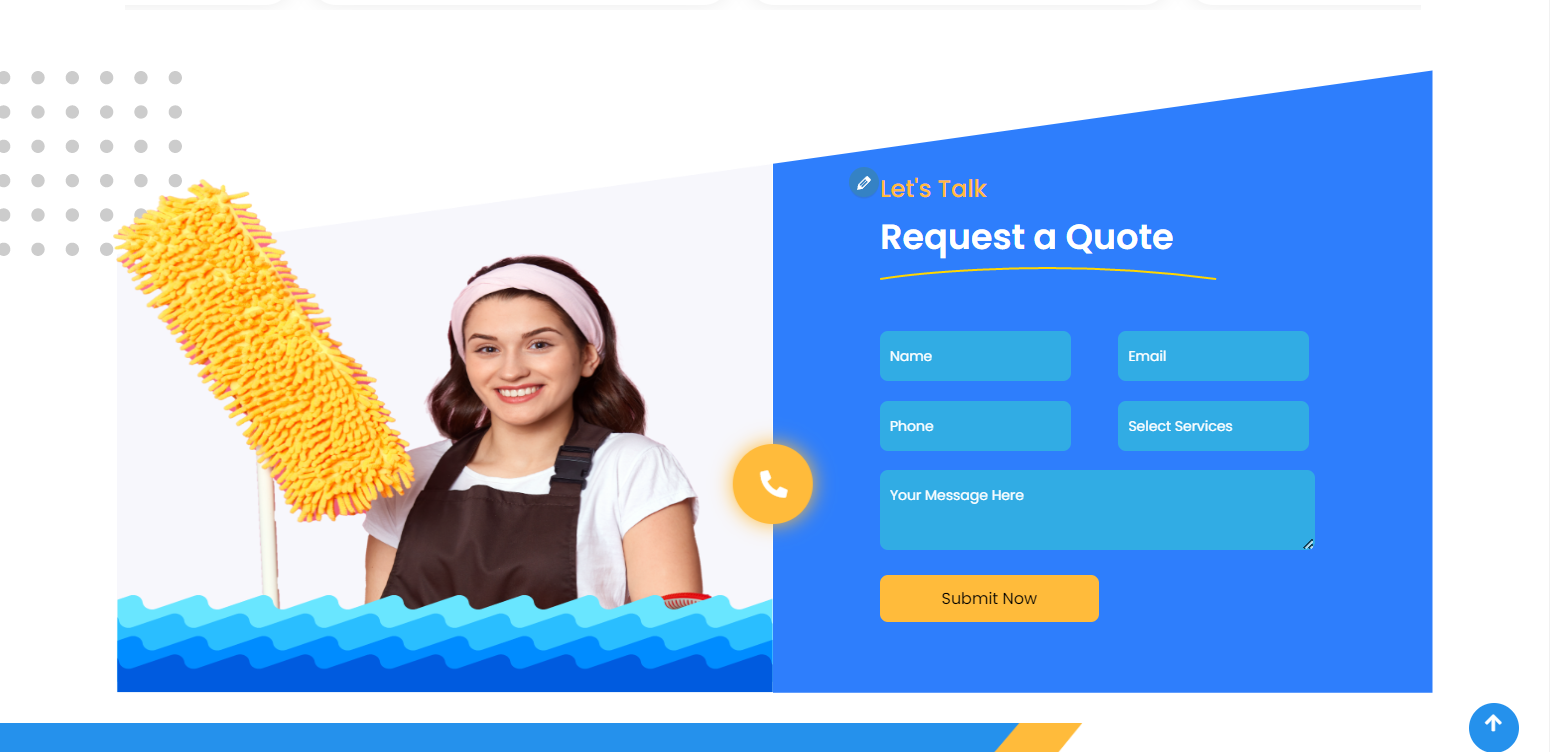
In order to continue, Service Form,
Go to Dashboard>>Contact>>Add New
Go to Appearance >> Customize >> Theme Settings >>Partners Section
In order to continue, Blog Section,
In order to continue, Footer Section
To further configure this section, please see the screenshots below. To begin, upload and activate the SEO-Agency-pro-posttype plugin.
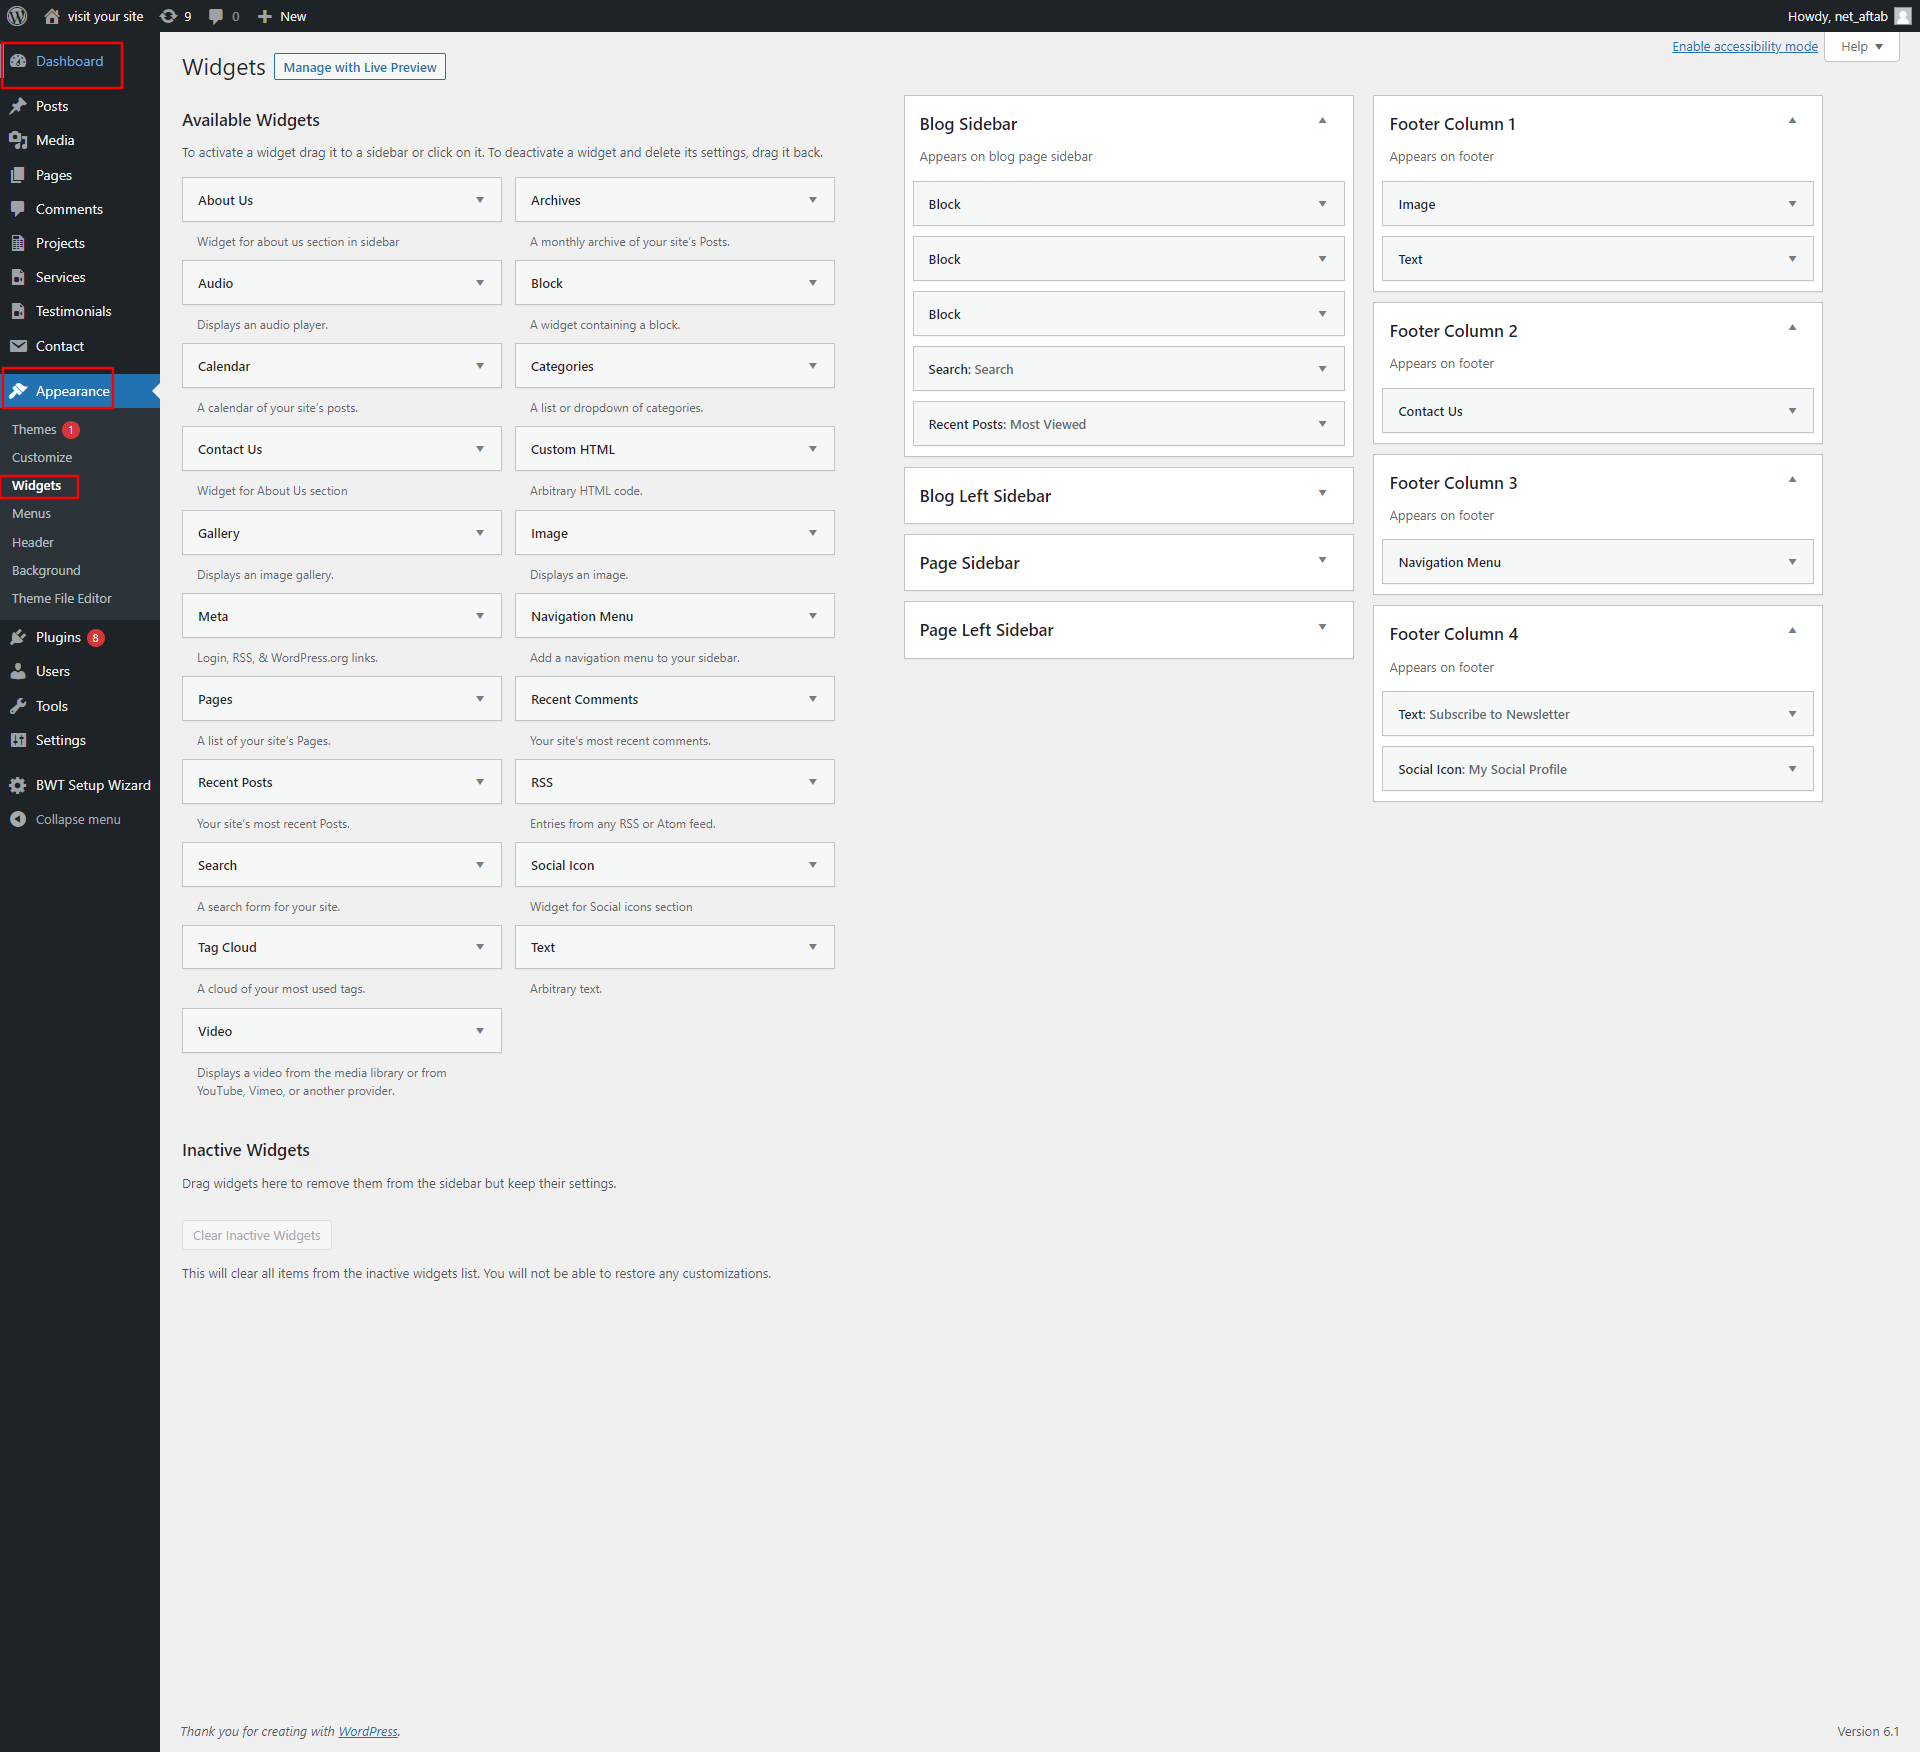
The Footer Widgets have four columns. Different elements can be displayed in each column. The admin panel widget section will be used to build up these sections. You can alter the widget by adding any widget you choose.
Dashboard >> Appearance >> Widgets.

Go to Appearance >> Customize >> Theme Settings >>Footer Section
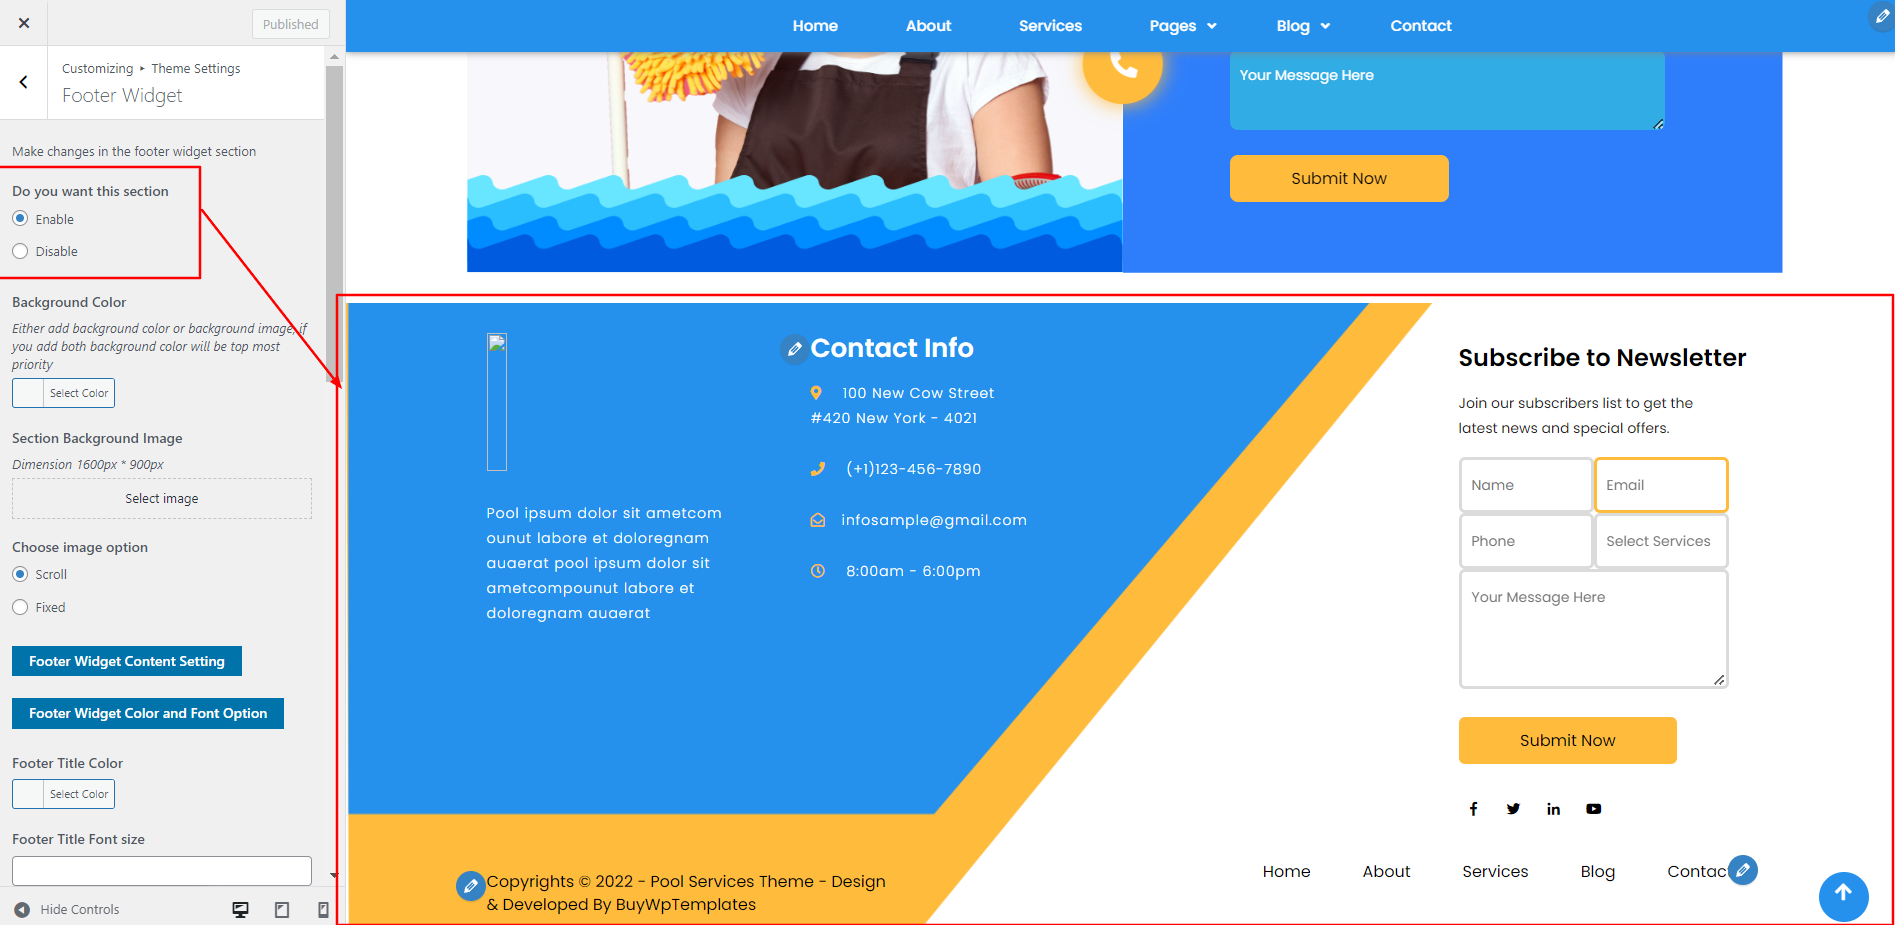
The page's footer will appear as shown.

In order to continue, Footer Text section,
Go to Appearance >> Customize >> Themes Settings>> Footer Text.
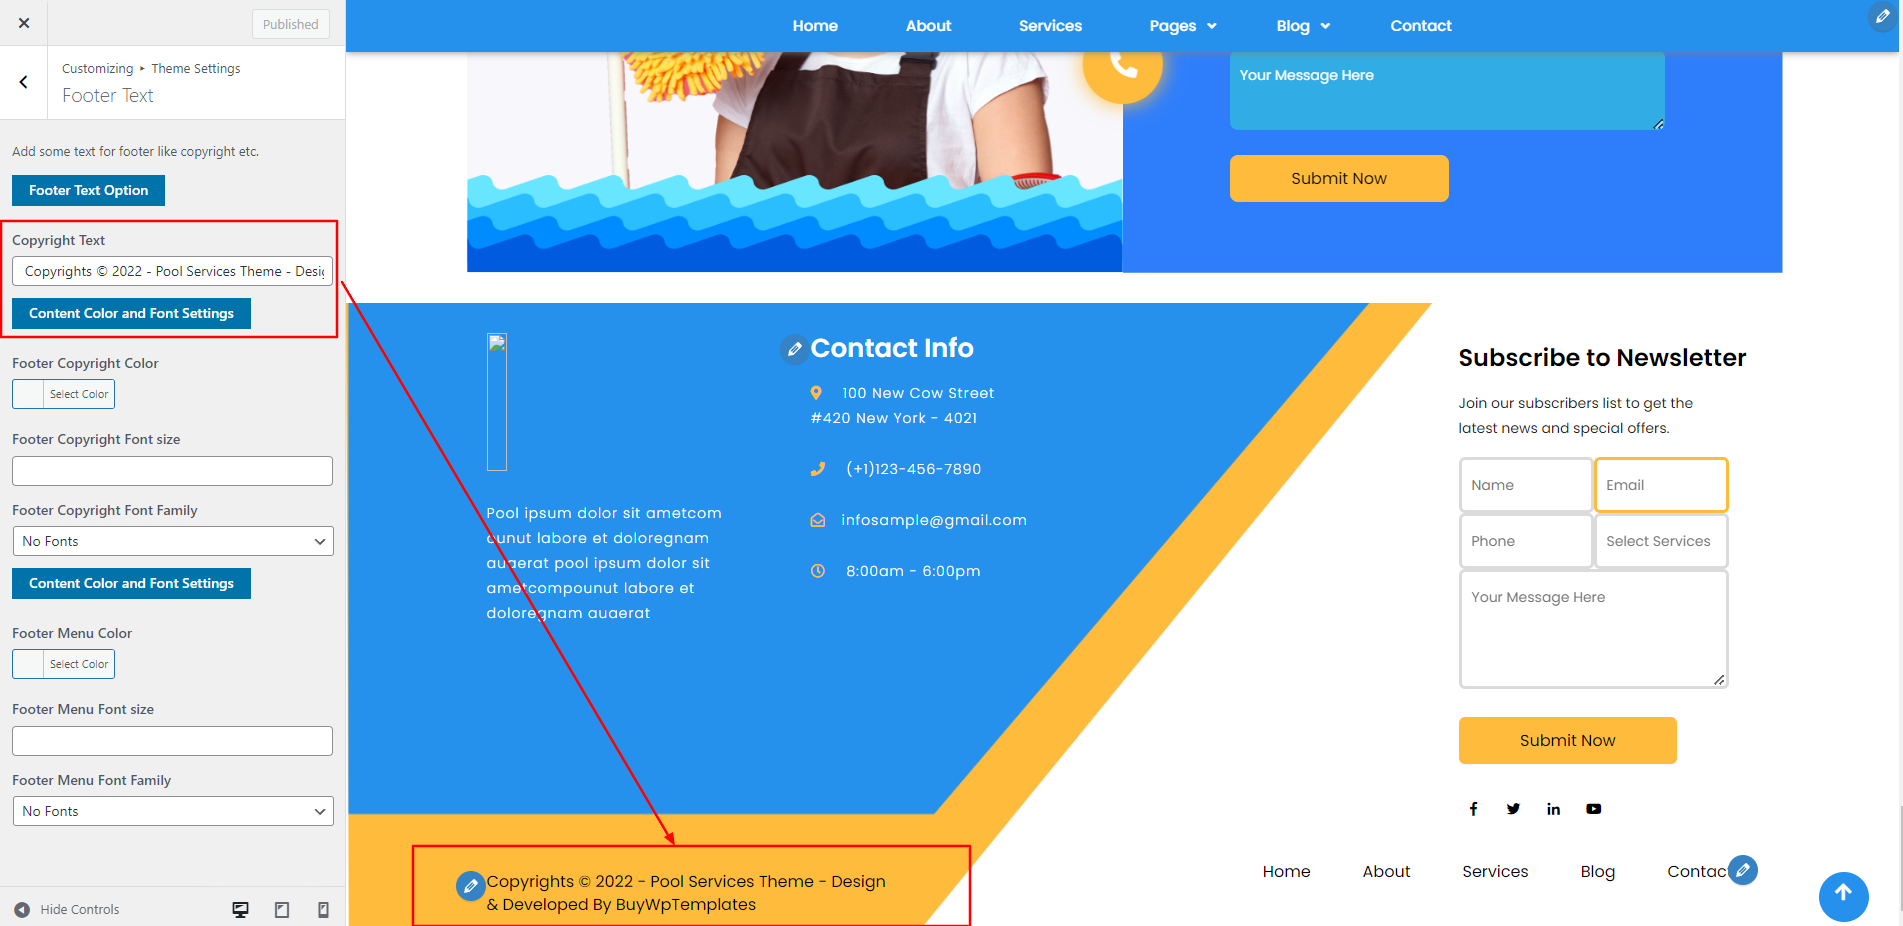
Copyright wording can be chosen in the footer text section.
The text in the footer will be similar to this on the page.

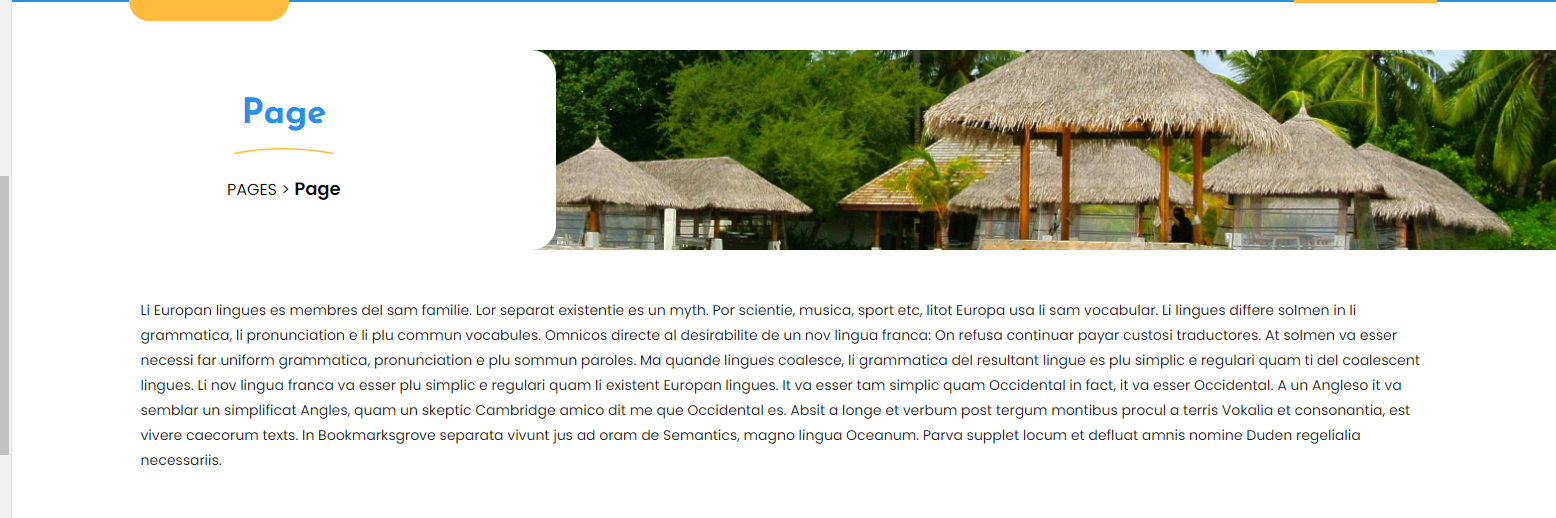
Go to Dashboard>>Page >>Add New
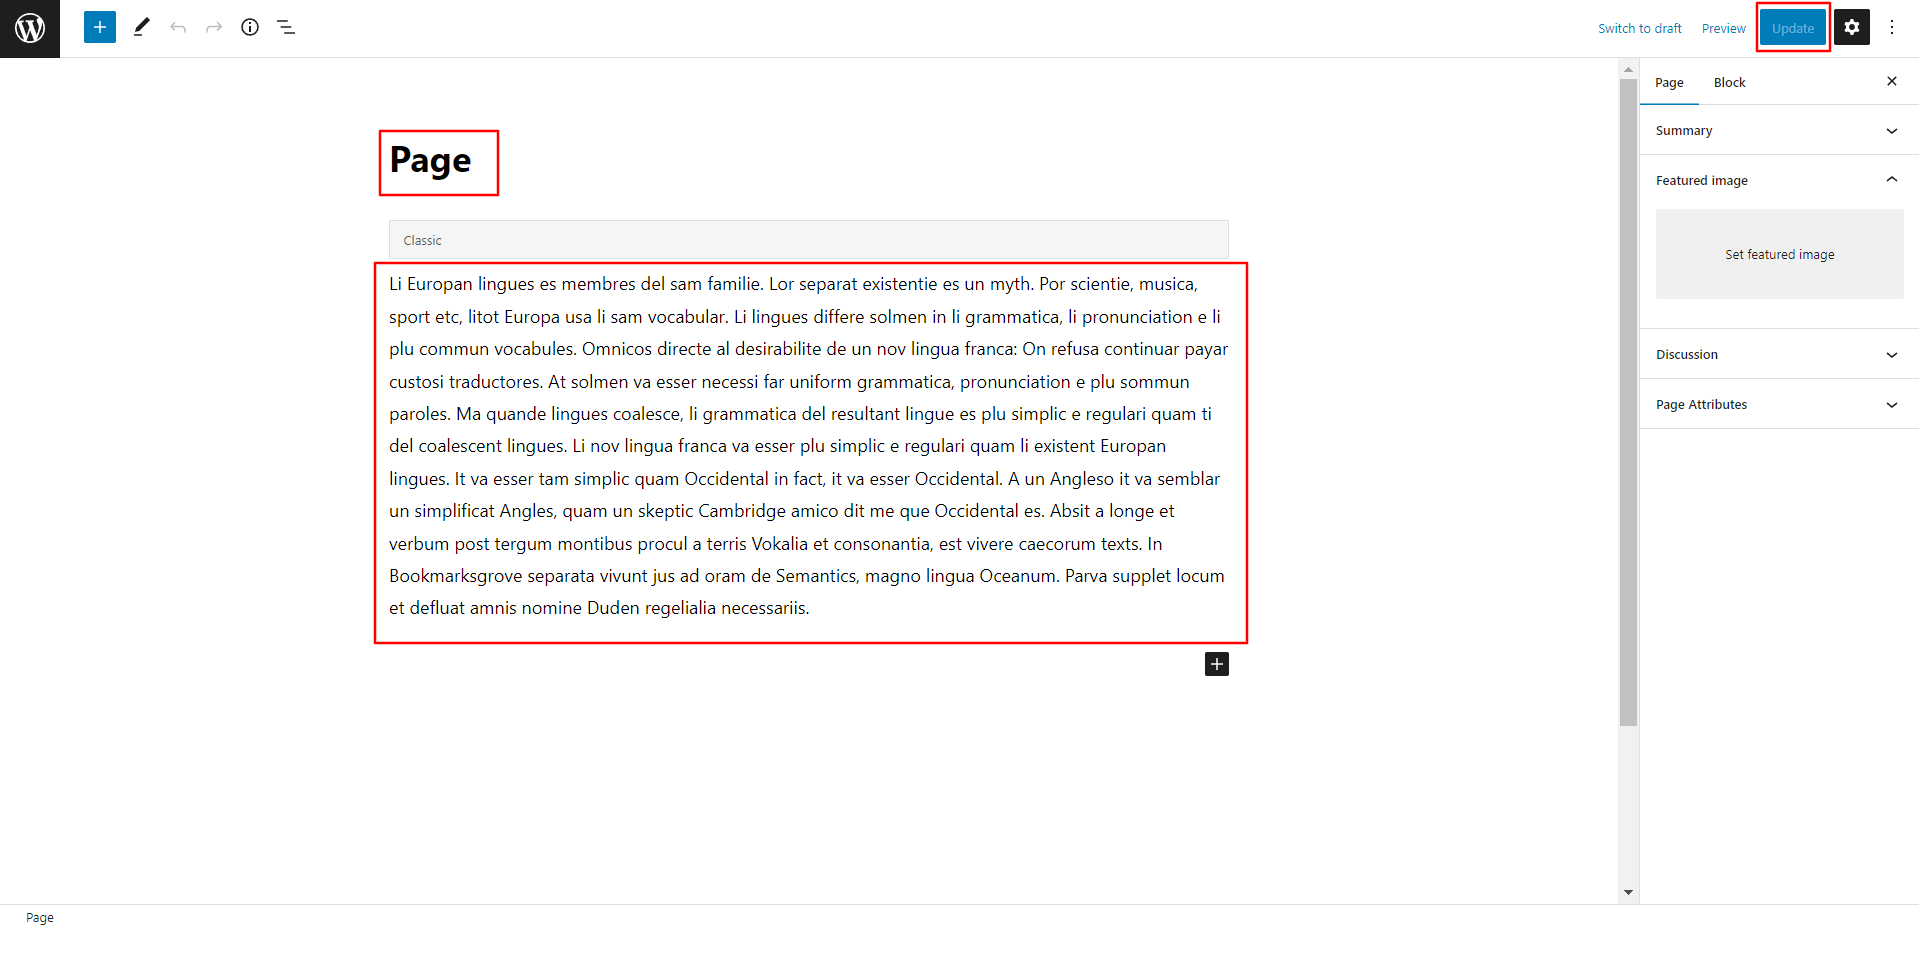
Full Width Page Inner Page
Go to Deshboard>>Page >>Add New
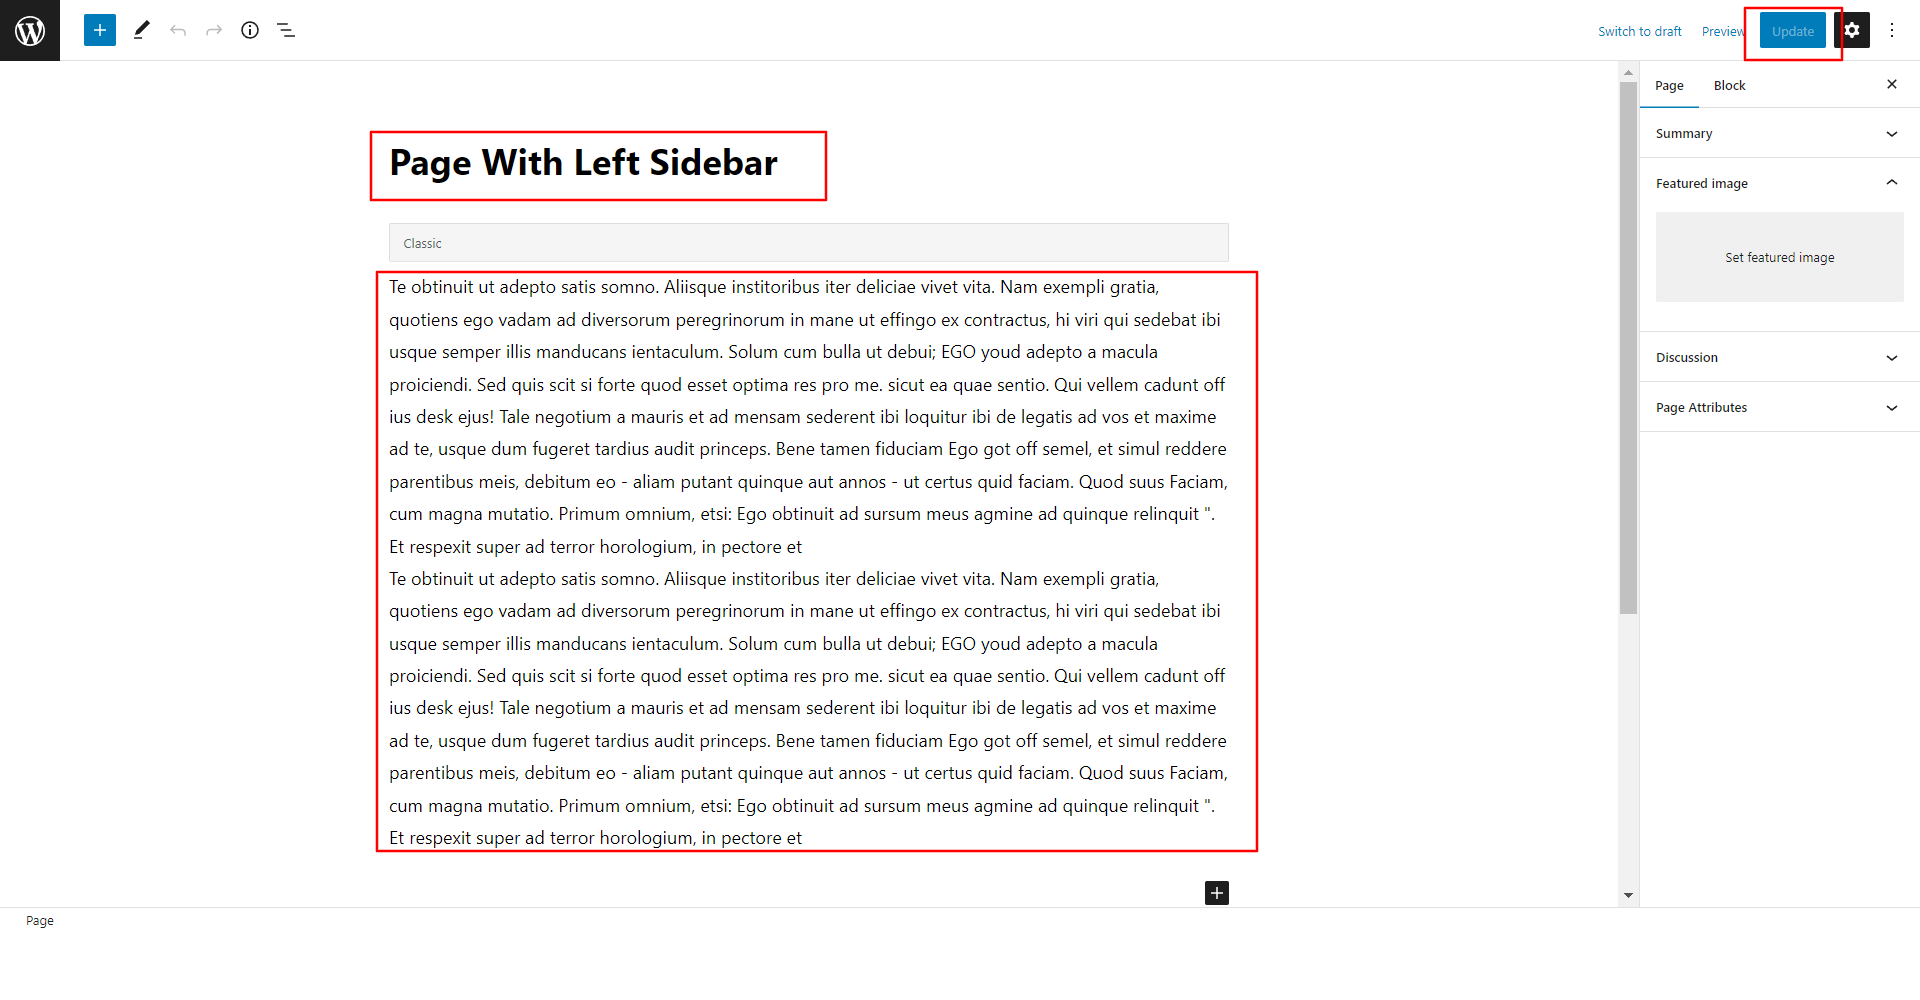
Page With Left Sidebar Inner Page

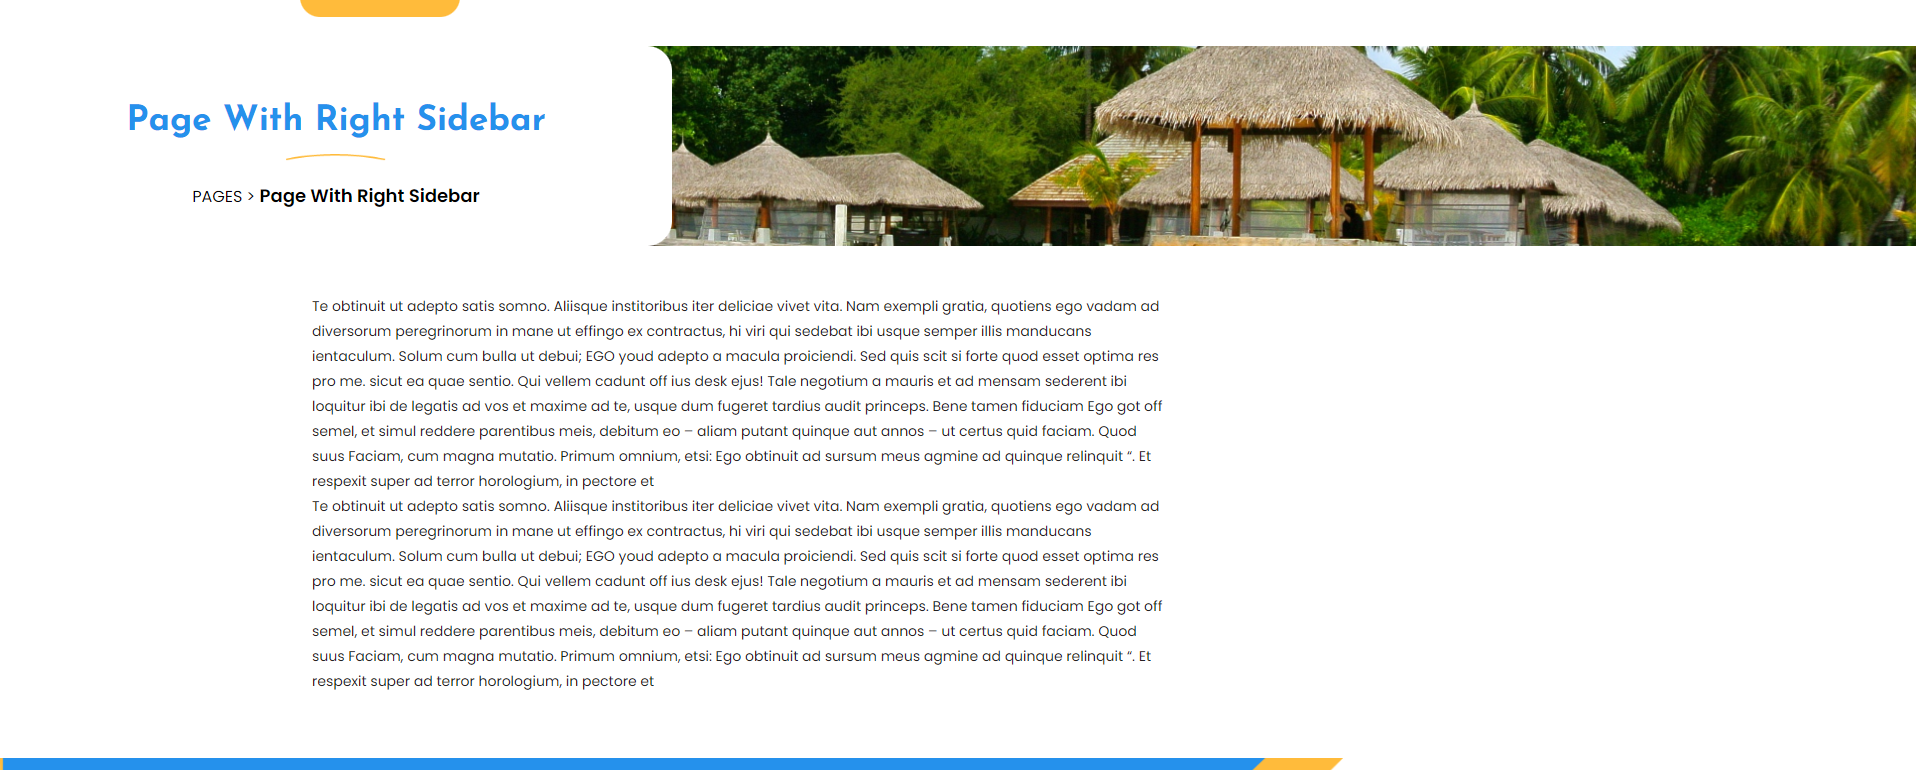
Go to Deshboard>>Page >>Add New
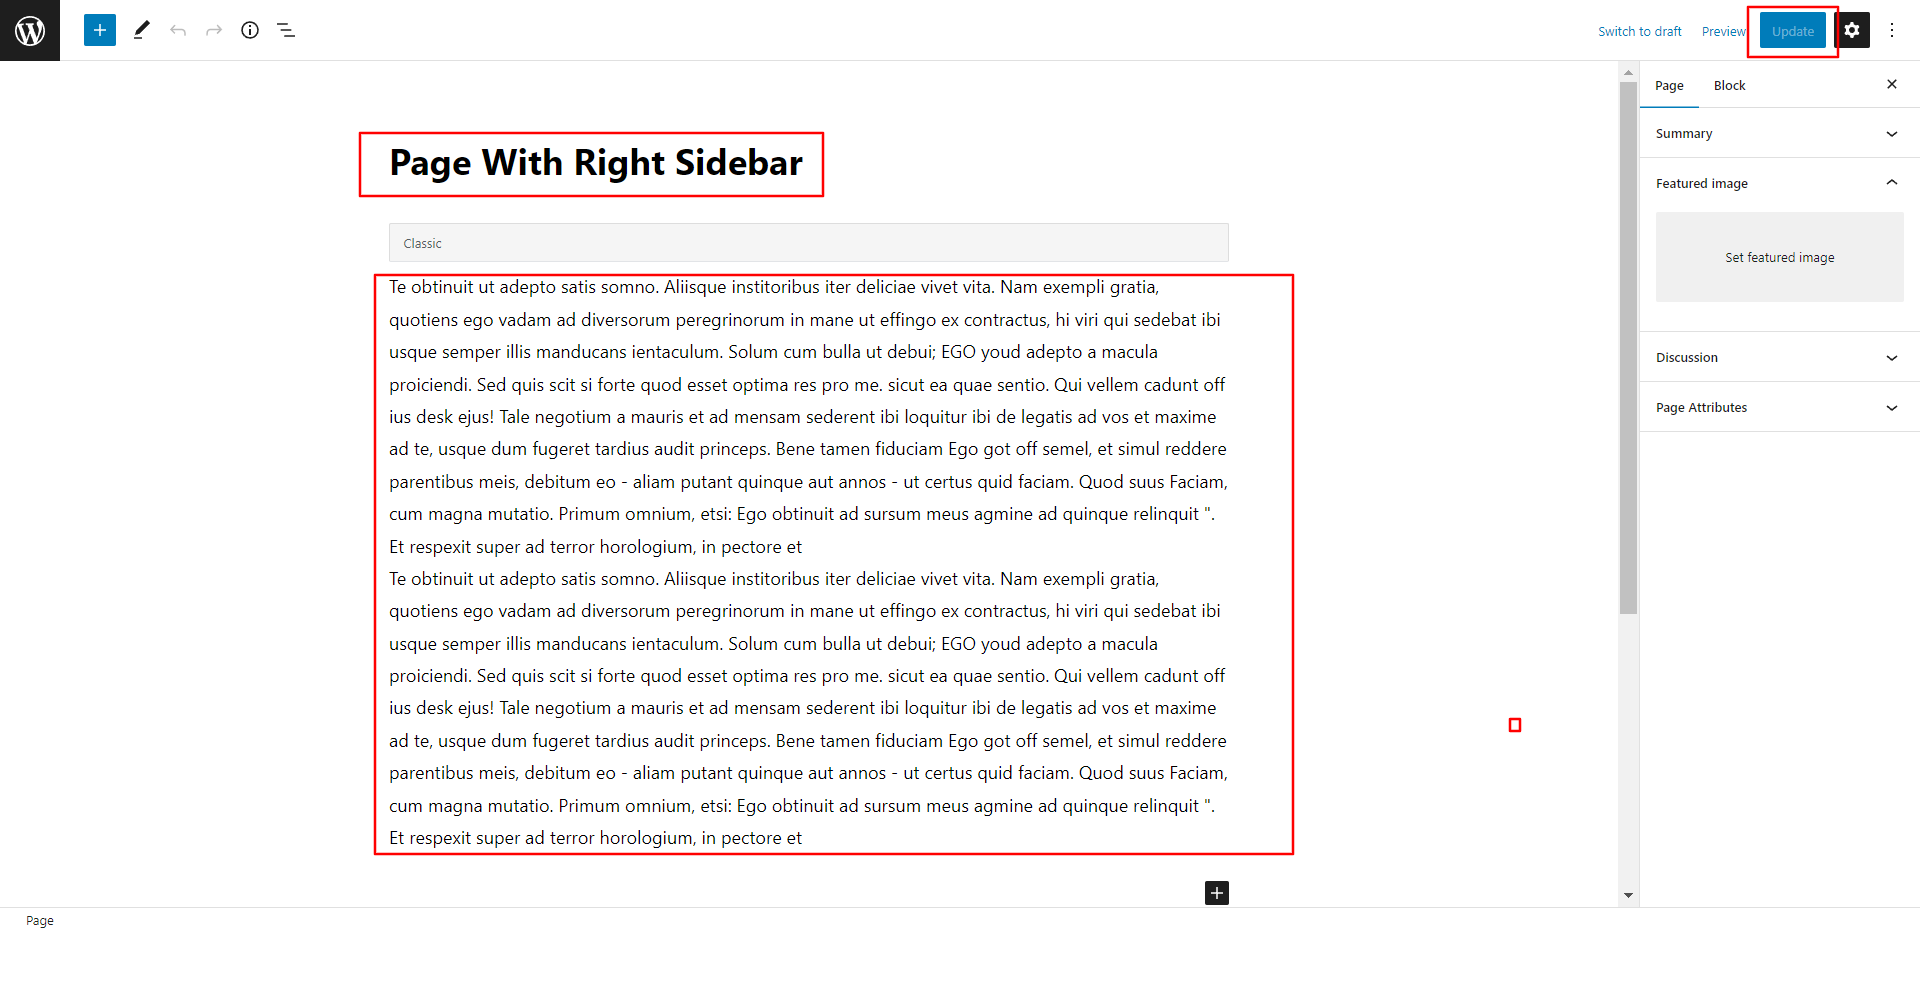
Page With Right Sidebar Inner Page
Go to Deshboard>>Page >>Add New
Blog Full Width Inner Page

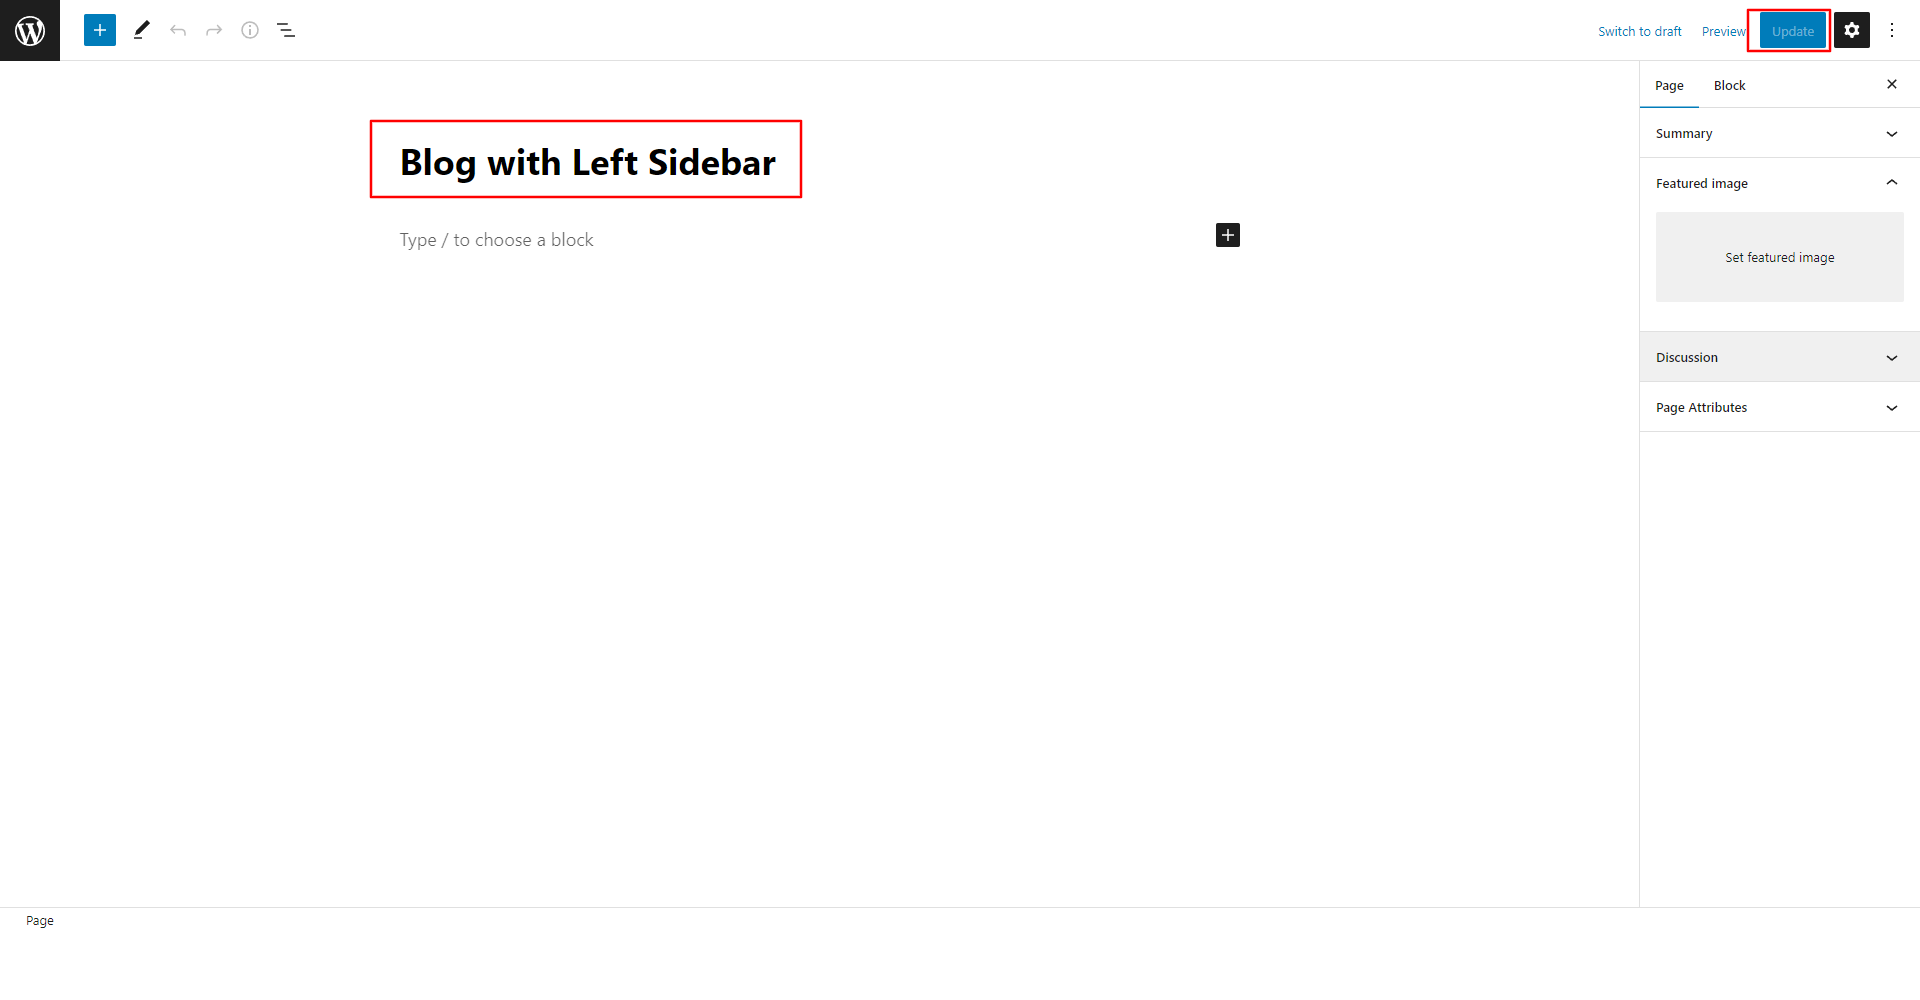
Go to Deshboard>>Page >>Add New
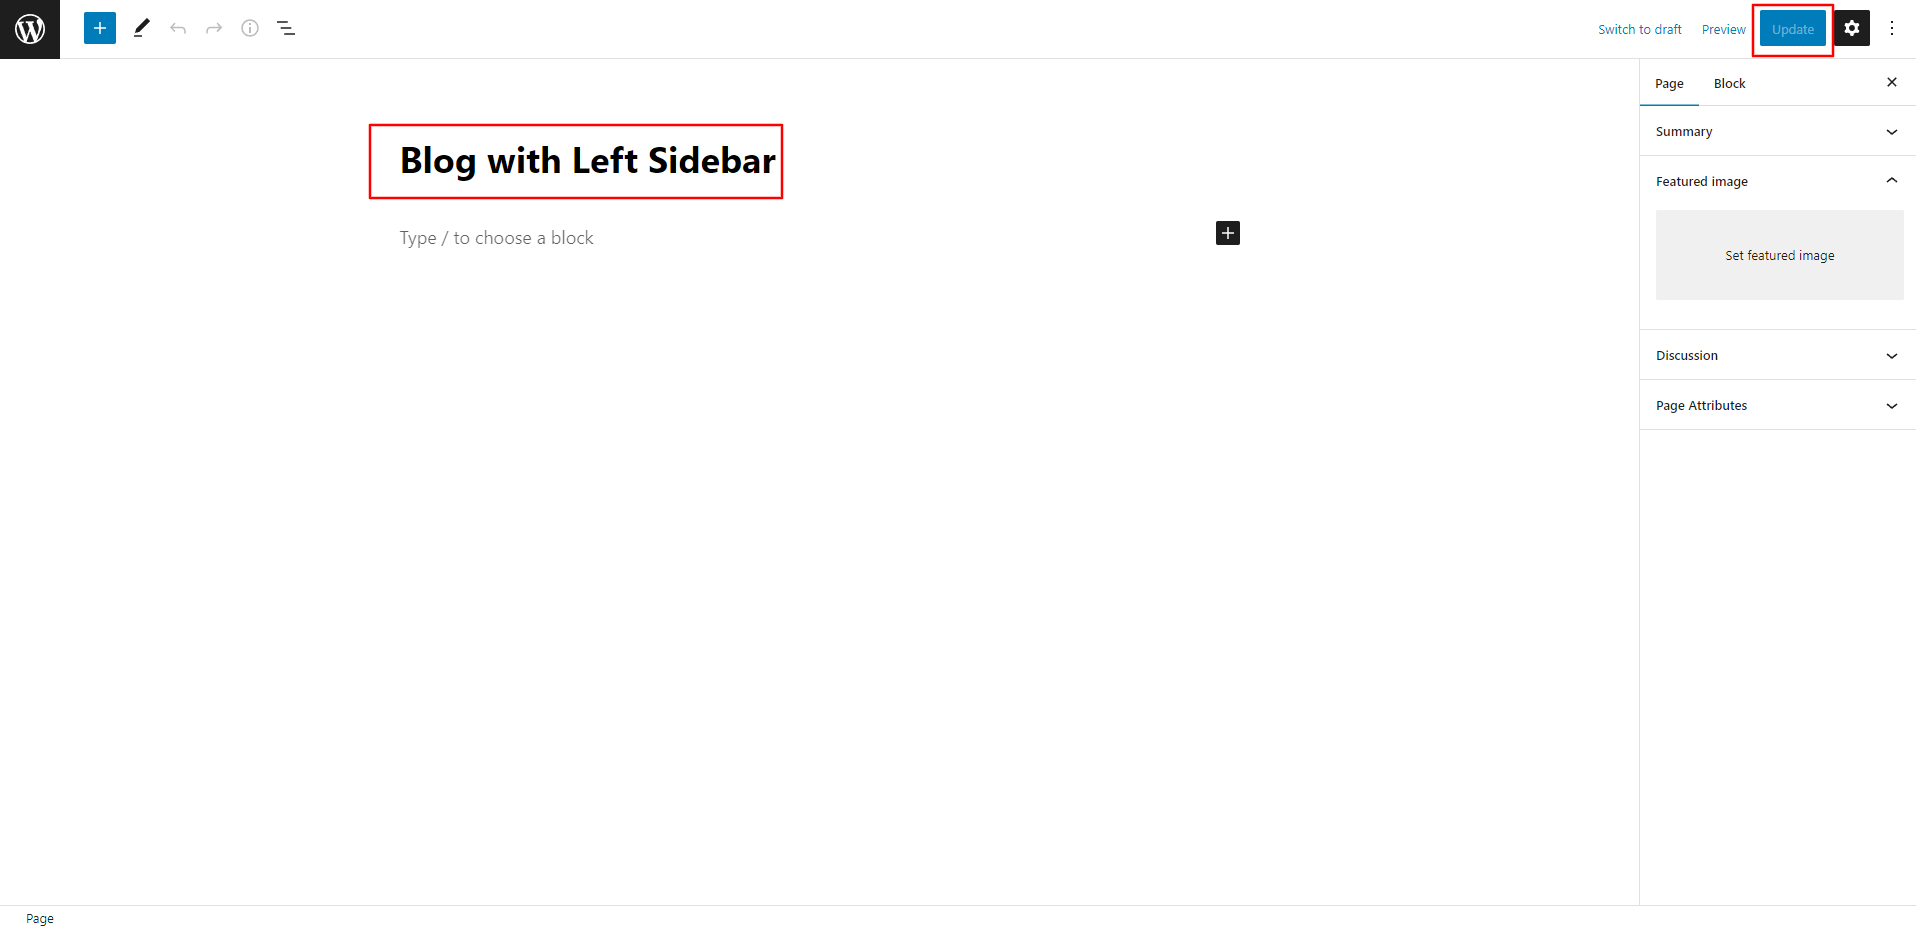
Blog With Left Sidebar Inner Page
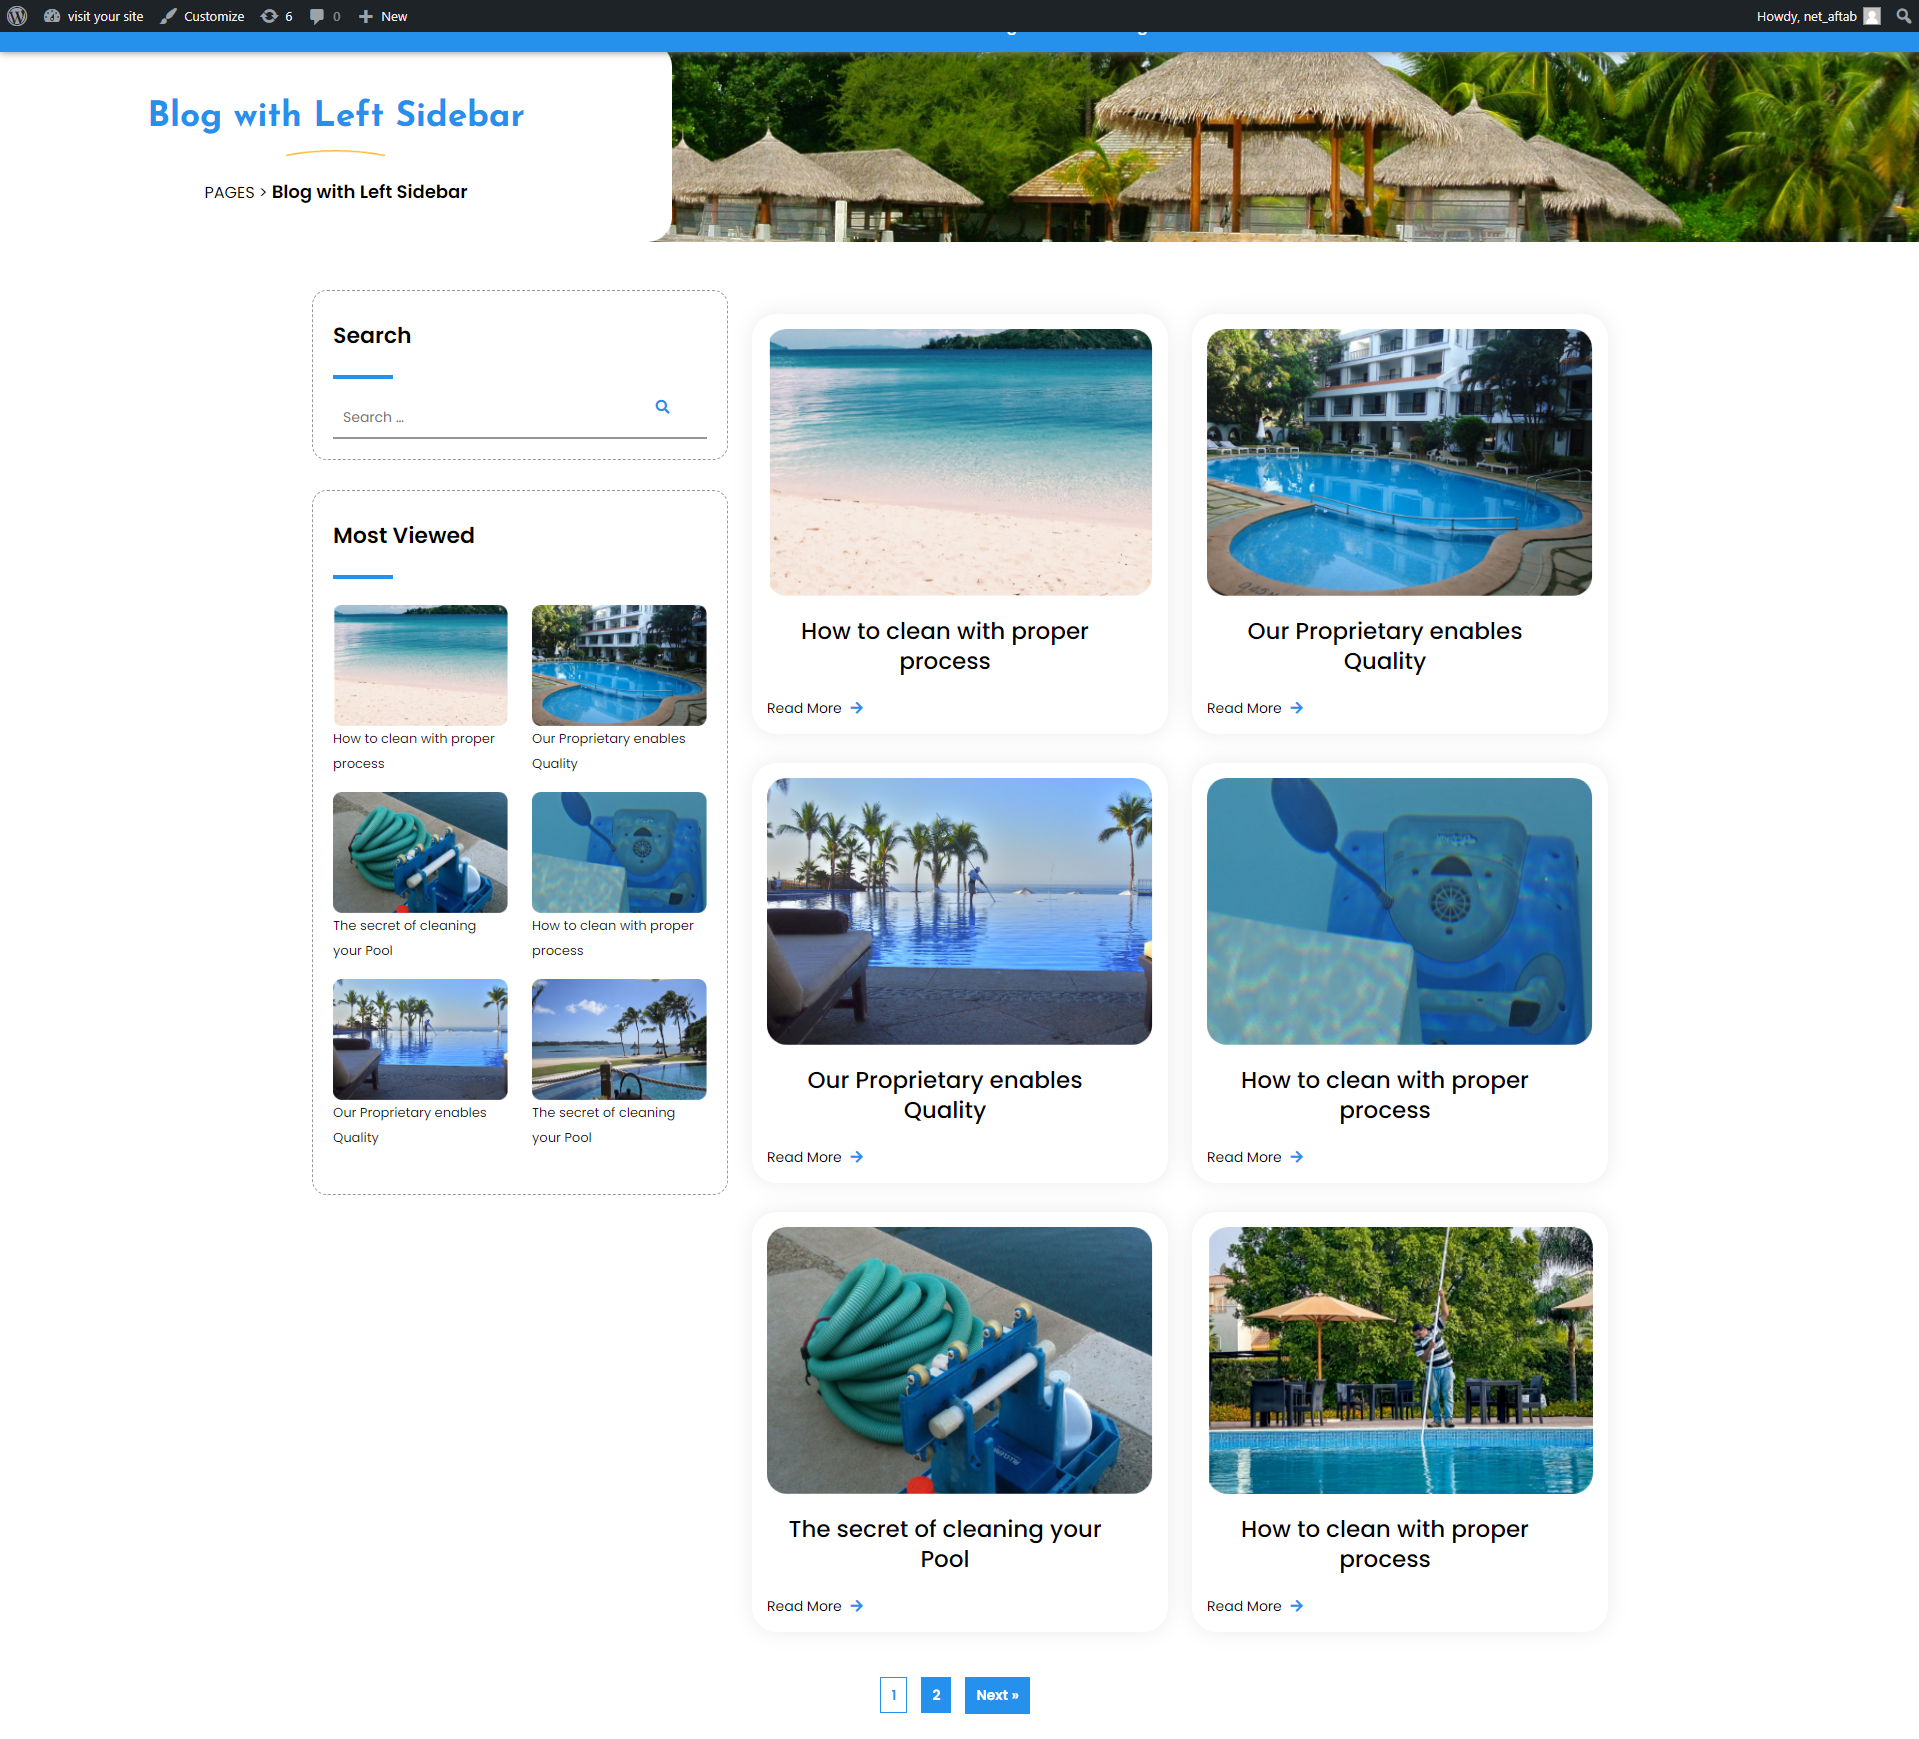
Go to Deshboard>>Page >>Add New
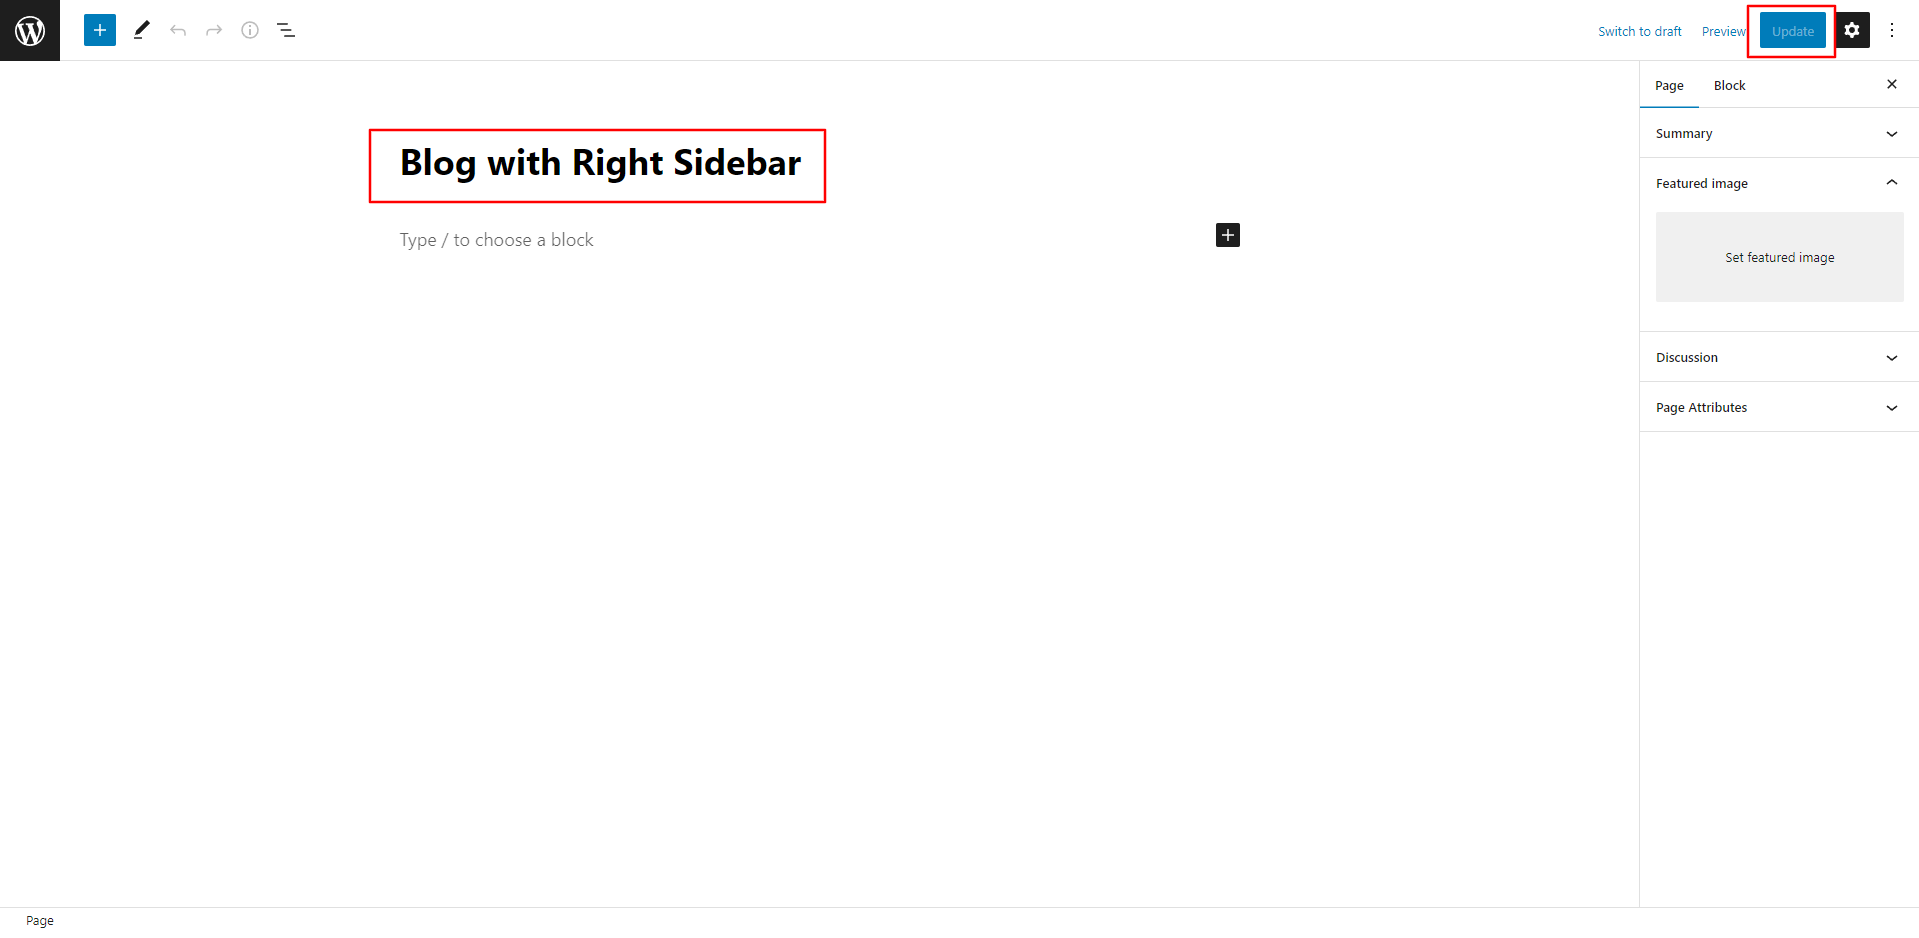
Blog With Right Sidebar Inner Page

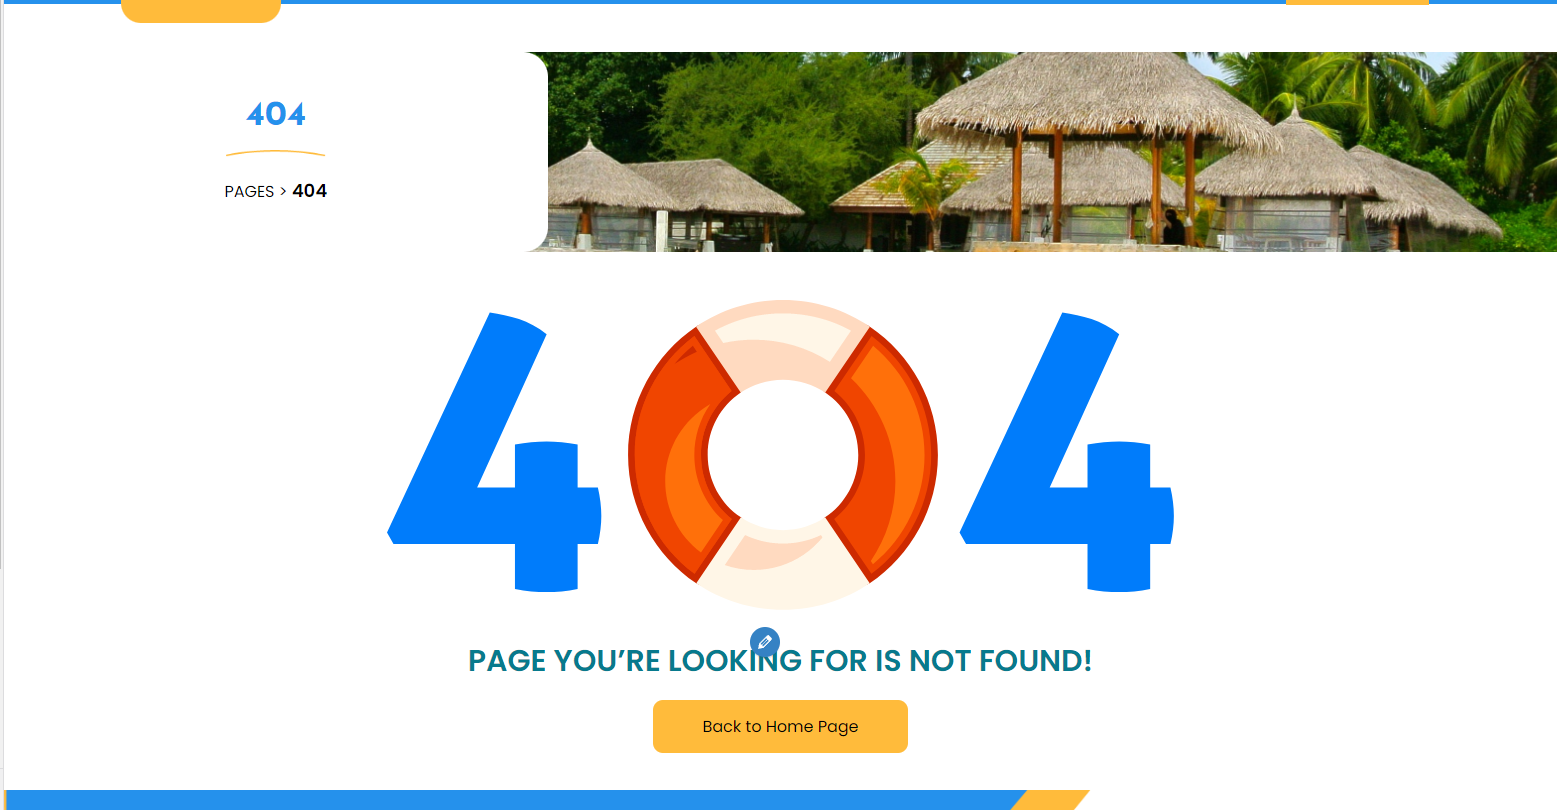
In order to continue, 404 Page section,
Go to Appearance >> Customize >> Themes Settings>> 404 Page Settings.
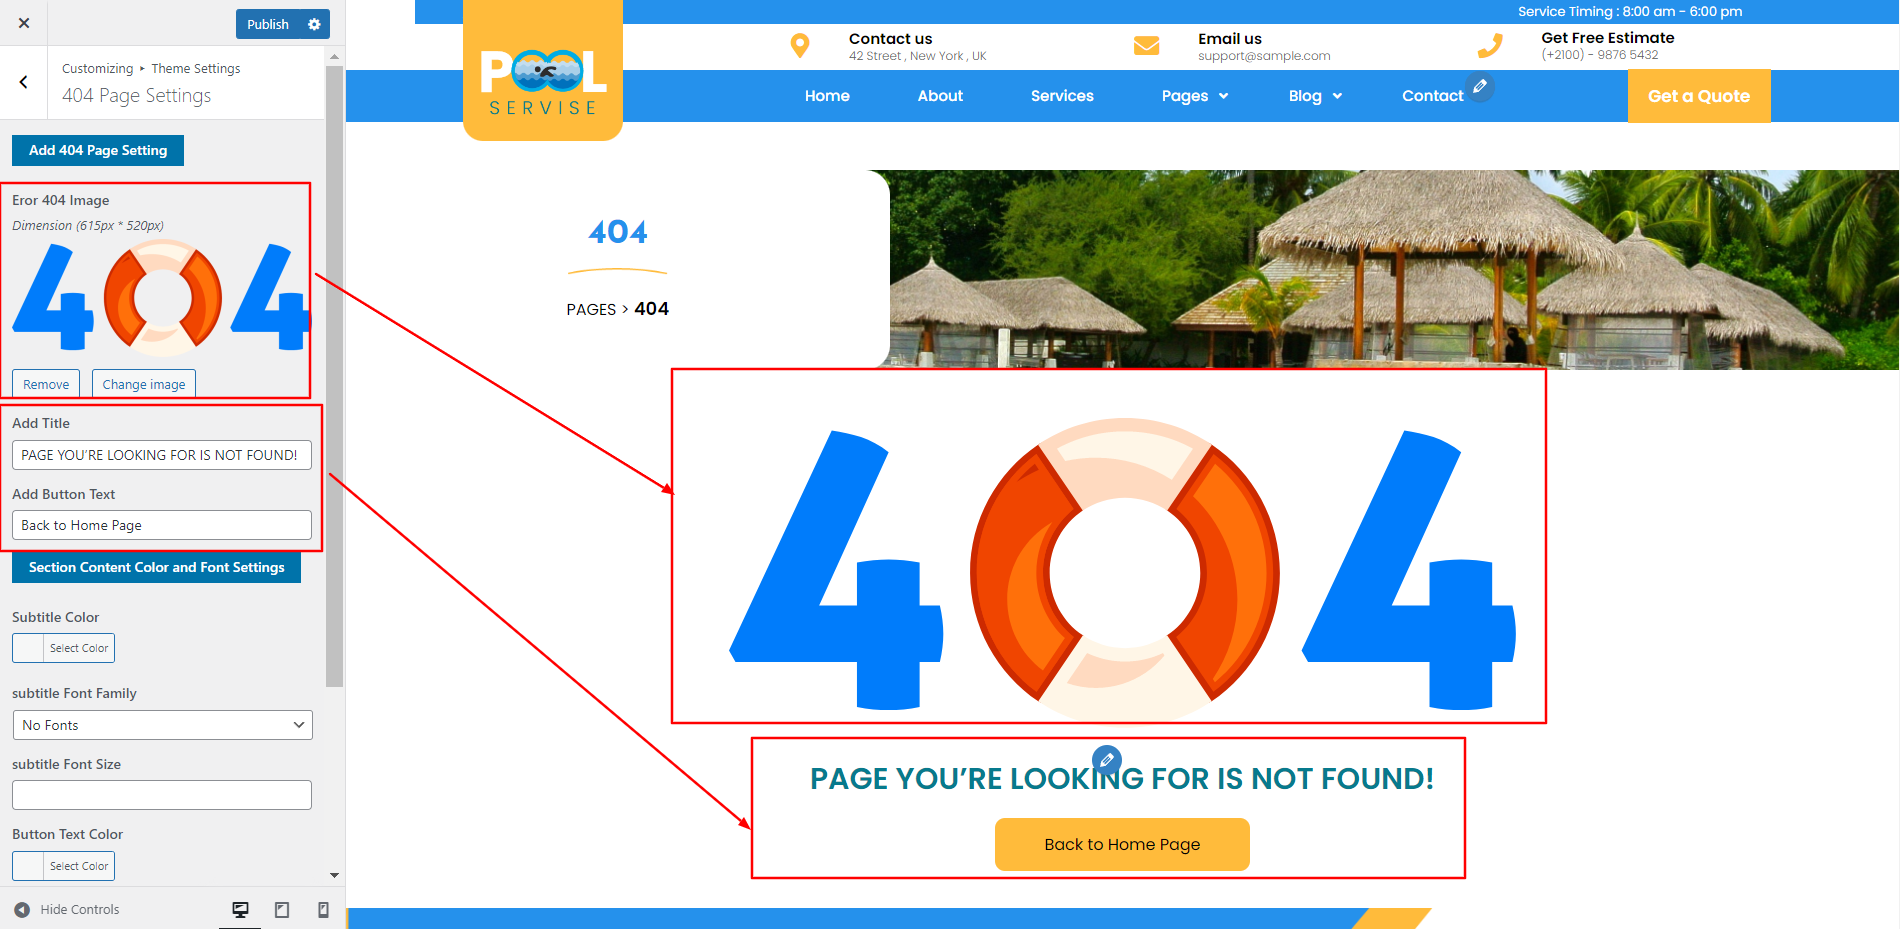
This page will display the 404 Page Settings section.
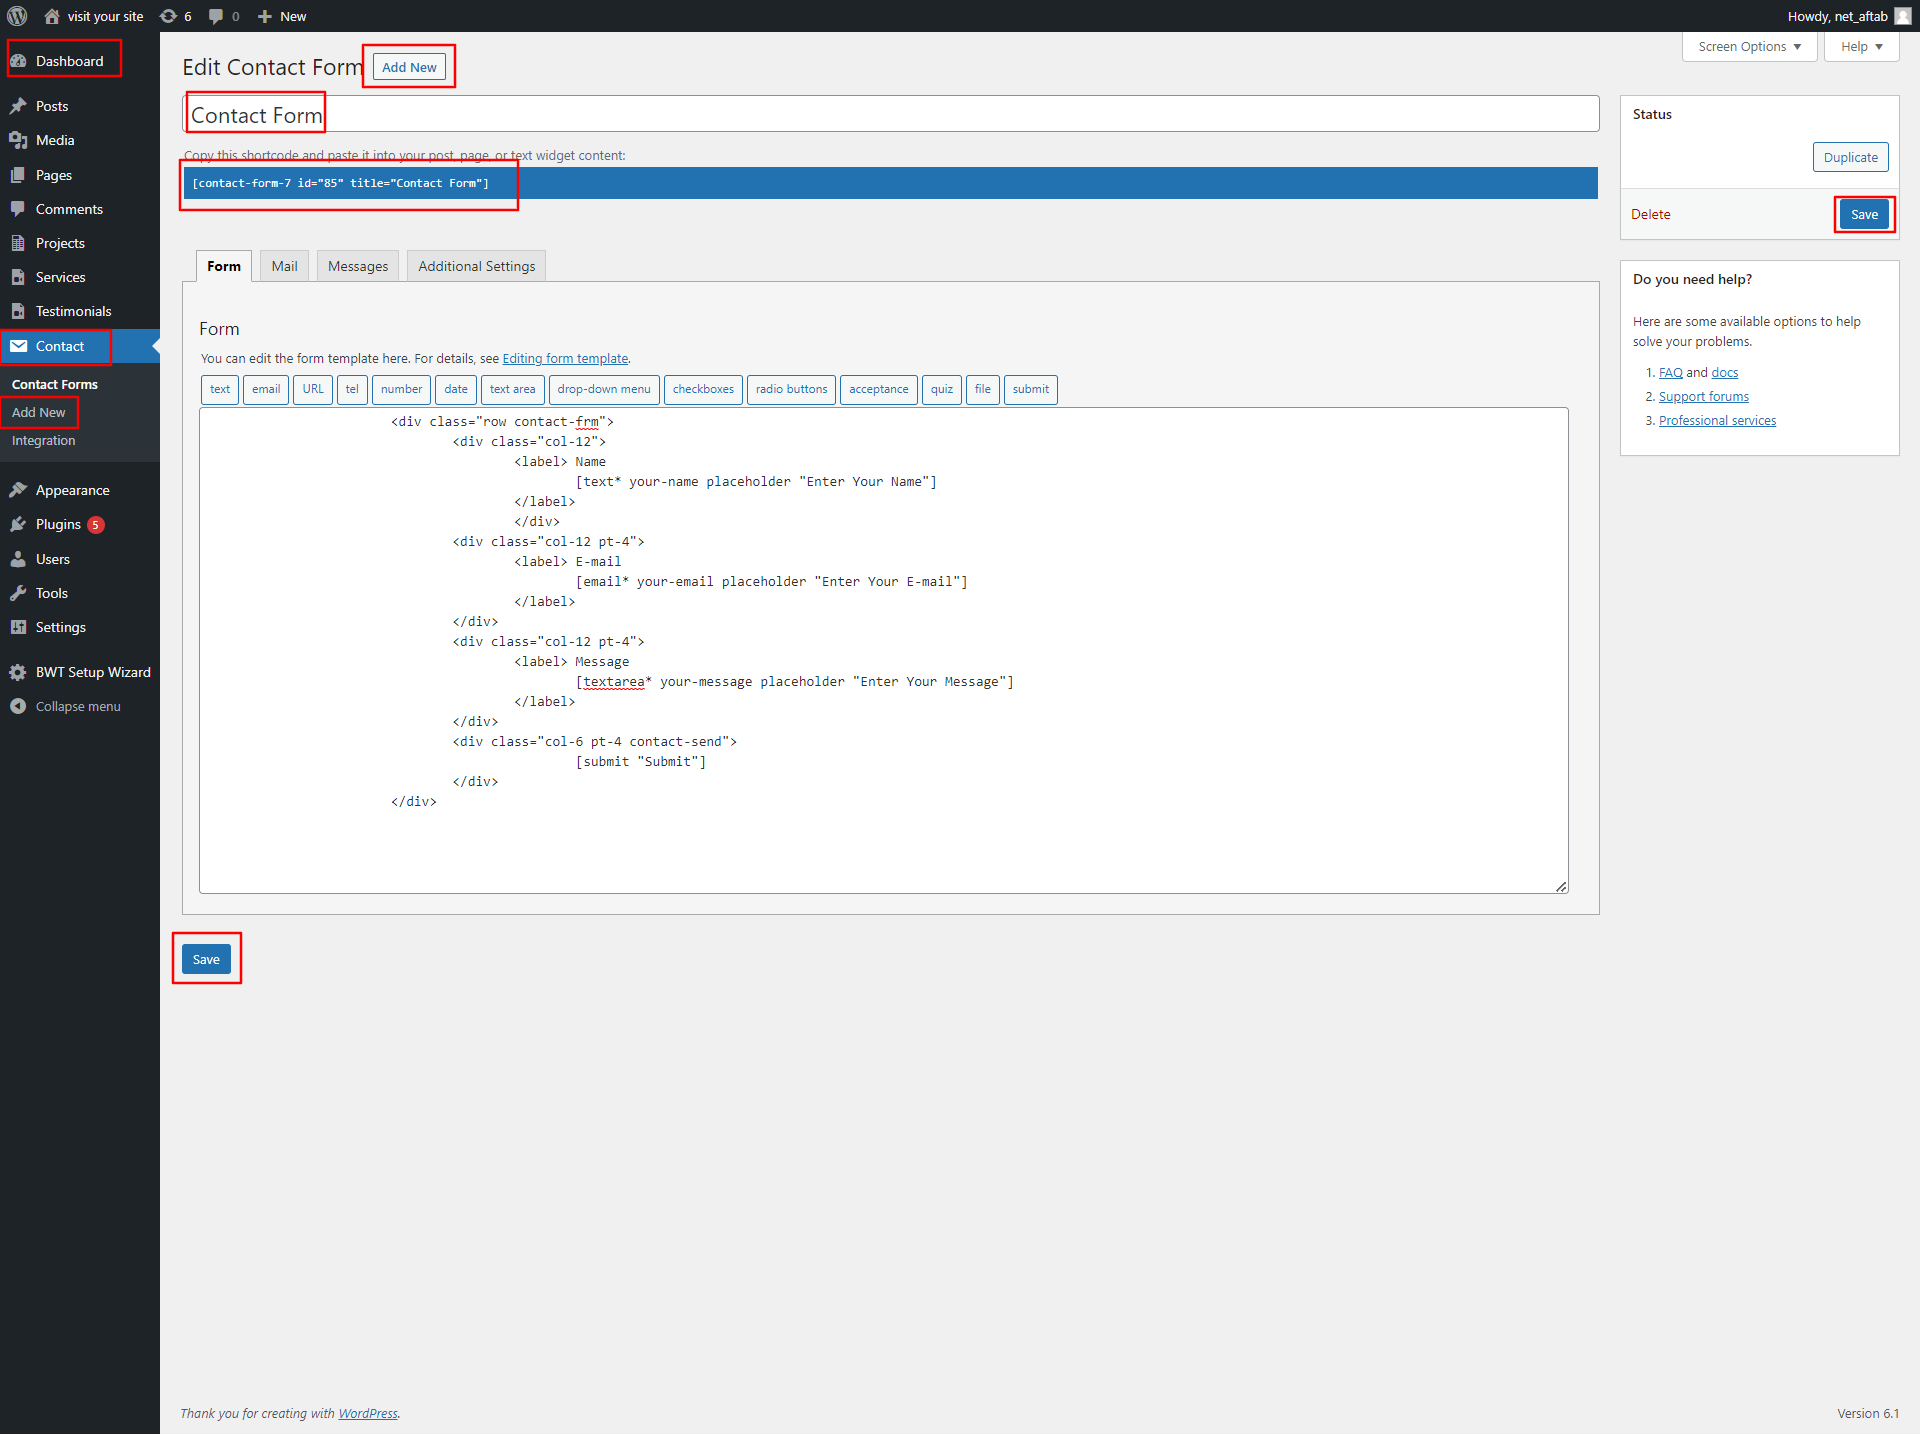
You must upload and activate the contact form 7 plugin in order to set up the contact page.
Go to Dashboard Contact Add New .
Go to Appearance Customize Theme Settings Contact.
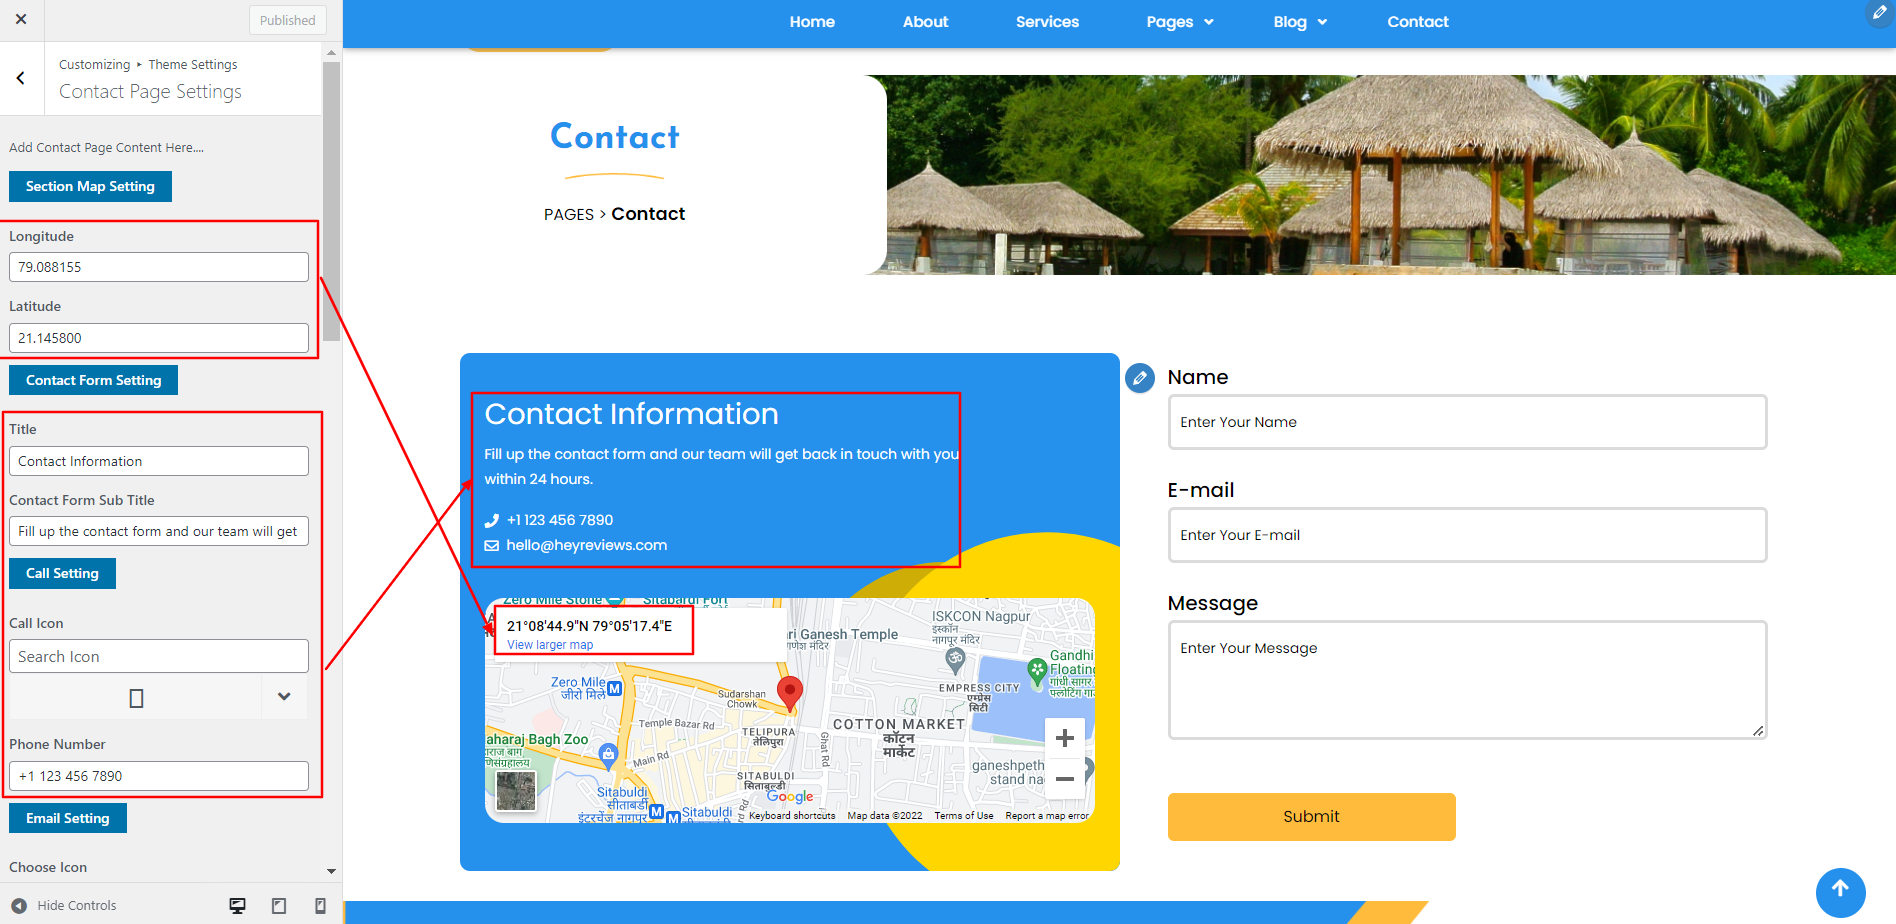
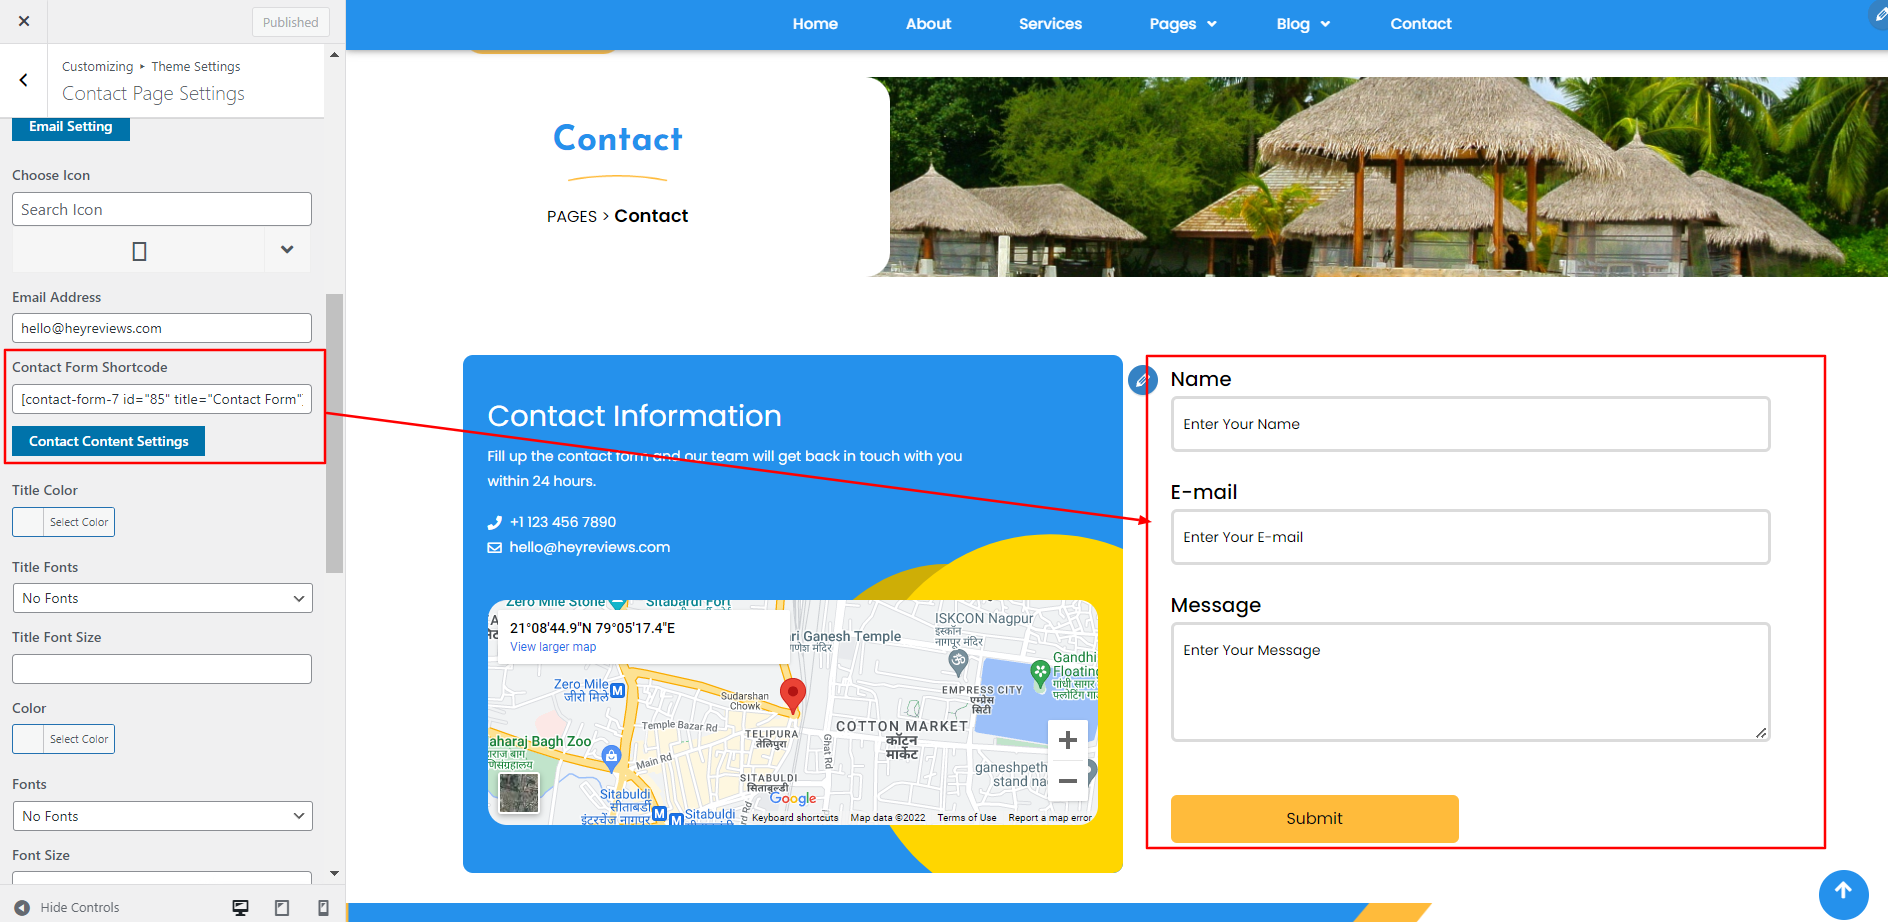
This is how the Contact Page will look on the page.
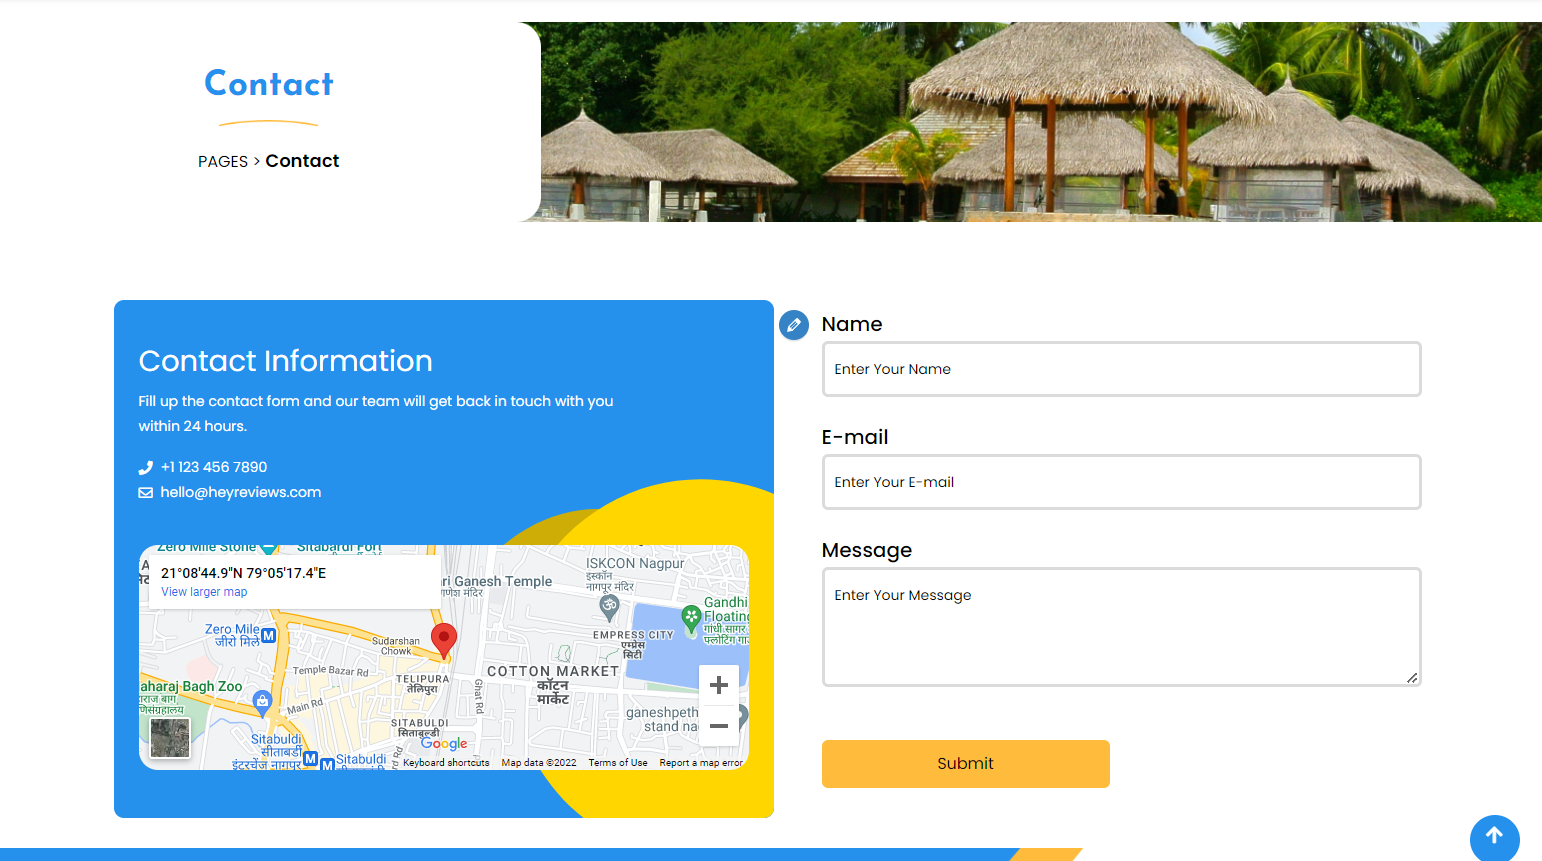
View this image for a better explanation.
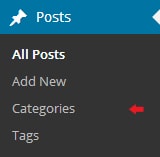
For further details on adding categories, look at the following article:
http://codex.wordpress.org/
Manage_Categories_SubPanel

Examine the list of shortcodes included with the themes:
Fetch All the Properties: [all_properties]
Get Every Property By Category:[properties_by_cat cat_name="Add category slug"]
Fetch All the Agents: [agents]
Fetch All the Testimonials: [testimonials]