1-Use WordPress admin to install a theme.
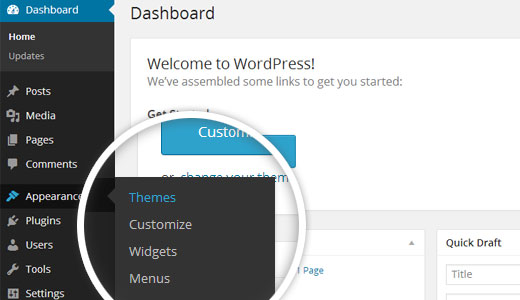
Logging into your WordPress admin area should be your first step. Next
1.Navigate the menu Select Appearance >> Themes
There are multiple folders in the template package that you downloaded. Let's examine the contents of each folder:
The Screenshots - includes a screenshot of the template. Not intended for production.
The procedure for activating a BWT key is as follows.
Use the licence key that you will receive via email to activate your licence. .
The procedure to activate a licence is as follows. .
Navigate The Dashboard >> Select Appearance >>BWT Configure Wizard>>Enter Key>>Next
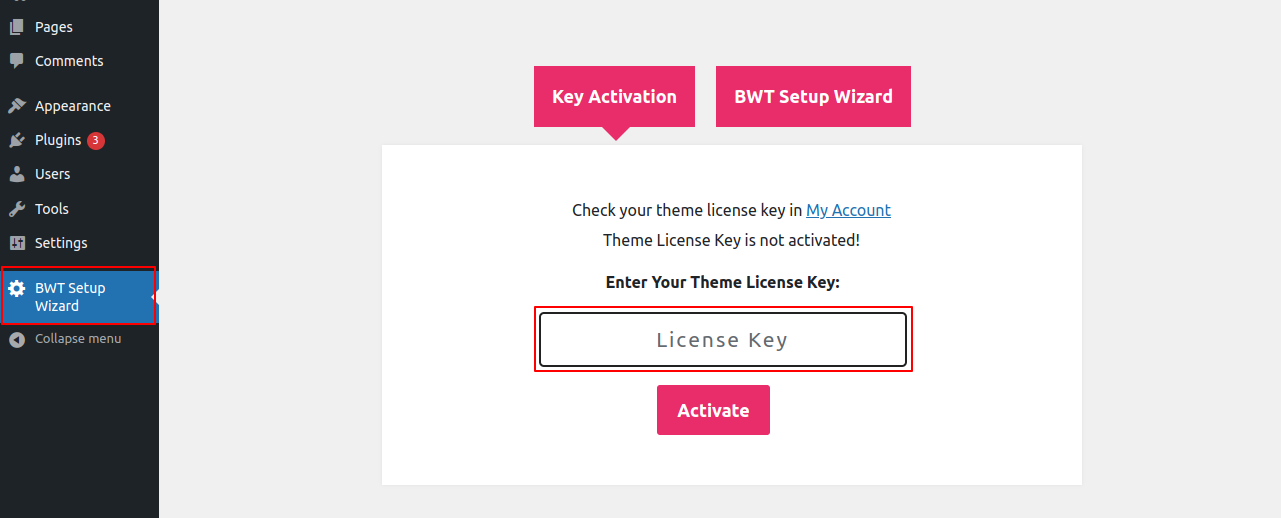
After Entering The Key >> Activate Licence.
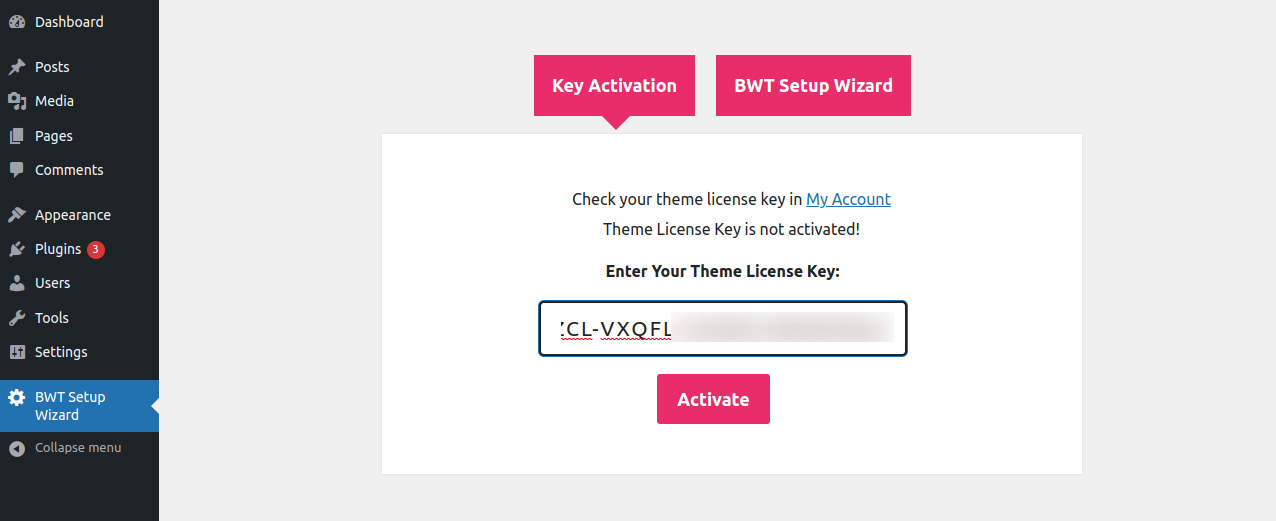
The key will become active after your licence has been activated, allowing you to begin using the theme.
You can use this method to activate your licence key.
Logging into your WordPress admin area should be your first step. Next
1.Navigate the menu Select Appearance >> Themes
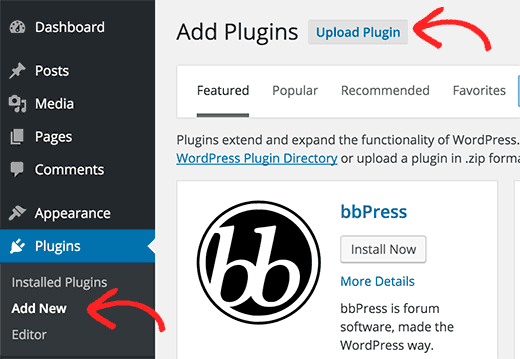
2. Upon accessing the themes page, select theAdd New the top button.
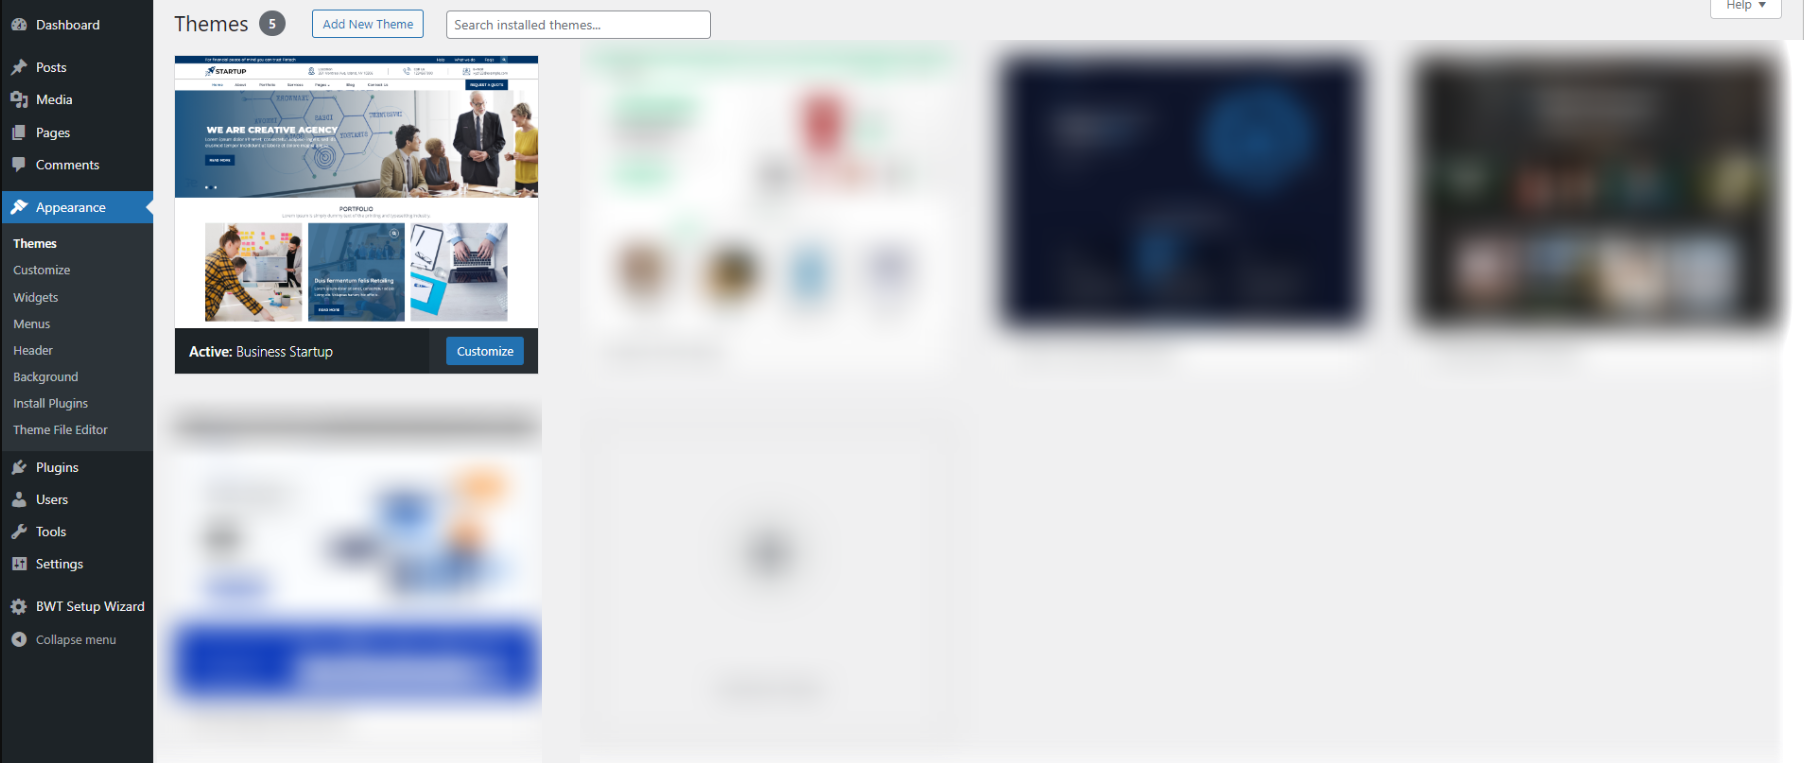
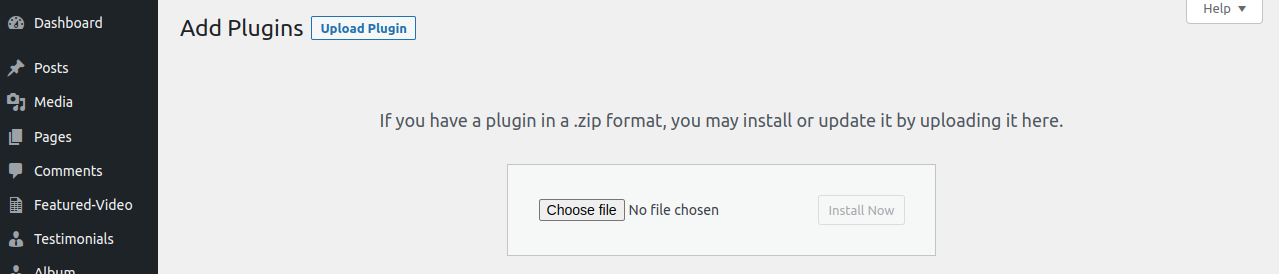
3. Select the "Upload Theme" option..

4.Choose your bwt-startup-pro.zip theme by clicking the Browse button, then hit the Install Now button.
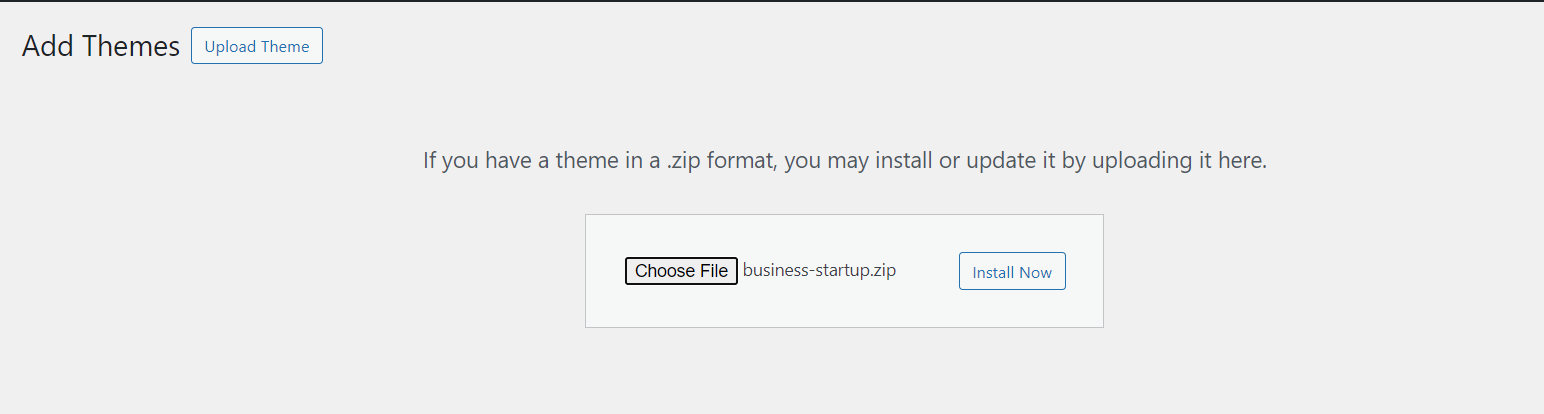
5. After installing your theme, WordPress will provide you with a success message and a link to enable the live preview.
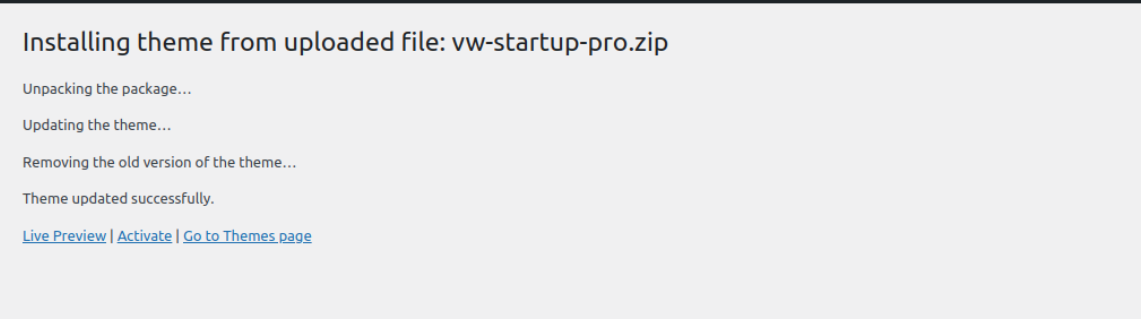
Congratulations! The theme has been installed successfully.
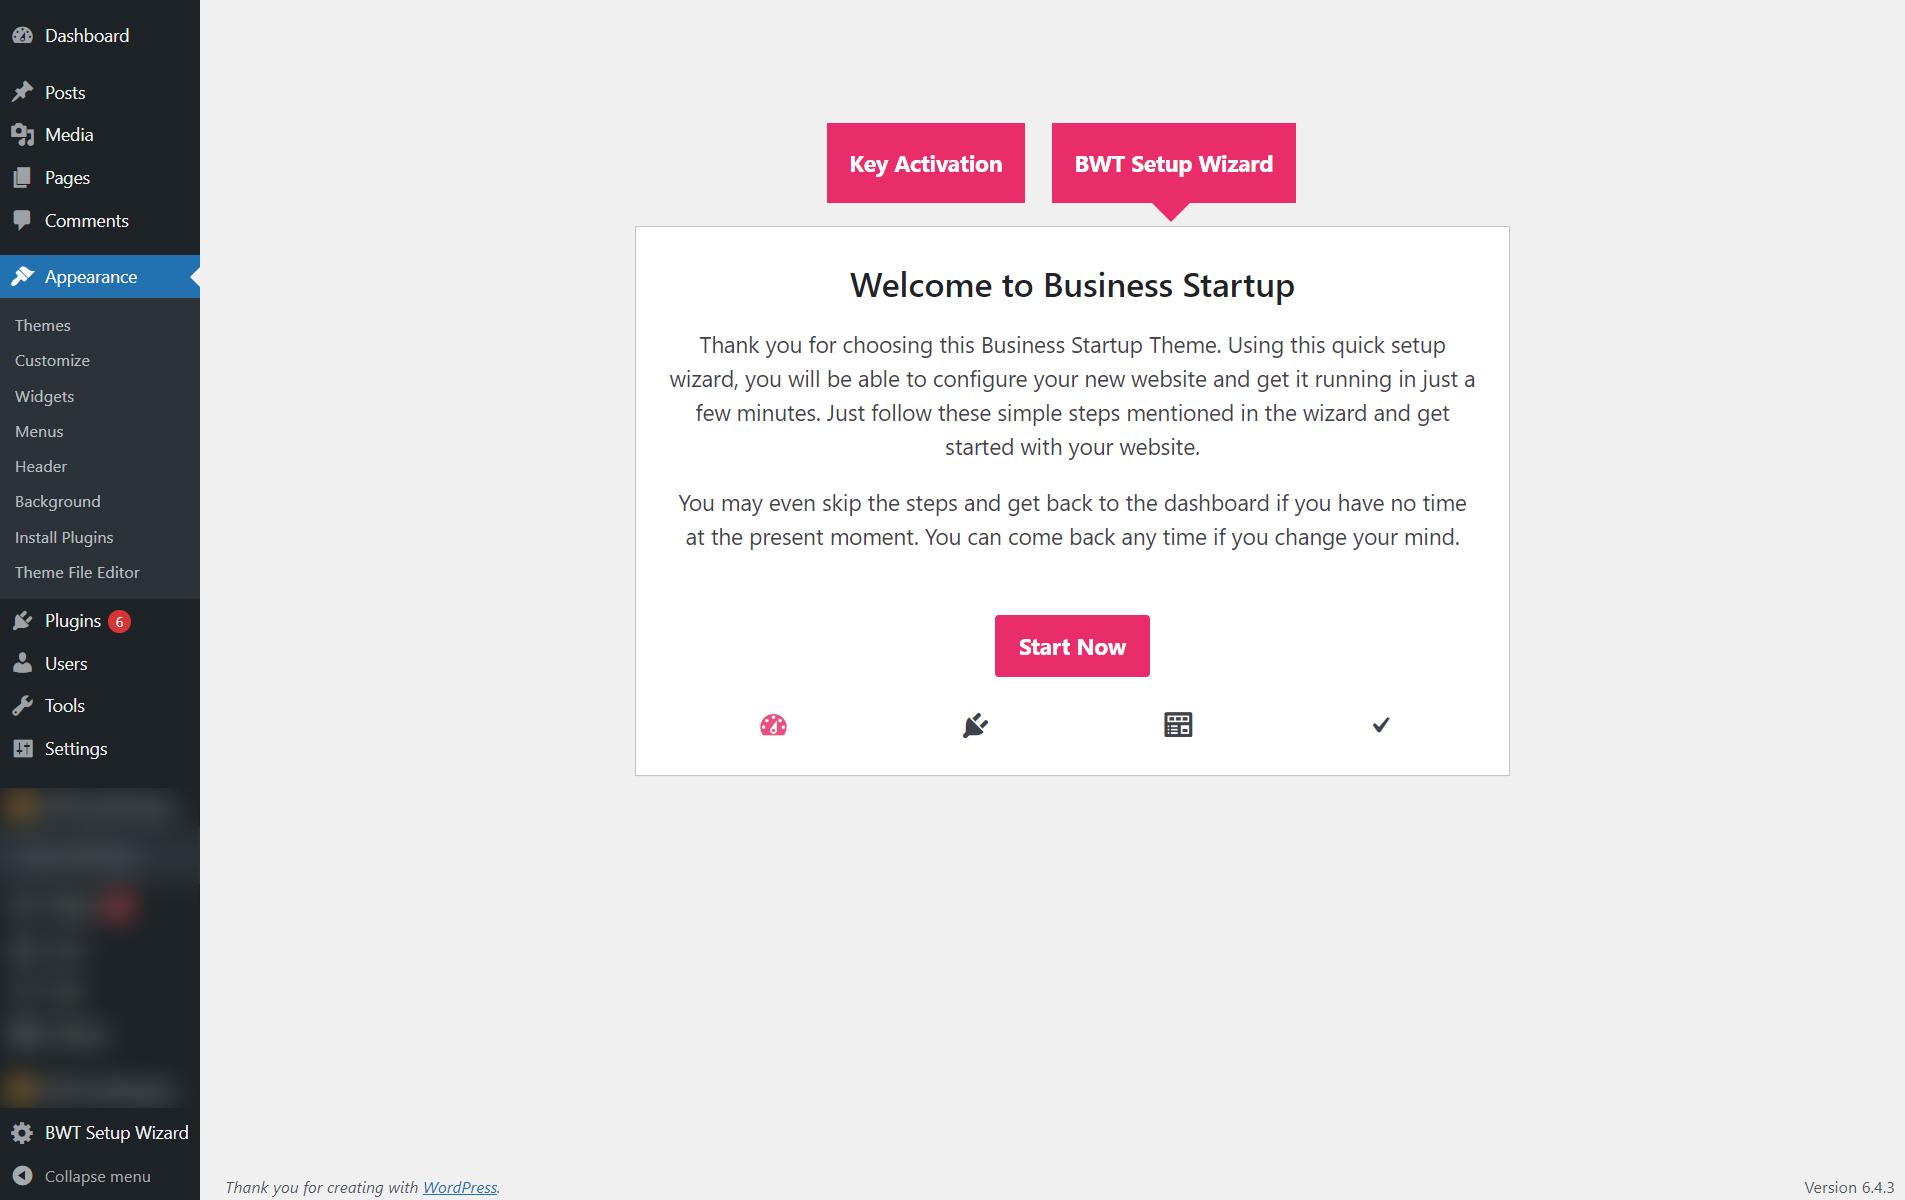
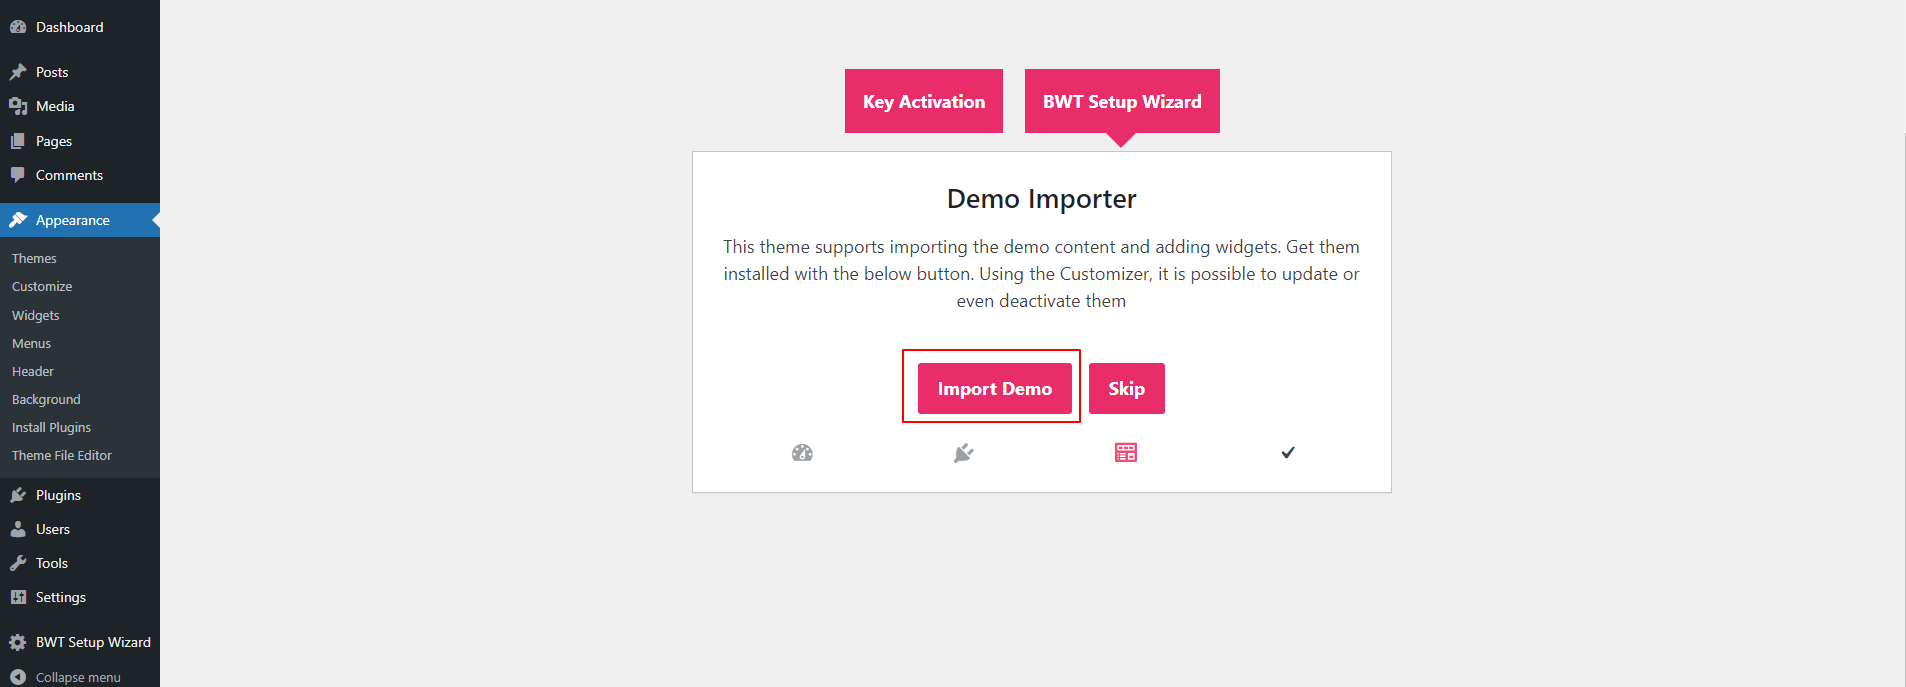
To set up your theme, import demonstration content with a single click.You will be guided by this content as you create your website for website creation.
Prior to using Run Importer, install all necessary Plugins
1. Navigate the The Dashboard >>BWT Configure Wizard
Select "Run Importer" after selecting "Demo Content Importer.".
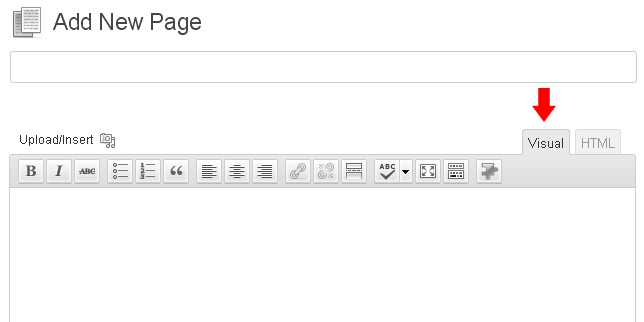
Establish a page to define the template:Navigate The Dashboard >> Select Pages >> Add New Page.
Call it "home" or any name you like. Next, choose "home-page" as the template from the template choice.
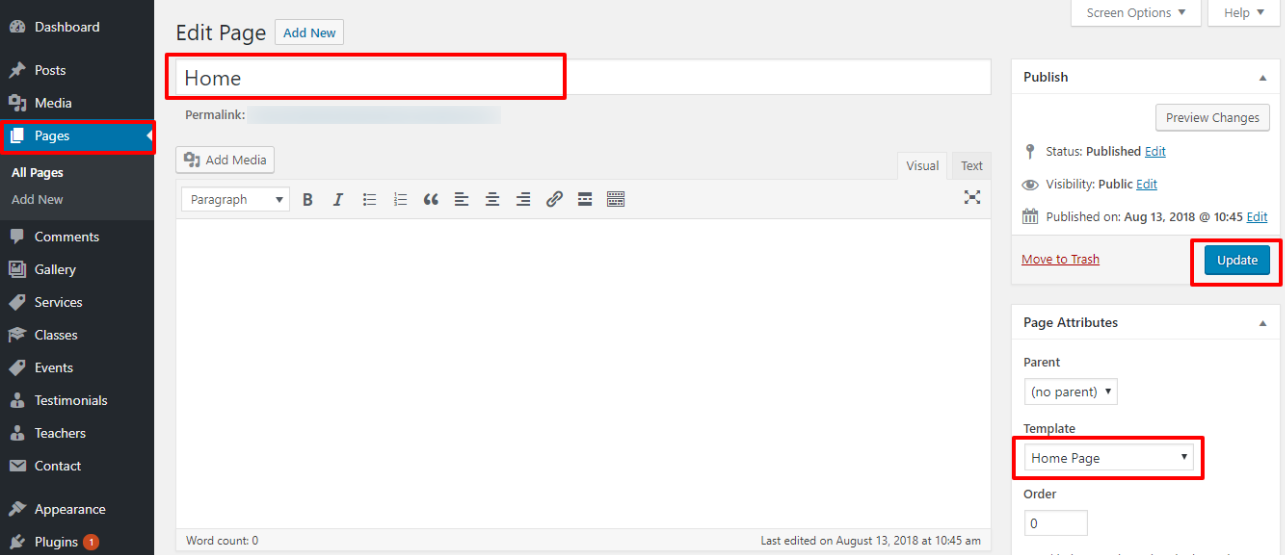
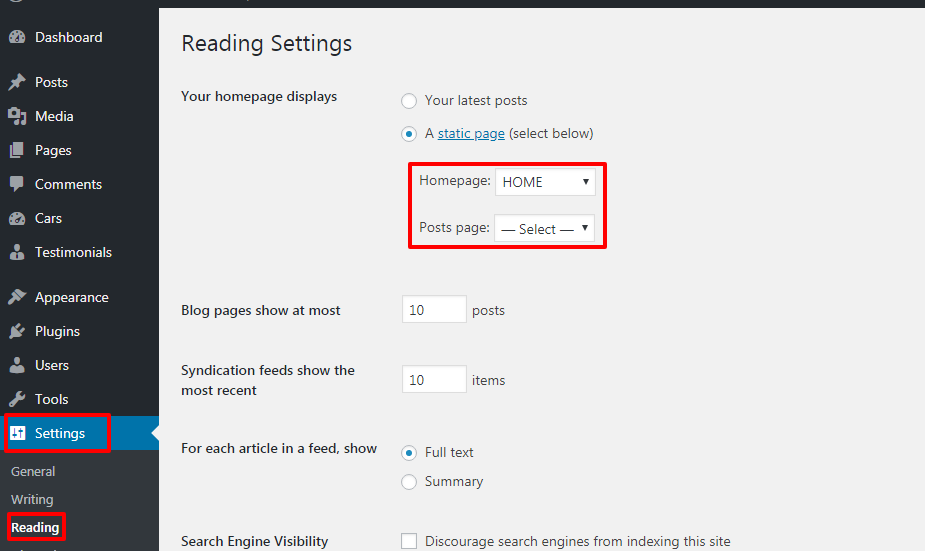
To Set the front page:Navigate Setting -> Reading --> Set the post page display static page to home page
After doing this, the top page displays all of the demo content.

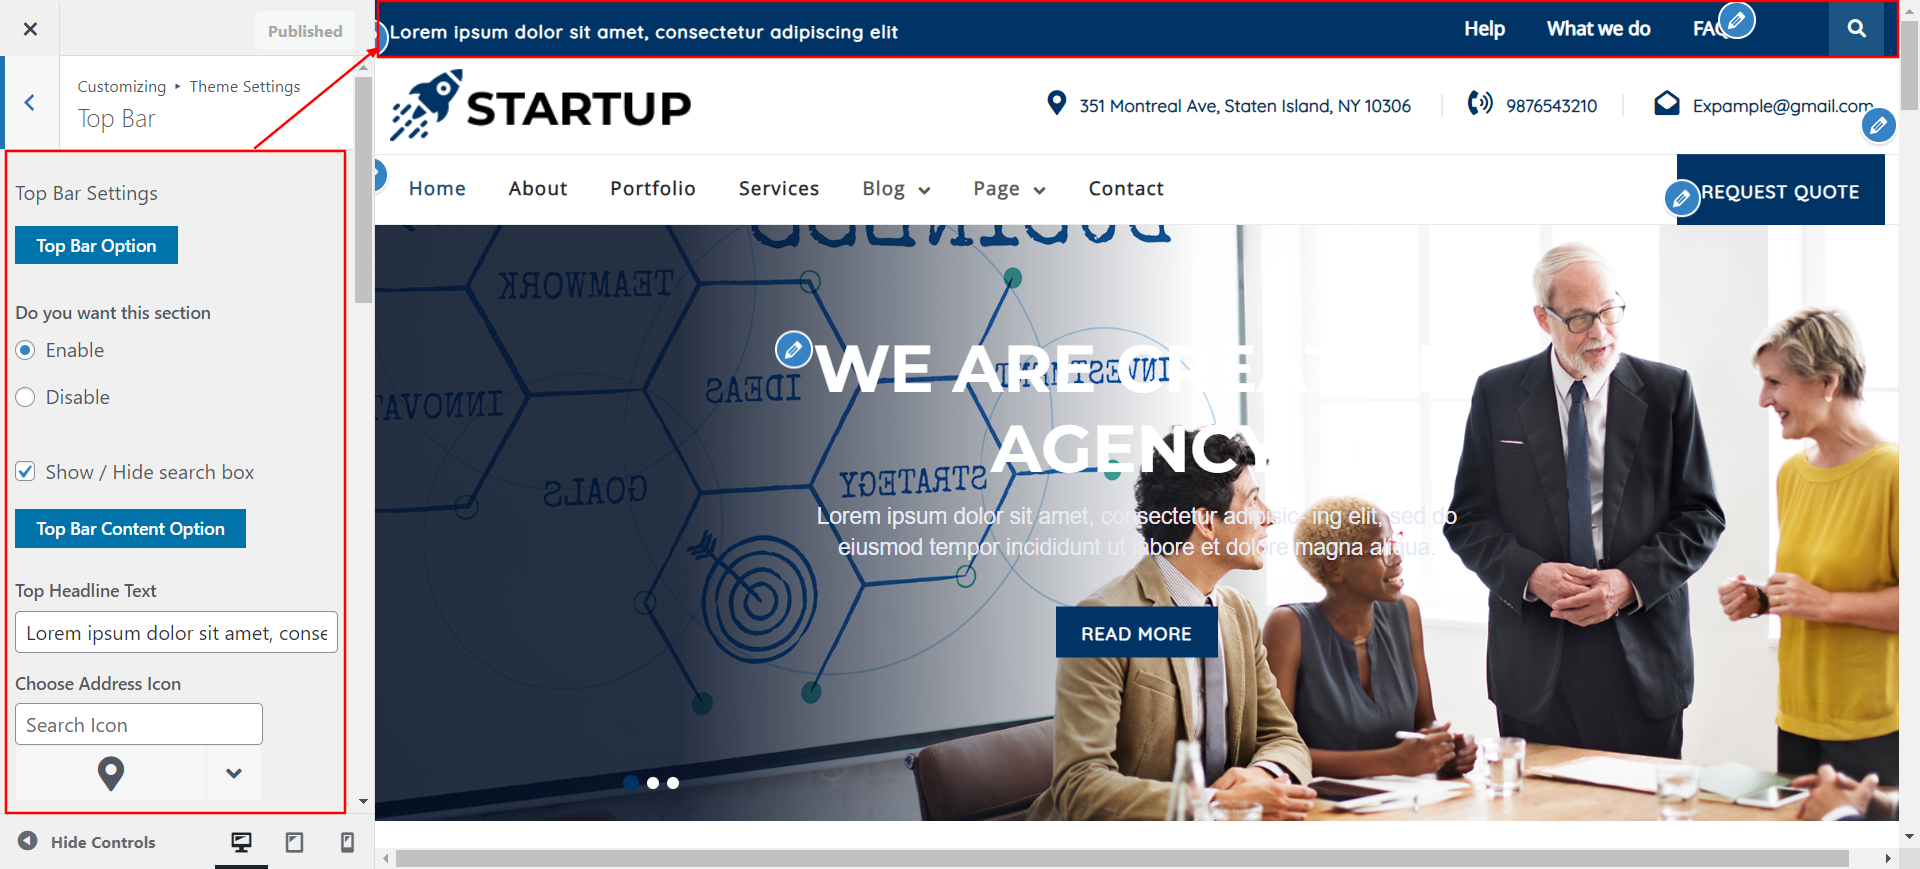
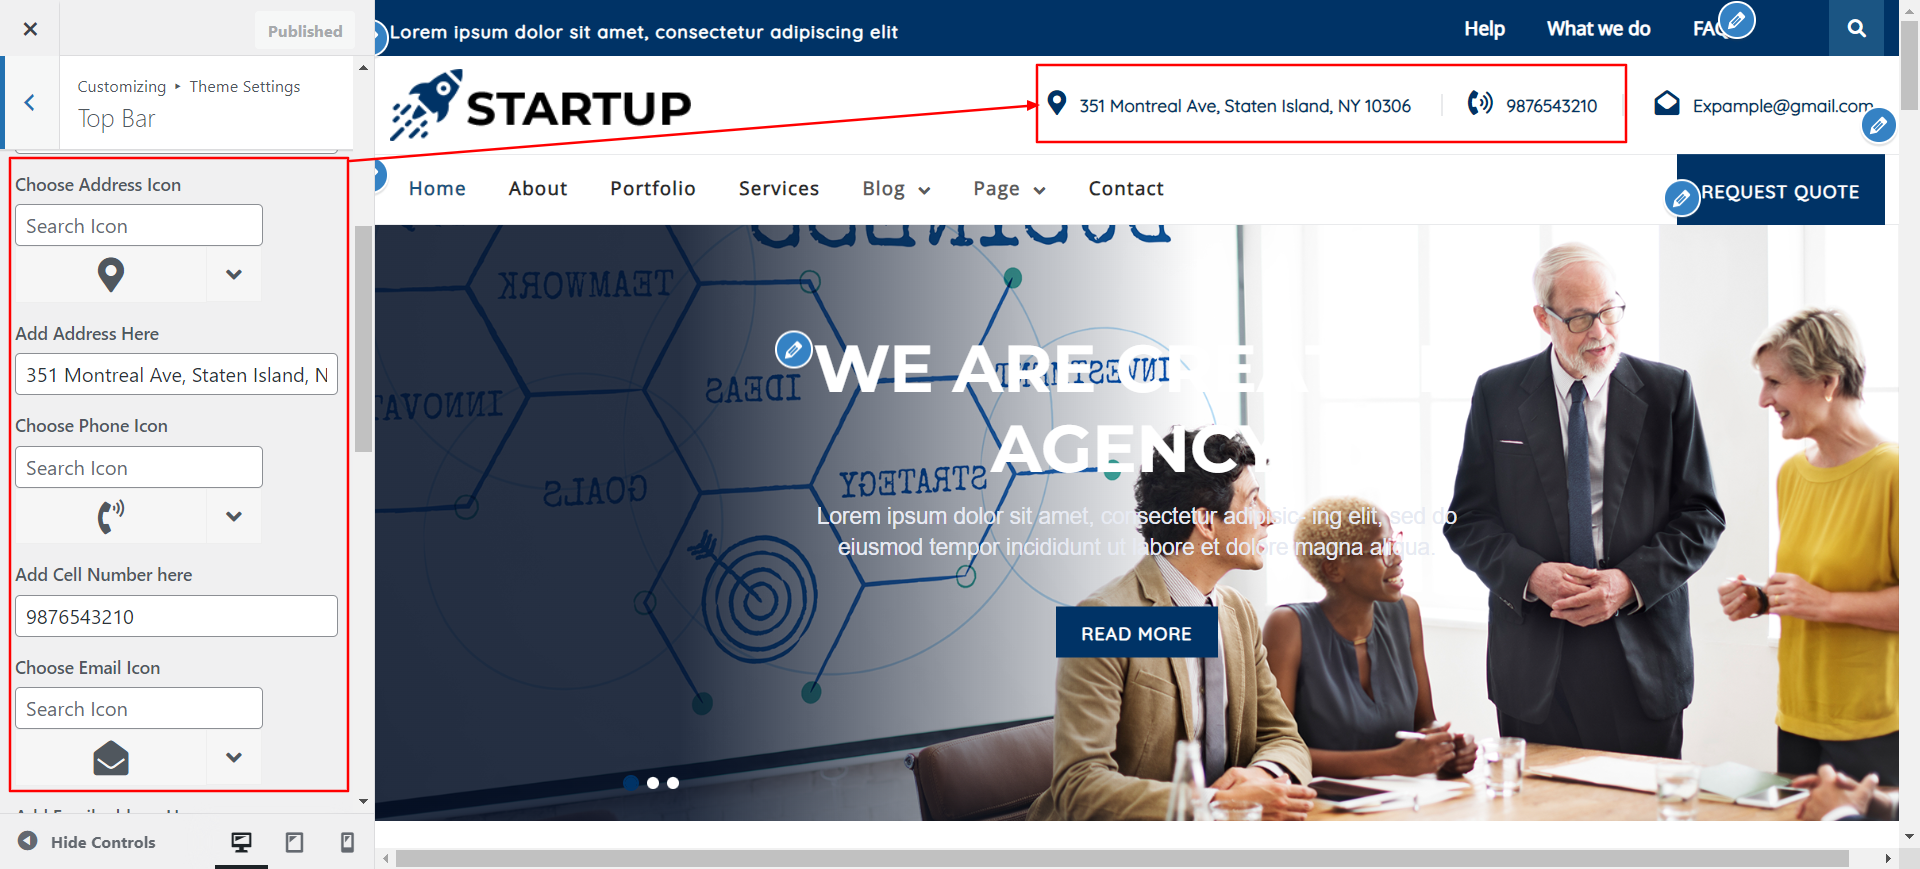
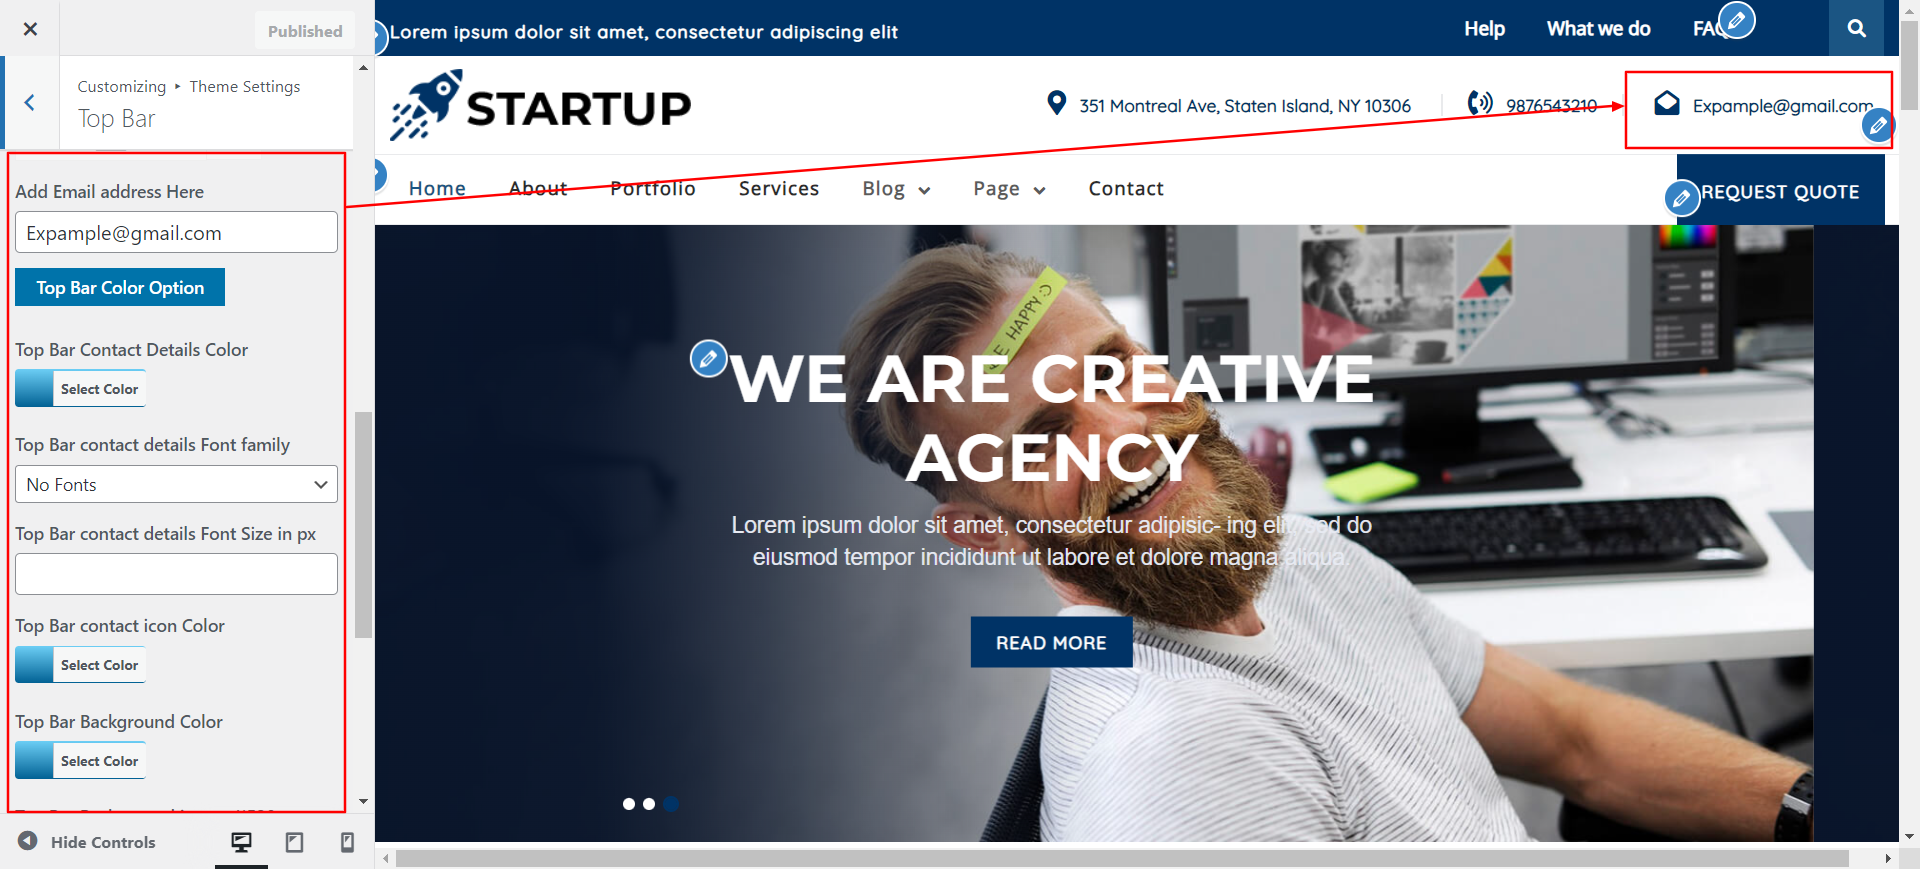
In order to proceed with Topbar,
Navigate Select Appearance >> Customize >> Theme Settings >>Topbar

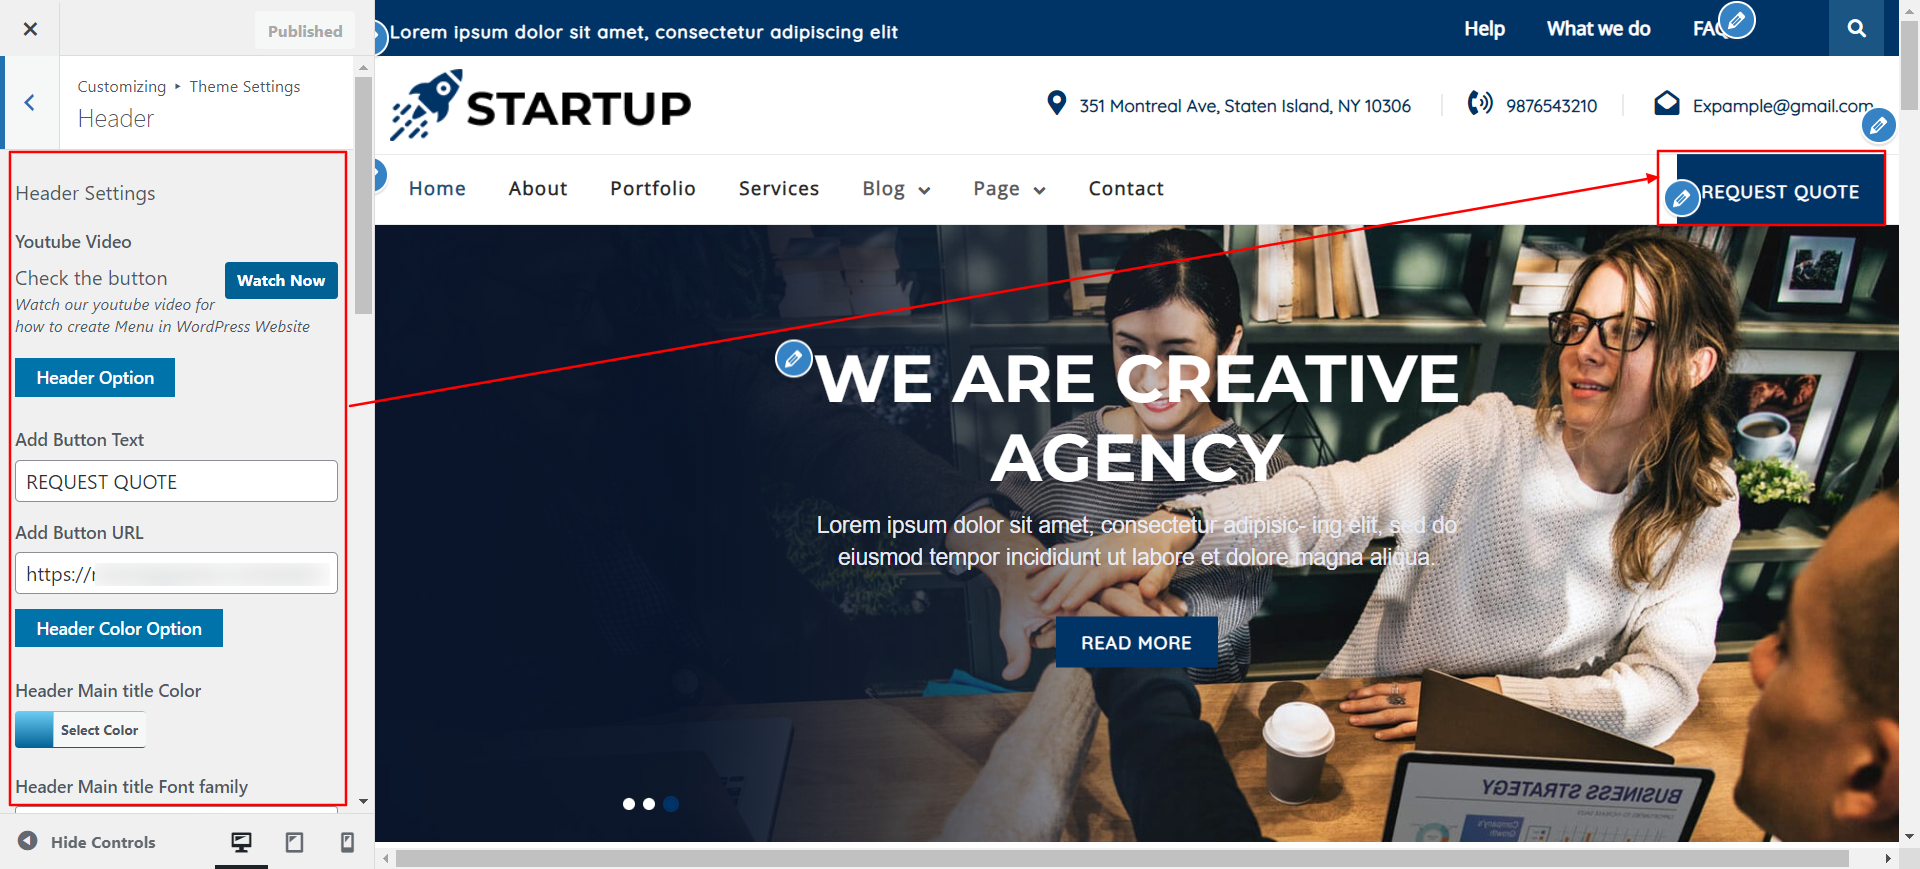
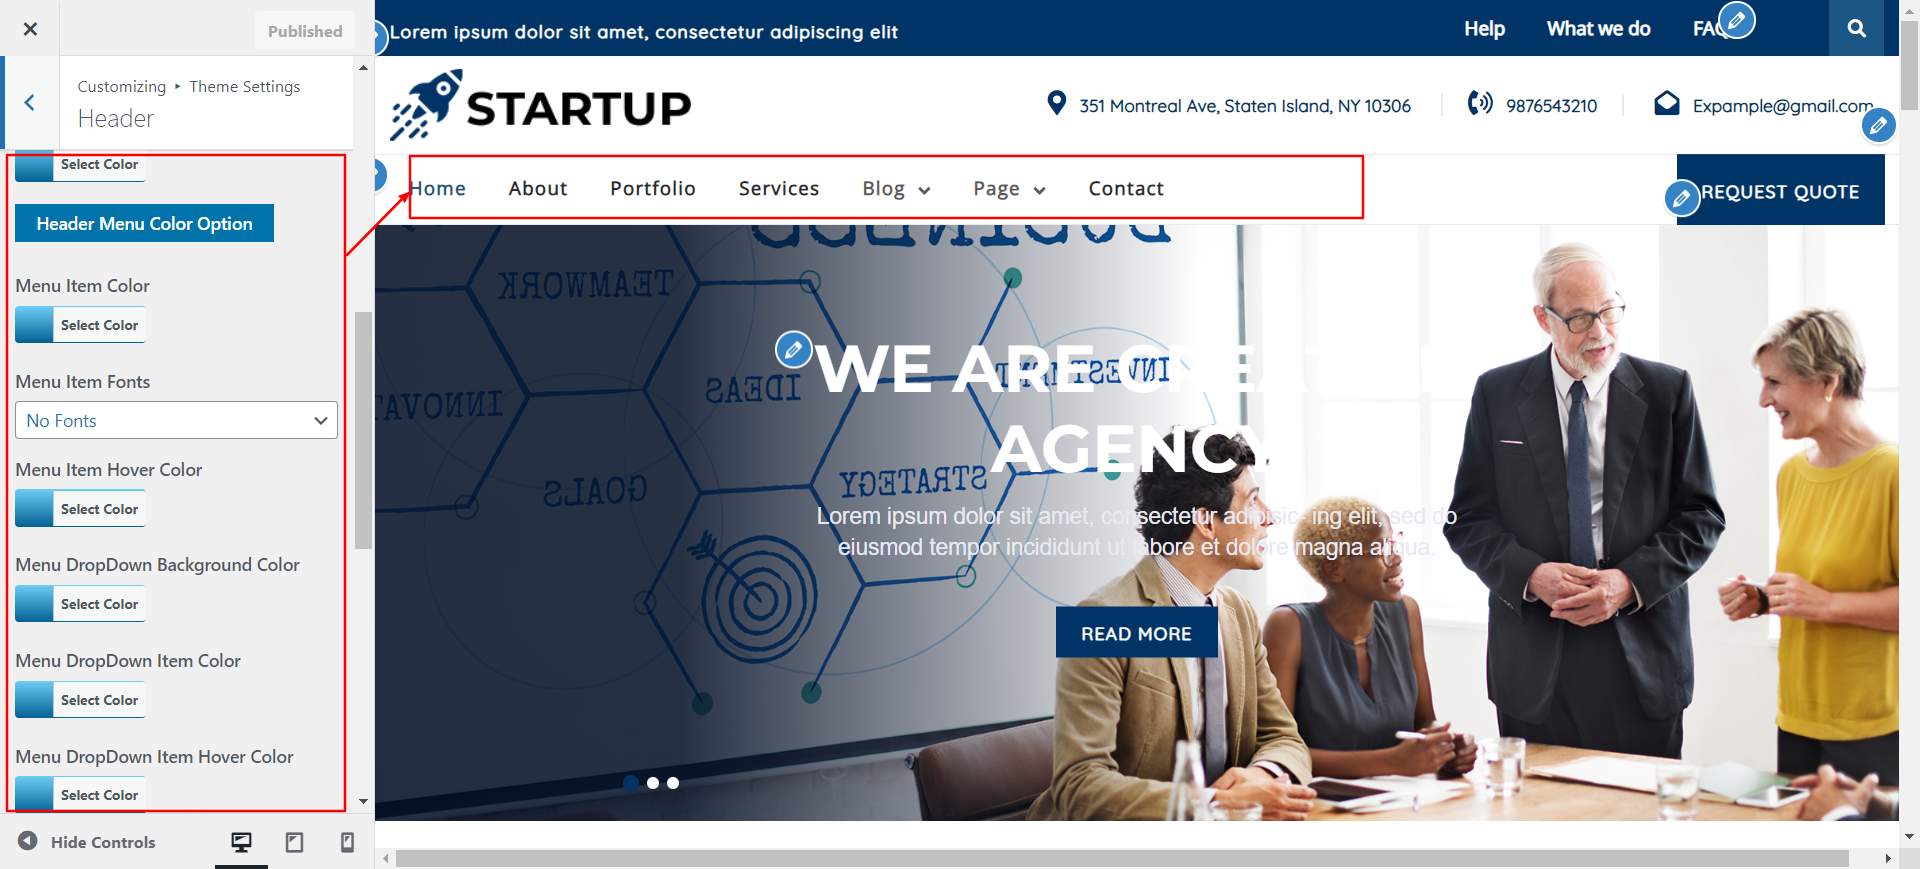
In order to proceed with Header,
Navigate Select Appearance >> Customize >> Theme Settings >>Header
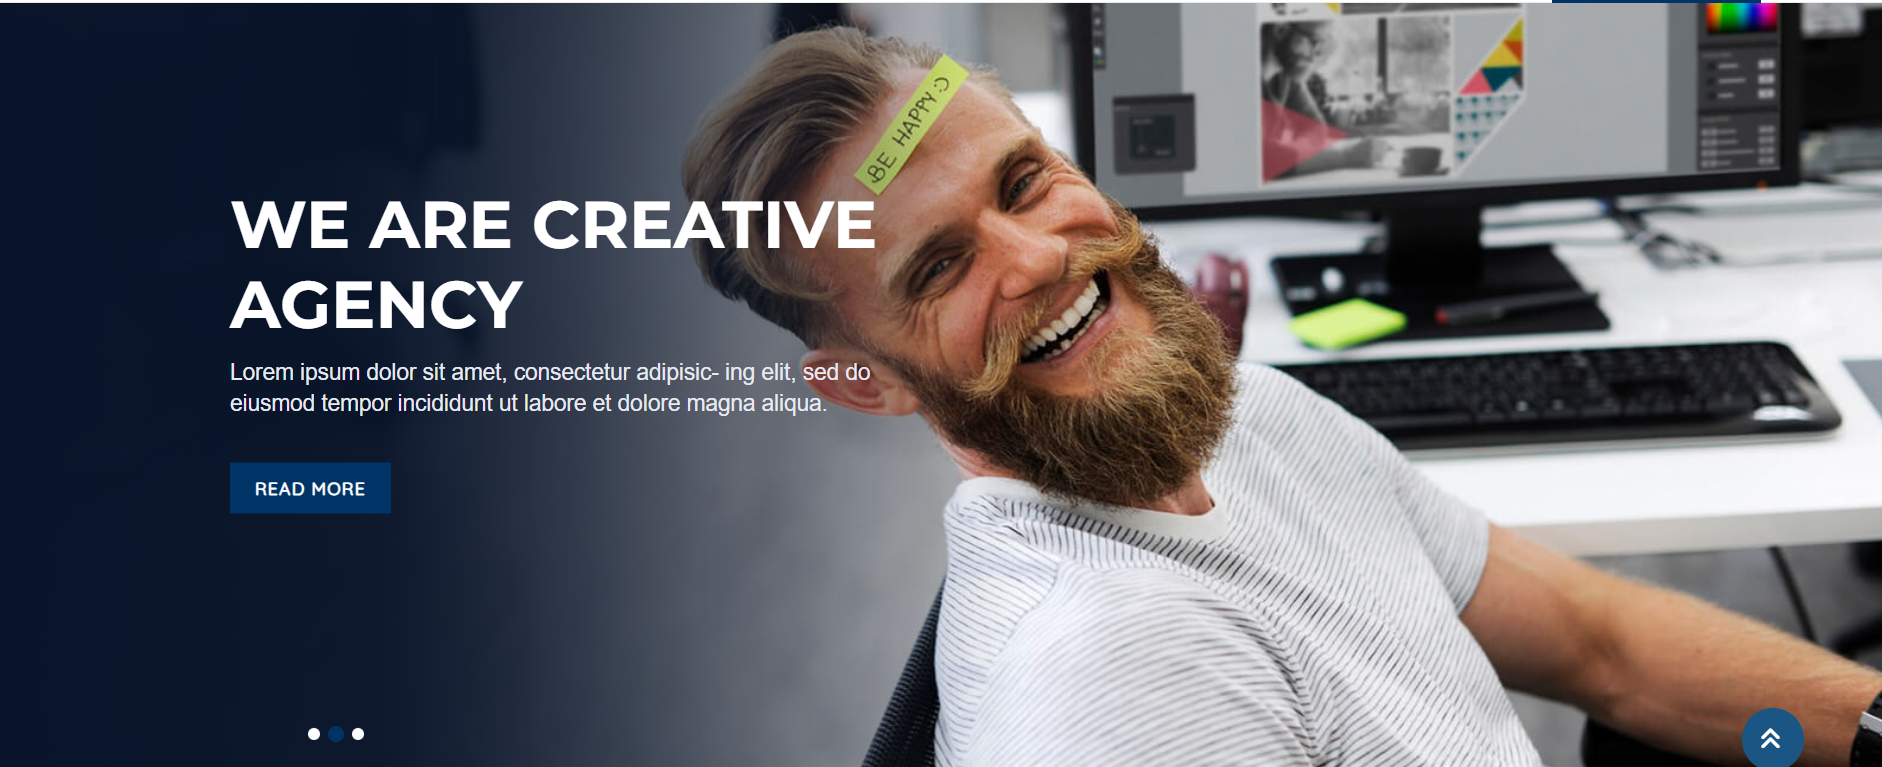
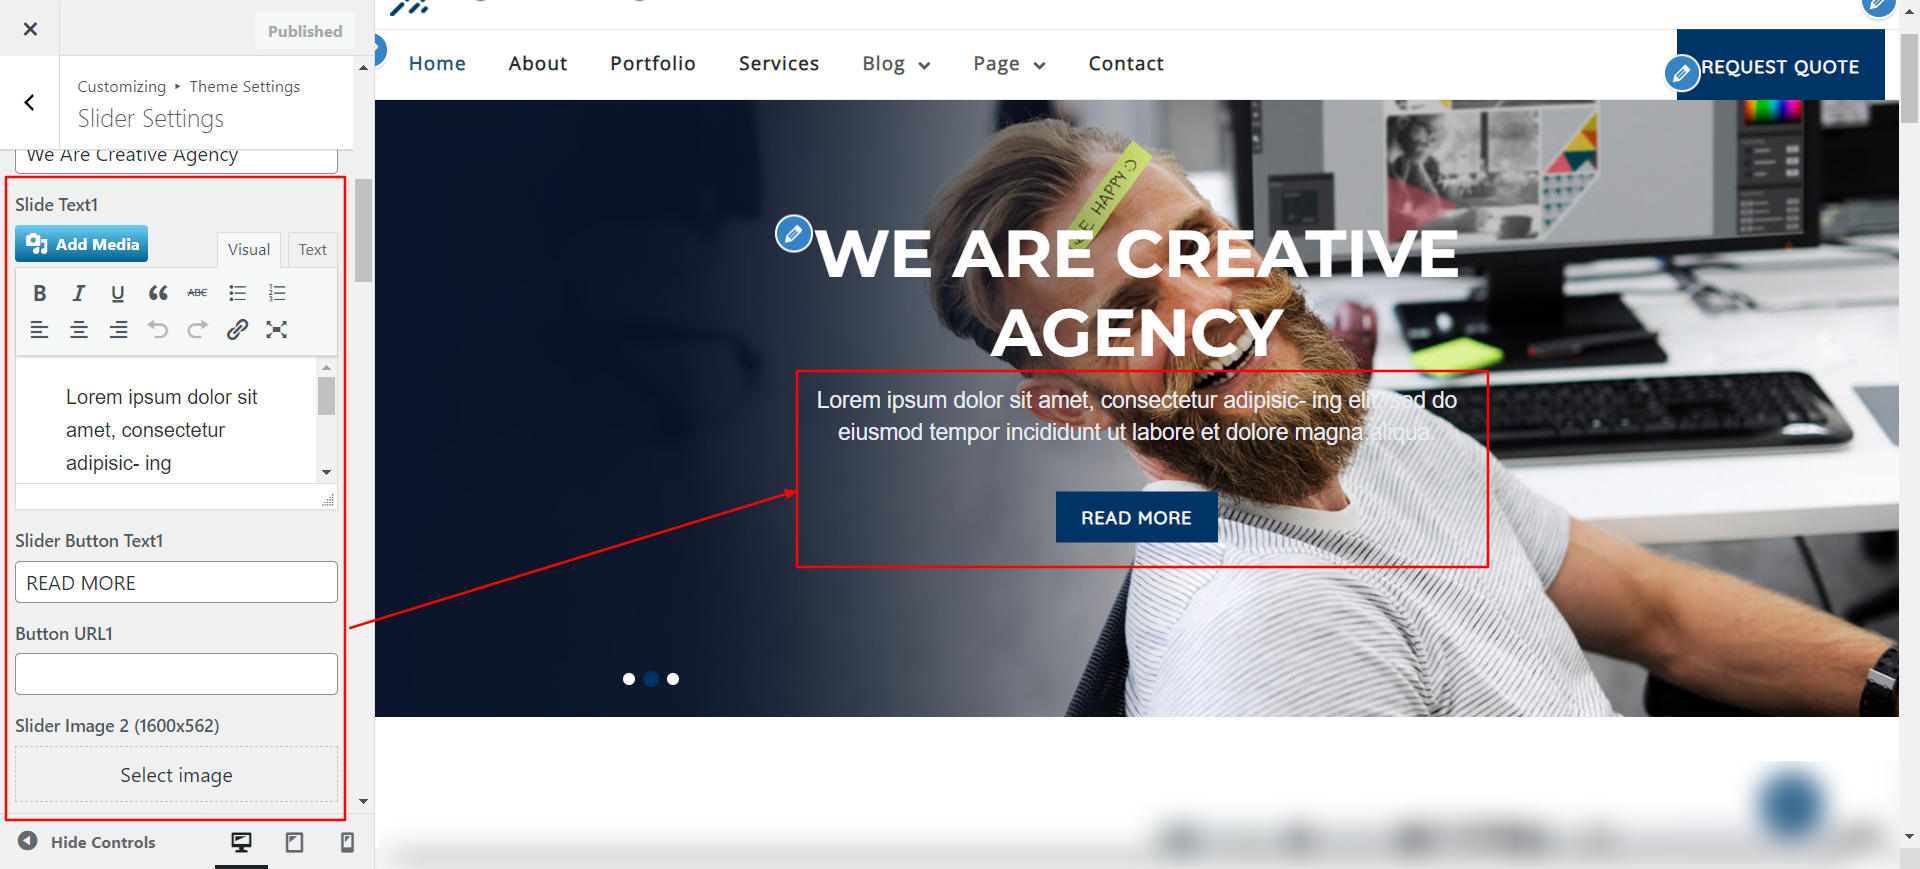
To configure the slider, take the actions listed below.
Navigate Select Appearance >> Customize >> Theme Settings >> Click on Slider Settings
Setting Options : Includes settings for the choice to enable or disable service display. You are able to enable or disable this part with this setting. This environment is crucial. You can choose to have this part display on your website by leaving the option enabled, or you can choose to have it disappear from your website by selecting deactivate.

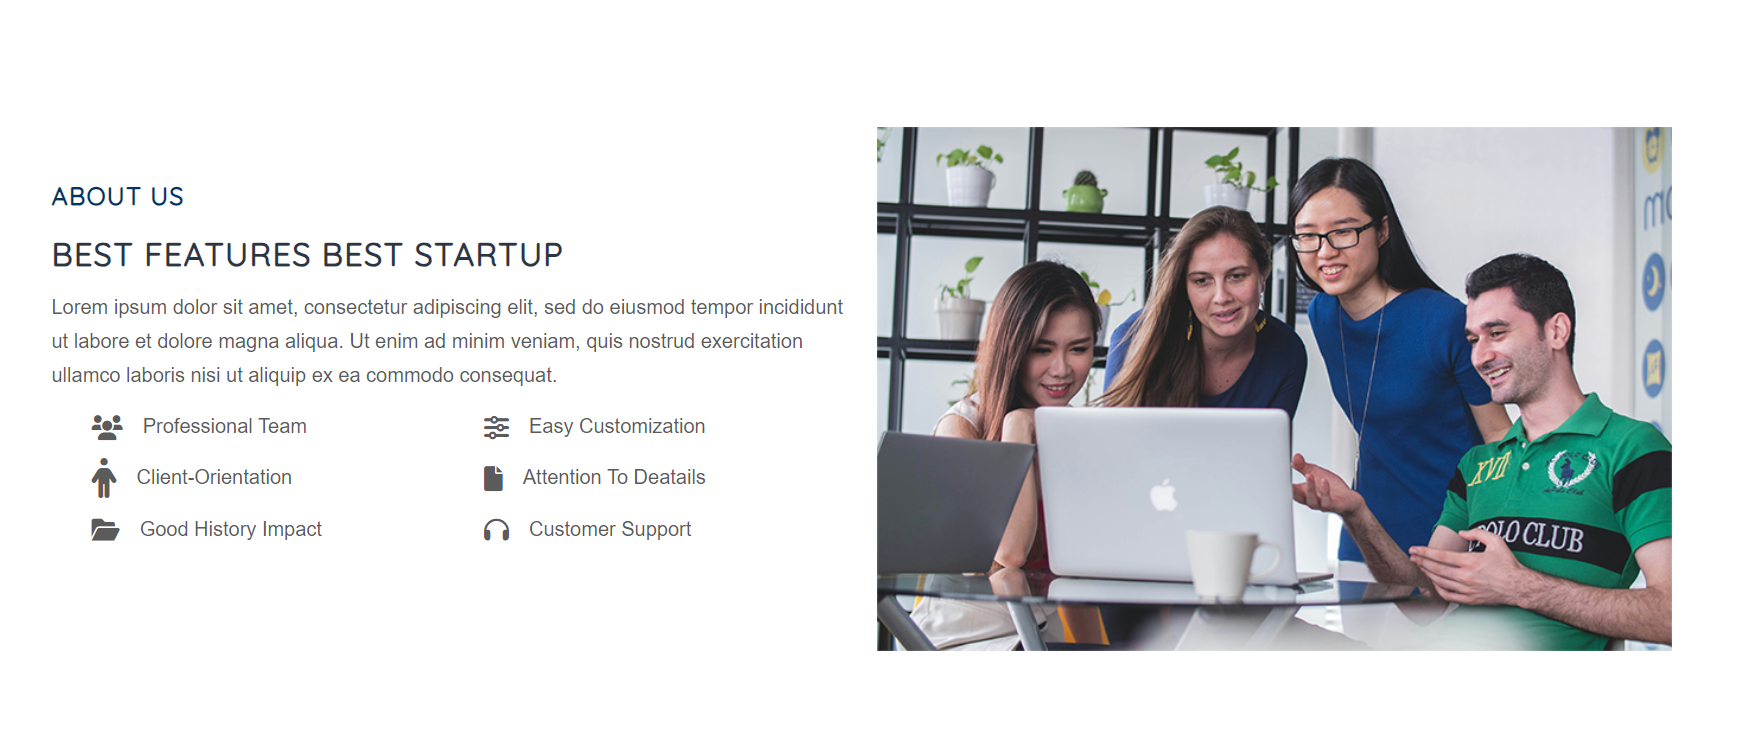
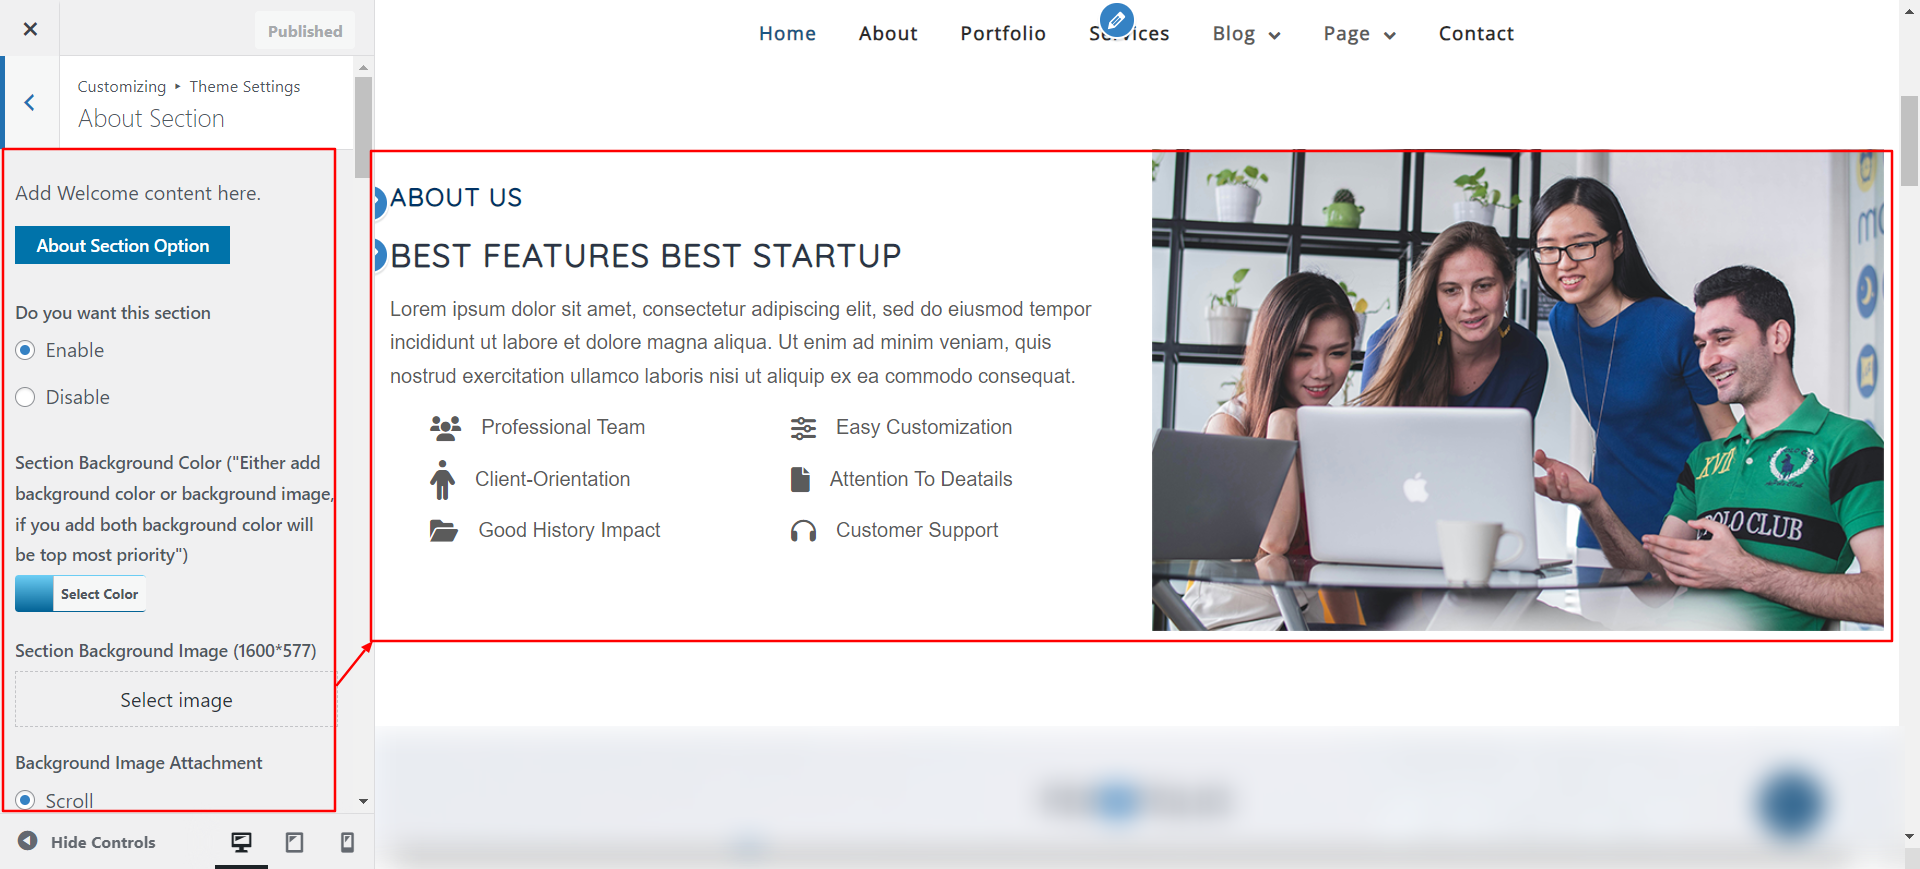
To continue with About Us, the next step is to modify the Customizer Setting for this
Navigate Select Appearance >> Customize >> Theme Settings >>About Section
Setting Options : Includes settings for the choice to enable or disable service display. You have the ability to enable or disable this section with this setting. This environment is crucial. You can choose to have this part display on your website by leaving the option enabled, or you can choose to have it disappear from your website by selecting deactivate.


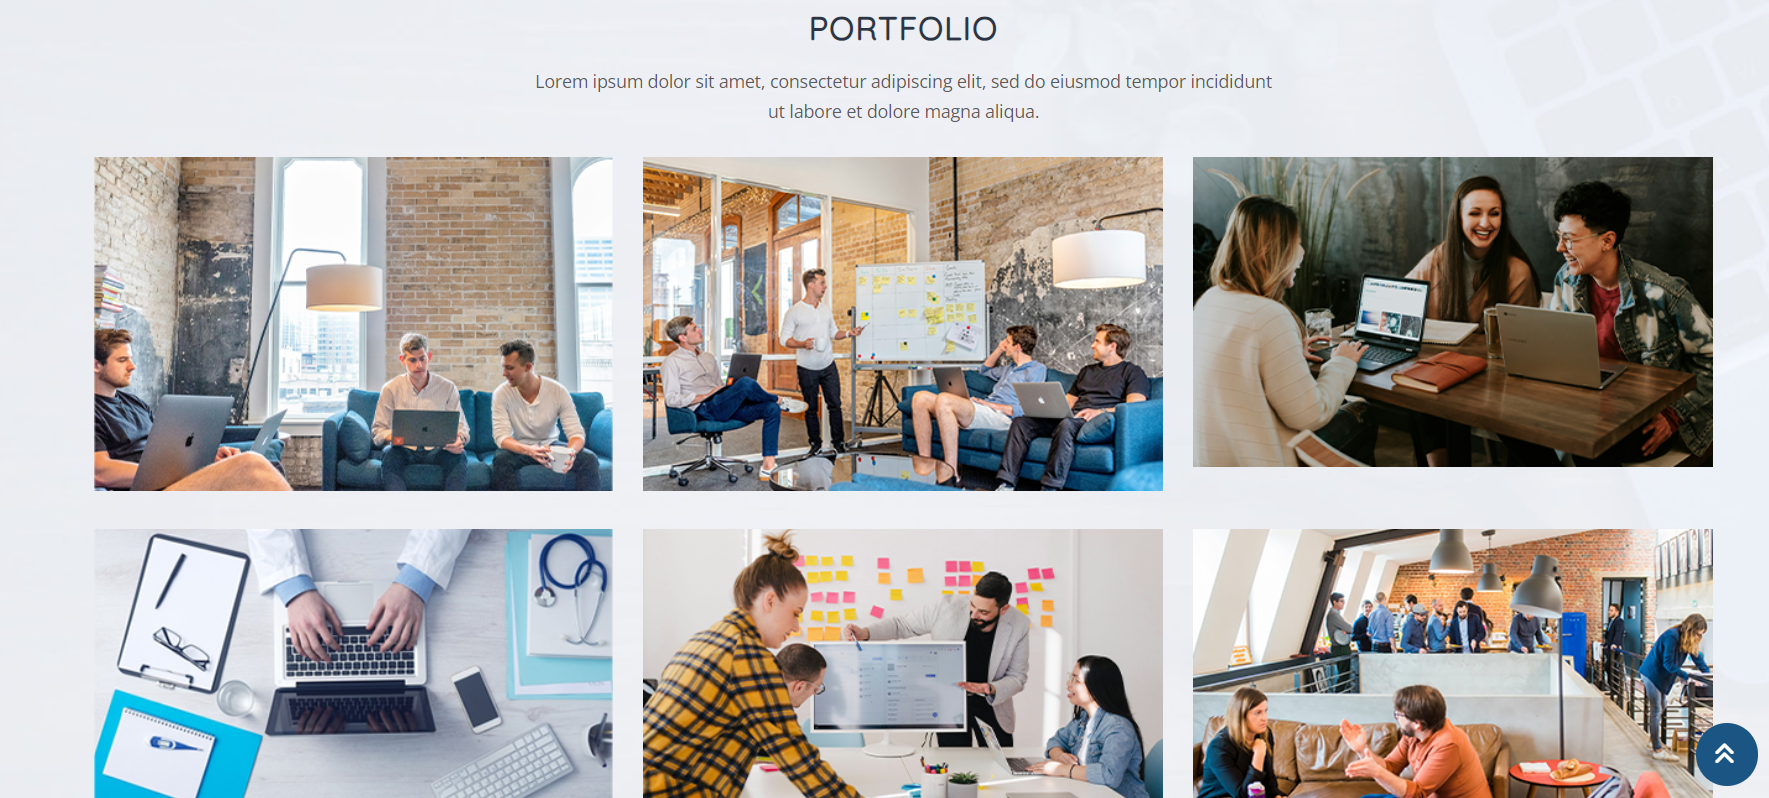
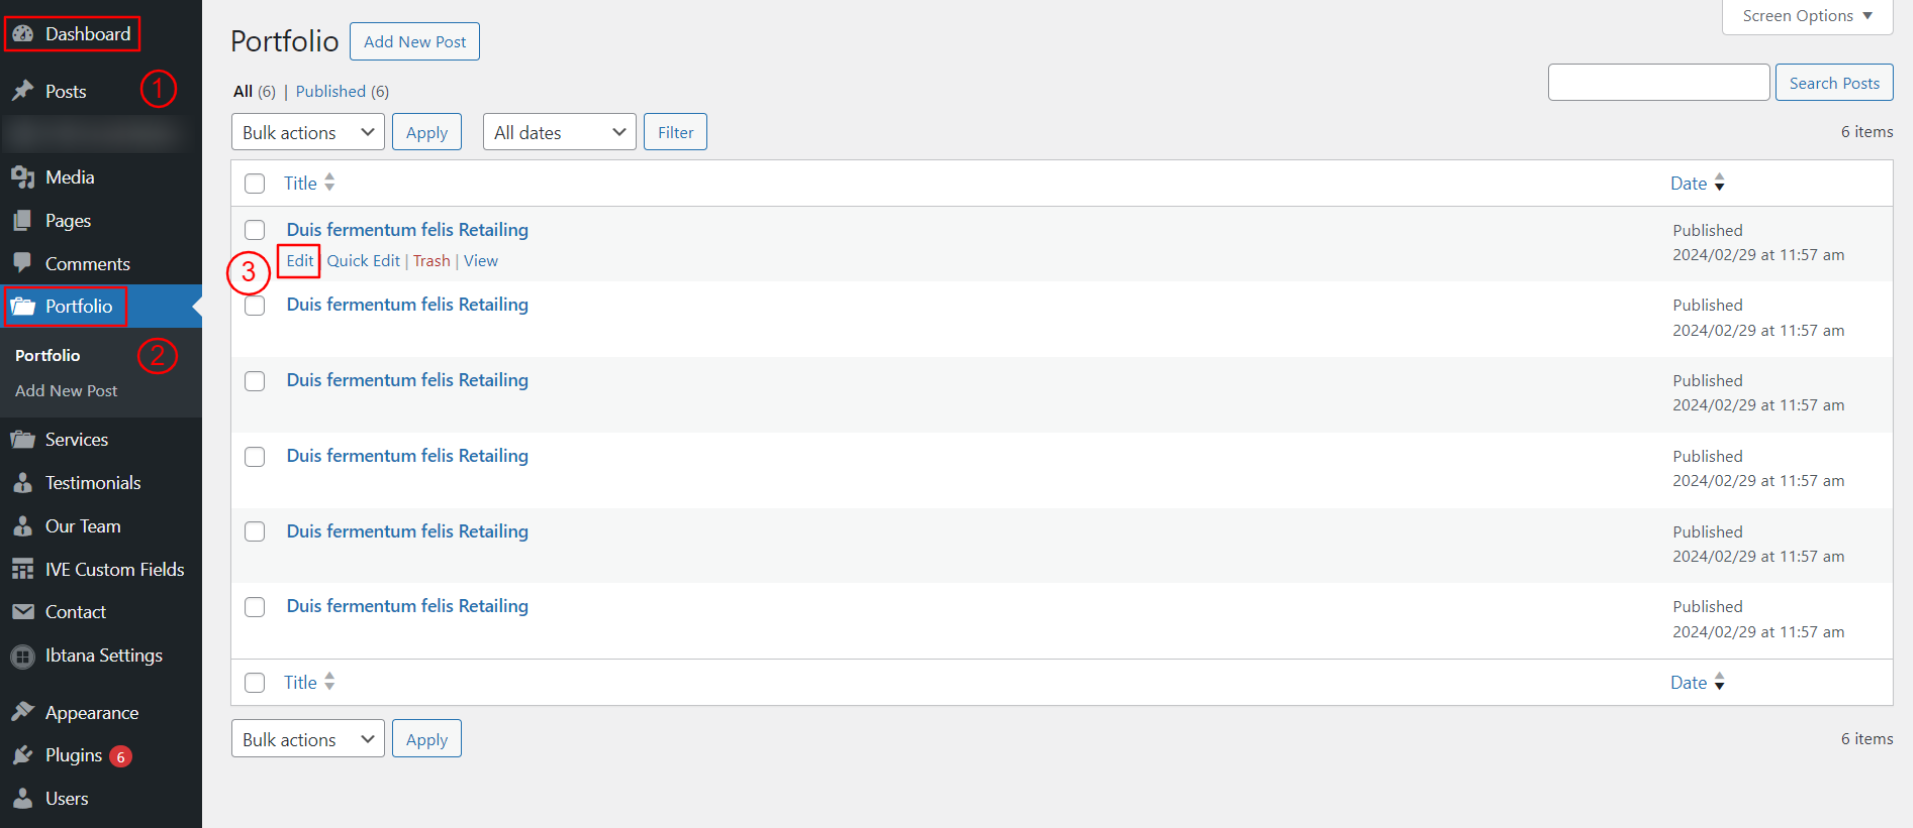
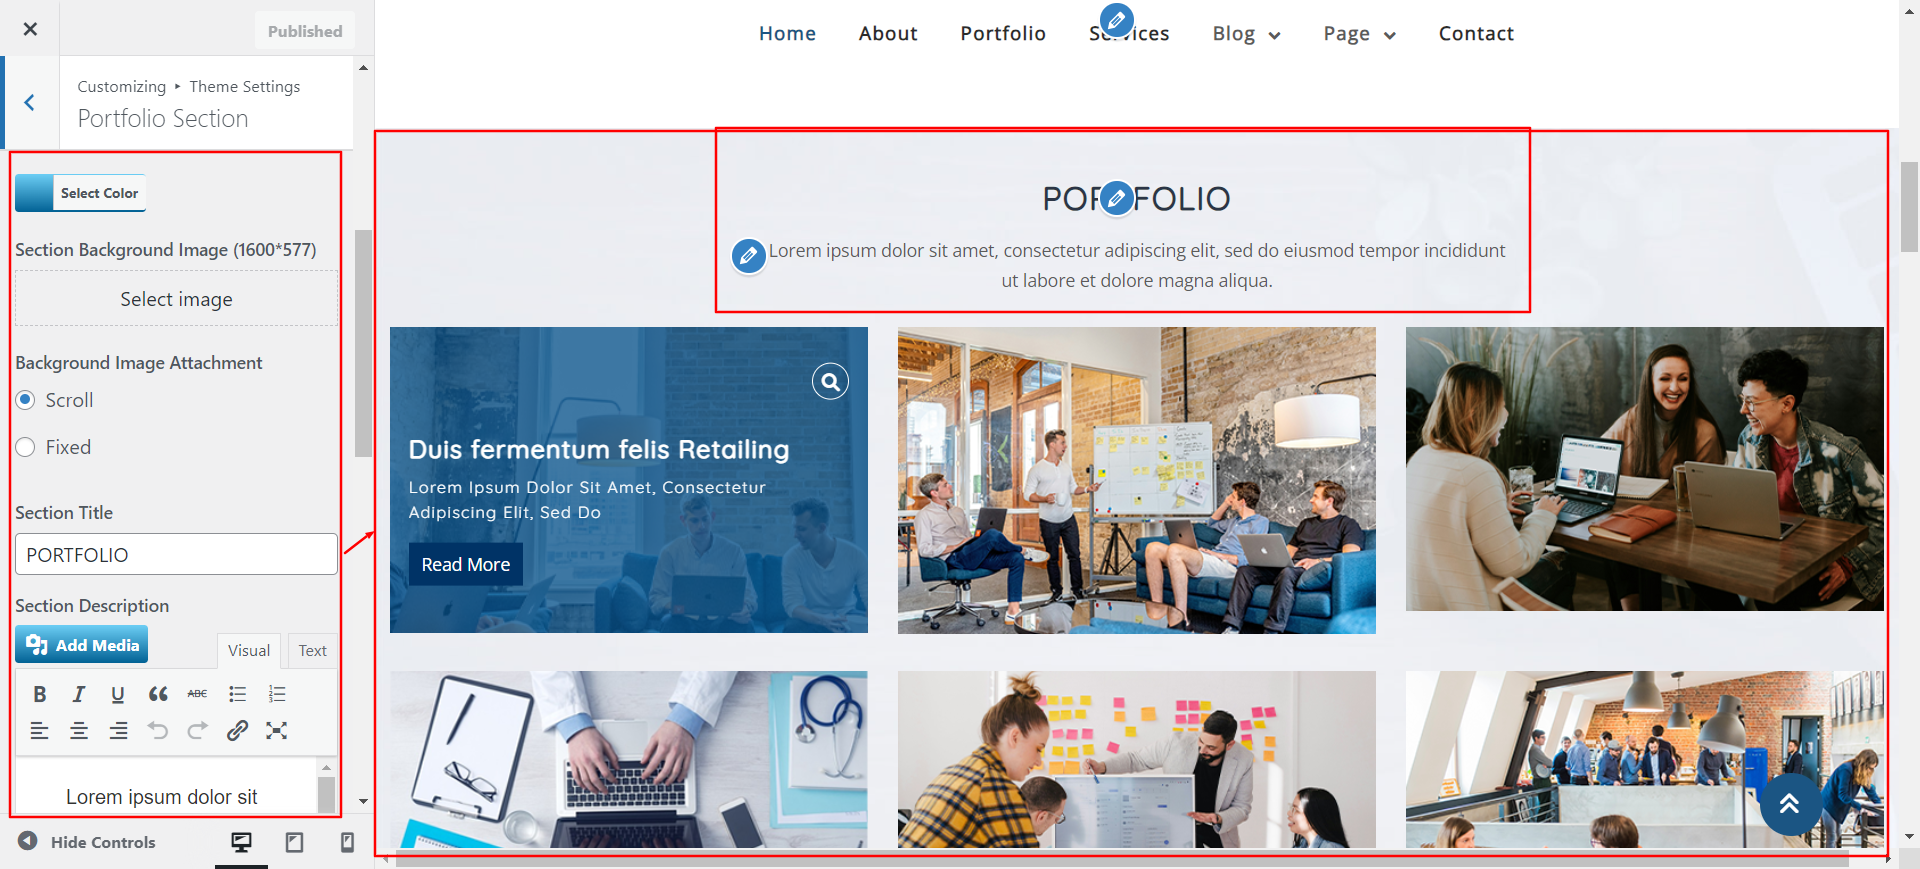
To configure the portfolio area, take the actions listed below.
Navigate The The Dashboard >> Click on portfolio >>Edit
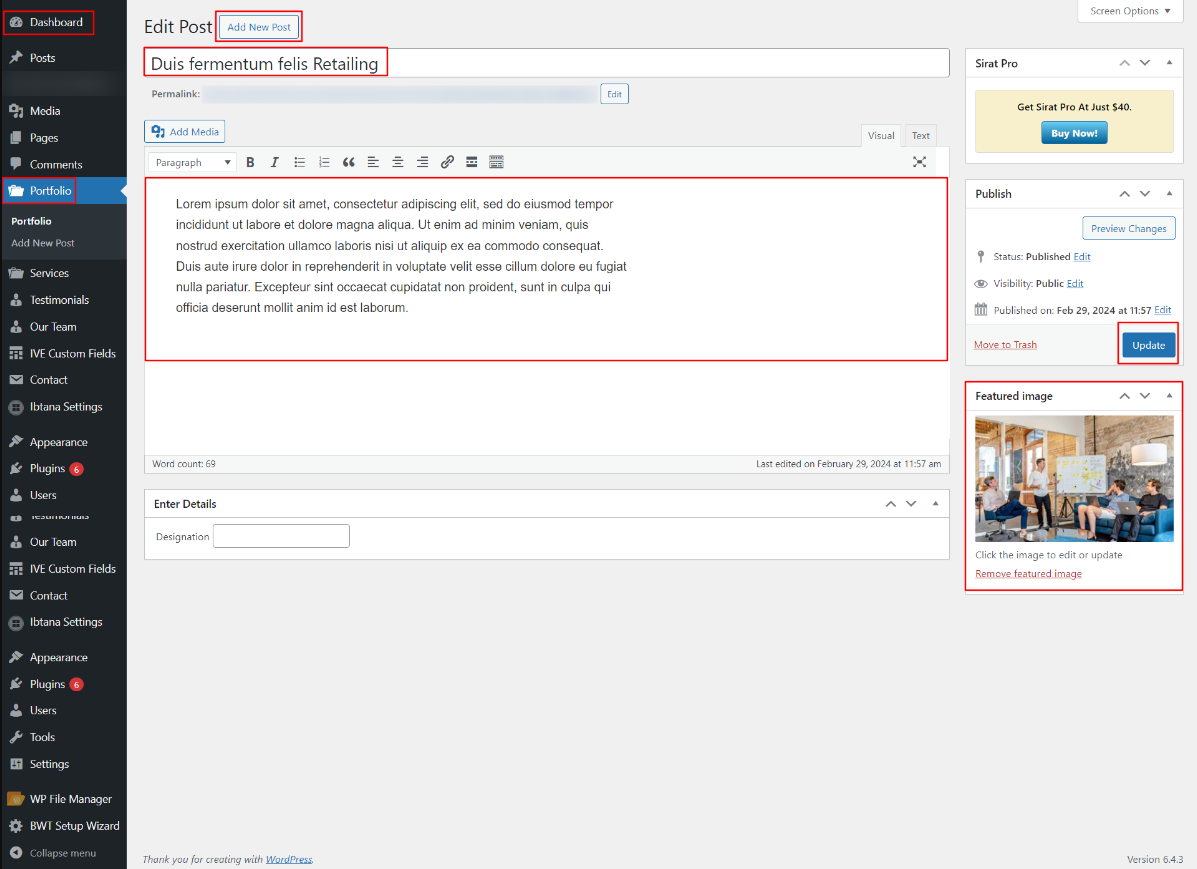
The Customizer Setting for this needs to be modified in order to continue with portfolio us.
Navigate Select Appearance >> Customize >> Theme Settings >>Portfolio Section
Setting Options : Includes Enable/disable the portfolio display option in the settings. You are able to enable or disable this part using this setting. This environment is crucial. You can choose to have this part display on your website by leaving the option enabled, or you can choose to have it disappear from your website by selecting deactivate.
Follow the below steps to Configure the service section
Navigate The Dashboard >> Services >>Edit
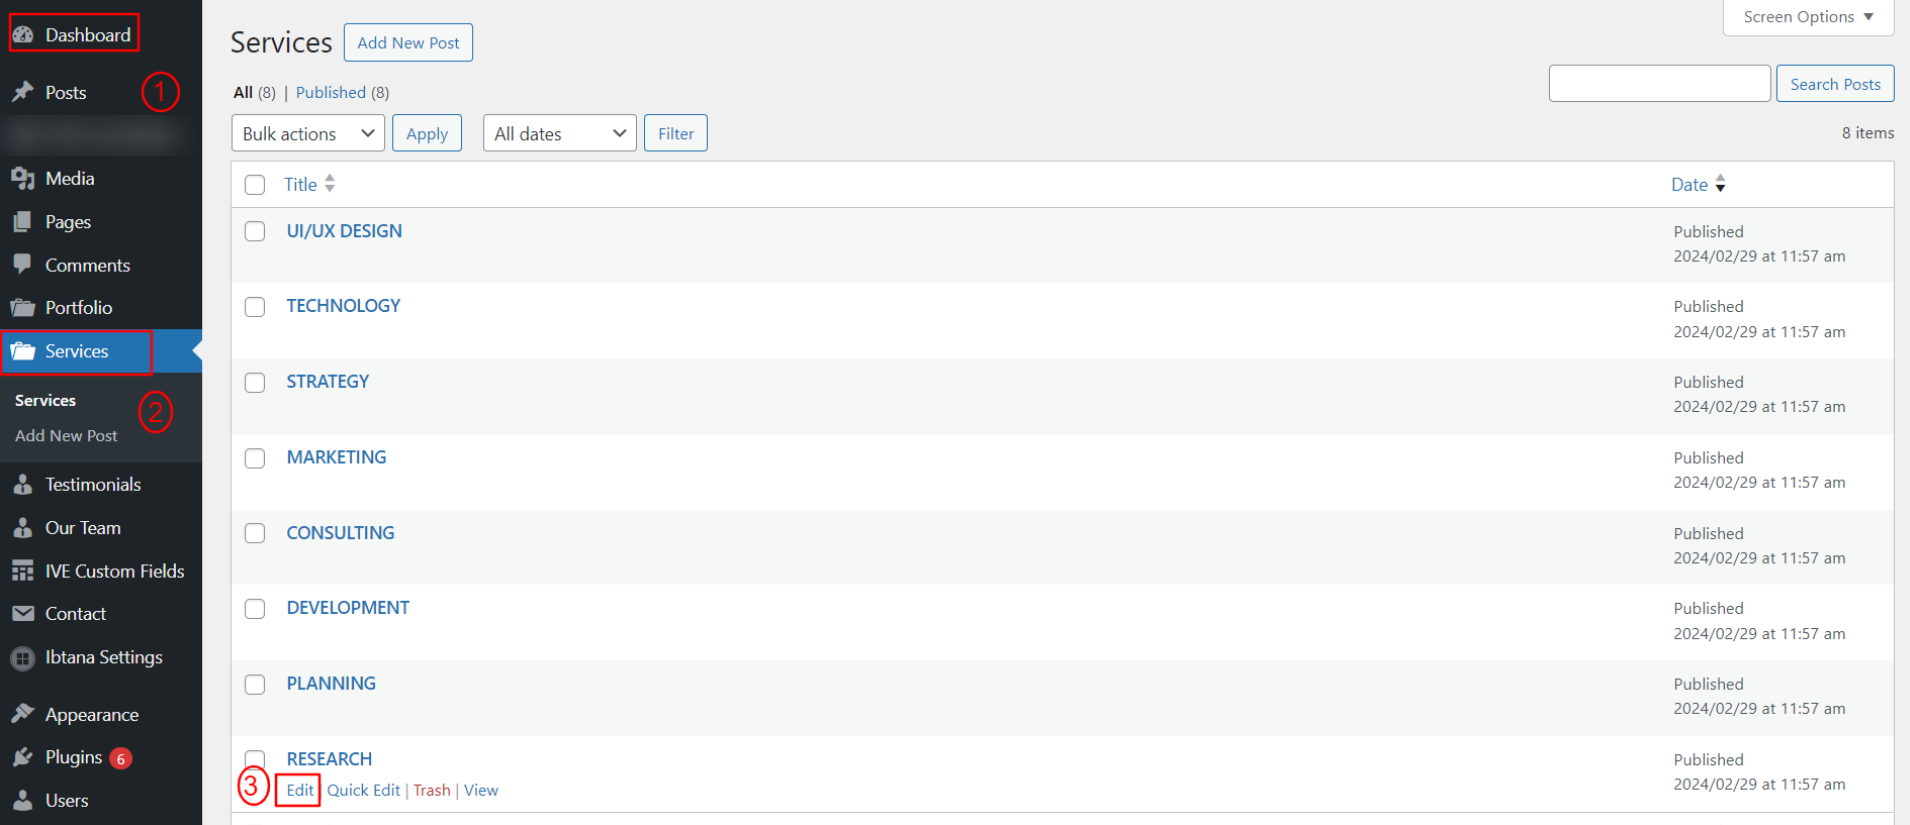
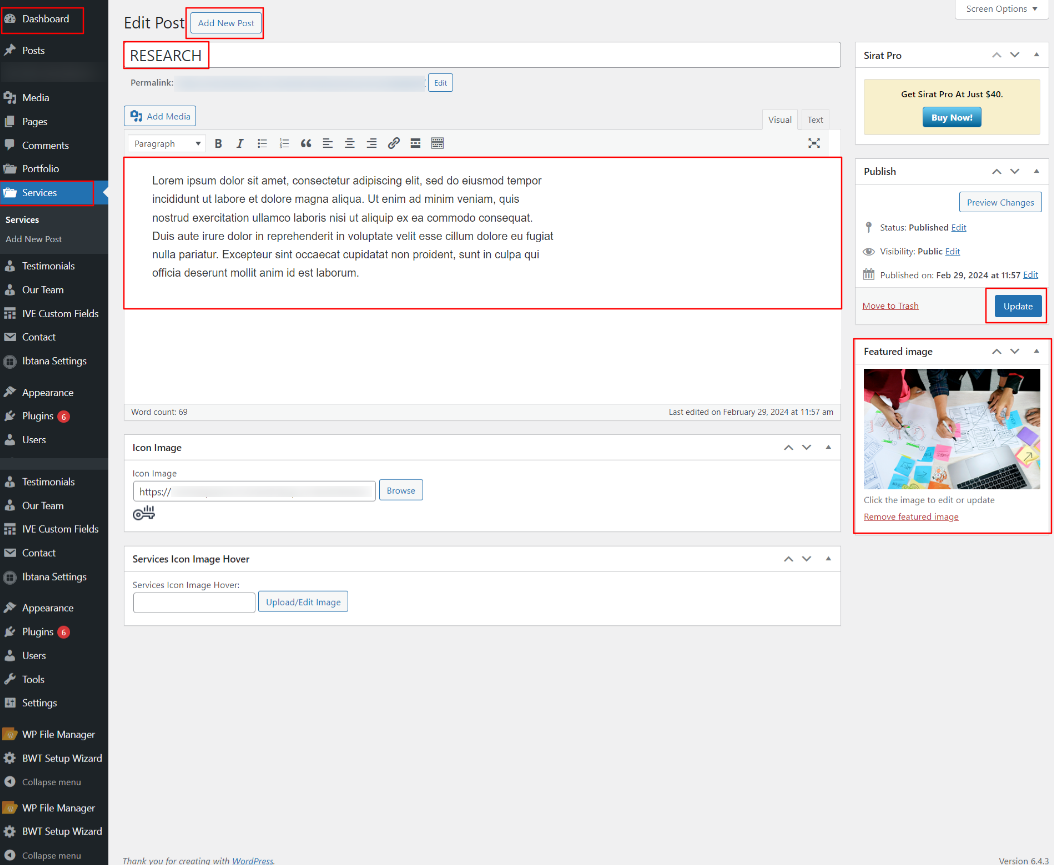
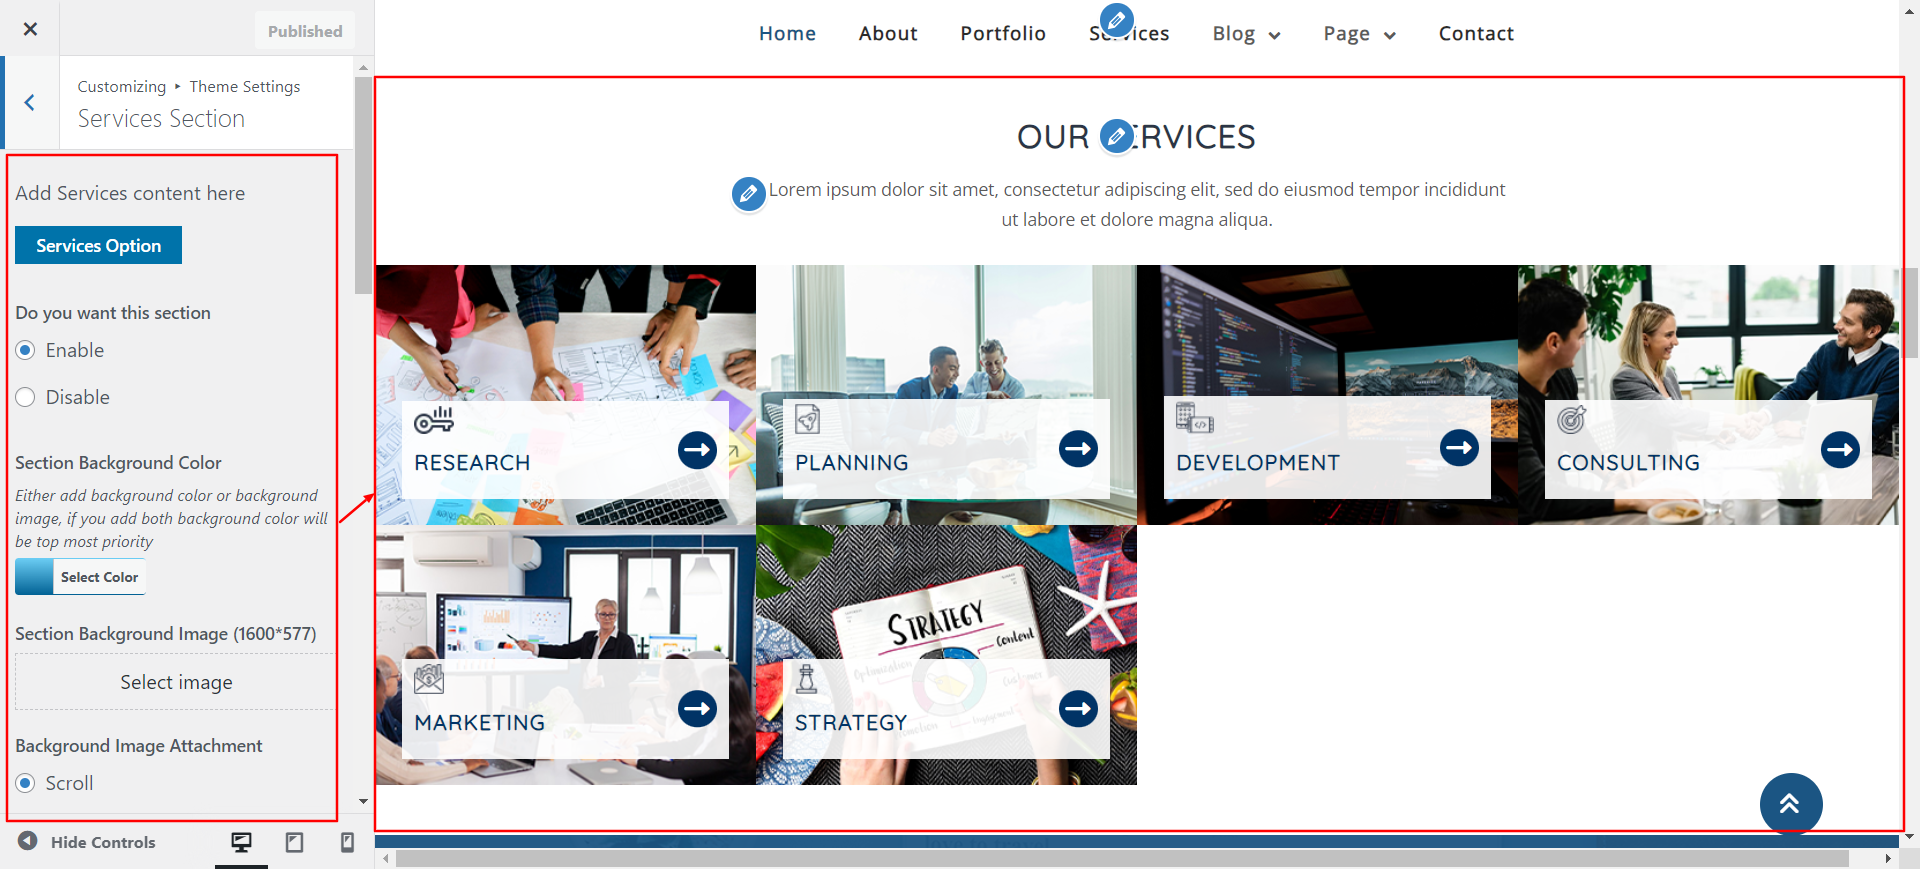
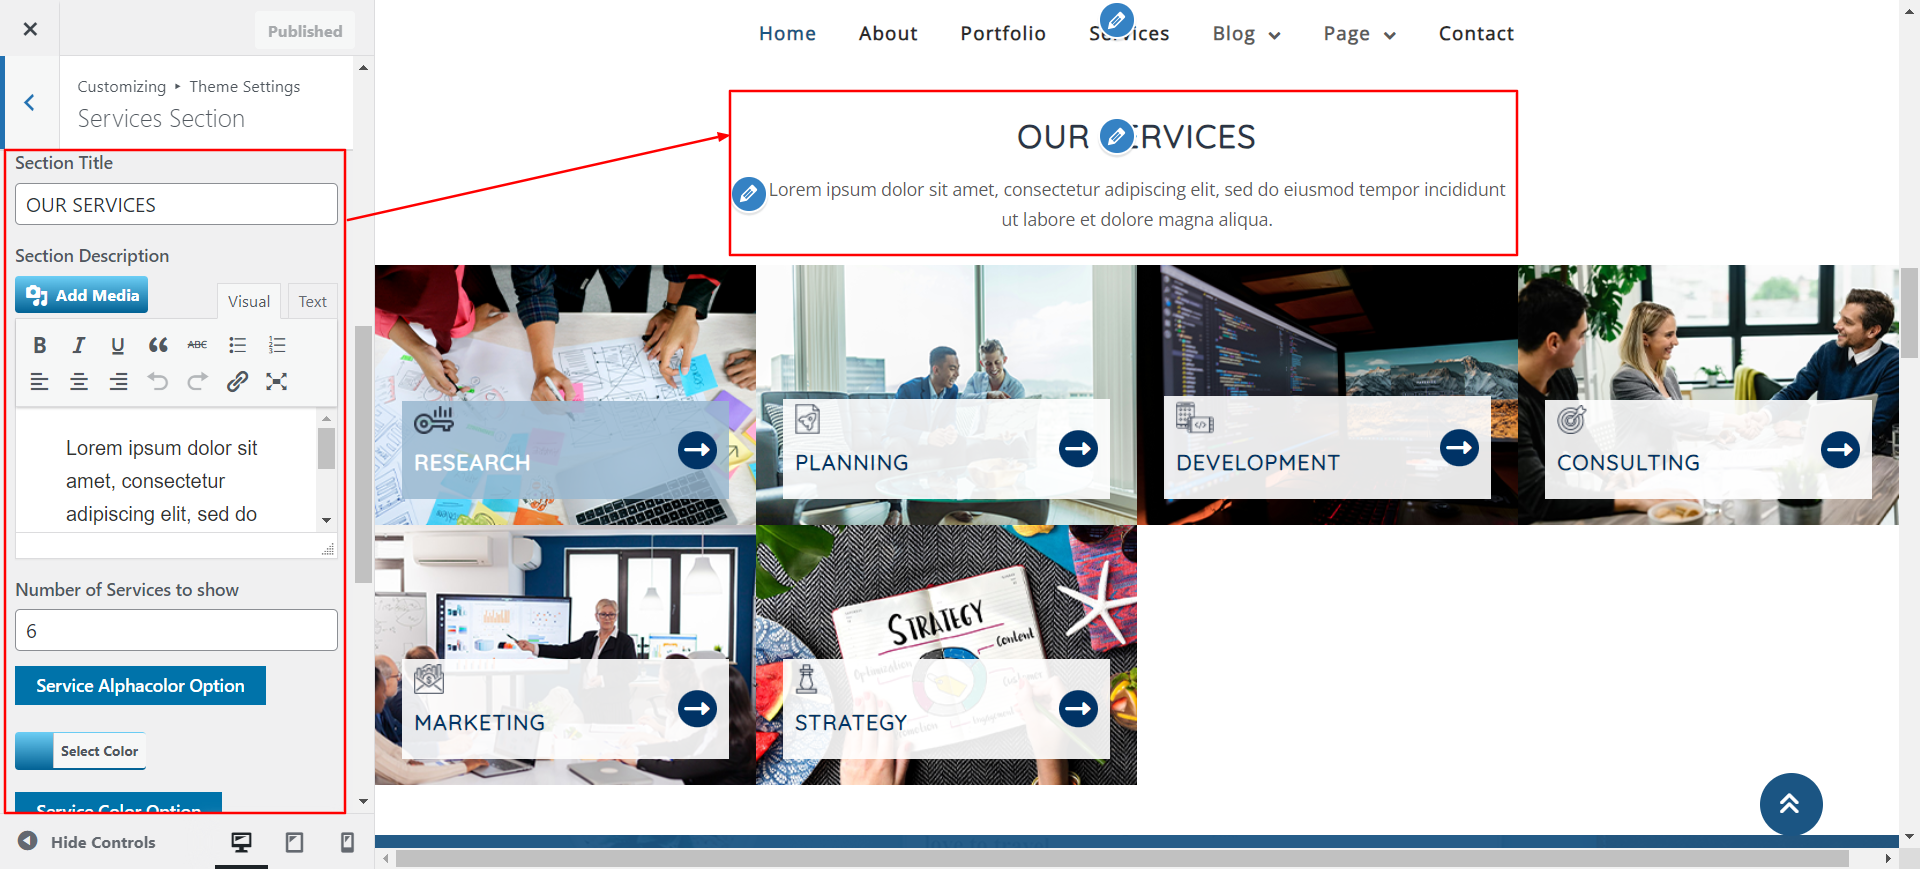
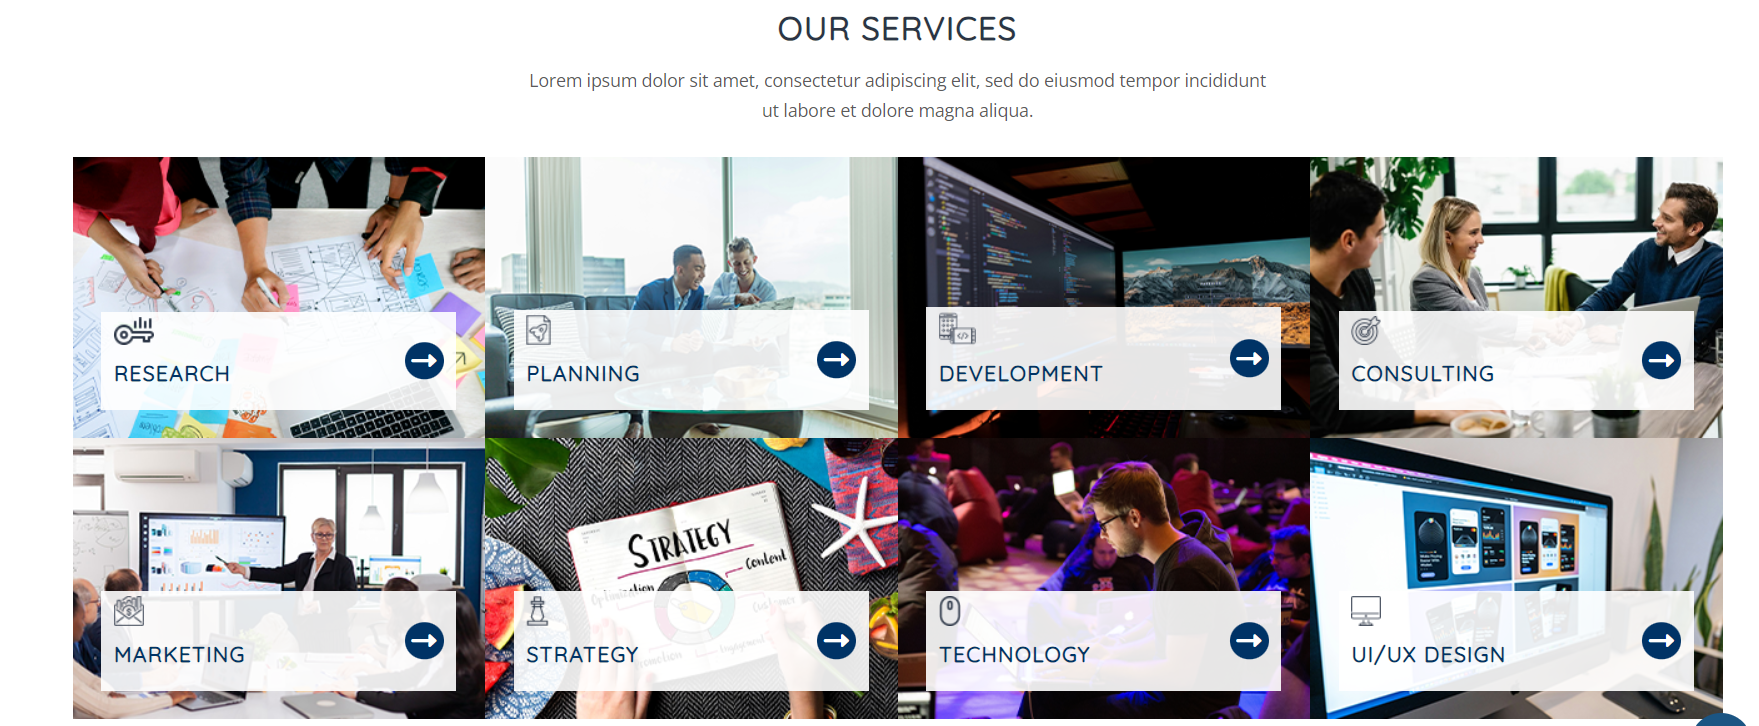
To configure the service section, take the actions listed below.
Navigate Select Appearance >> Customize >> Theme Settings >>Services Section
Setting Options : Includes settings for the choice to enable or disable service display. You are able to enable or disable this part with this setting. This environment is crucial. You can choose to have this part display on your website by leaving the option enabled, or you can choose to have it disappear from your website by selecting deactivate.
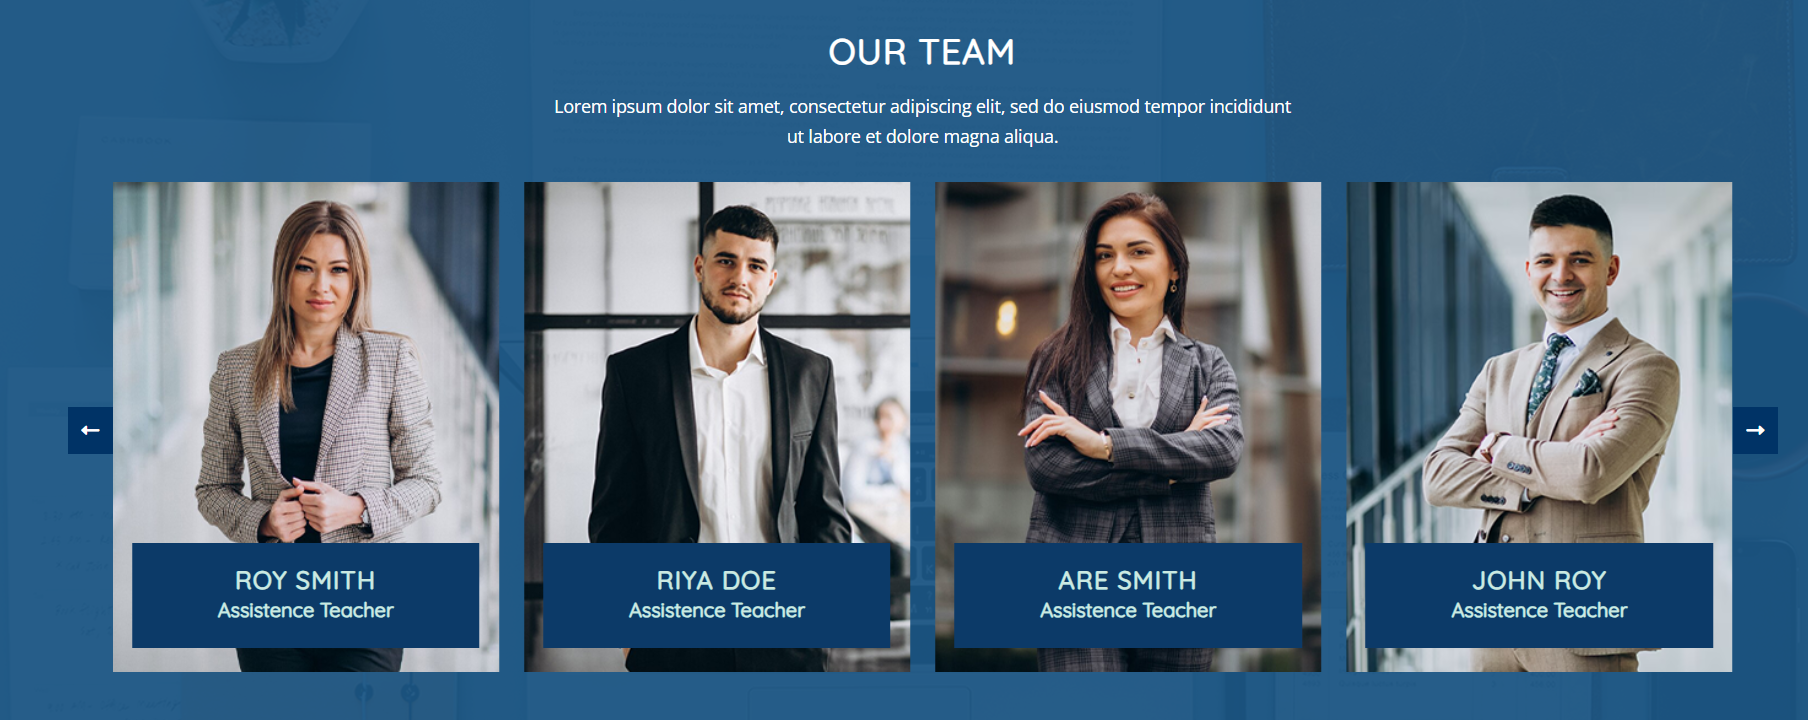
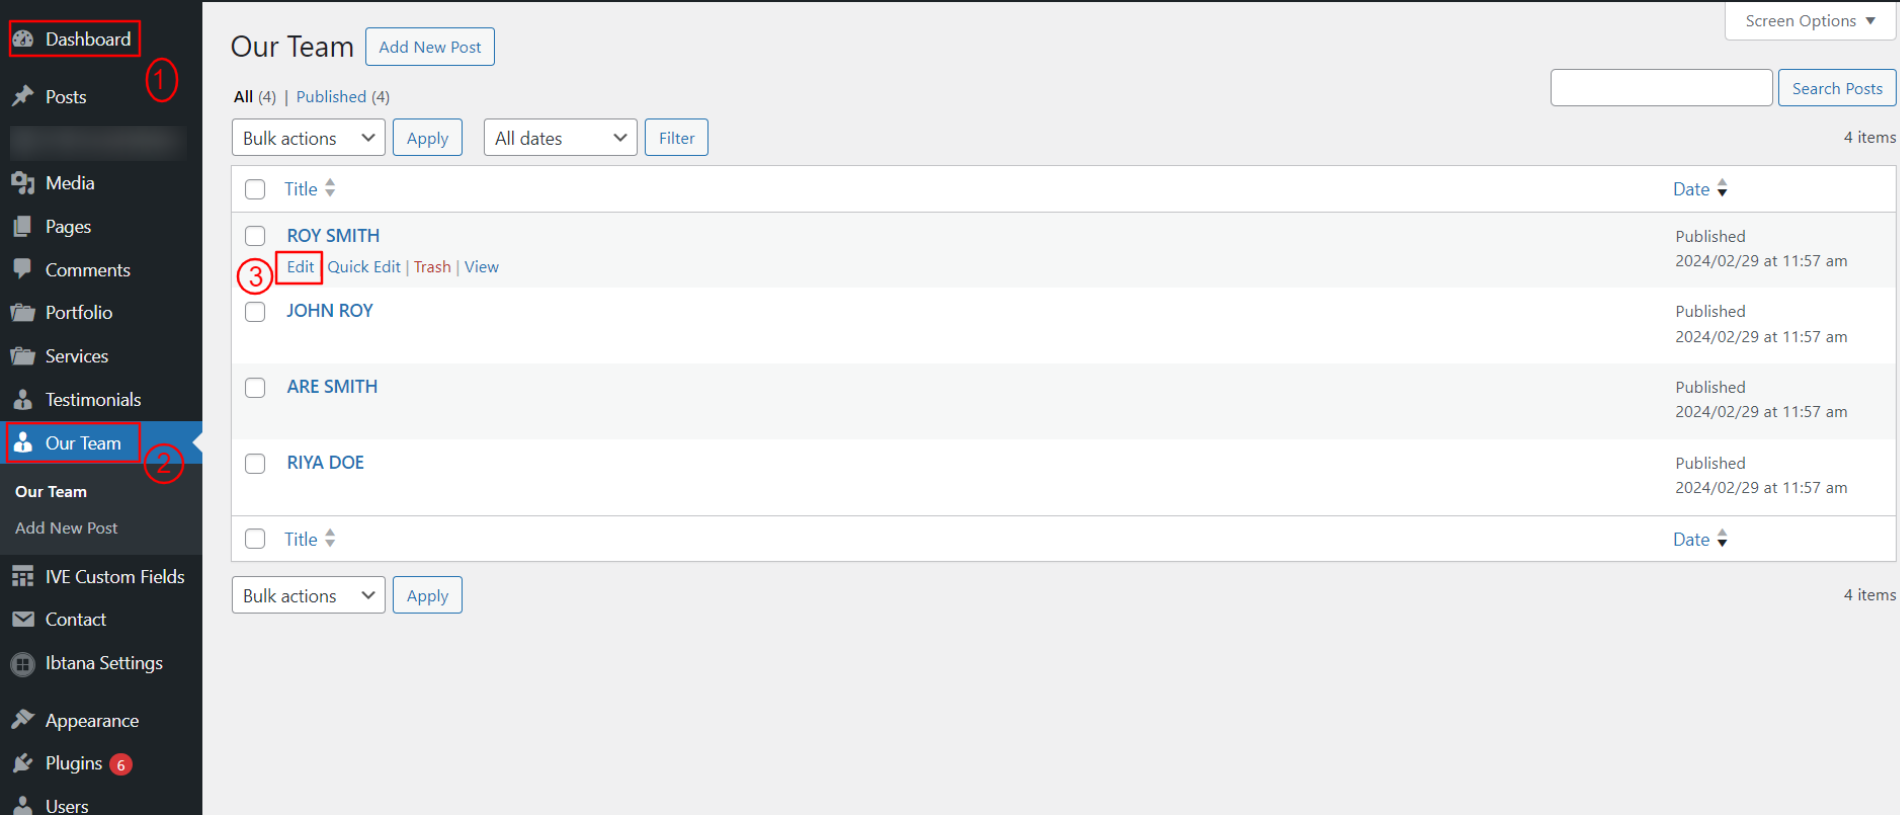
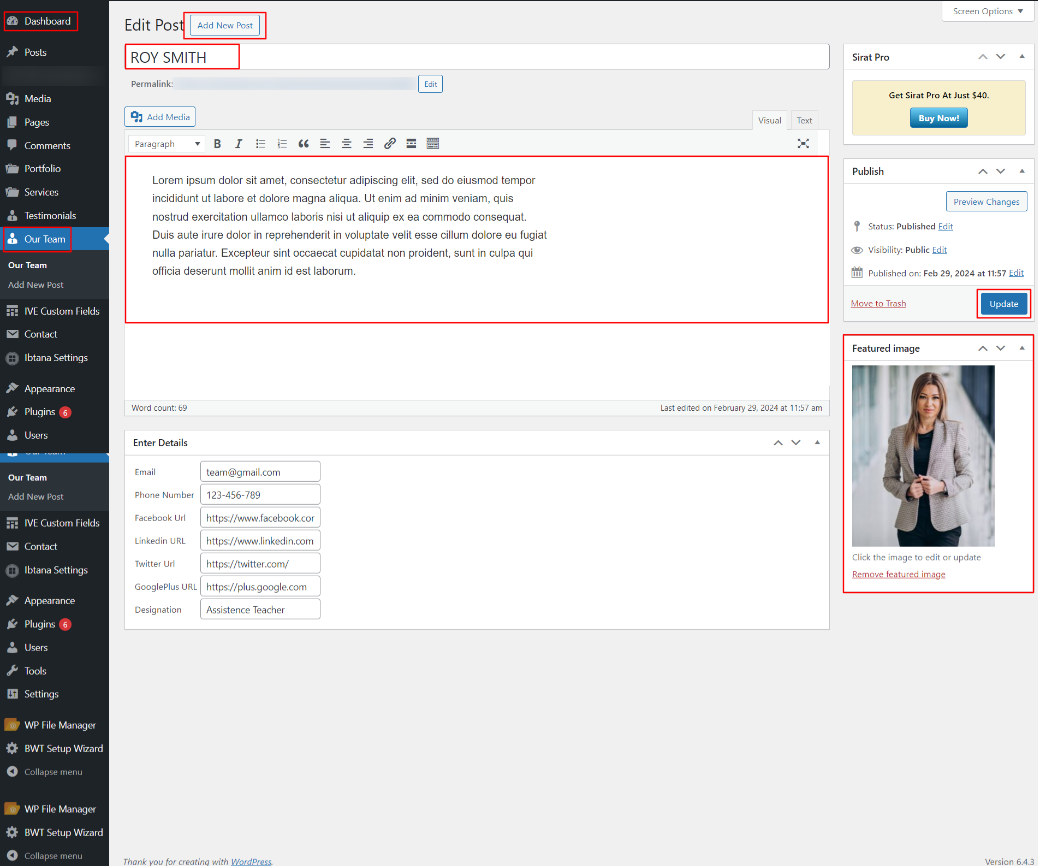
To configure the team section, take the actions listed below.
Navigate The Dashboard >> team >>Edit
The Customizer Setting for this needs to be edited in order to move on to the Team Section.
Navigate Select Appearance >> Customize >> Theme Settings >>Team Section
Setting Options : Includes settings for
To configure the team section, take the actions listed below.
Navigate The Dashboard >> team >>Edit
show the enable/disable button. You have the ability to enable or disable this section with this setting. This environment is crucial. You can choose to have this part display on your website by leaving the option enabled, or you can choose to have it disappear from your website by selecting deactivate.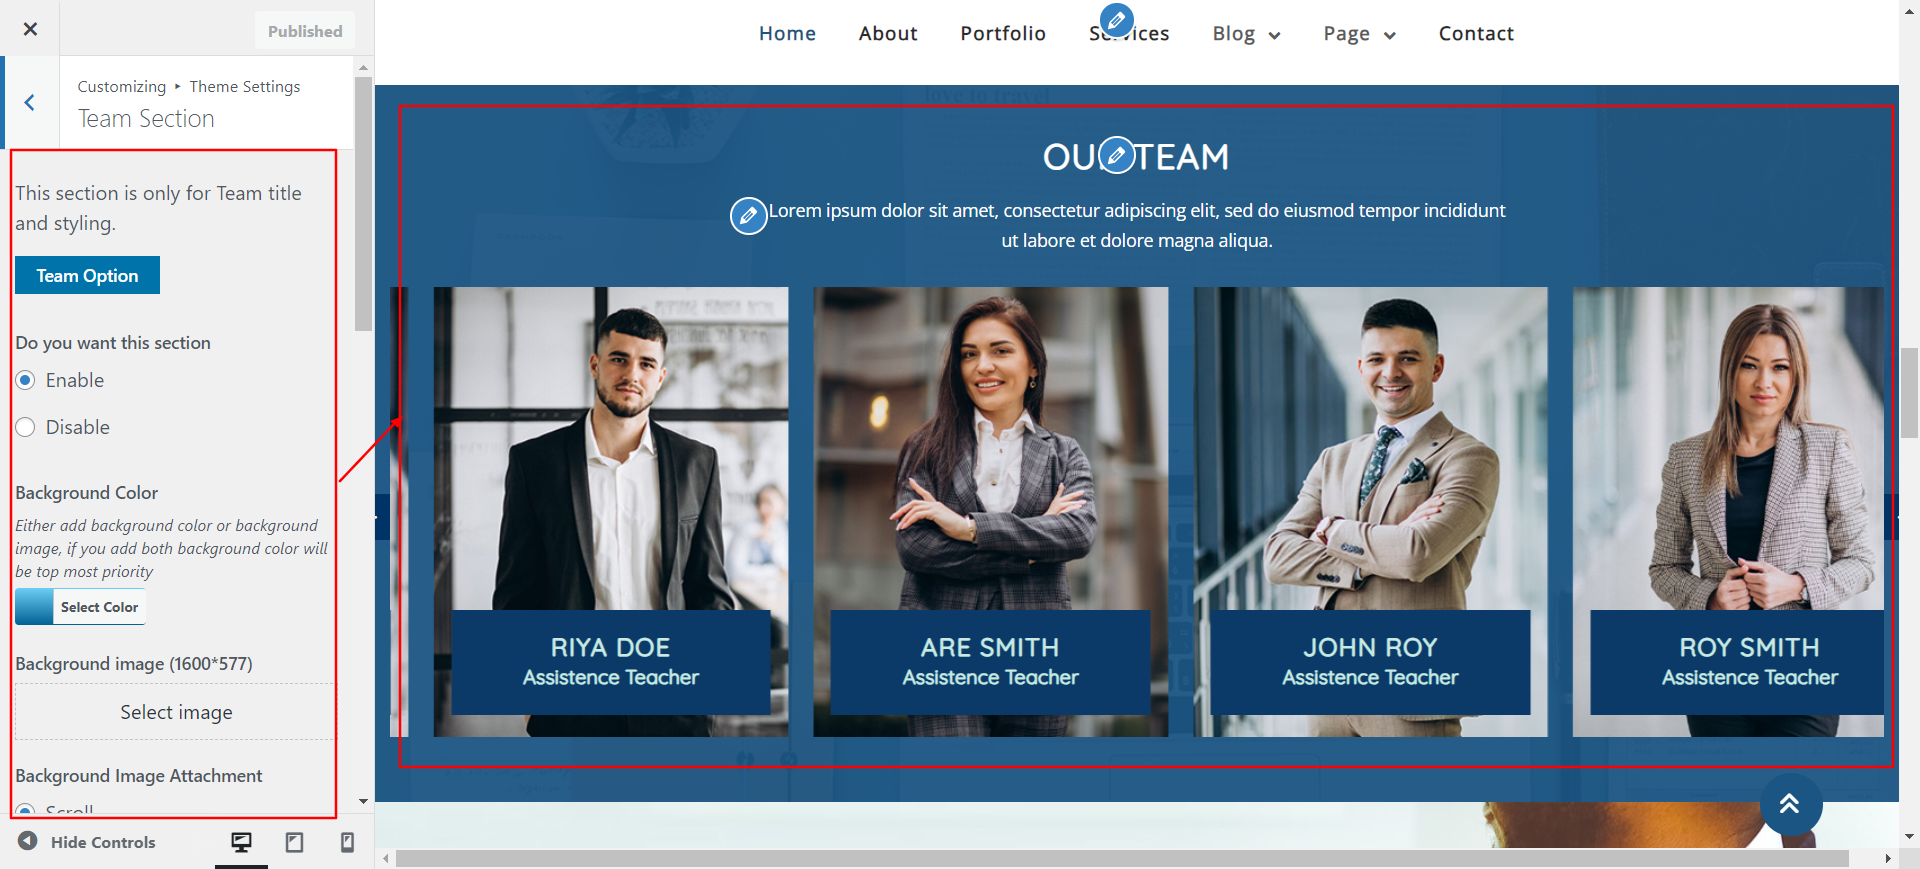


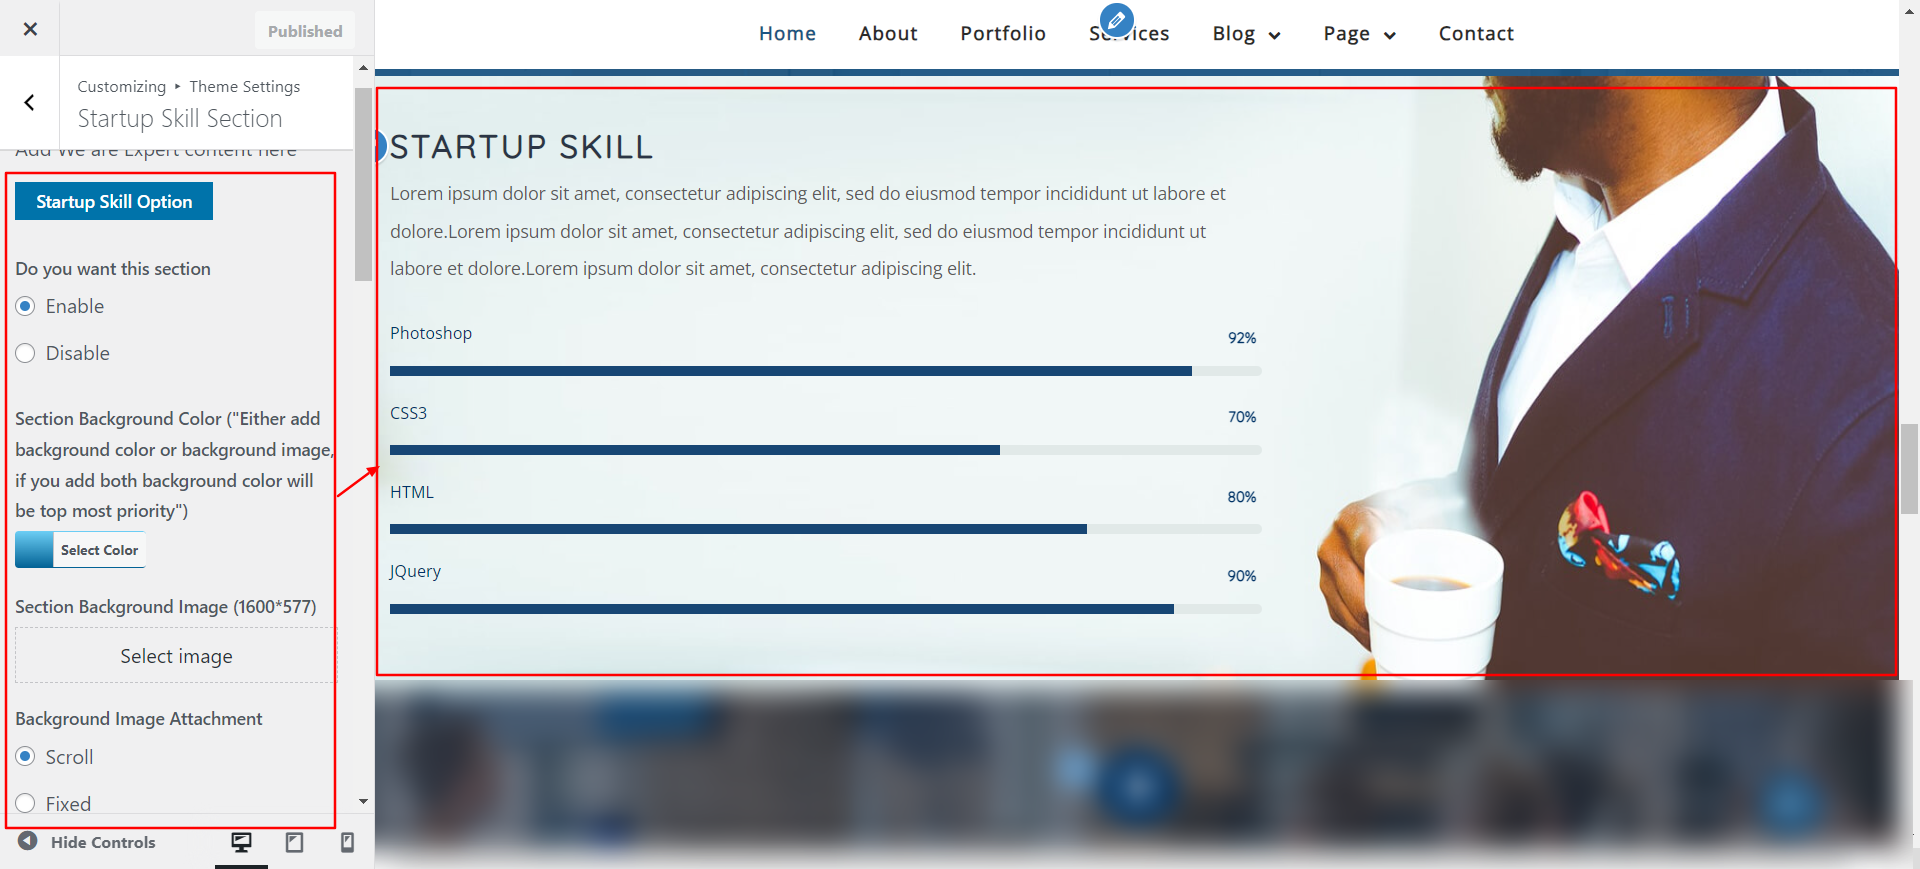
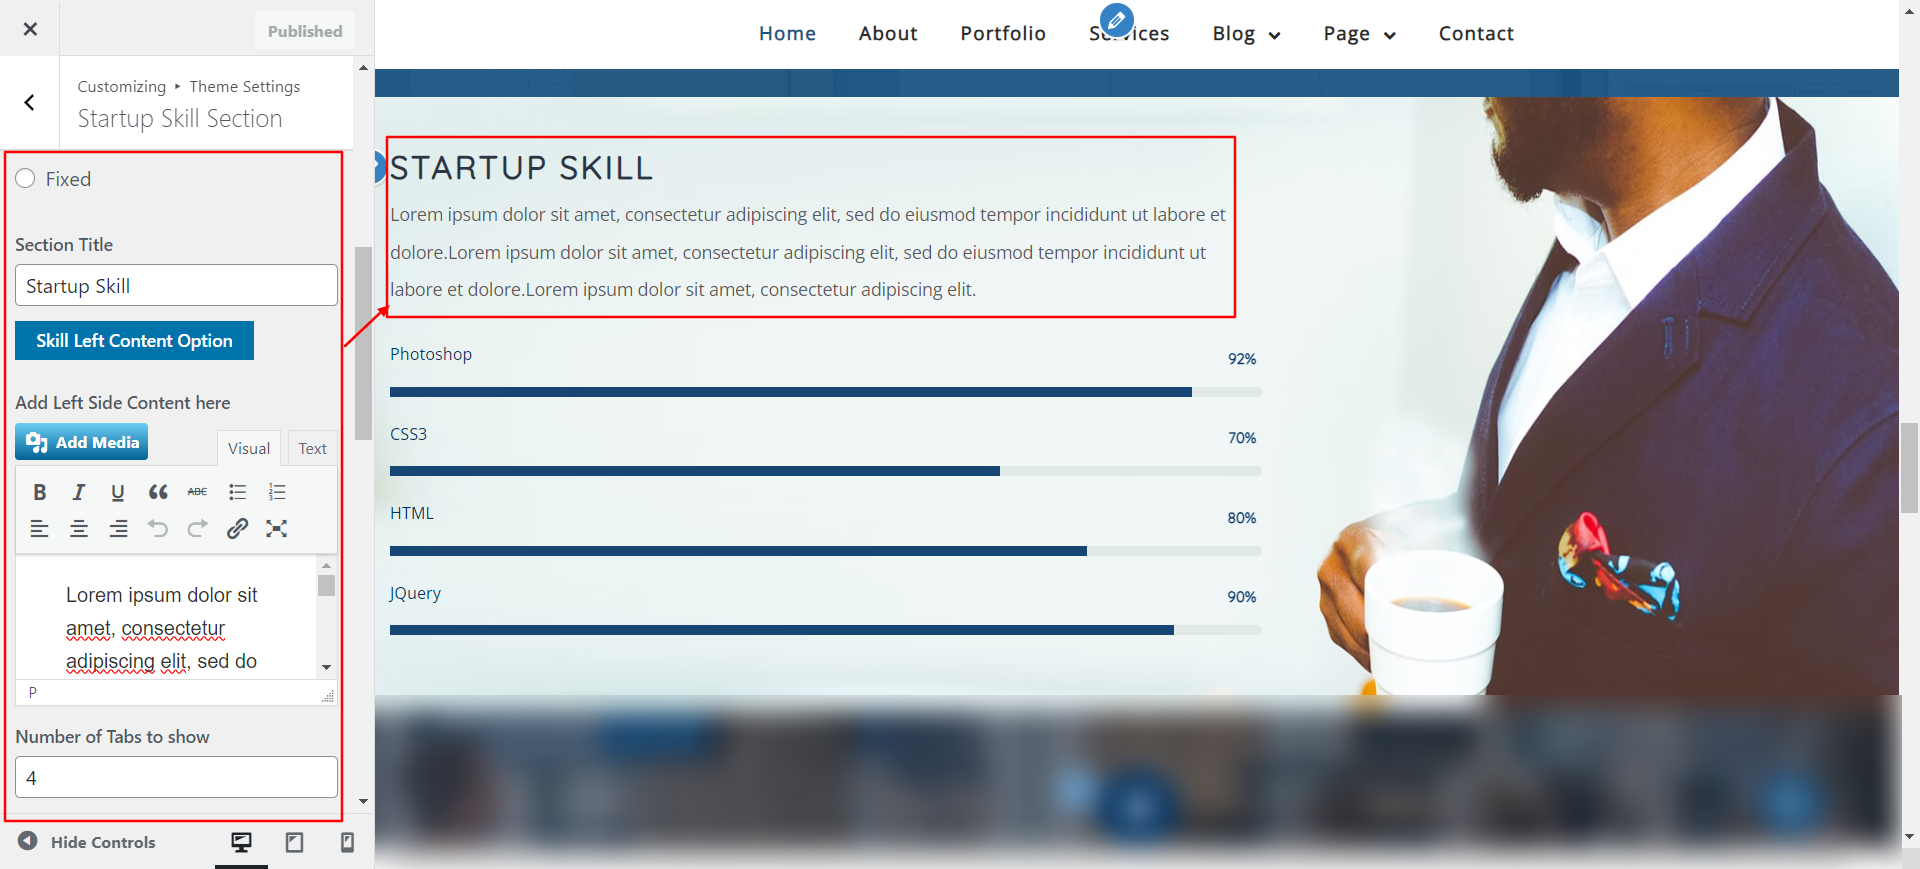
The Customizer Setting for this needs to be modified in order to move on to the Startup Skill Section.
Navigate Select Appearance >> Customize >> Theme Settings >>Startup Skill Section
Setting Options : includes the options for the ability to enable or disable service display. You have the ability to enable or disable this section with this setting. This environment is crucial. You can choose to have this part display on your website by leaving the option enabled, or you can choose to have it disappear from your website by selecting deactivate.


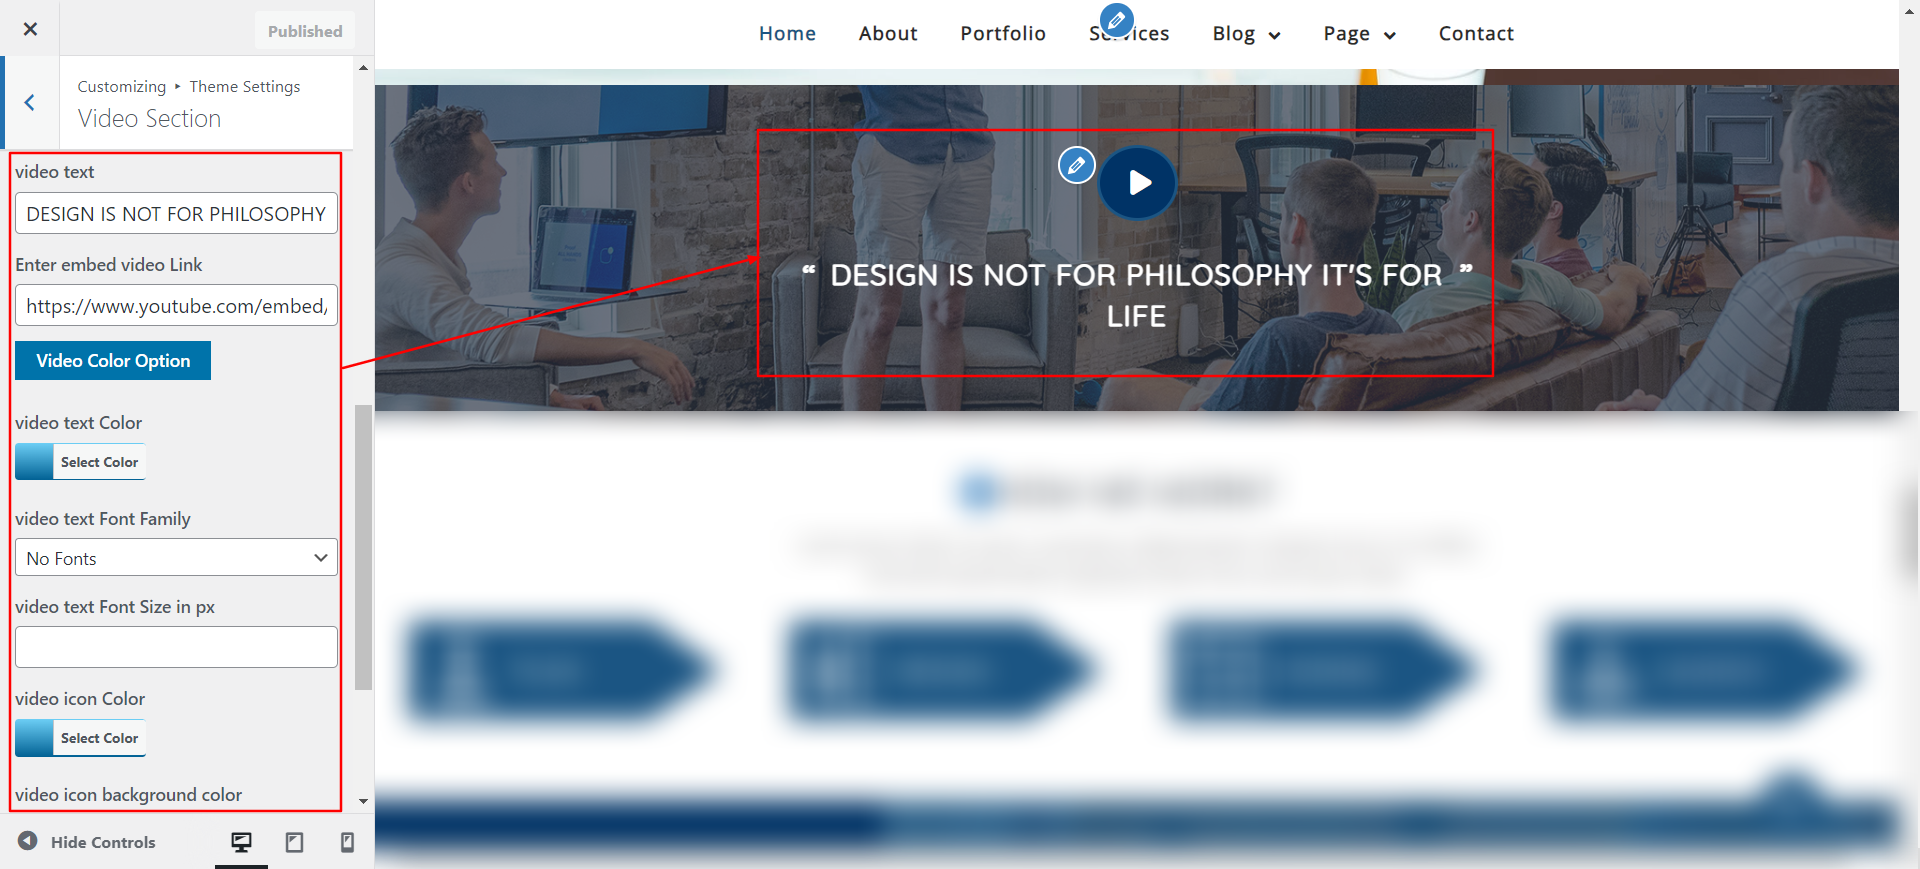
Next step in order to proceed with Video Section is to edit the Customizer Setting for this
Navigate Select Appearance >> Customize >> Theme Settings >>Video Section
Setting Options : includes the options for the ability to enable or disable service display. You have the ability to enable or disable this section with this setting. This environment is crucial. You can choose to have this part display on your website by leaving the option enabled, or you can choose to have it disappear from your website by selecting deactivate.

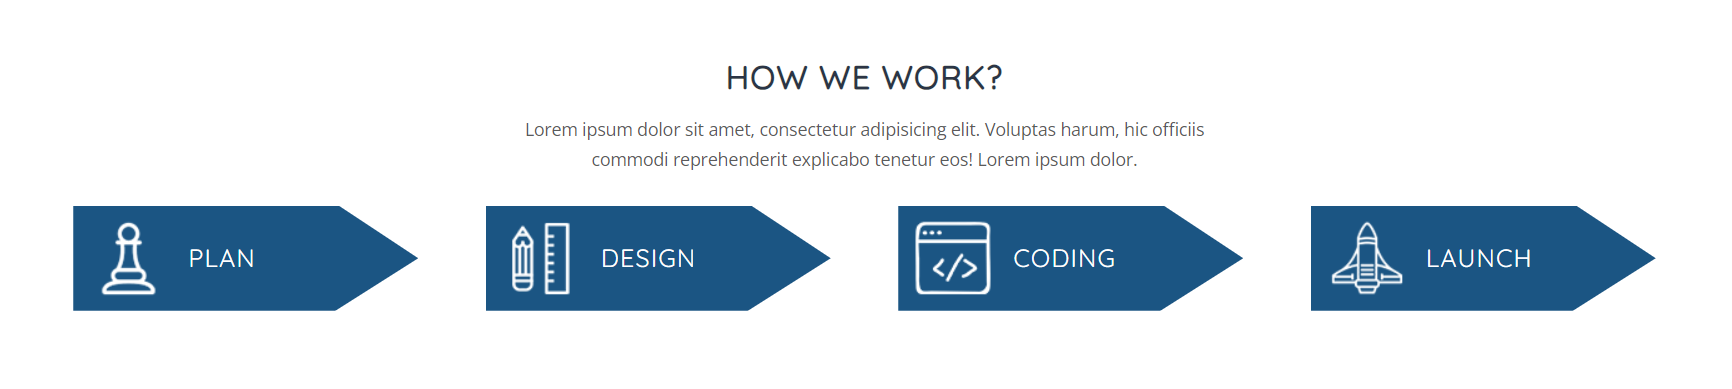
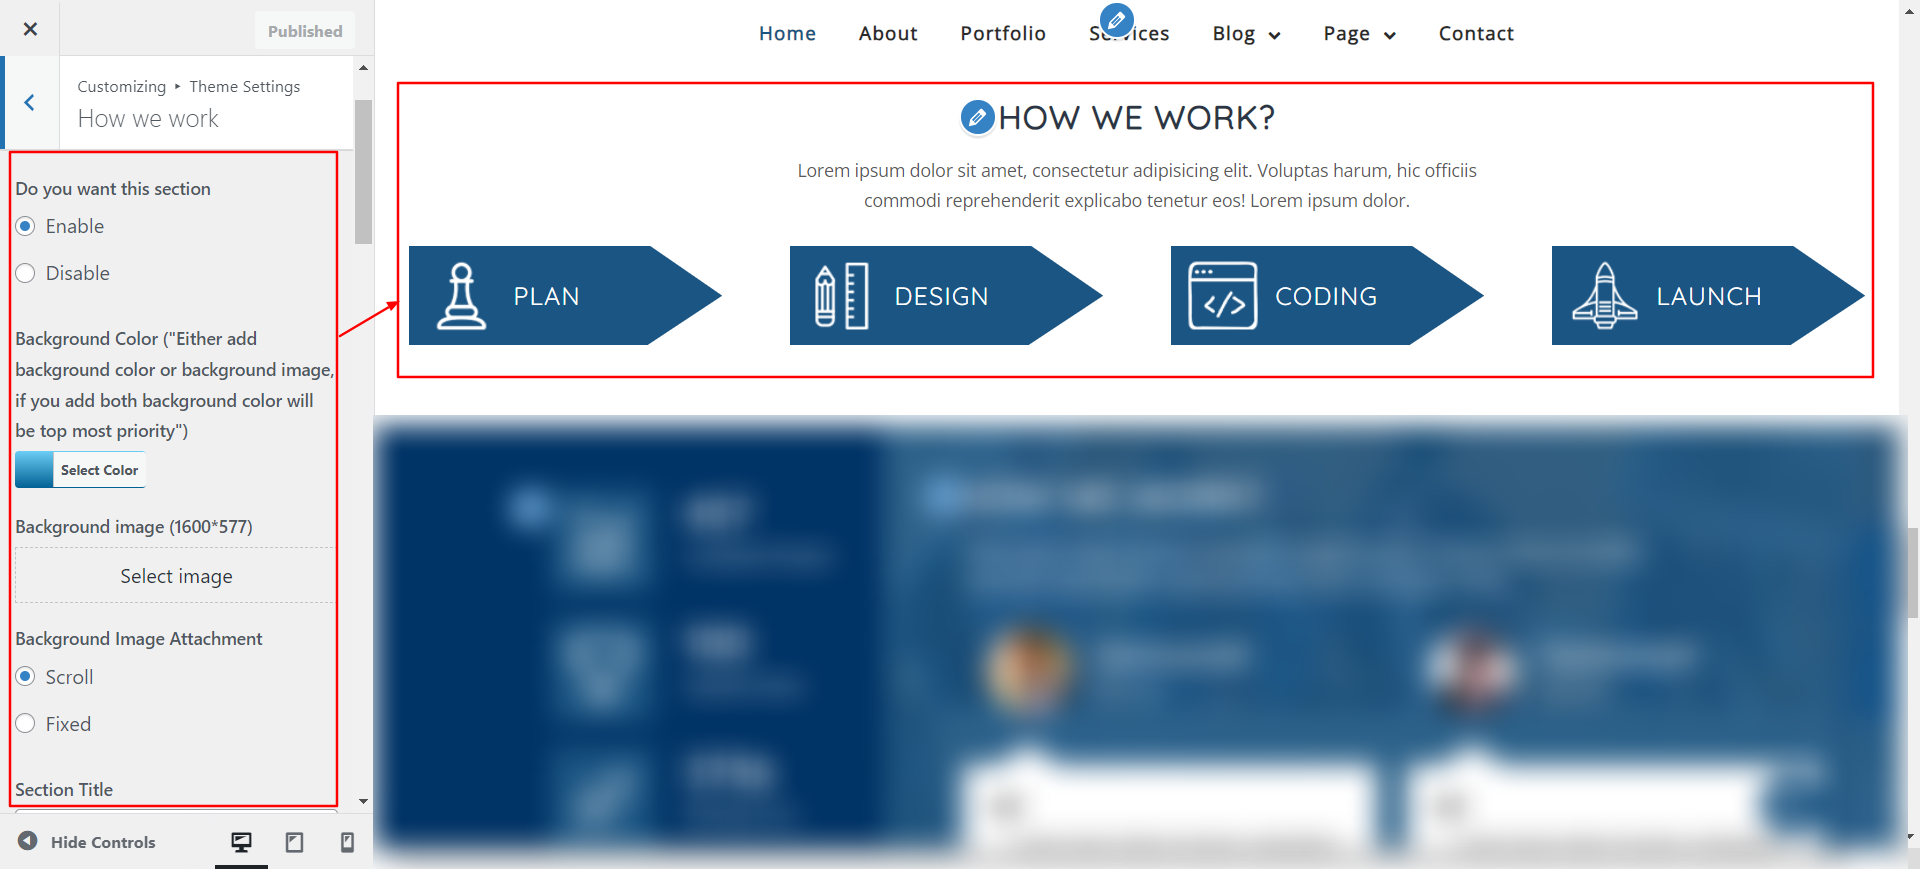
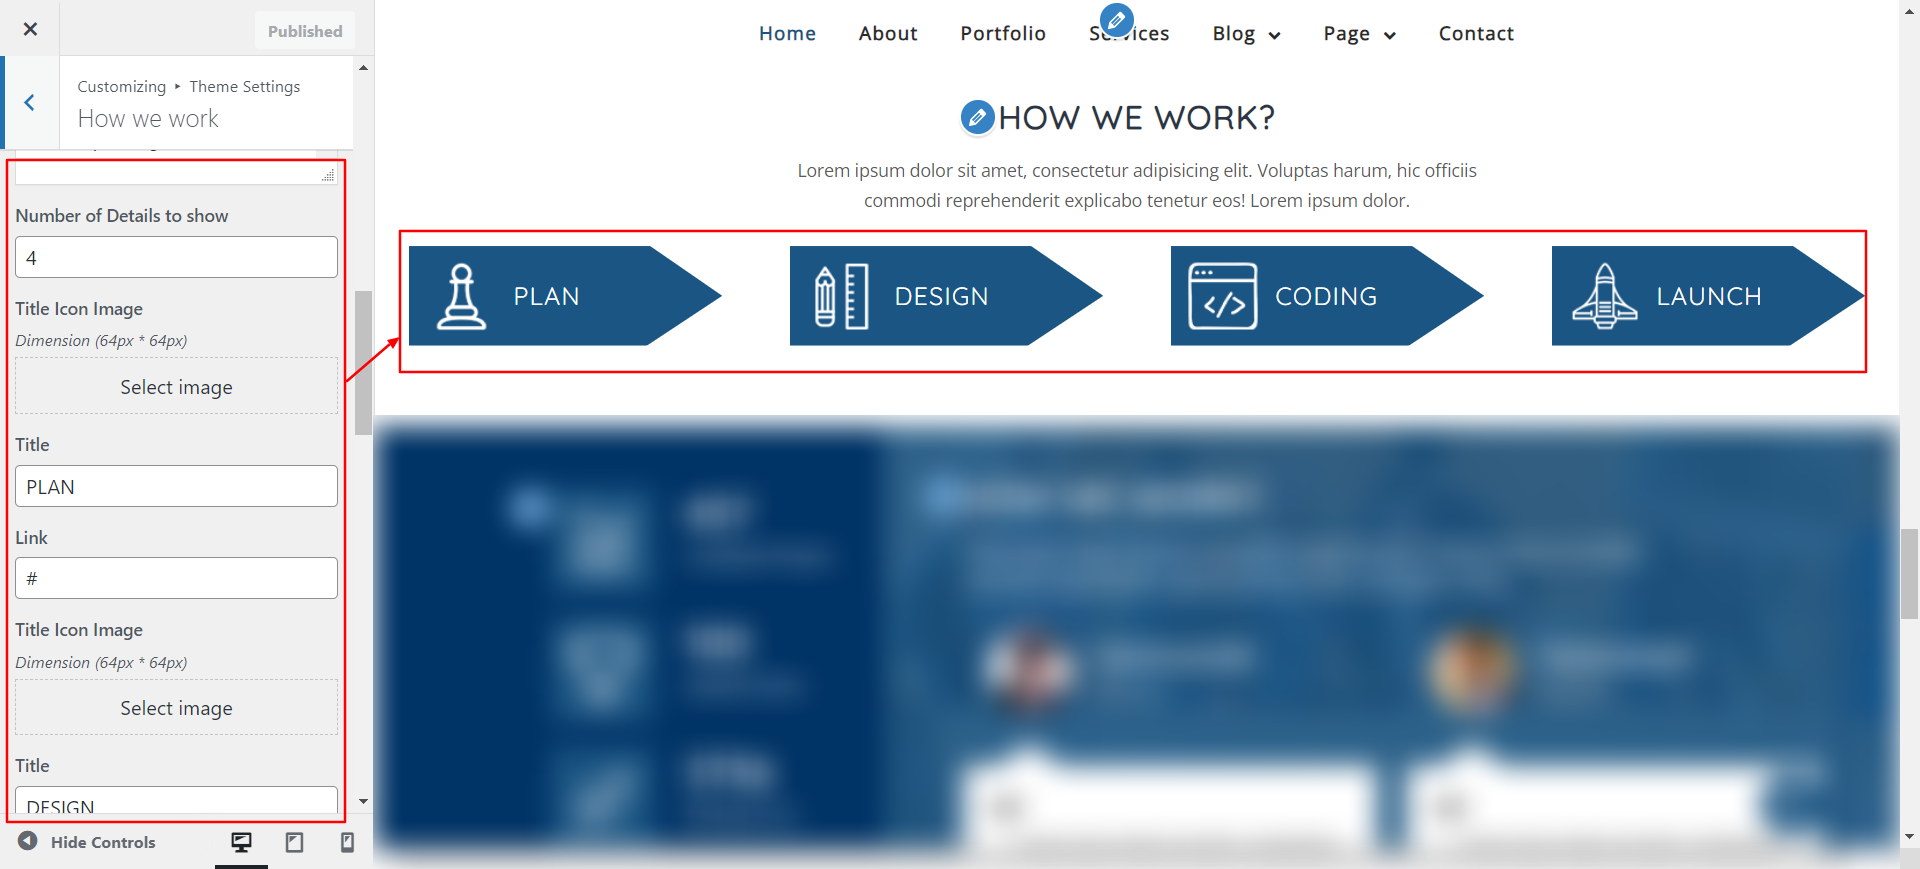
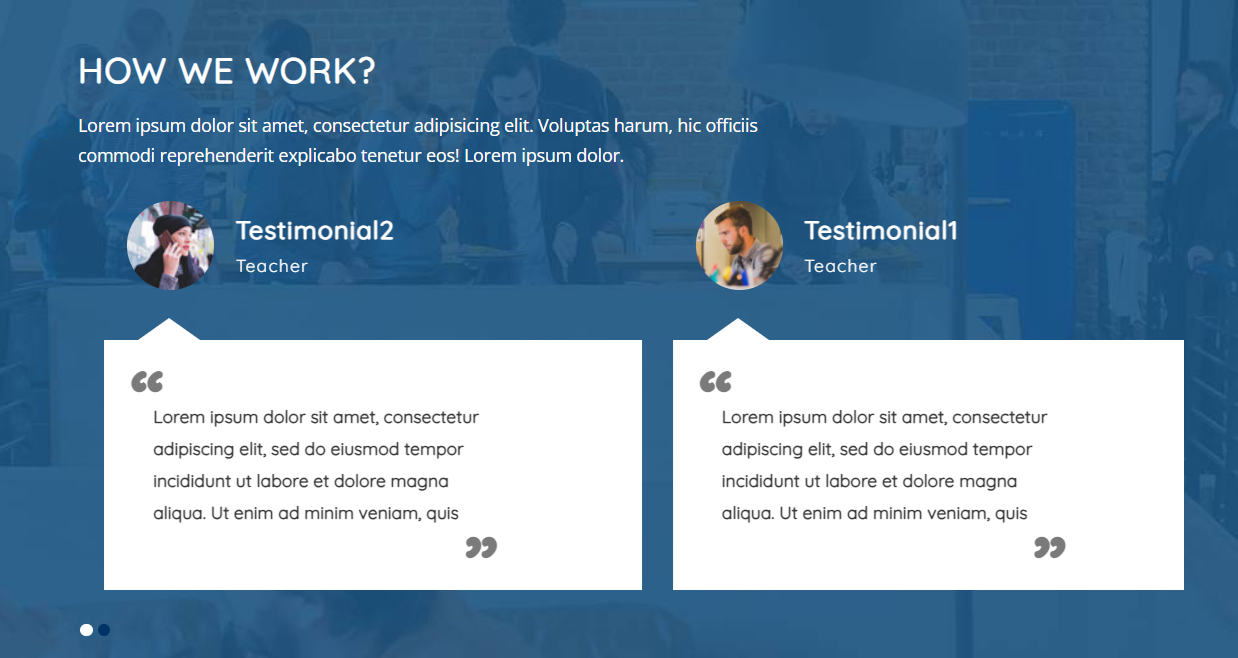
Next step in order to proceed with How we work Section is to edit the Customizer Setting for this
Navigate Select Appearance >> Customize >> Theme Settings >>How We Work Section
Setting Options : includes the options for the ability to enable or disable service display. You have the ability to enable or disable this section with this setting. This environment is crucial. You can choose to have this part display on your website by leaving the option enabled, or you can choose to have it disappear from your website by selecting deactivate.
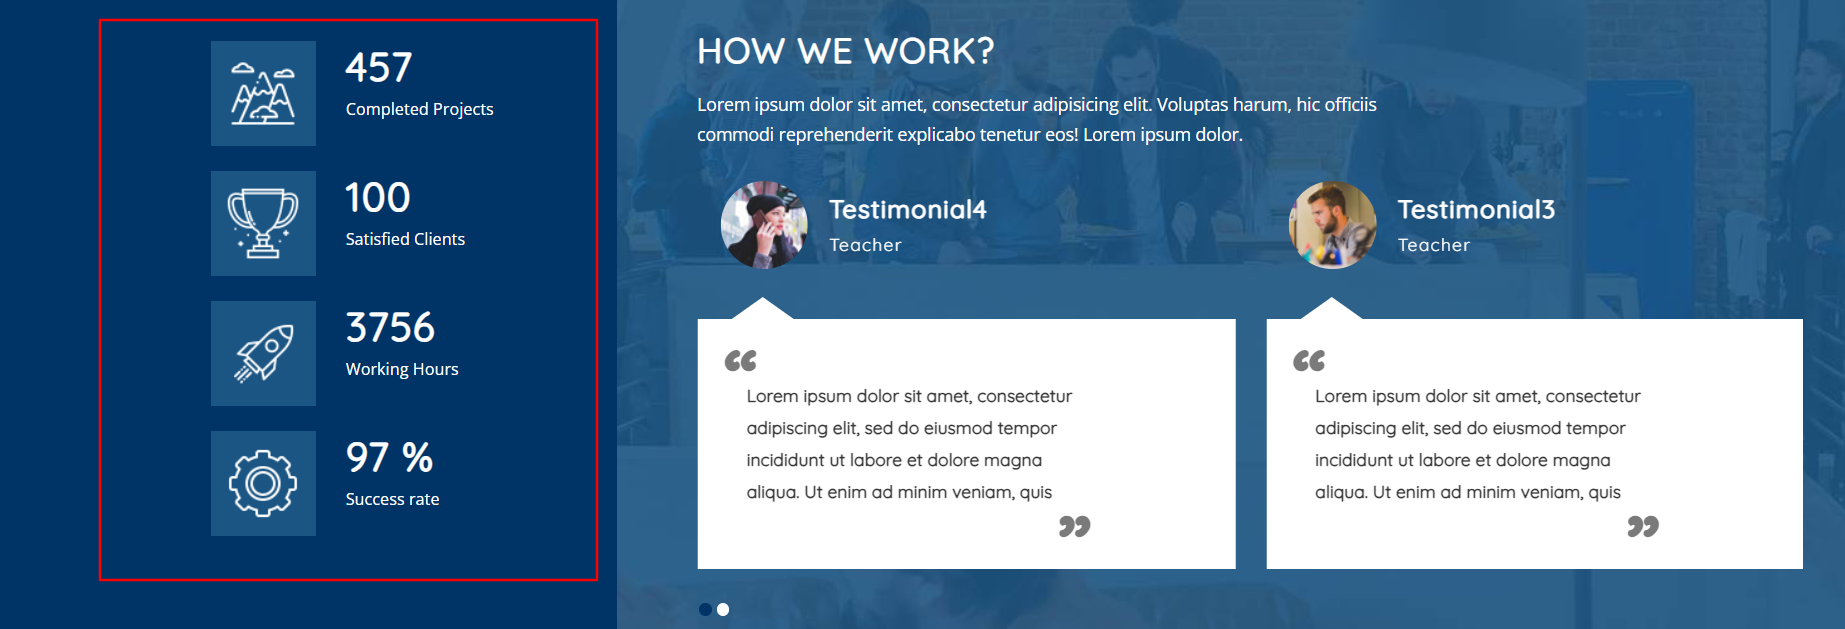
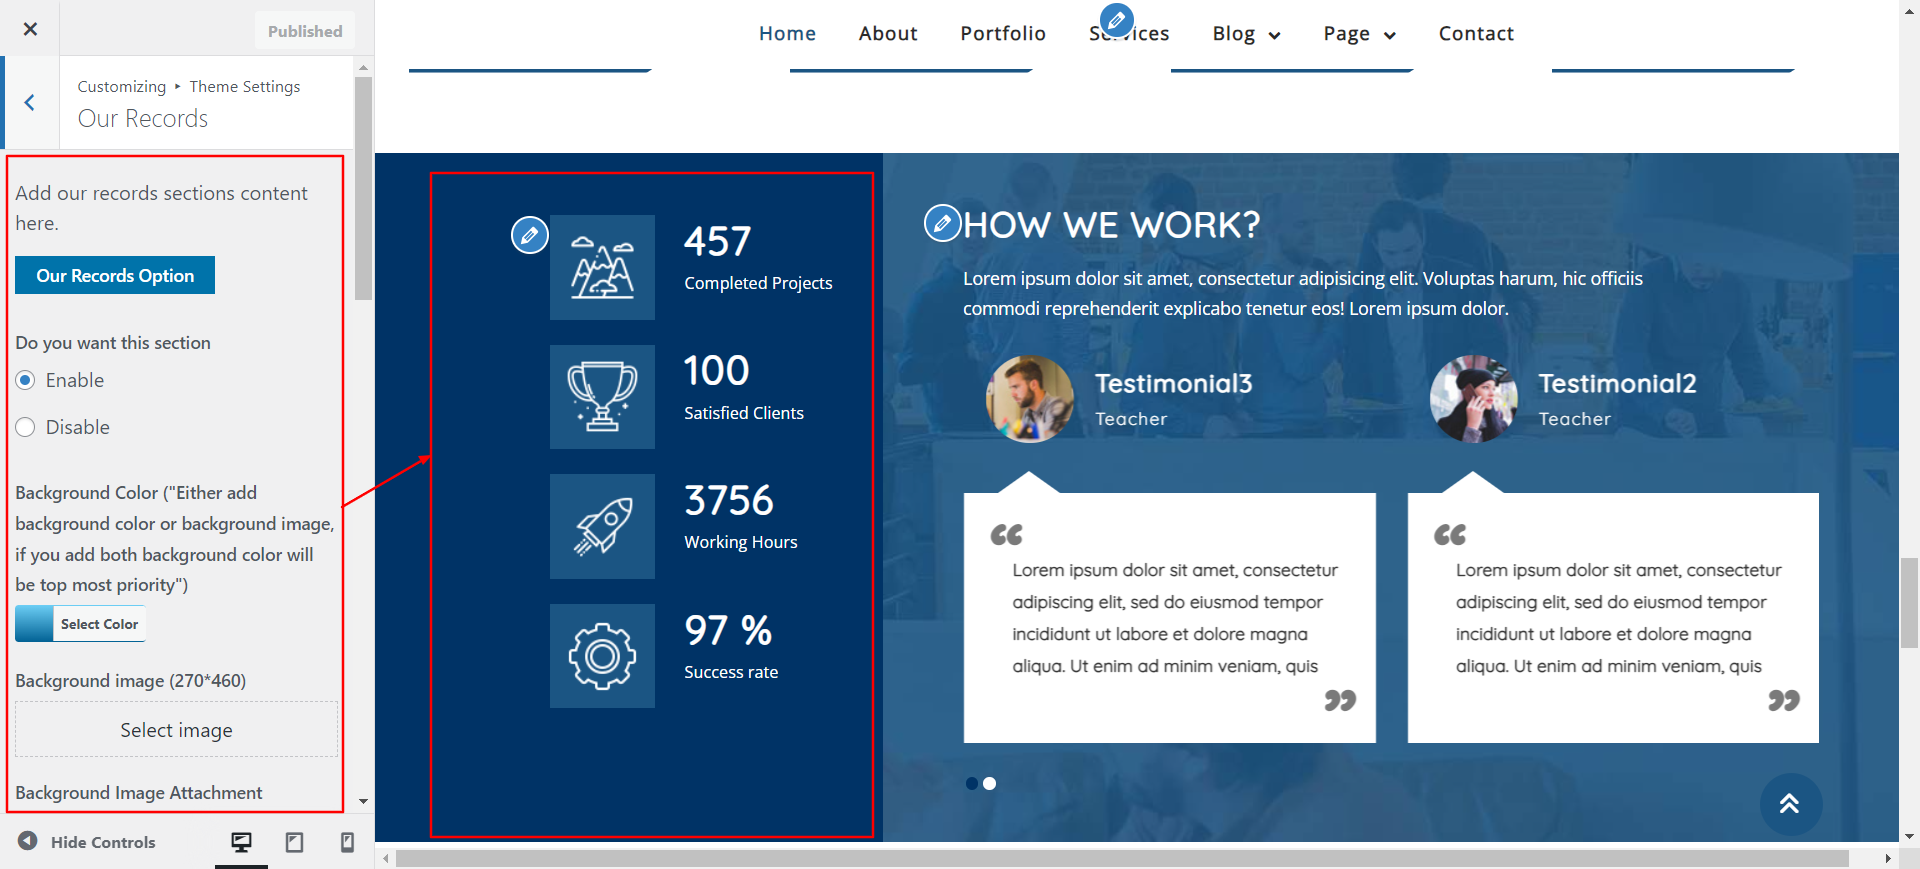
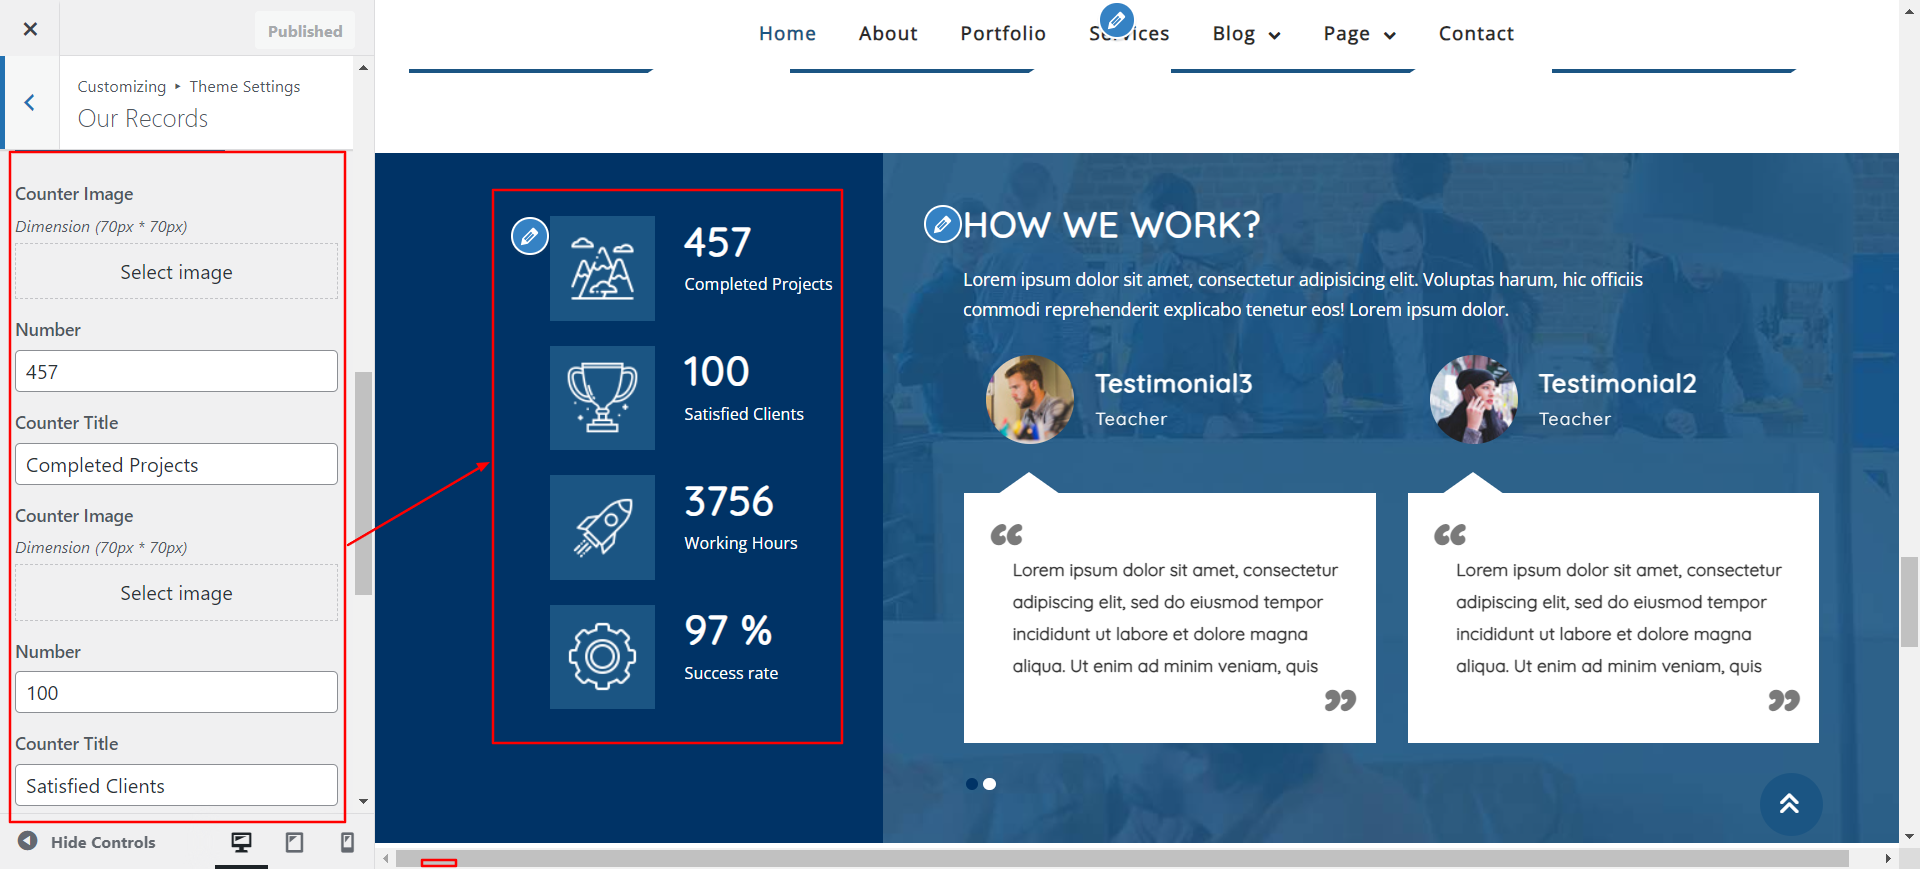
The Customizer Setting for this has to be modified in order to move on to the Our Records Section.
Navigate Select Appearance >> Customize >> Theme Settings >>Our Records Section
Setting Options : includes the options for the ability to enable or disable service display. You have the ability to enable or disable this section with this setting. This environment is crucial. You can choose to have this part display on your website by leaving the option enabled, or you can choose to have it disappear from your website by selecting deactivate.
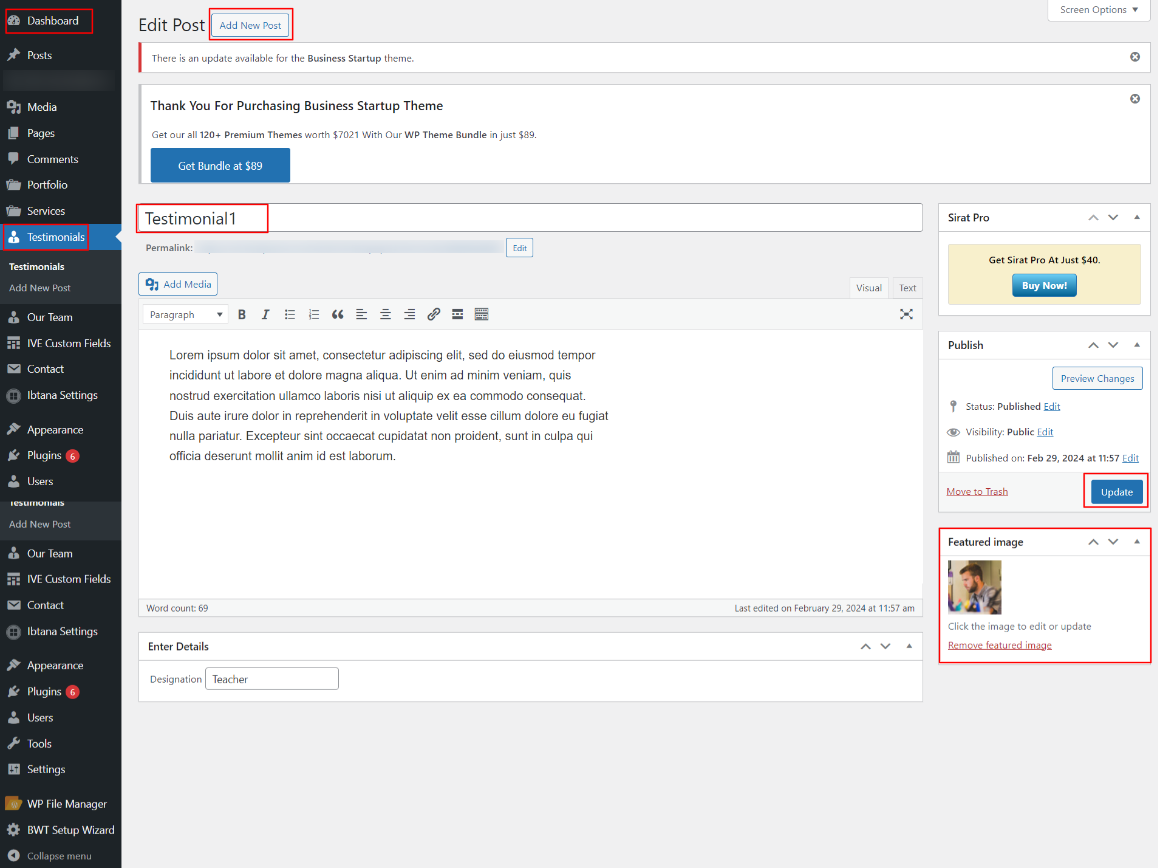
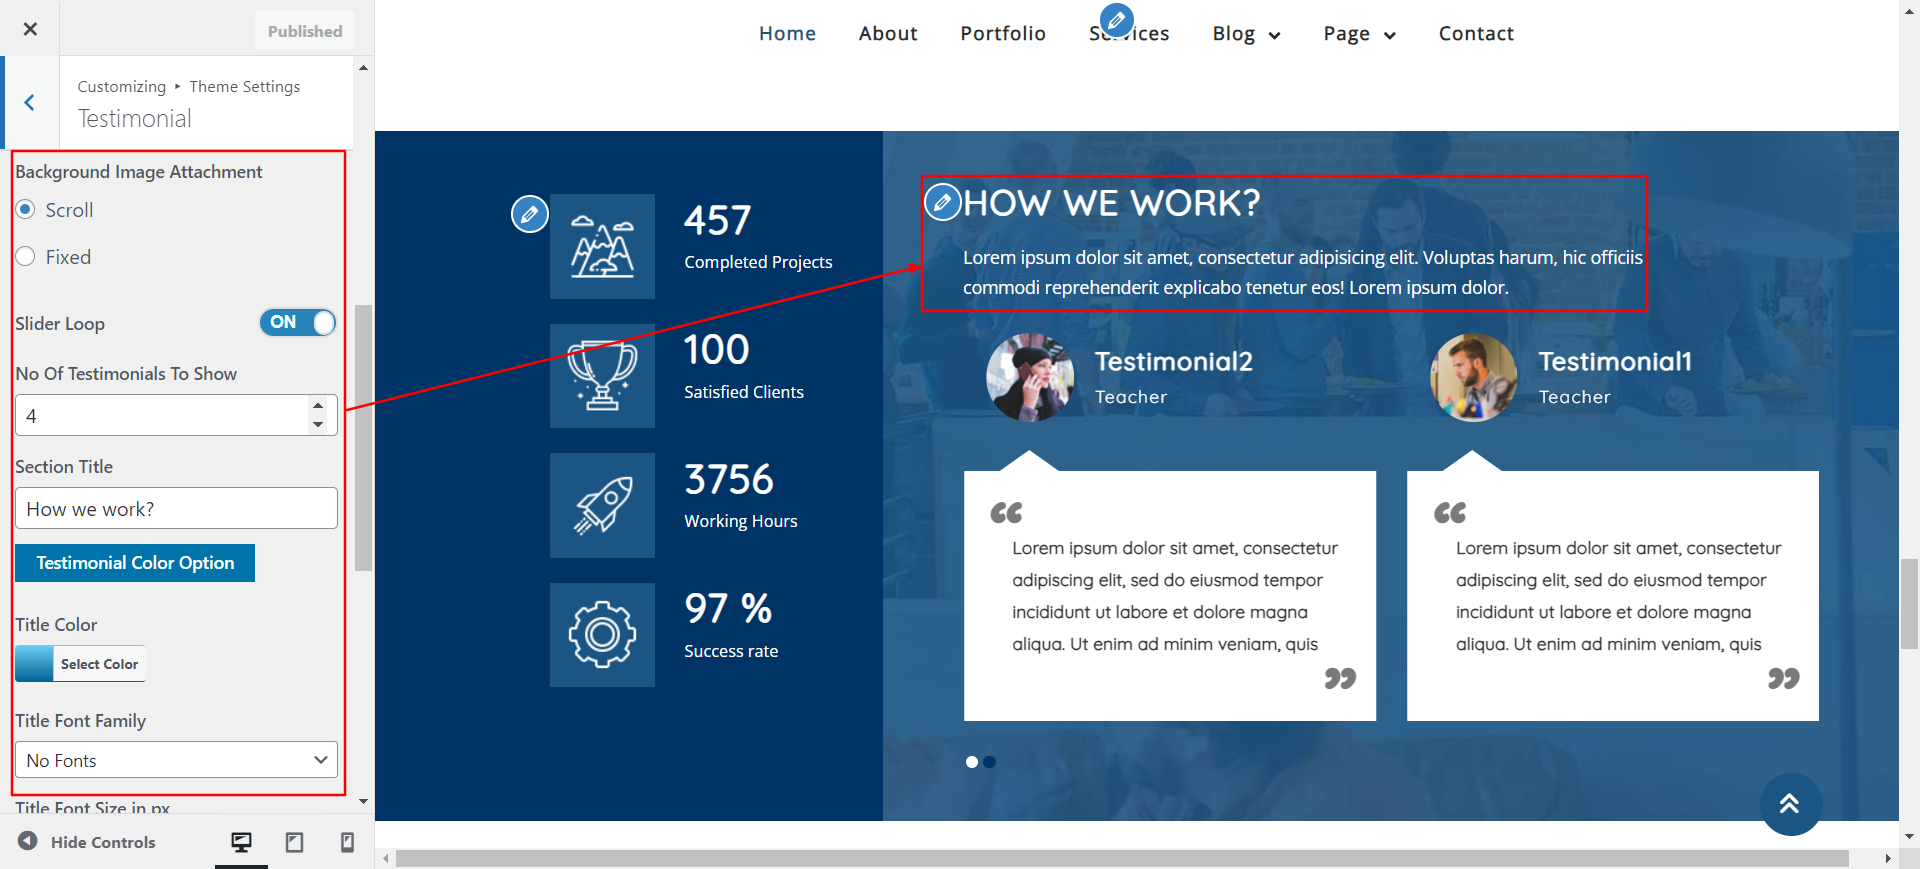
To configure the testimonial section, take the actions listed below.
Navigate The Dashboard >> testimonial >>Edit
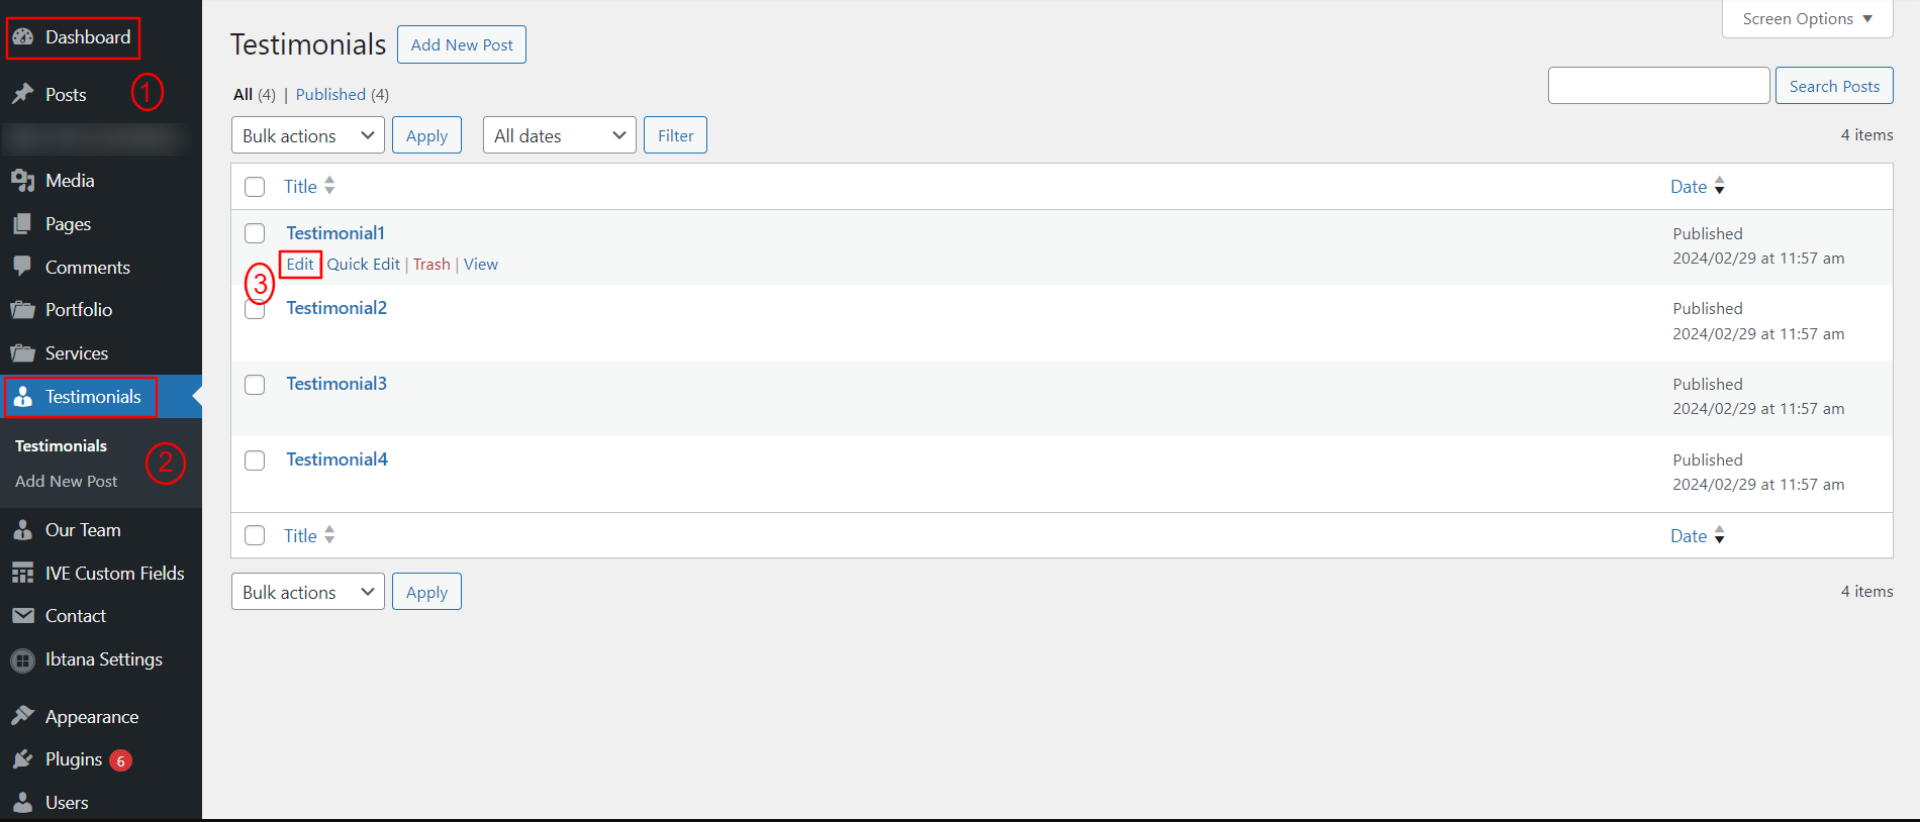
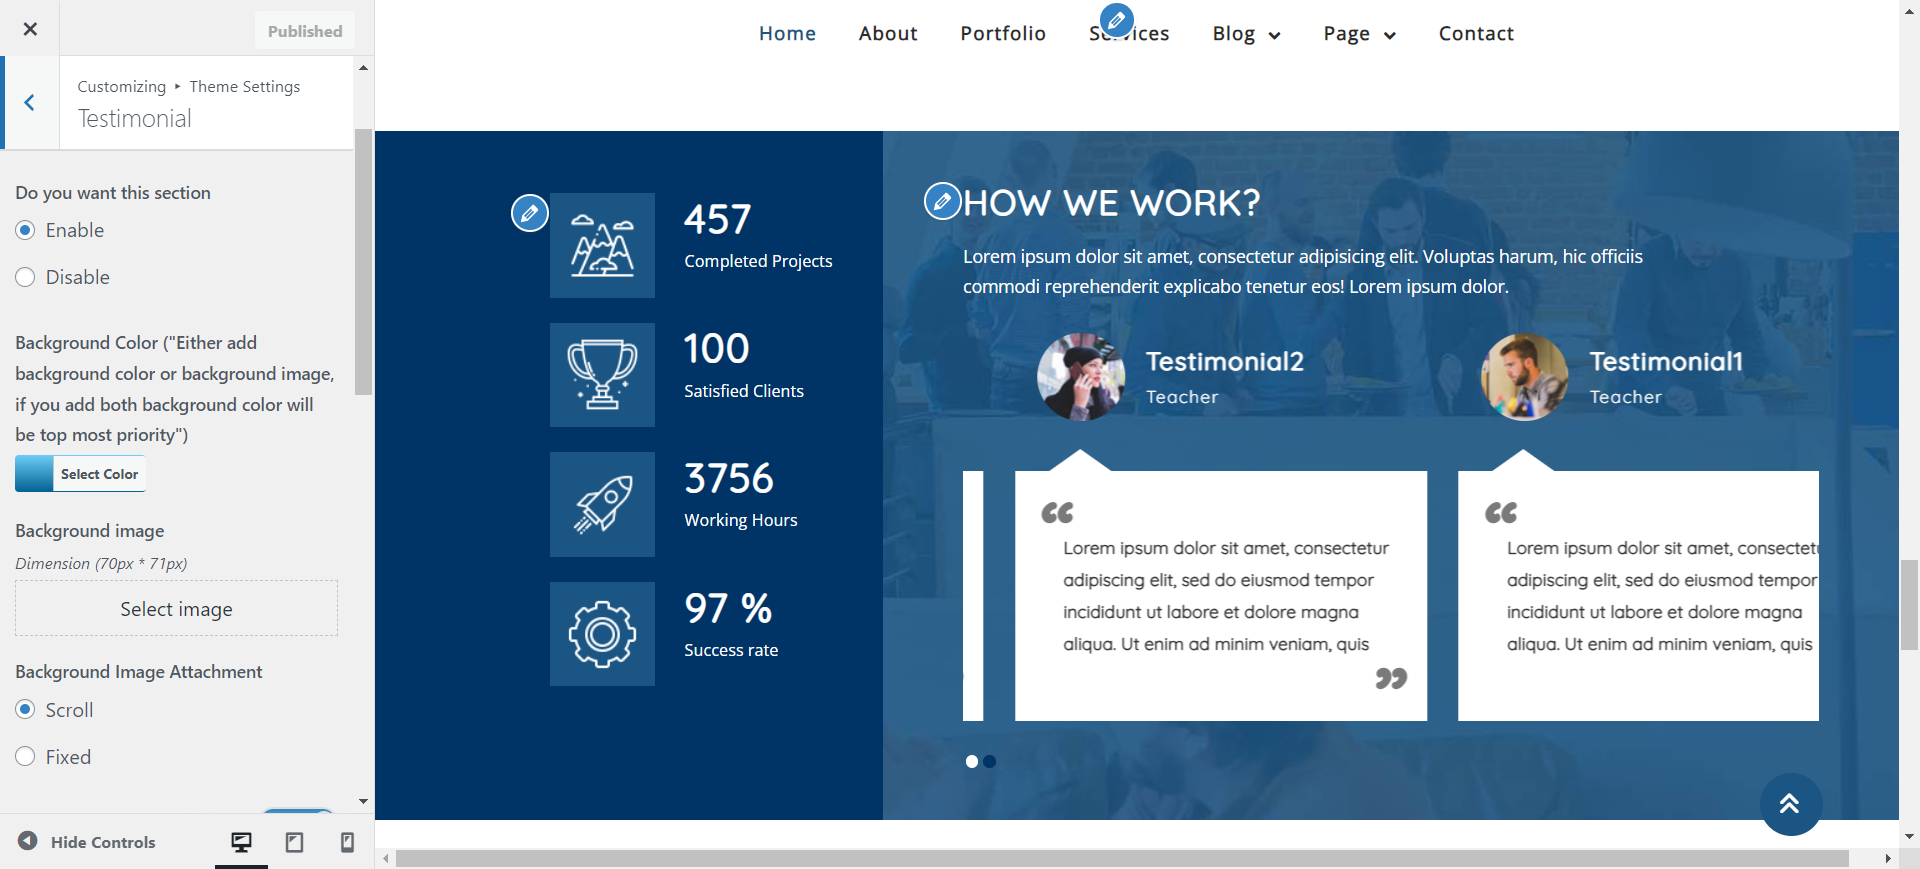
The next step is to update the Customizer Setting for this in order to move forward with the testimonial section.
Navigate Select Appearance >> Customize >> Theme Settings >>Testimonial
Setting Options : includes the options for the ability to enable or disable service display. You have the ability to enable or disable this section with this setting. This environment is crucial. You can choose to have this part display on your website by leaving the option enabled, or you can choose to have it disappear from your website by selecting deactivate.
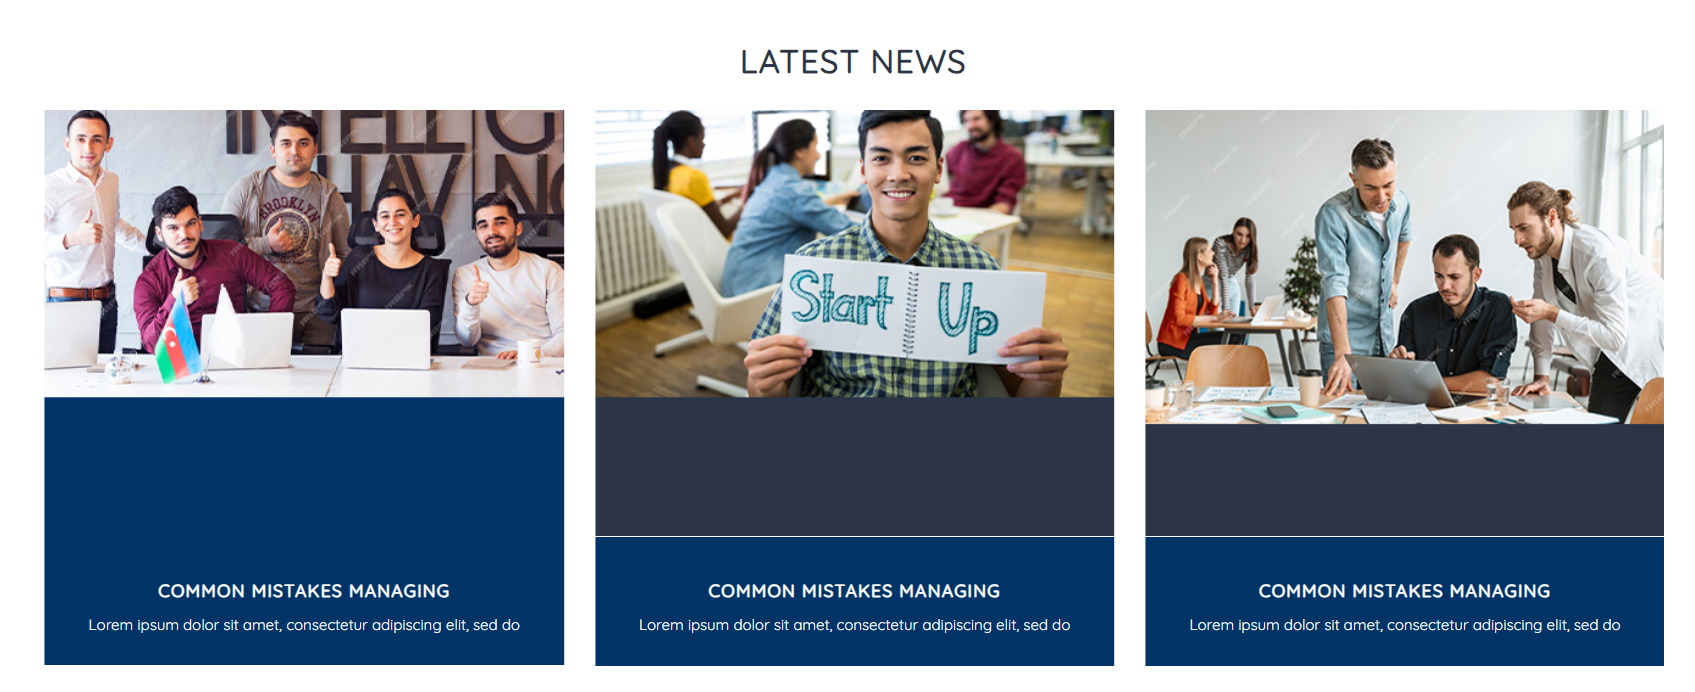
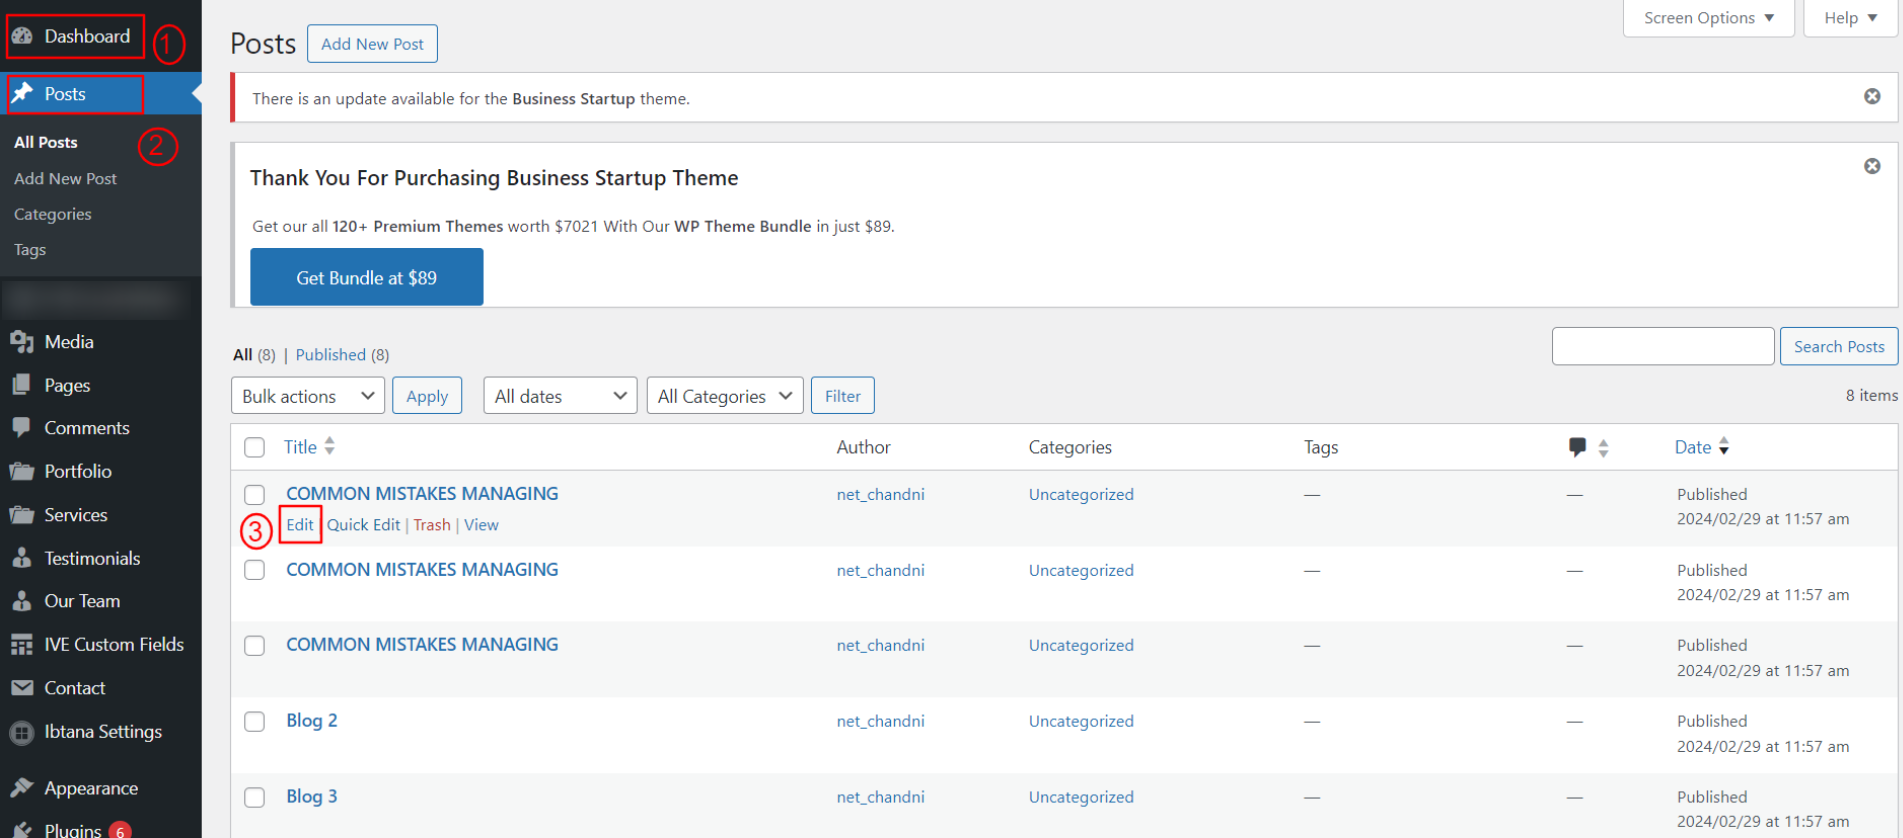
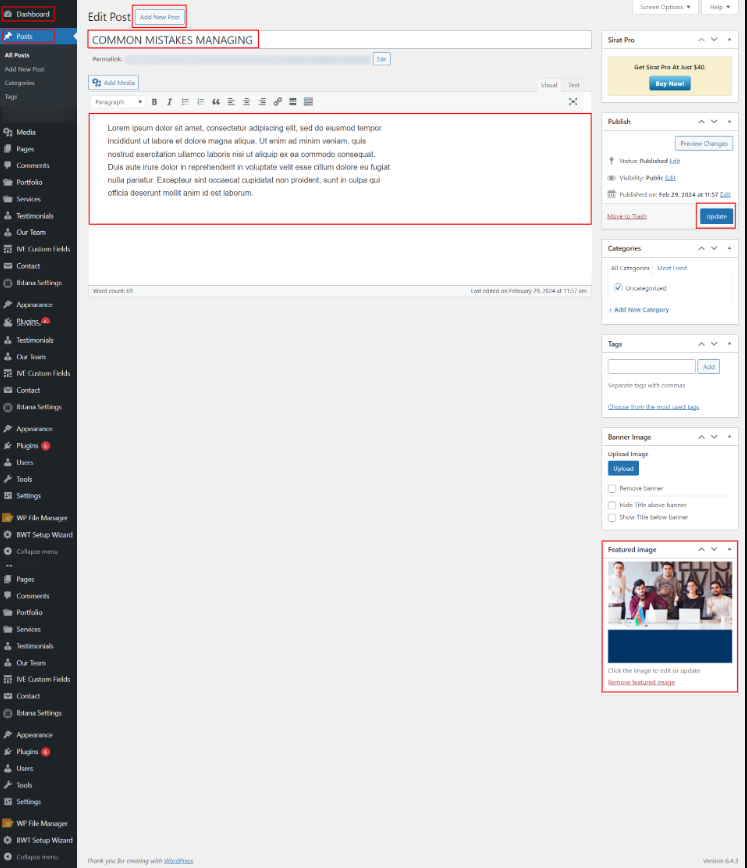
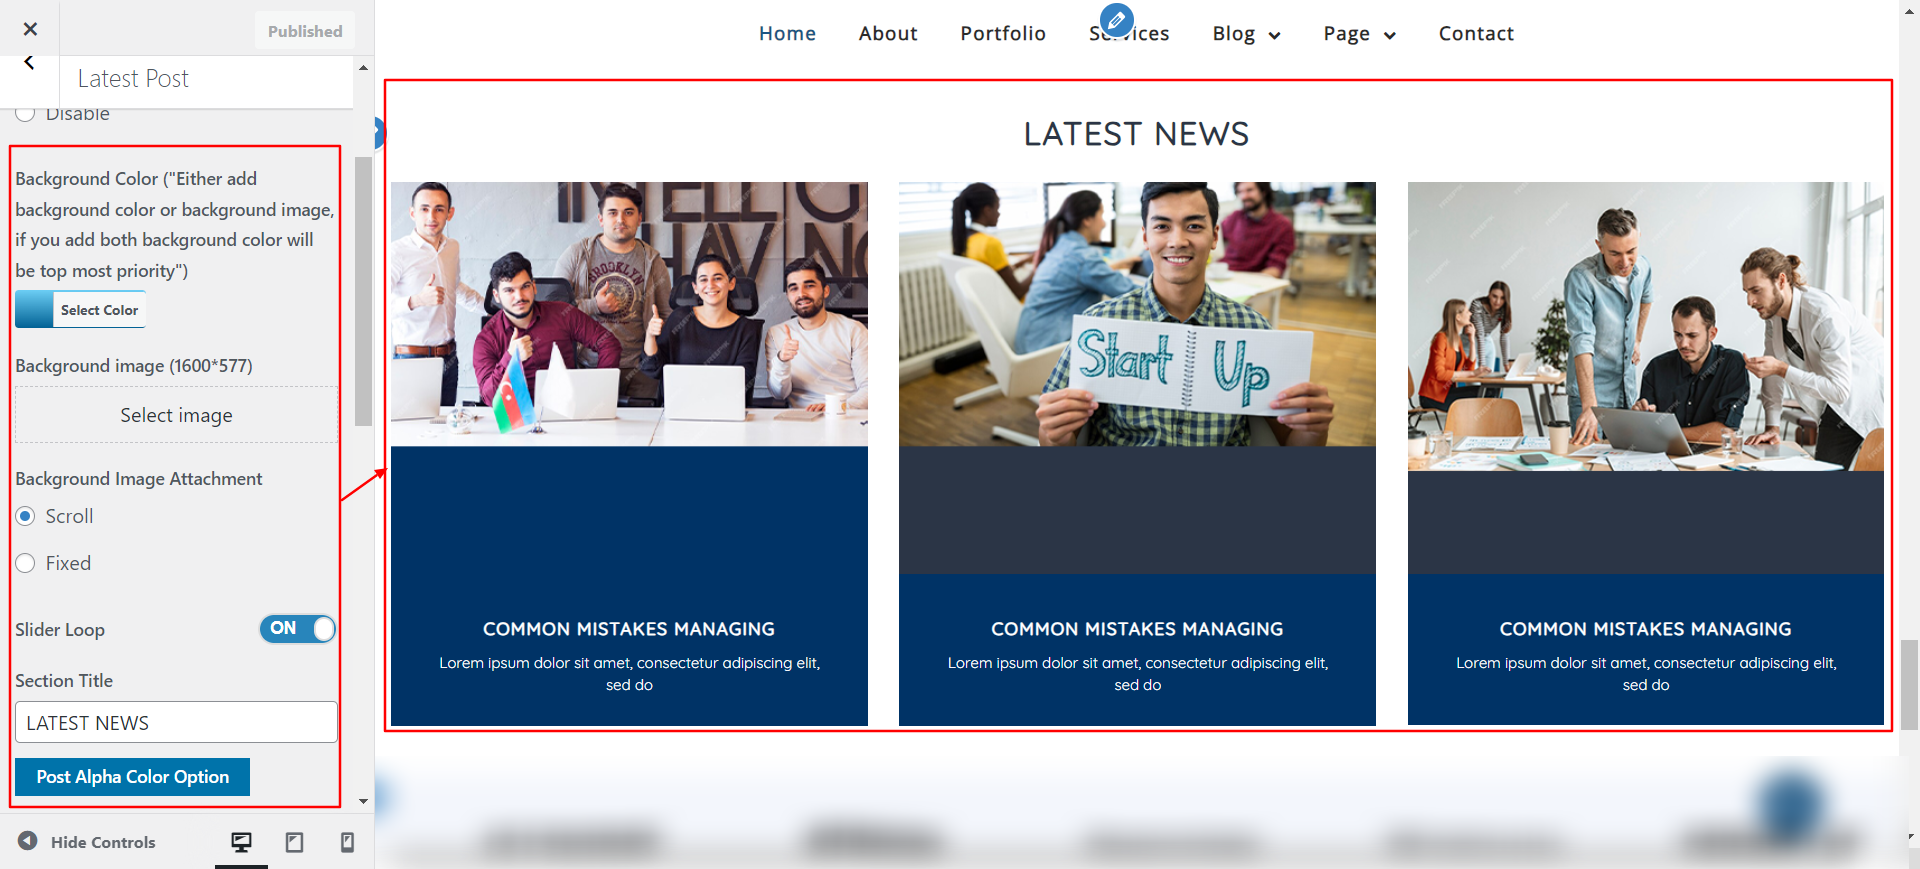
Follow the below steps to Configure the Latest Post section
Navigate The Dashboard >> Post >>Edit
The Customizer Setting for this has to be edited in order to move on with the Latest Post.
Navigate Select Appearance >> Customize >> Theme Settings >>Latest Post
Setting Options : contains the options for the ability to enable or disable service display. You are able to enable or disable this part using this setting. This environment is crucial. You can choose to have this part display on your website by leaving the option enabled, or you can choose to have it disappear from your website by selecting deactivate.

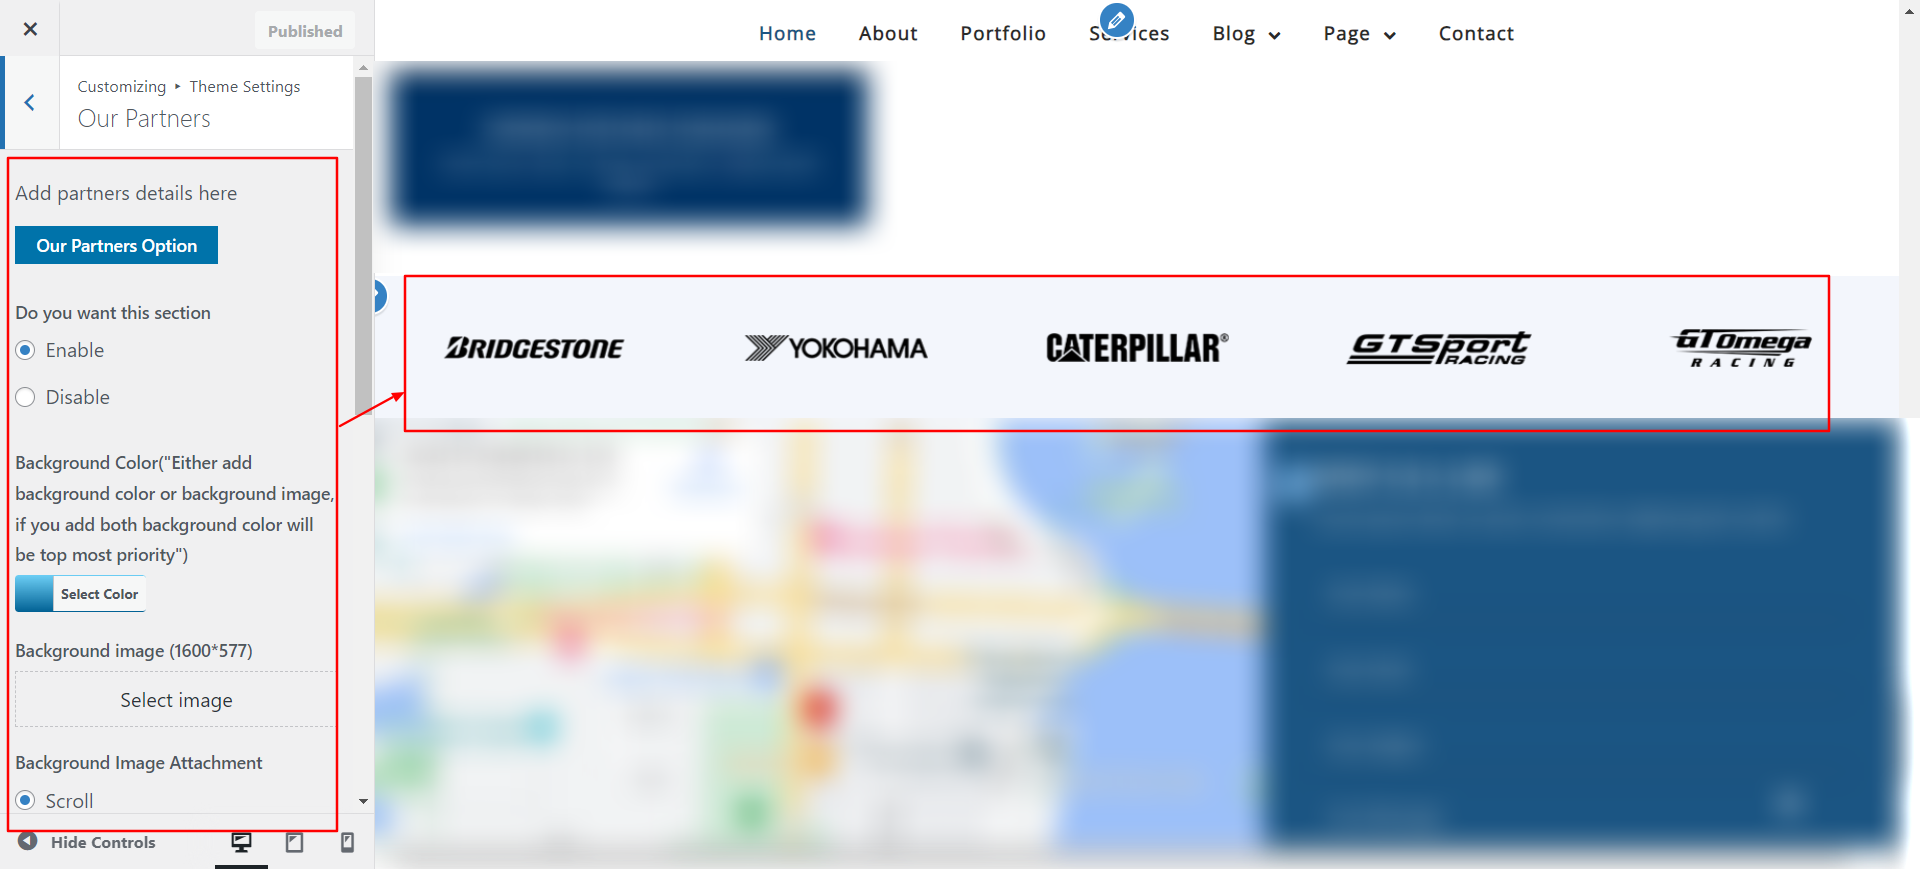
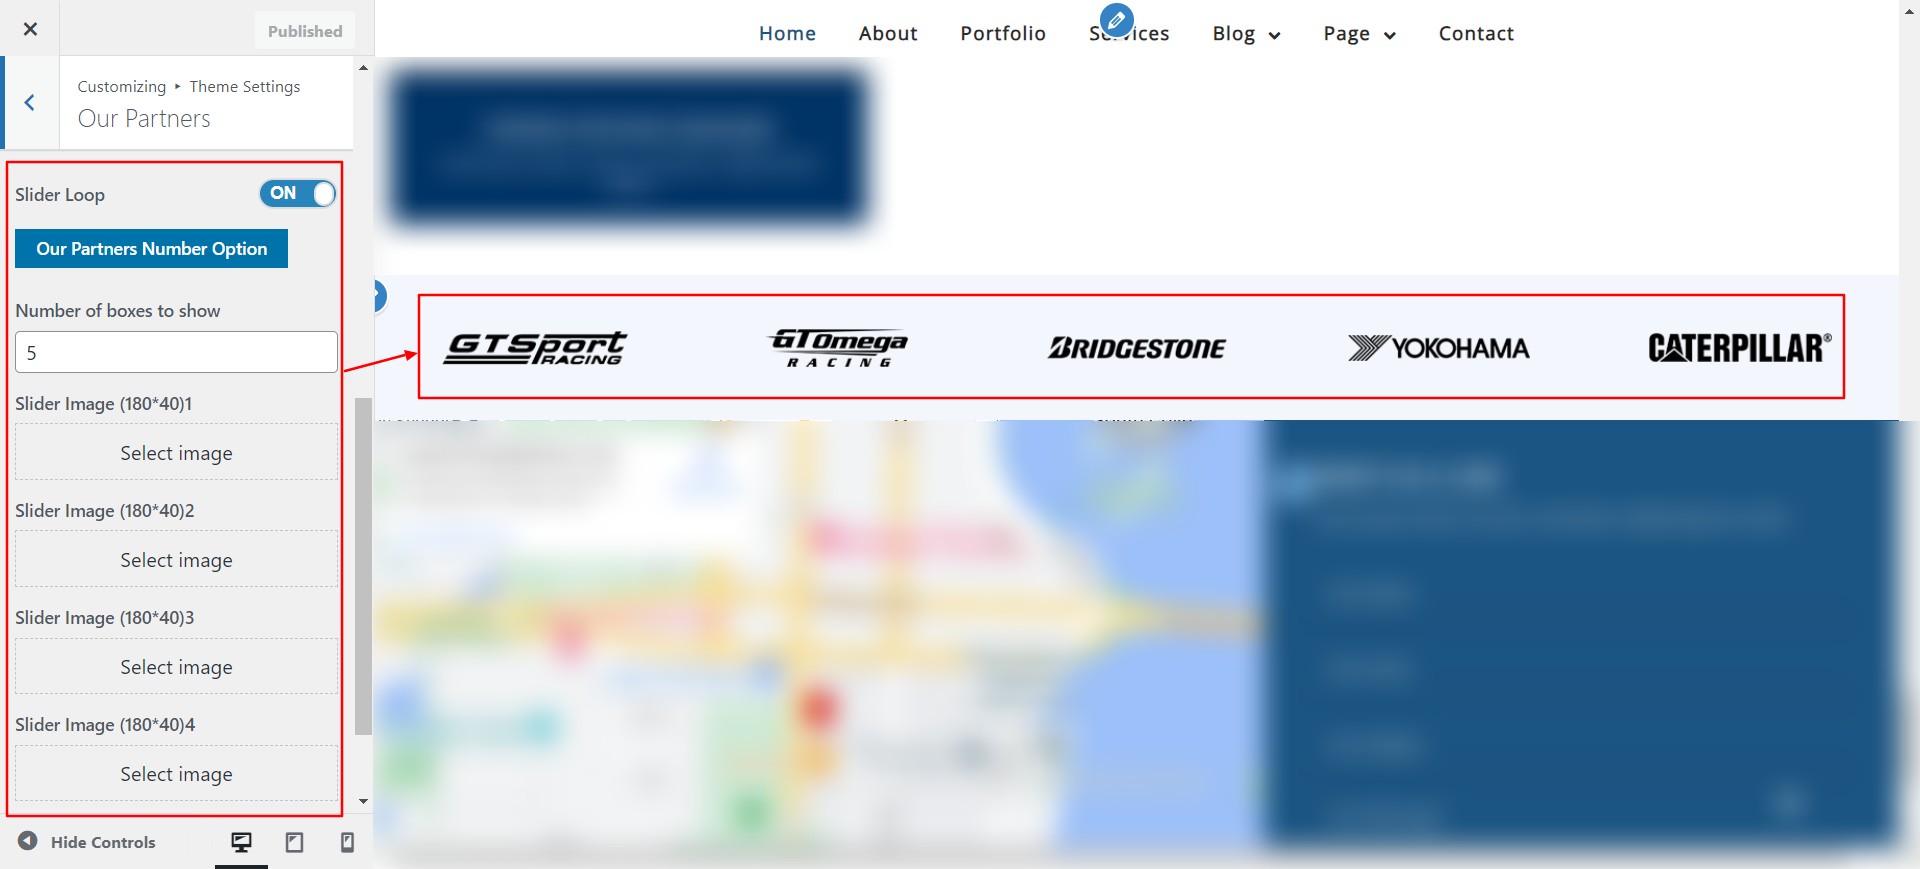
The Customizer Setting for this needs to be modified in order to move further with Our Partners.
Navigate Select Appearance >> Customize >> Theme Settings >>Our Partners
Setting Options : includes the options for the ability to enable or disable service display. You have the ability to enable or disable this section with this setting. This environment is crucial. You can choose to have this part display on your website by leaving the option enabled, or you can choose to have it disappear from your website by selecting deactivate.
To configure the Contact area, take the actions listed below.
Navigate The Dashboard >> Contact >>Edit
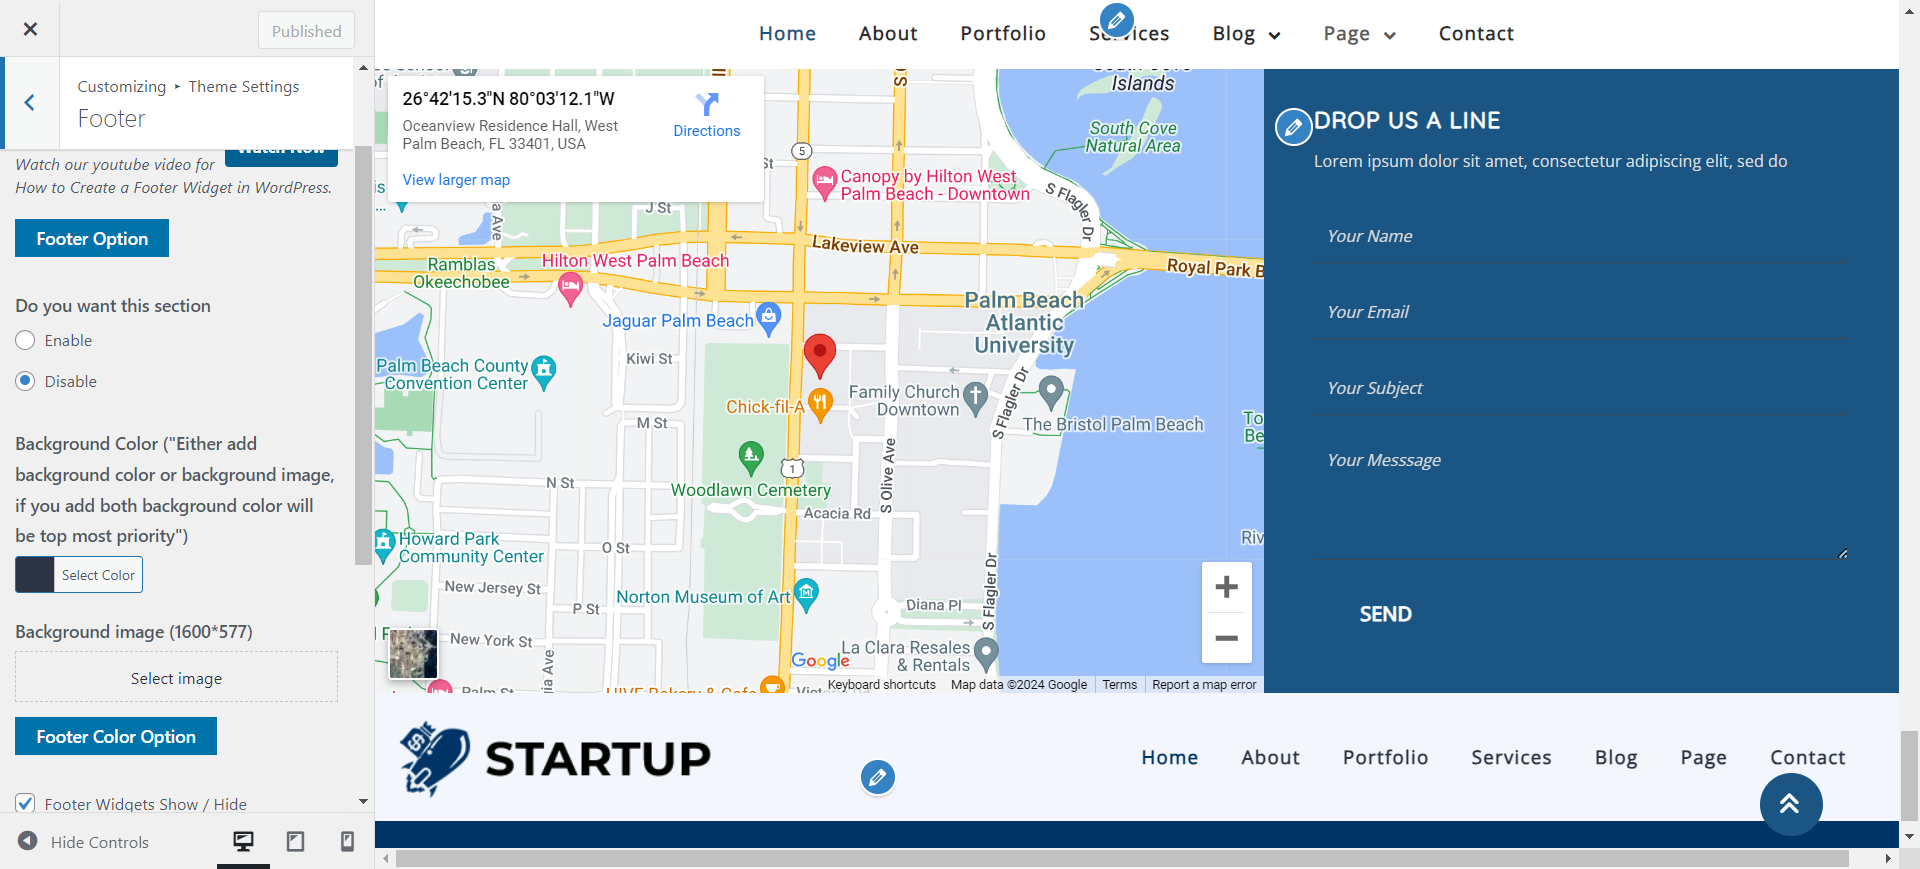
In order to proceed with Footer,
Navigate Select Appearance >> Customize >> Theme Settings >>Footer Section
Enable/Disable option: In order to display this area, you can choose to enable or disable it here. You are able to enable or disable this part using this setting. This environment is crucial. You can choose to have this part display on your website by leaving it enabled, or you can choose to have it disappear from your website by selecting the deactivate option.
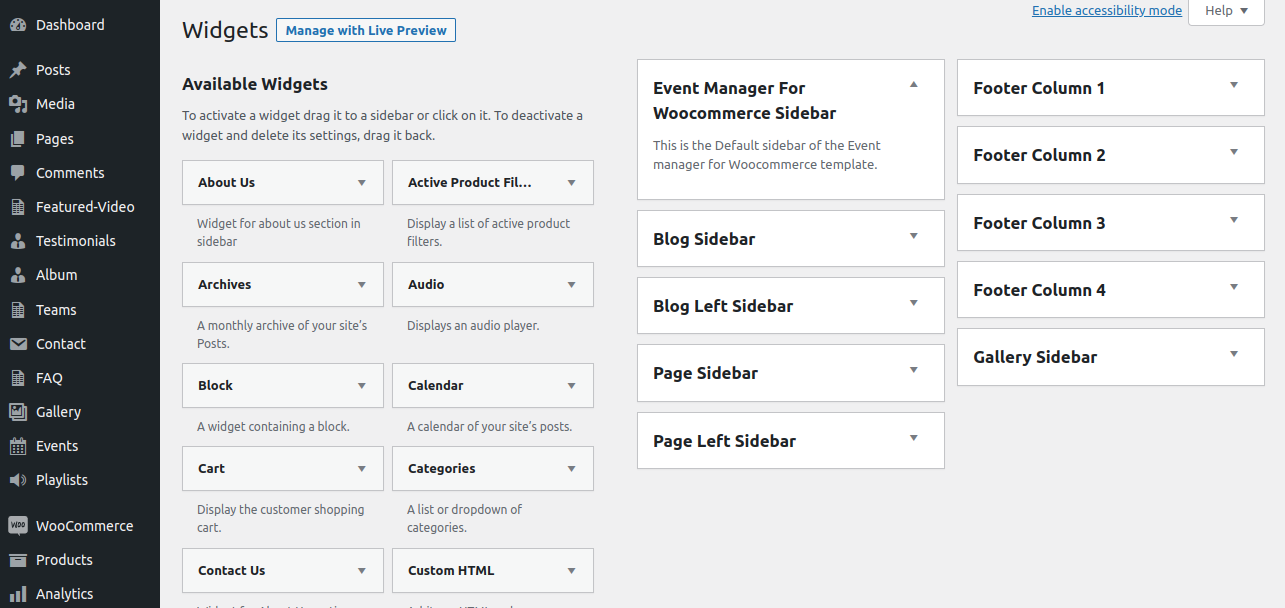
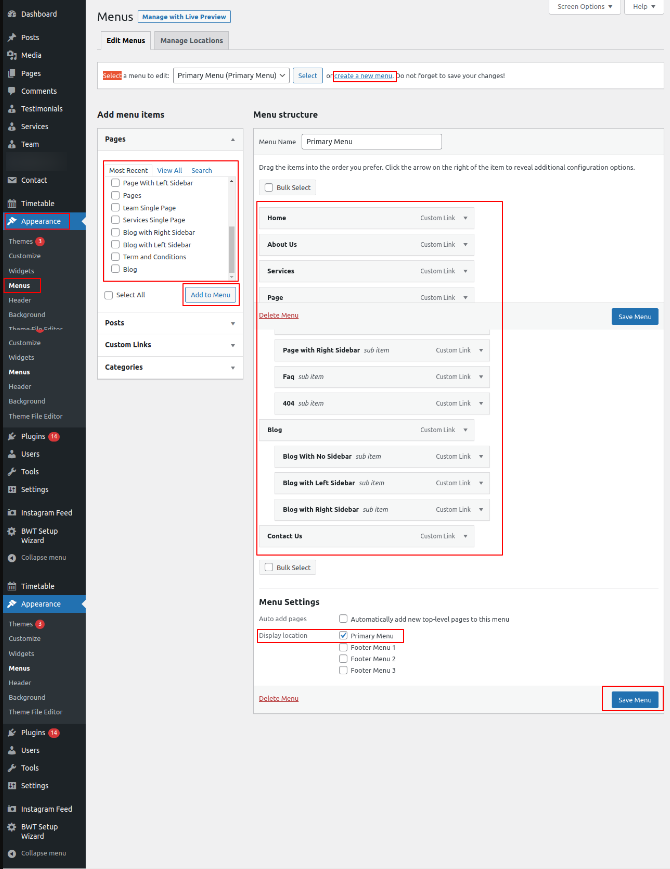
Navigate to the Appearance section's widgets and choose four footers columns for the tags, gallery, contact information, and logo picture in order to create this section.
The widgets section is explained in the graphic below.
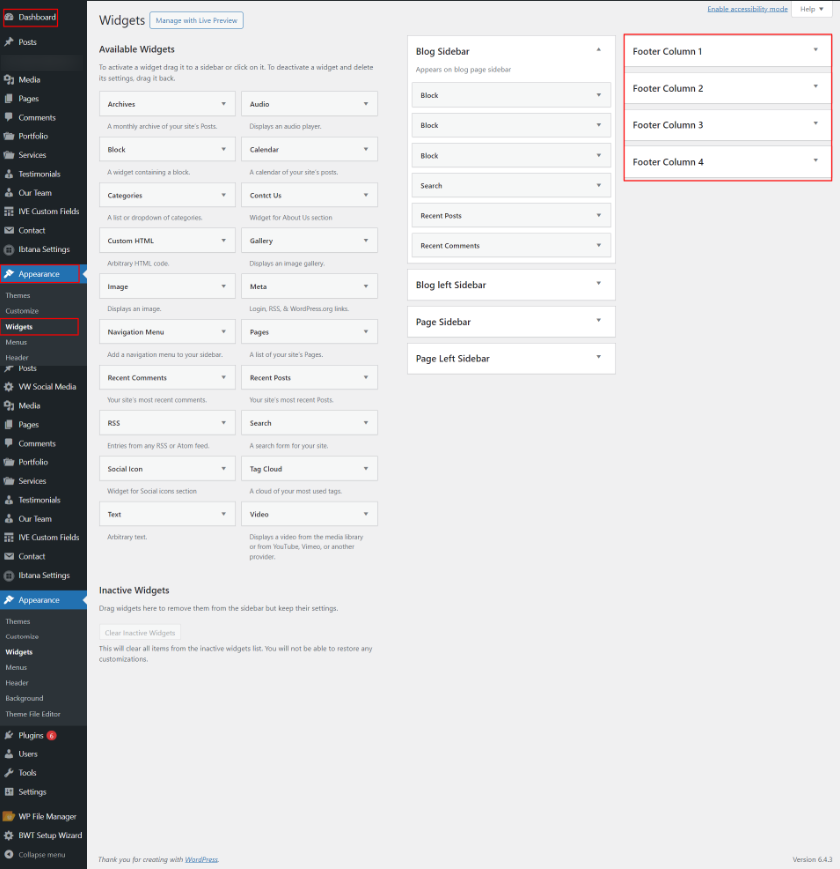
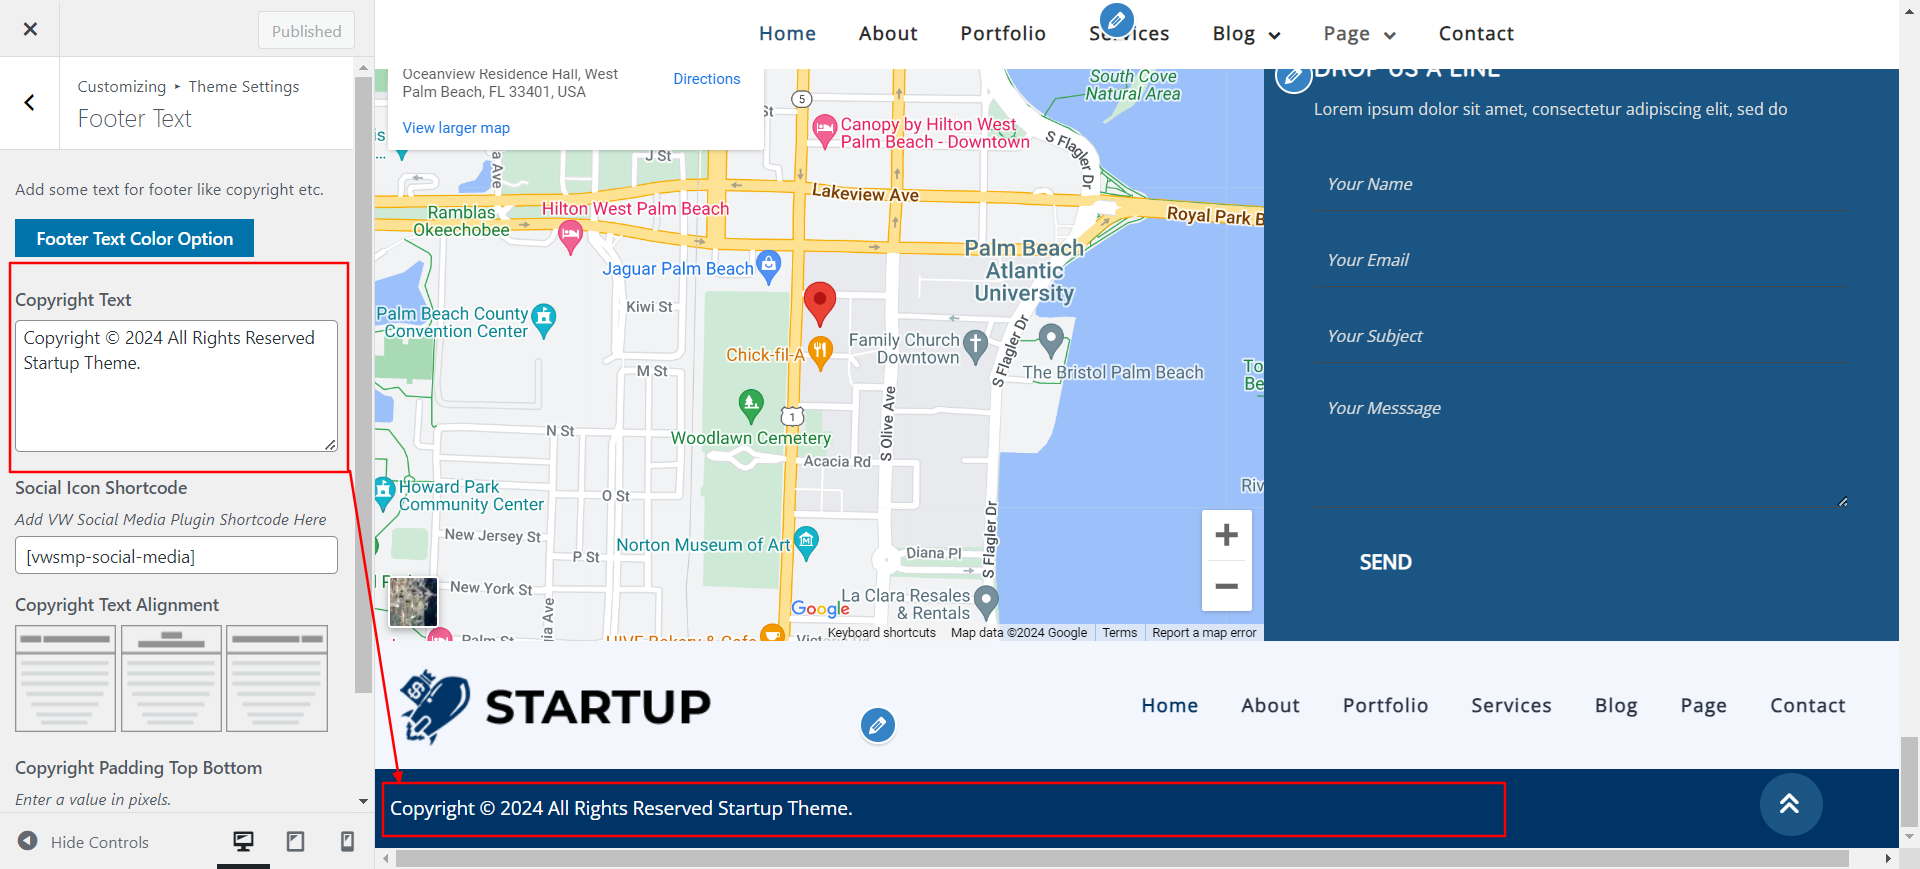
To configure the footer section, adhere to these guidelines.

To go on to the Footer Text section,
Navigate Select Appearance >> Customize >> Themes Settings>> Footer Text.
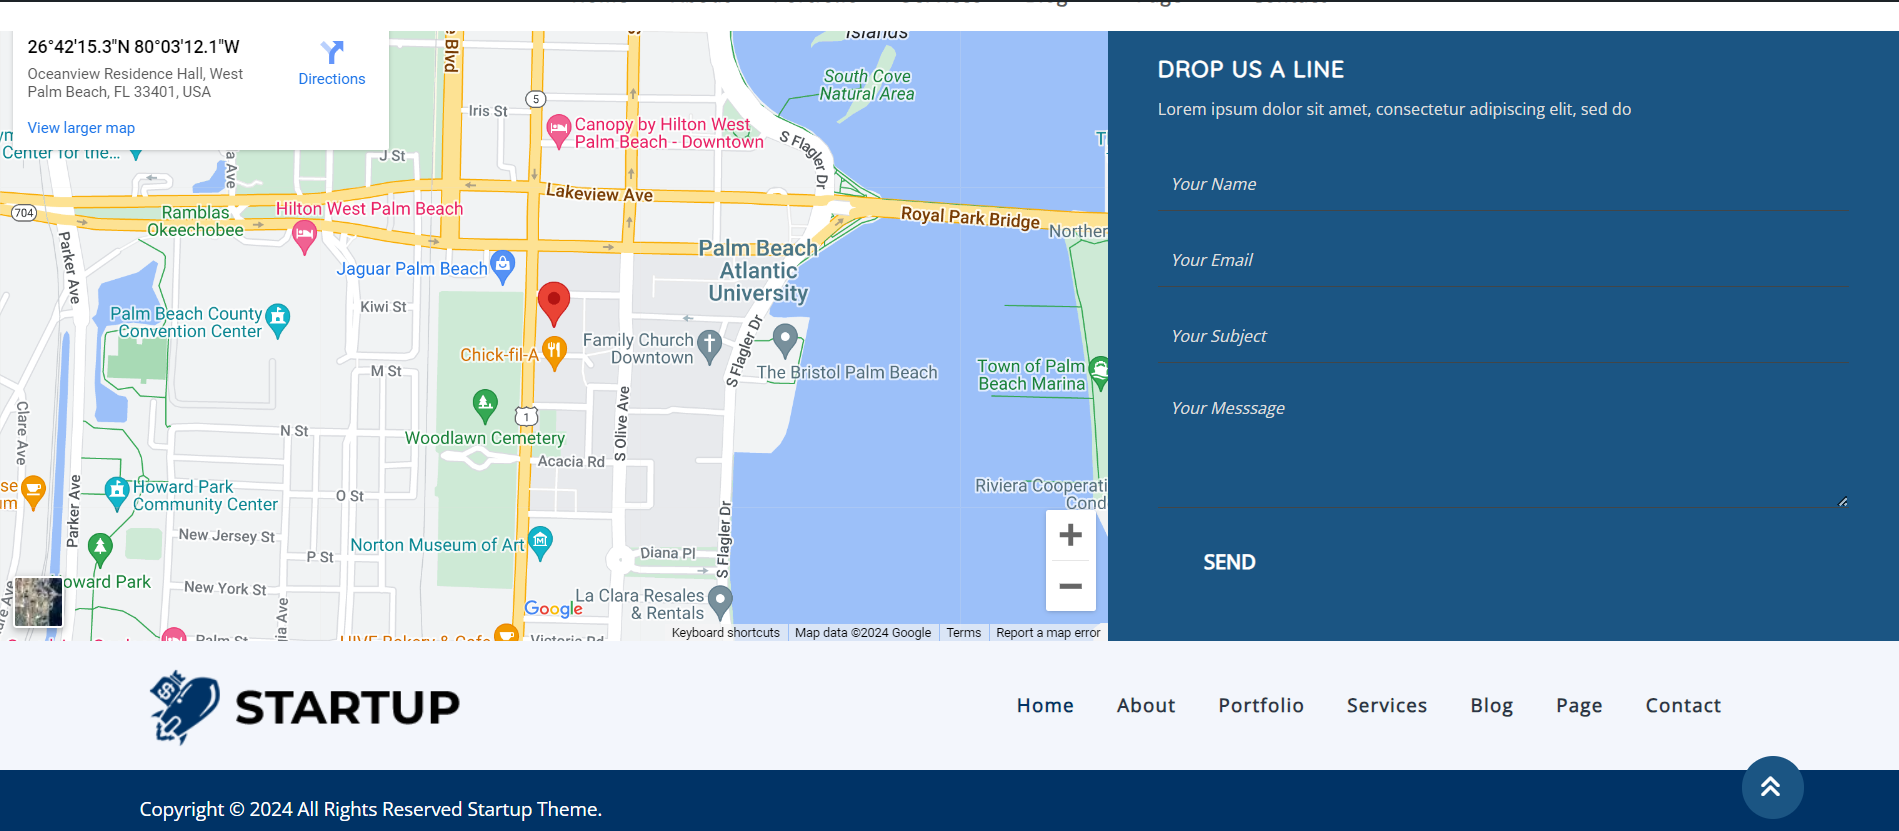
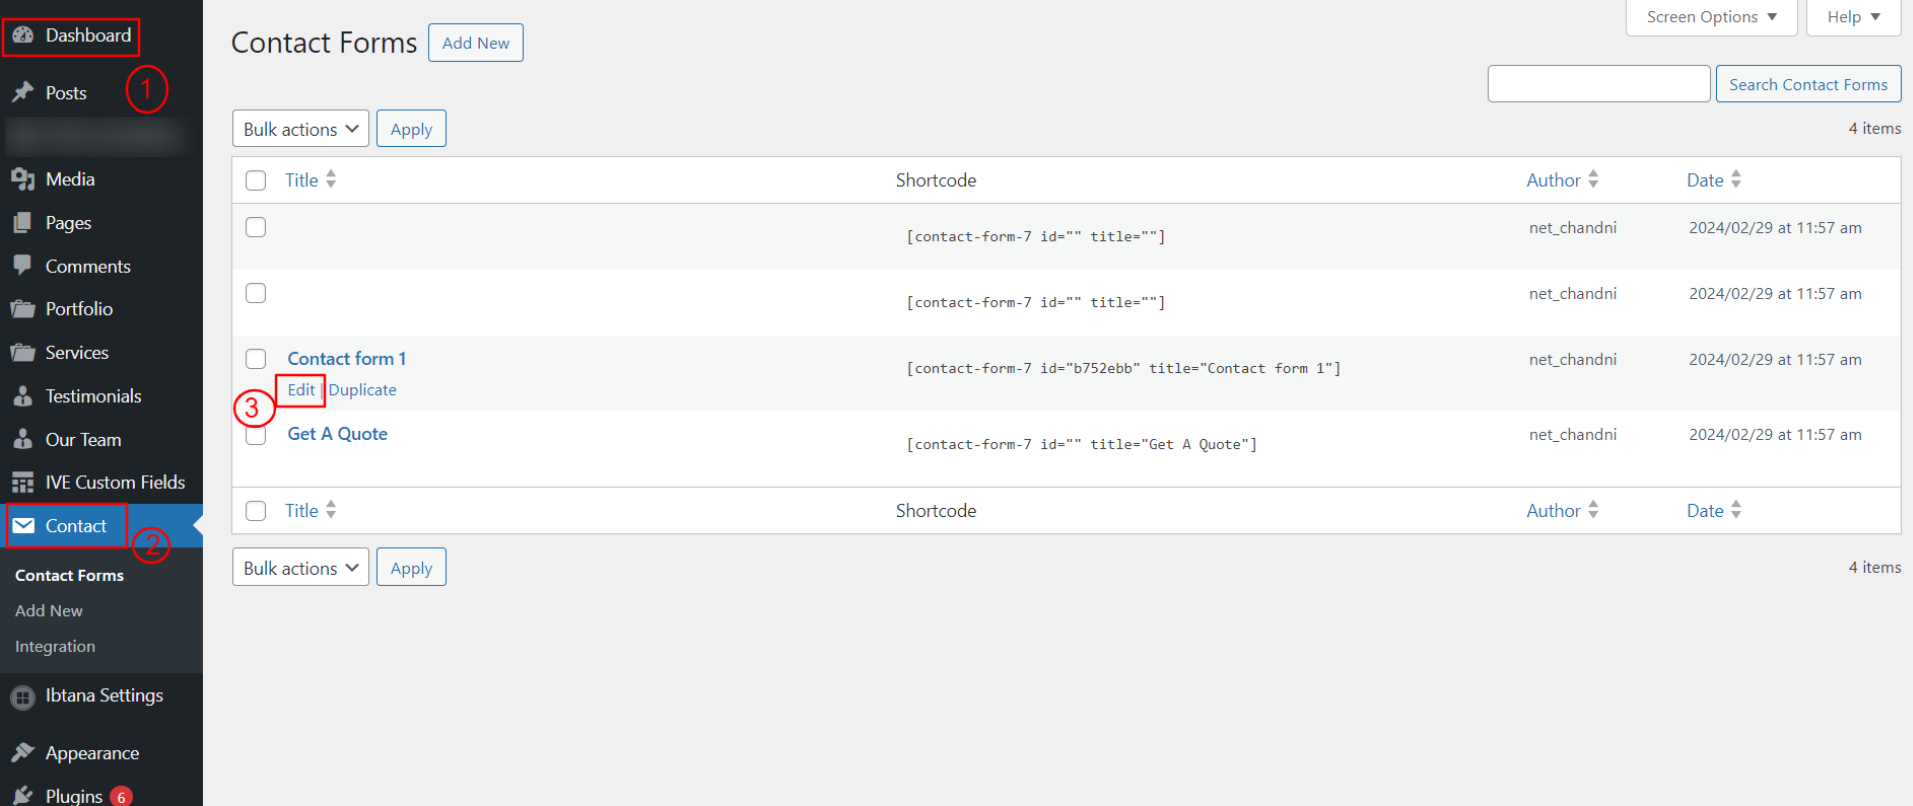
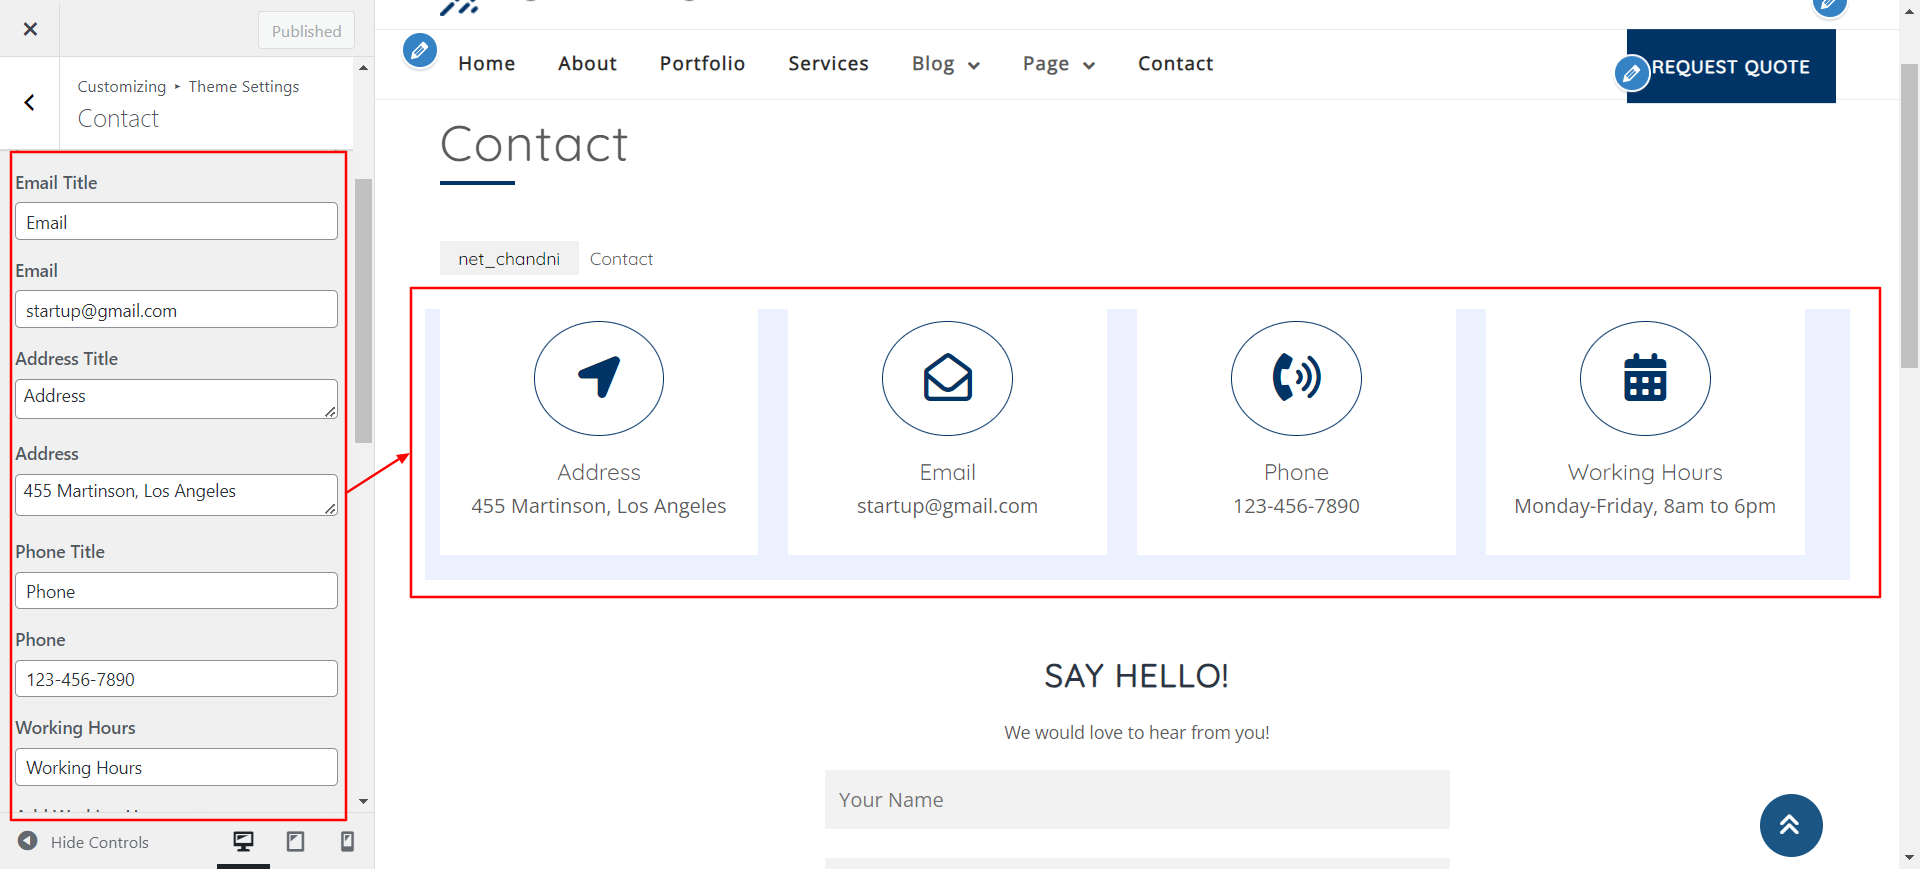
To configure the Contact area, take the actions listed below.
Navigate The Dashboard >> Contact >>Edit
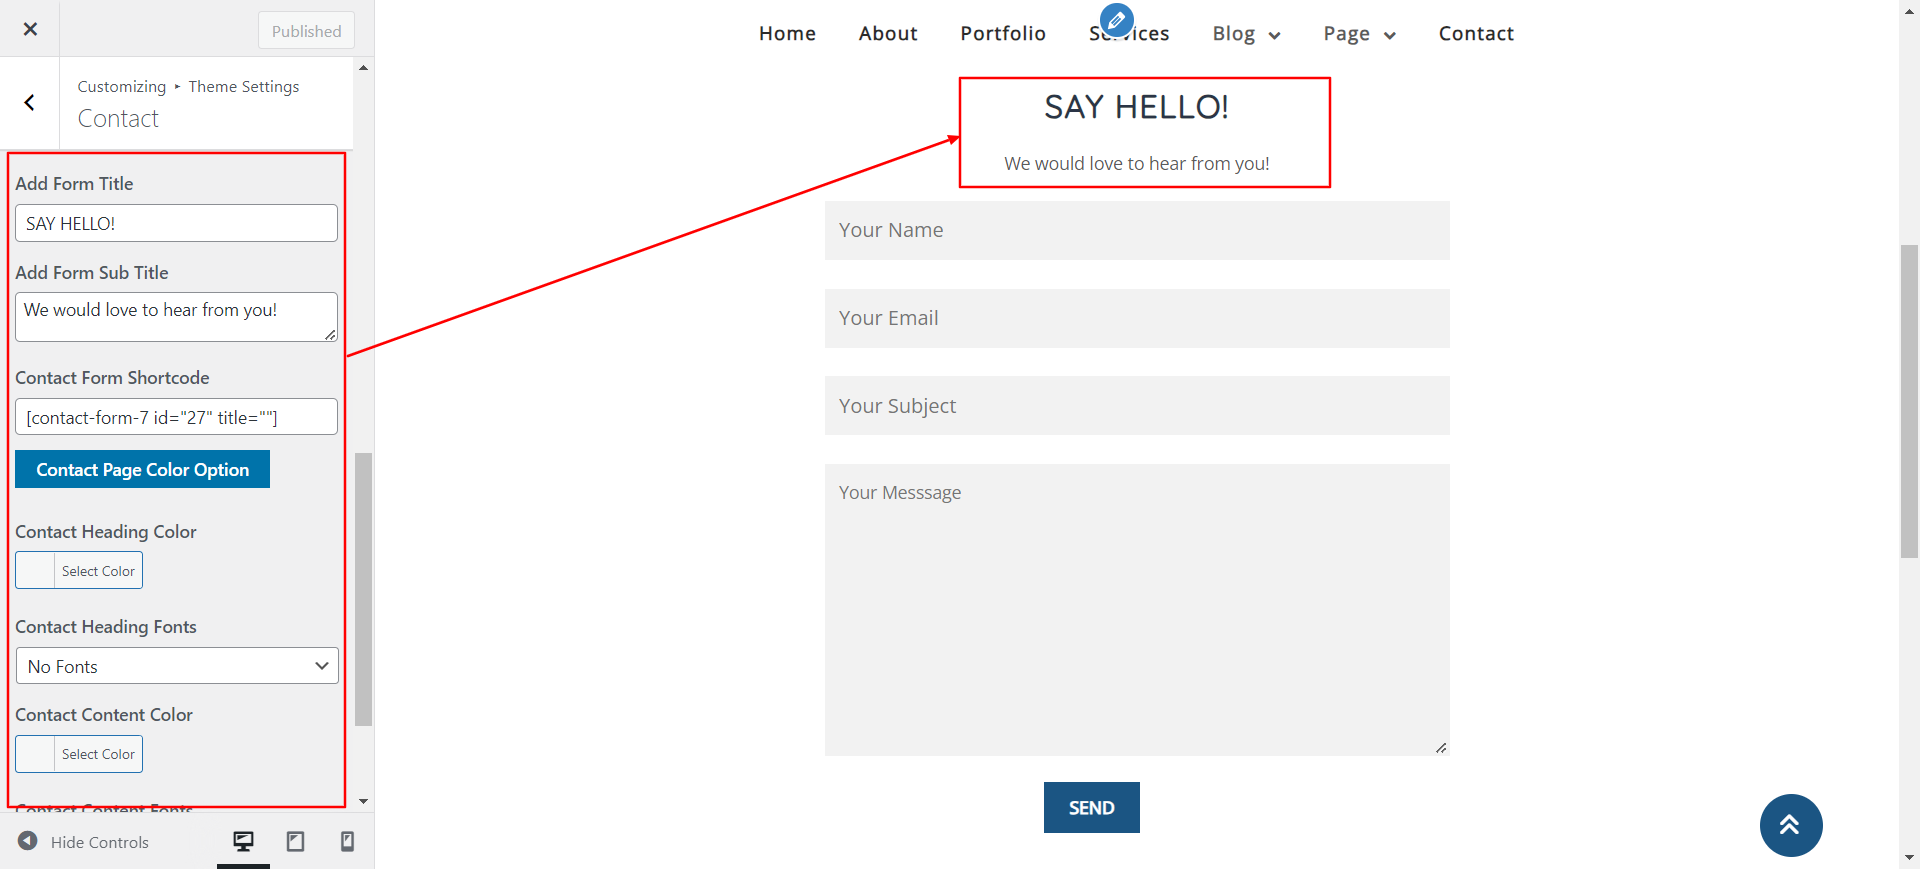
The Customizer Setting for this needs to be edited in order to move on to the Contact page.
Navigate Select Appearance >> Customize >> Theme Settings >>Contact page
Setting Options :includes the options for the ability to enable or disable service display. You have the ability to enable or disable this section with this setting. This environment is crucial. You can choose to have this part display on your website by leaving the option enabled, or you can choose to have it disappear from your website by selecting deactivate.
Plugins are a means to enhance and expand WordPress's built-in functionality.
You must activate the plugin in order for your theme to have these features. To activate the plugin in your theme, adhere to following guidelines.
Navigate Plugins >> Installed Plugins >> Plugin Name >>Activate
There are three new plugins in total. Refer to the graphic below for a better understanding.

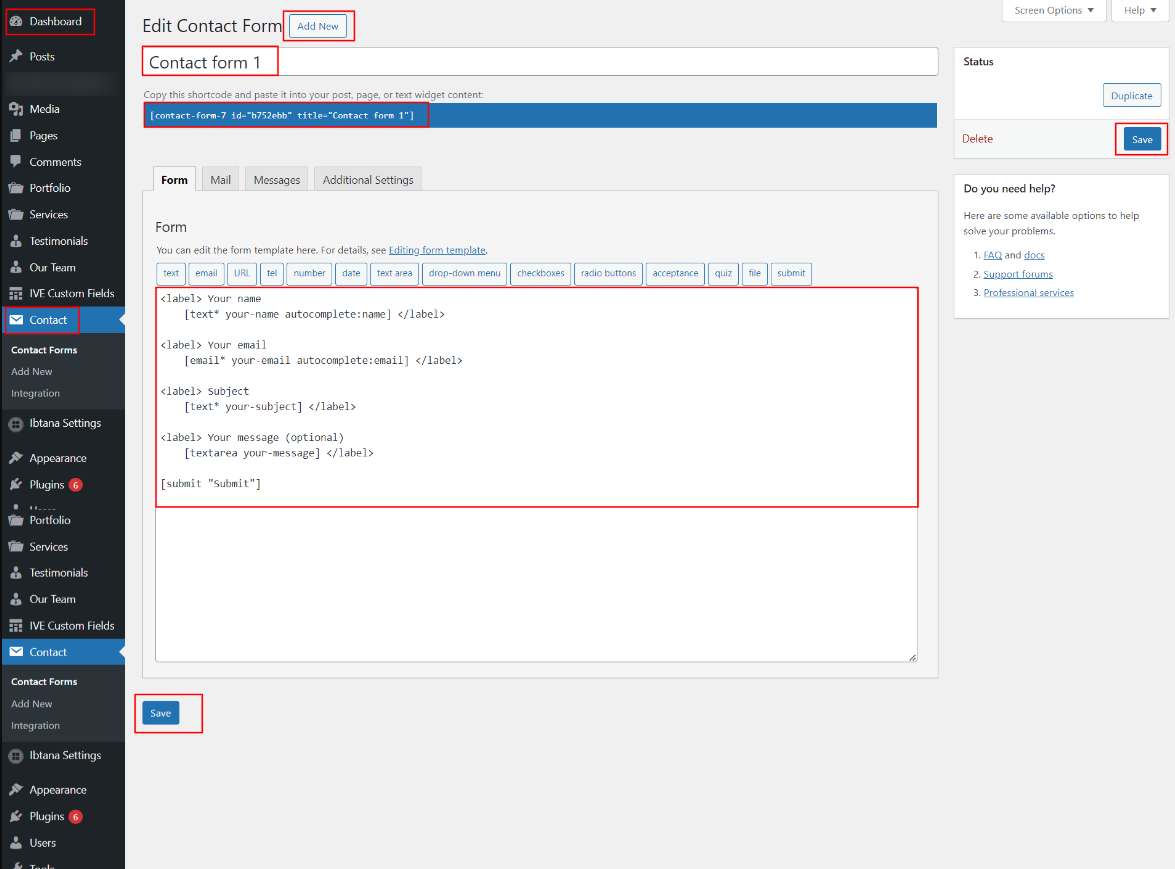
In this case, the Newsletter Section has integrated the Contact Form 7 plugin. Once this plugin is activated, you can adjust the form as needed and copy the shortcode to the Newsletter shortcode box in the Newsletter customizer settings.
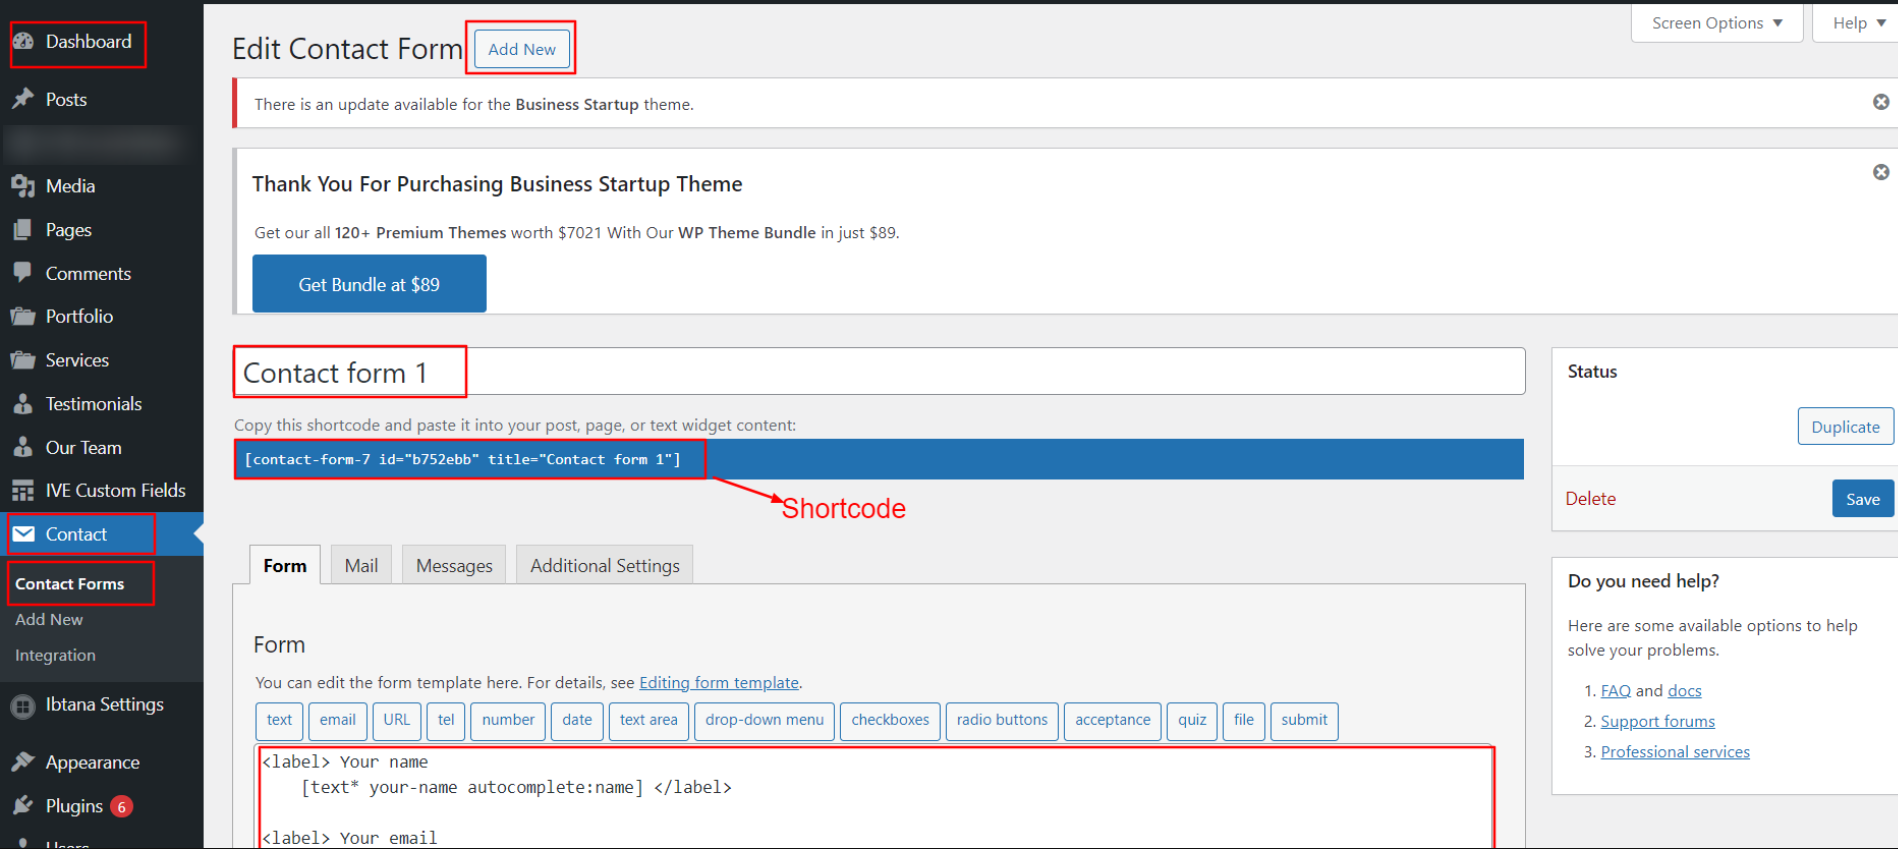
You can view the newsletter in the footer as indicated below after adding the shortcode to the footer section.
View this screenshot to get a better idea.

Fetch All the Properties: --> [all_properties]
Fetch All the Properties By Categpory: --> [properties_by_cat cat_name="Add category slug"]
Fetch All the Agents: --> [agents]
Fetch All the Testimonials: -->[testimonials]