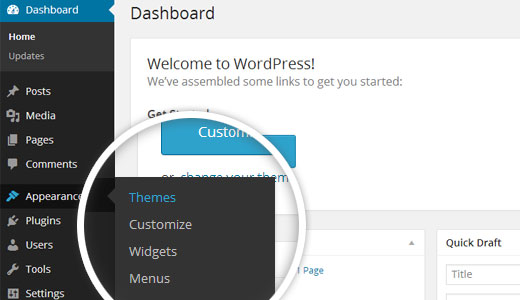
1-Install a theme using wordpress admin
The first step is to enter in to your WordPress admin dashboard. then select on
1.Go to the menu Appearance >> Themes
The template package that you got is divided into various folders. Let's examine what is contained in each folder:
Screenshots - contains template screenshot. Not for production.
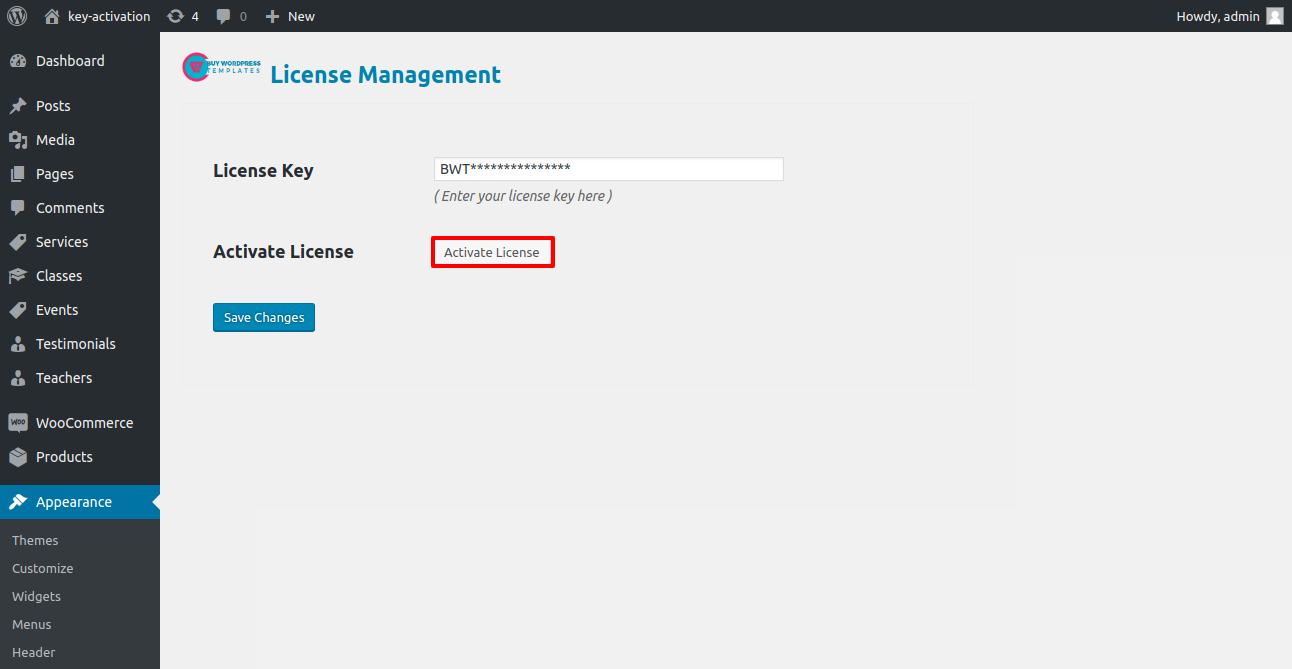
The steps for activating a BWT key are as follows.
Use the License Key that you will receive Via Email to activate your licence.
The process to activate a licence is as follows.
Go to Dashboard >> Appearance >>BWT Key Activation>>Enter Key>>Save Changes.

After Entering The Key >> Activate Licence.
After you Activate Licence,the key will be active and then you can Getstarted with the Theme.
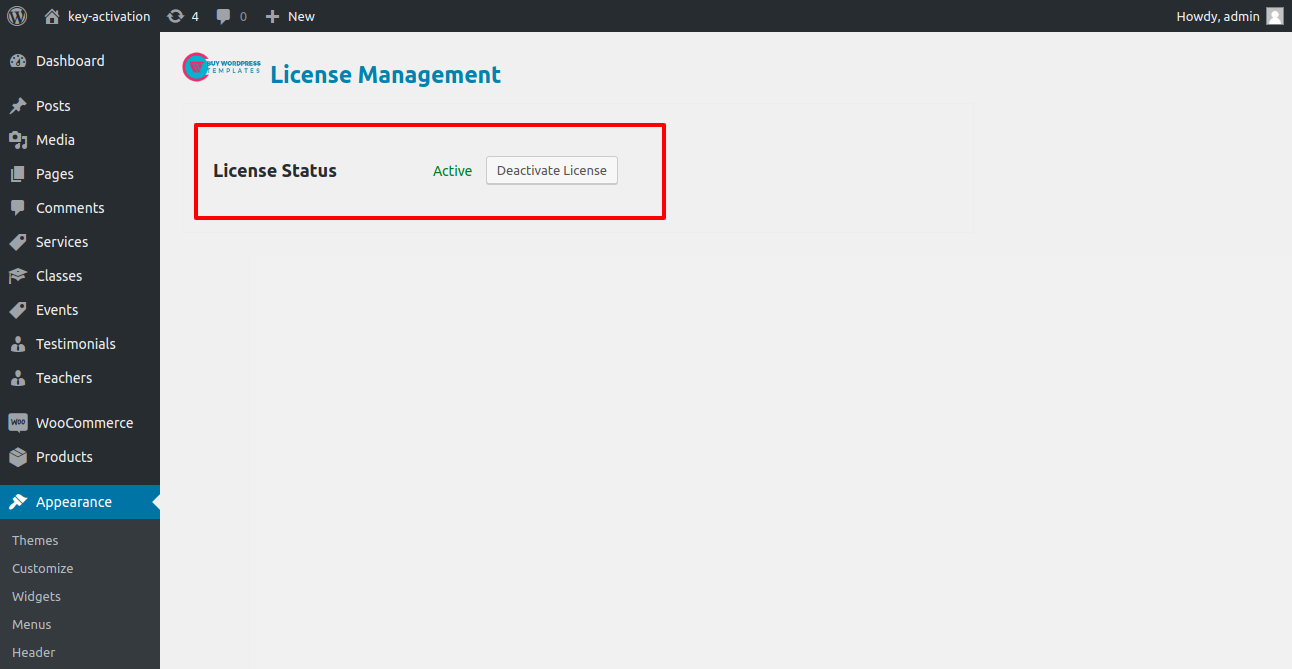
You can enable your Licence Key in this manner.
The first step is to enter in to your WordPress admin dashboard. then select on
1.Go to the menu Appearance >> Themes
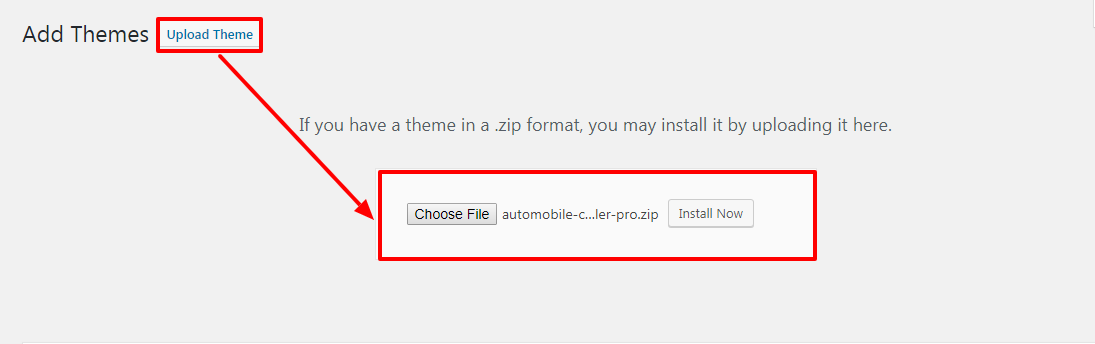
2. Click the Add New button at the top of the themes screen once you've arrived there.

3. Click on upload theme button.

4. Choose your bwt-multipurpose-blog_1.0.zip theme by clicking the Browse option, then click the Install Now button.
5. WordPress will now complete installing your theme and display a success message with a link to activate or watch a live preview.
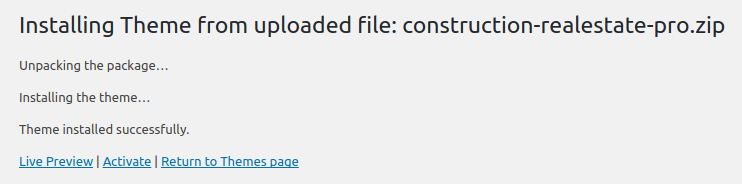
Congratulations! Your theme has been installed properly.
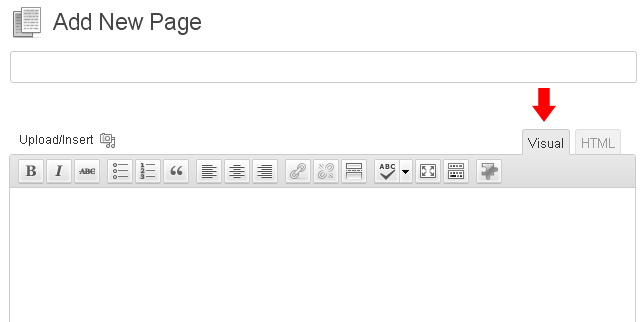
Create Page to set template:Go to Dashboard >> Pages >> Add New Page.
You can label it anything you like, such as "home." then pick template "home-page" from the drop-down list of templates.

Set the front page:Go to Setting -> Reading --> Set the home page as the post page show static page.

When you're finished, you can view the entire demo website on the front page.

In order to continue, header,
Go to Appearance >> Customize >> Theme Settings >>Header

Social media icons, a location, and contact information are in the header section.
Below are the new social media symbols.
![]()
To build up headers, adhere to these guidelines.

To set up the slider, adhere to the instructions below.
Go to Appearance >> Customize >> Theme Settings >>Slider Settings


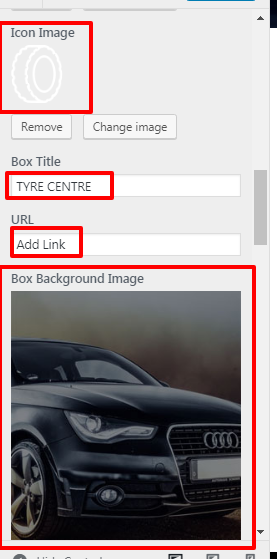
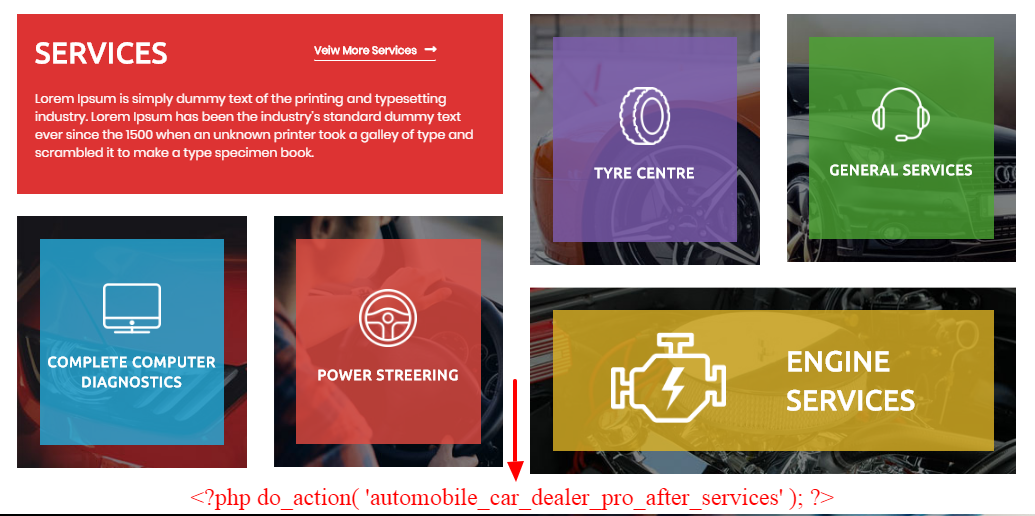
In order to continue, Services Section,
Go to Appearance >> Customize >> Theme Settings >>Services Section
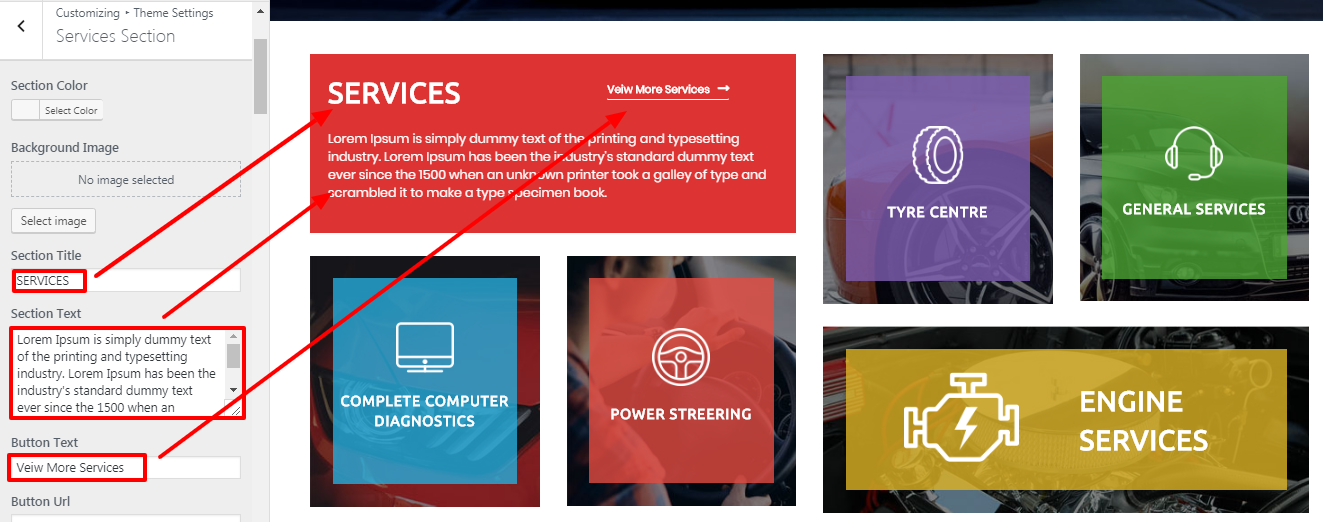
Use these guidelines to create Services Section.
After installing and enabling the Automobile Car Dealer Posttype plugin, the Cars area will show up in the dashboard. The specifics are shown in the figure below.

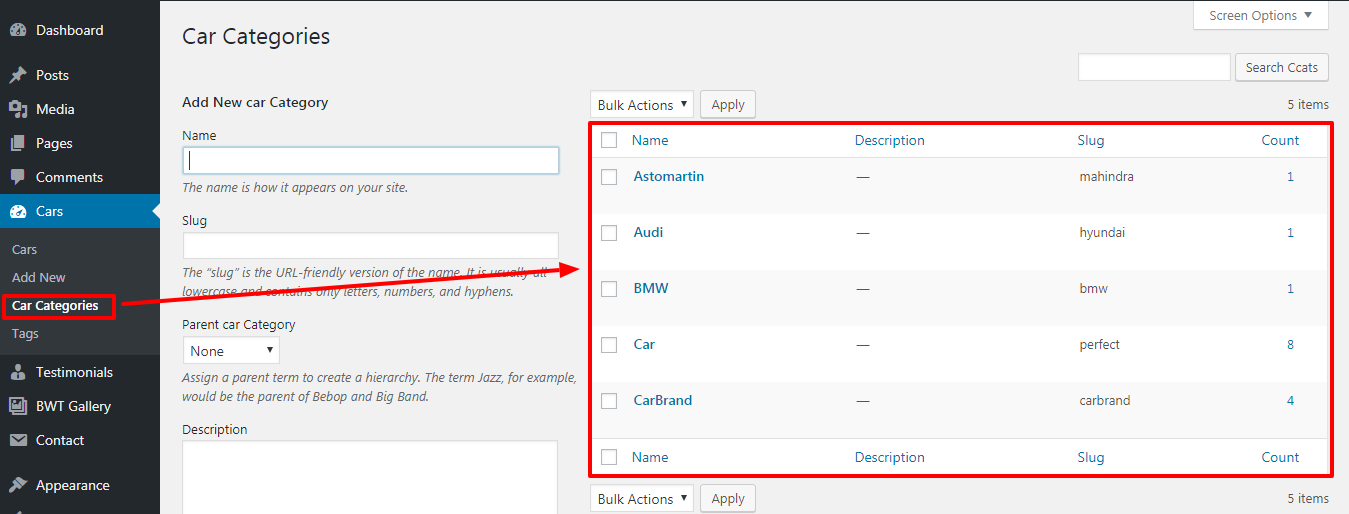
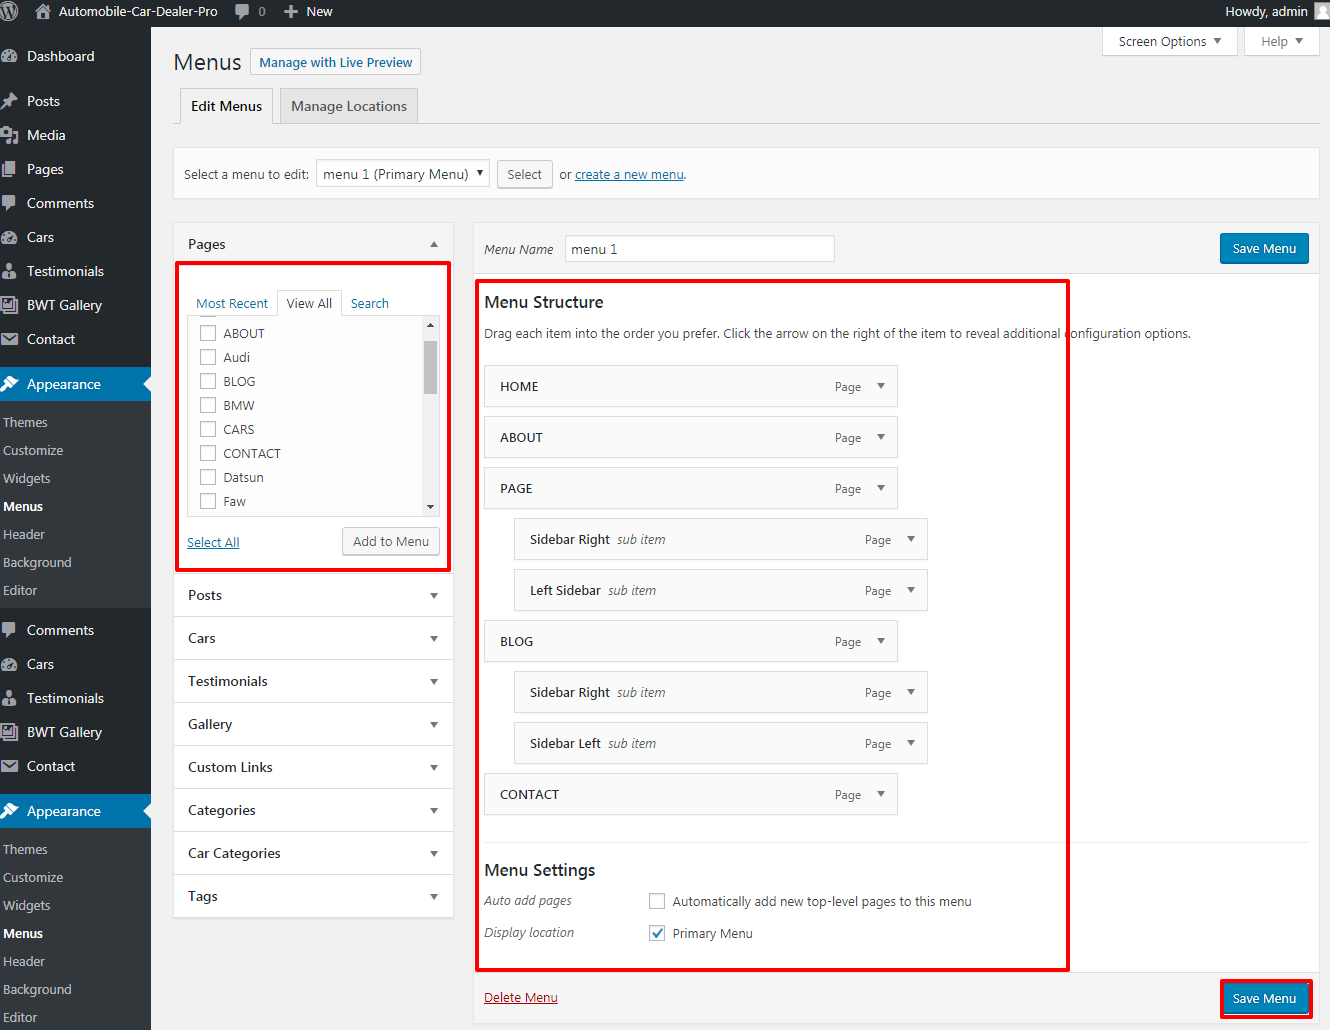
We must put the categories before we can create the Car Brand Section. In order to create categorie.
Go to Dashboard >> Posts >> Categories >> Add new category.
Here is the created post, in which the previously formed category was chosen.

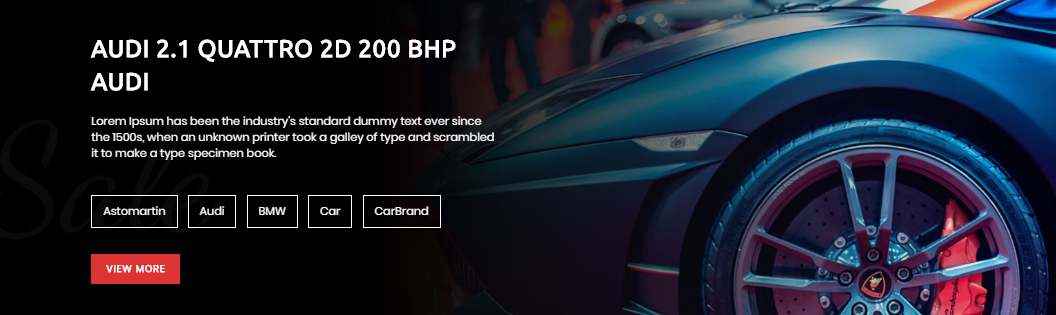
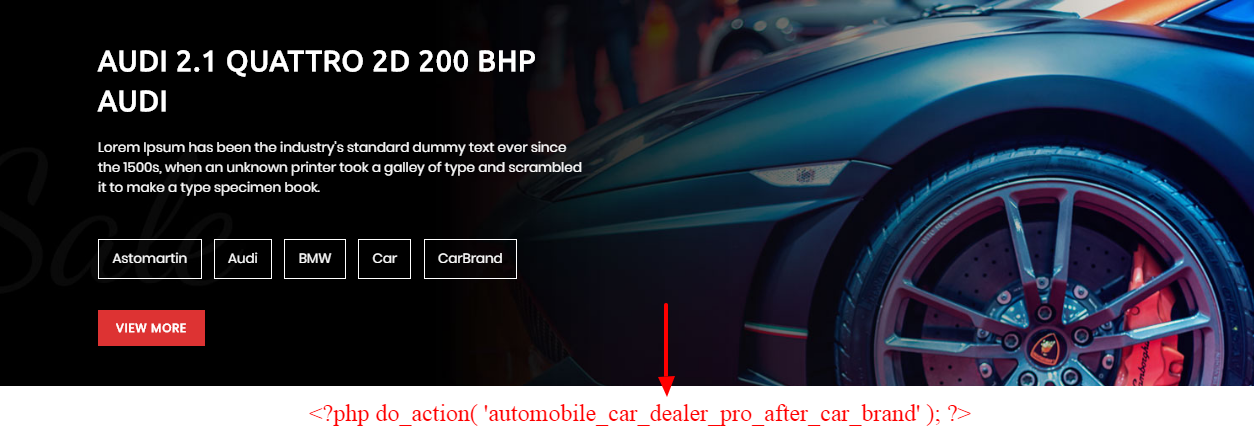
In order to continue, Car Brand Section,
Go to Appearance >> Customize >> Theme Settings >> Car Brand Section


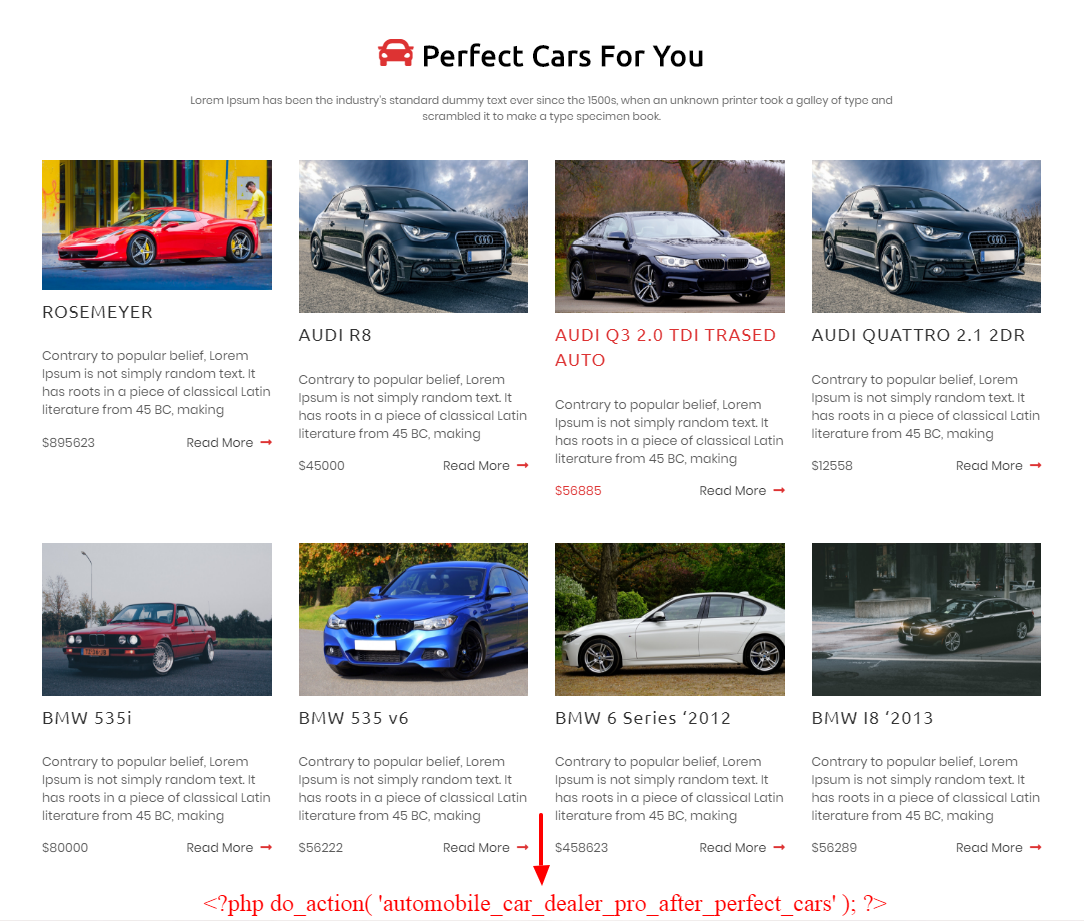
The methods below will help you set up the Perfect Cars For You Section
Go to Appearance >> Customize >> Theme Settings >>Perfect Cars
Enter the section title and sub-title here, then choose the car type. For a clearer understanding, see the screenshot below.

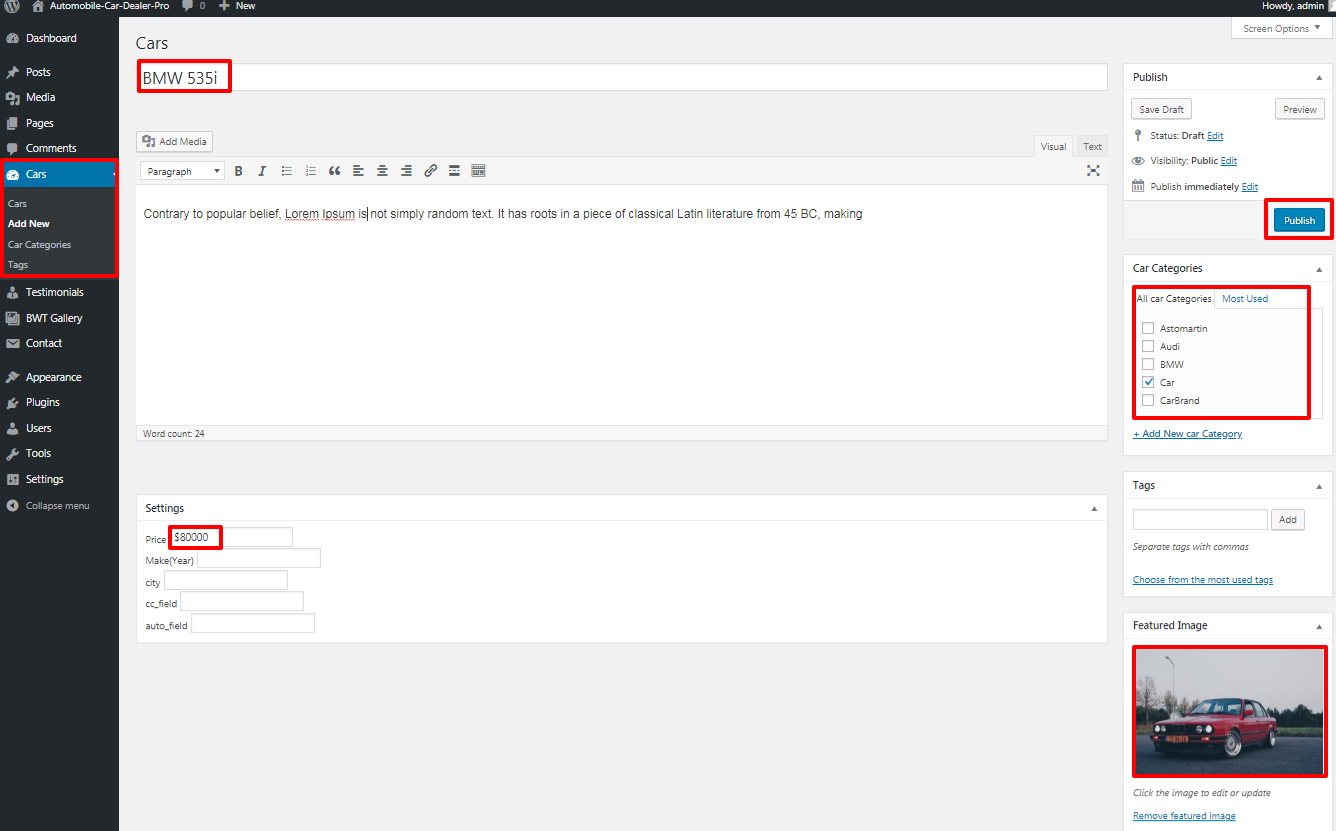
We must install and enable the Automobile Car Dealer Posttype Plugin in order to access the ideal car for you section. The dashboard will display a car area after activation. Create a category called "car" in the "car" section, then add that category to newly made posts.
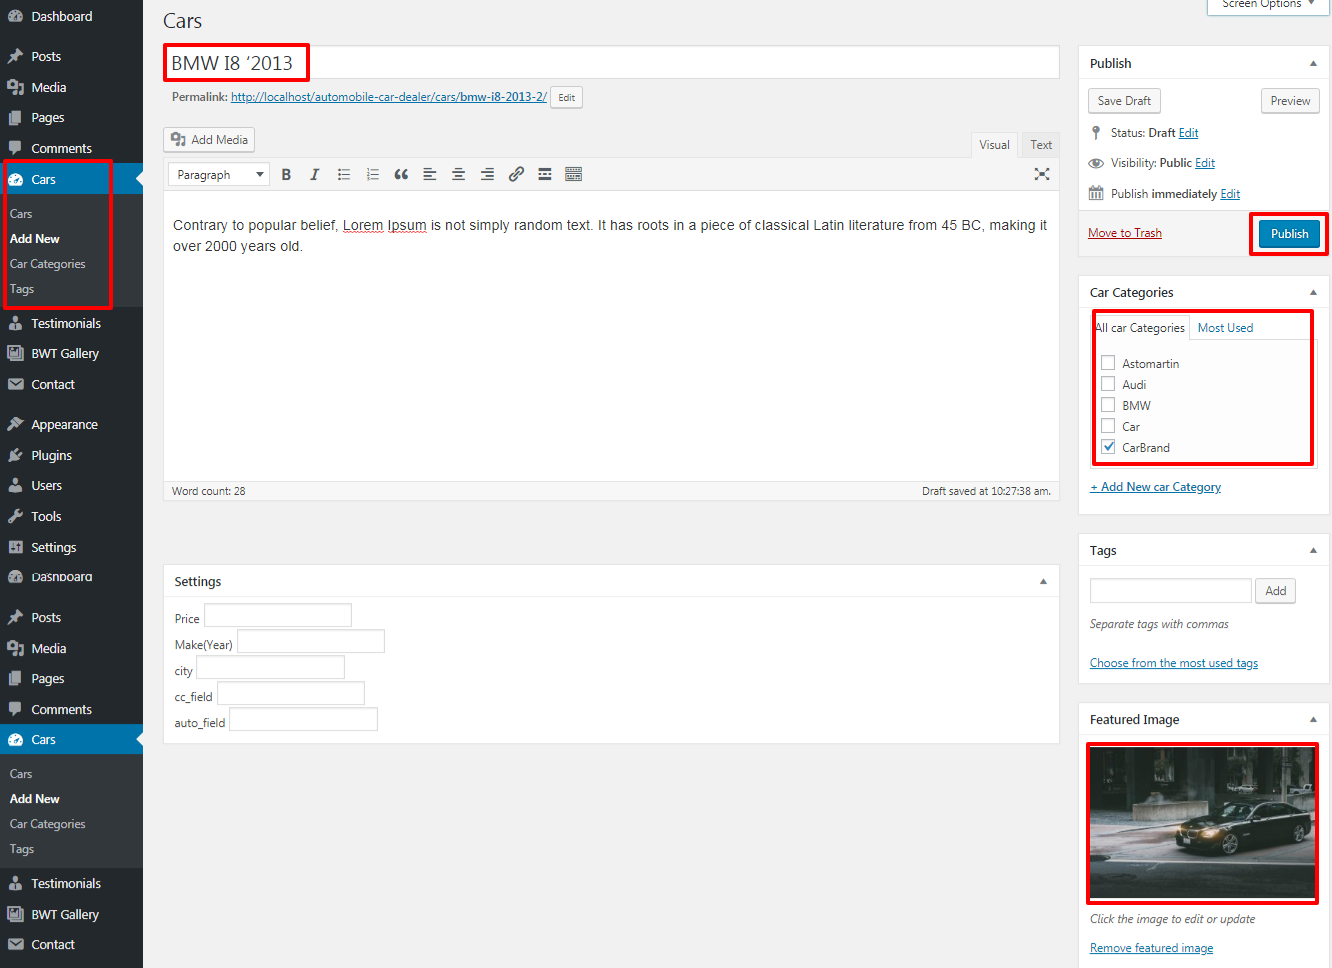
Go to the "Cars" section of the dashboard, click "Add New," enter a title for the car, its contents, a category, a price, and a featured picture.For more information, see the picture below.
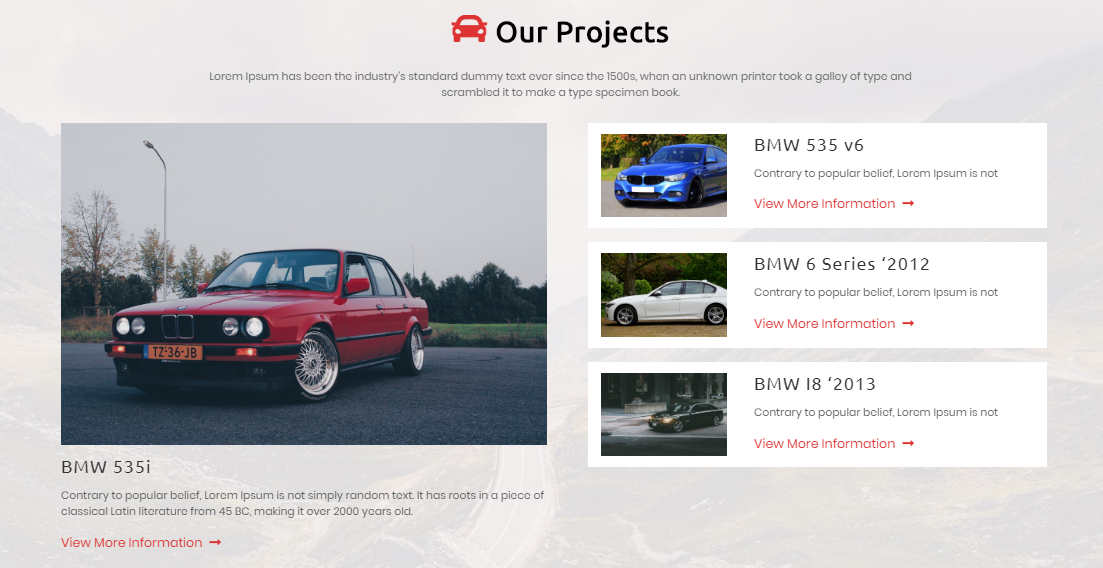
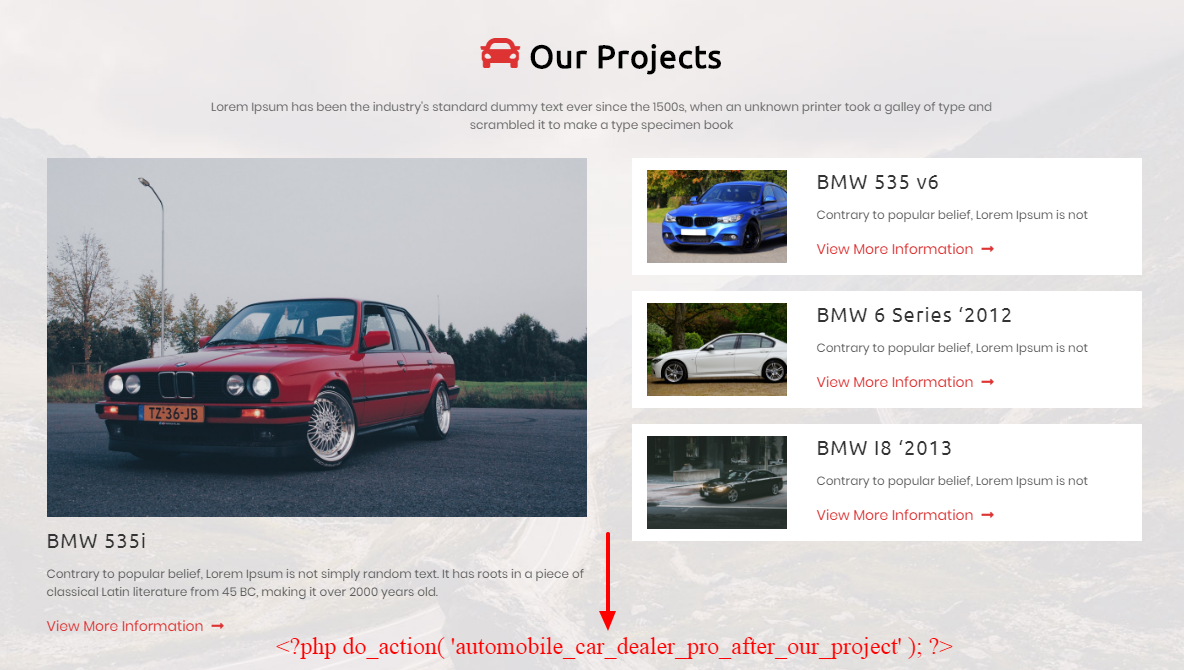
To setup, adhere to the instructions below Our Projects Section
Go to Appearance >> Customize >> Theme Settings >>Our Projects
Enter the section title and sub-title here, then choose the carbrand group. For a clearer understanding, see the screenshot below.
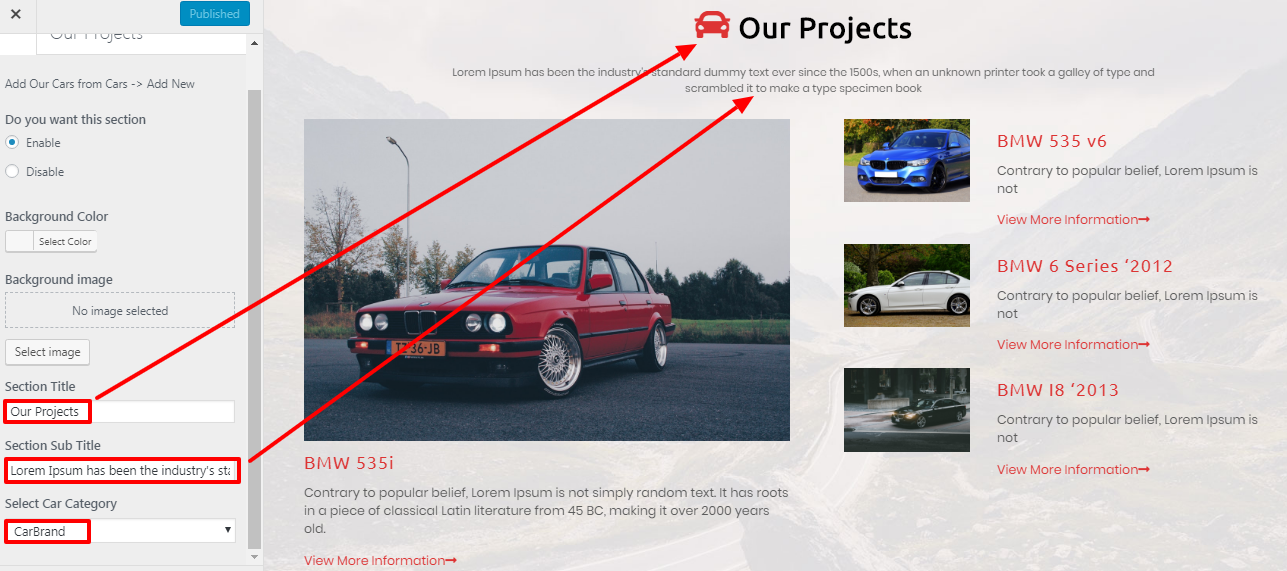
The Automobile Car Dealer Posttype Plugin needs to be installed and turned on for the Our Projects area. The dashboard will display a car area after activation. Create the category "carbrand" in the "car" section and add it to all newly made posts.
Go to the "Cars" section of the dashboard, click "Add New," enter a title for the car, its contents, a category, and a featured picture to make a post.For more information, see the picture below.
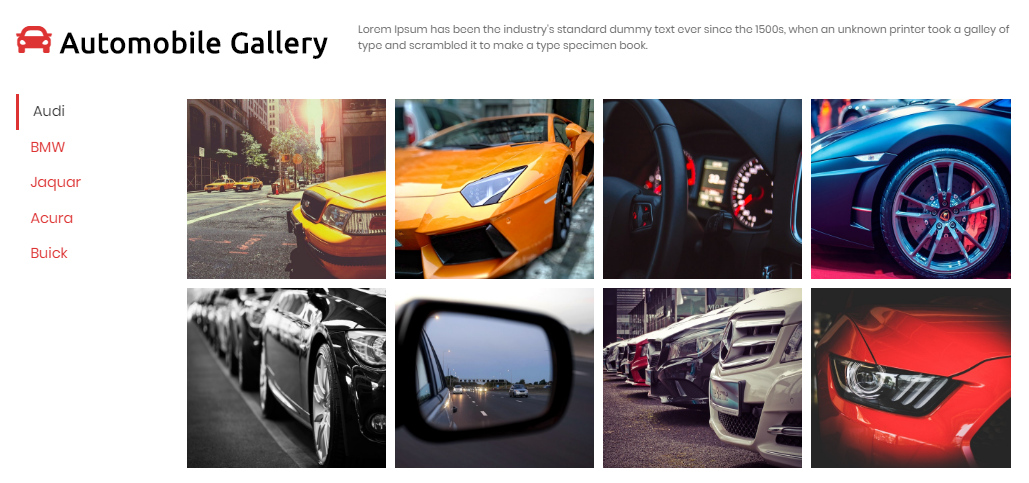
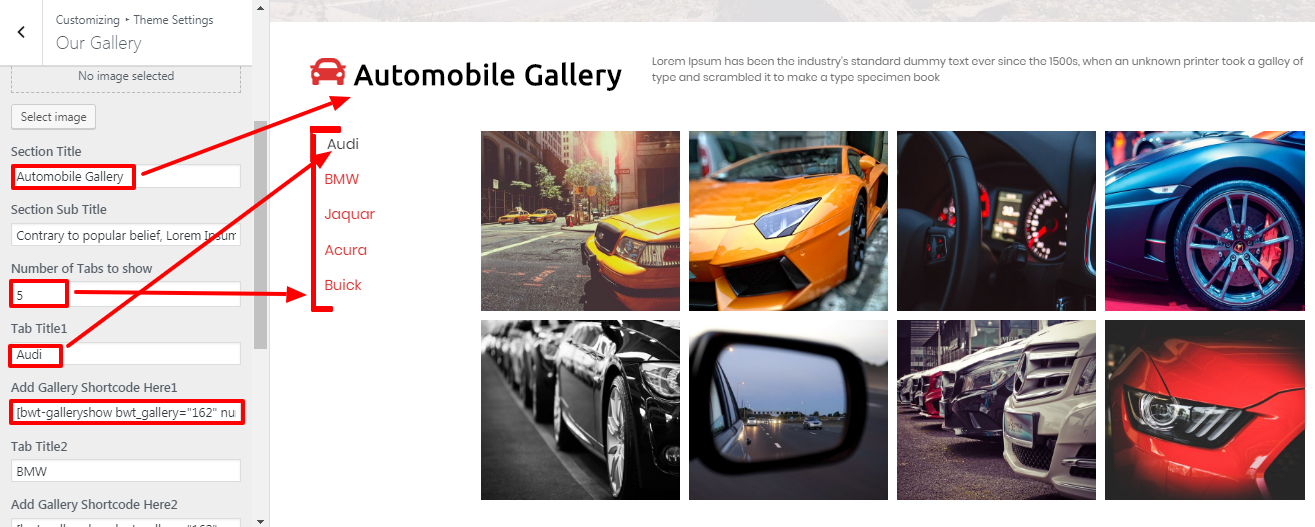
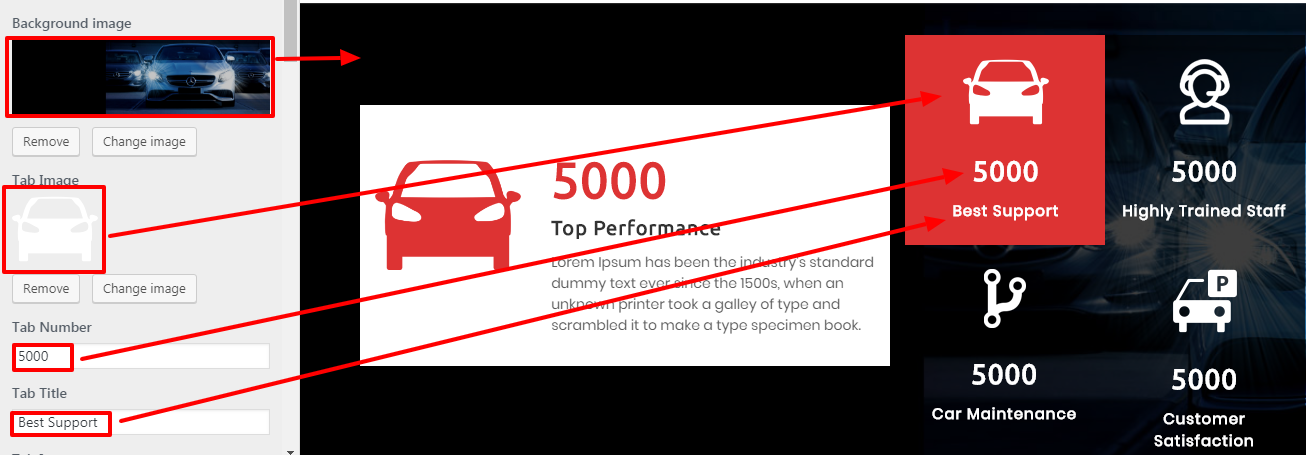
To setup, adhere to the instructions below Our Gallery Section.
Go to Appearance >> Customize >> Theme Settings >>Our Gallery
Enter the section title, section sub title, amount of tabs to display, tab title, and gallery shortcode here for the Audi car. The same procedures apply for BMW, Jaguar, Acura, and Buick. Each gallery will have a unique shortcode that is copied from the BWT gallery portion of the dashboard. For a clearer understanding, see the screenshot below.
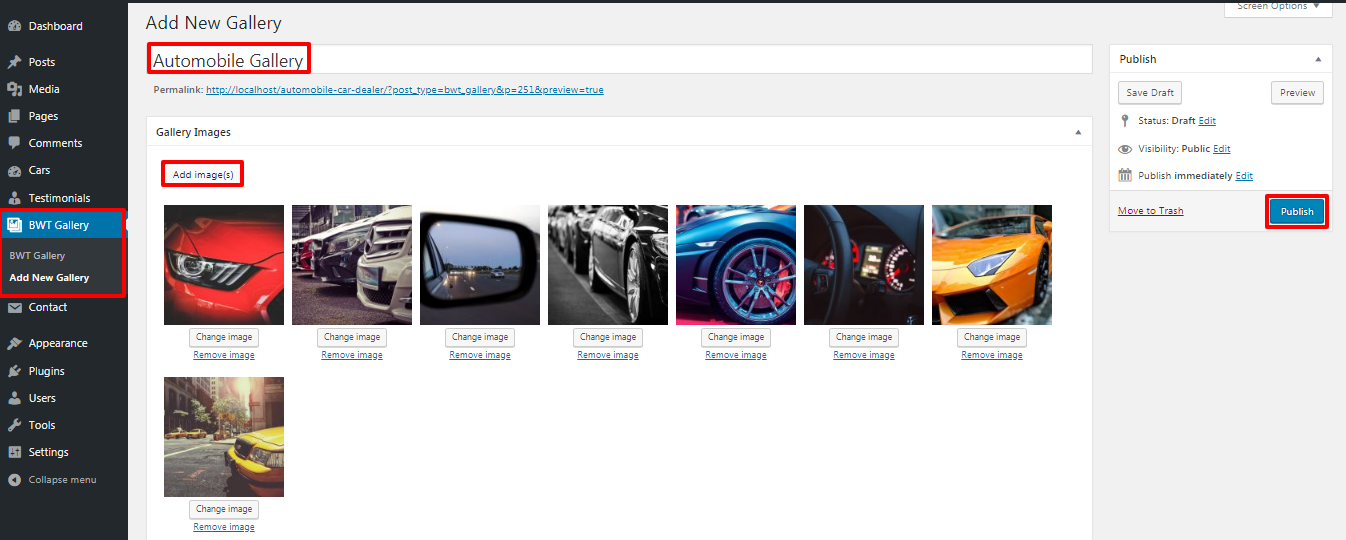
BWT Gallery Images Plugin must be installed and turned on for our gallery area. After activation, the dashboard will display an area for BWT Gallery. Enter the gallery title, add images, and then publish it in the gallery area. For more information, see the picture below.
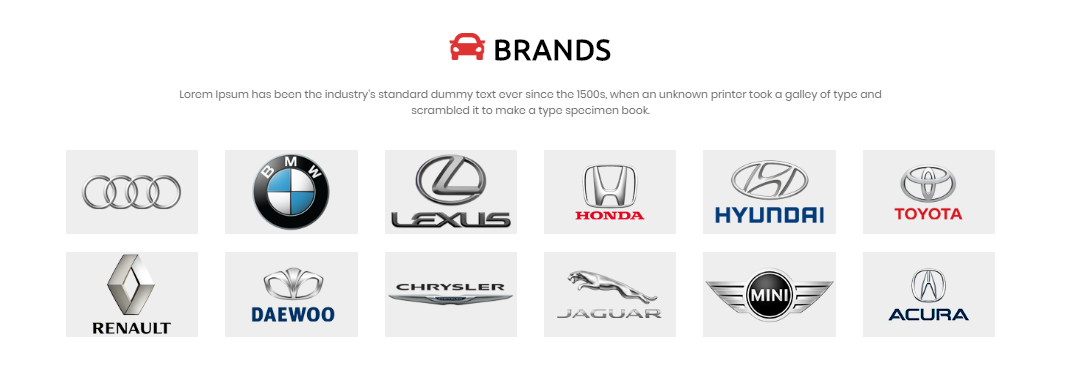
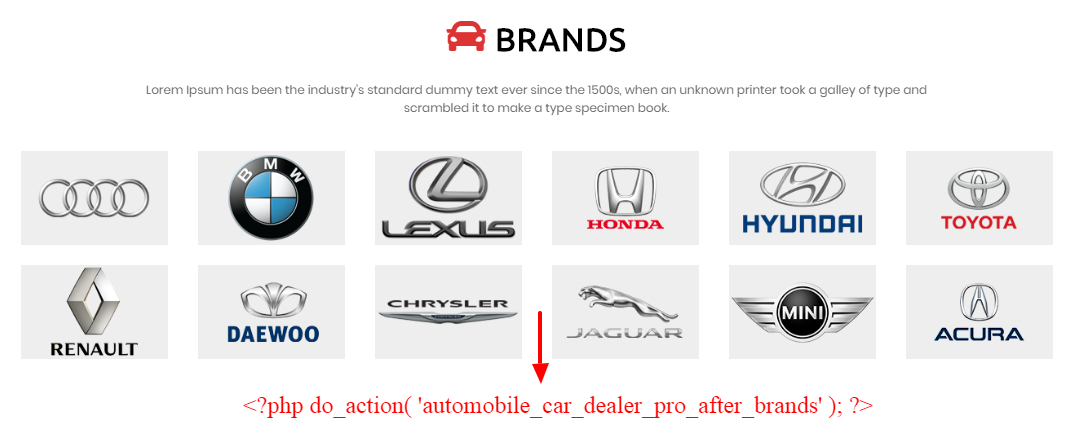
In order to continue, Brand Section,
Go to Appearance >> Customize >> Theme Settings >>Brand Section
The section title, section subtitle, amount of brands to display, and brand image should all be entered. Refer to the image below for more information.
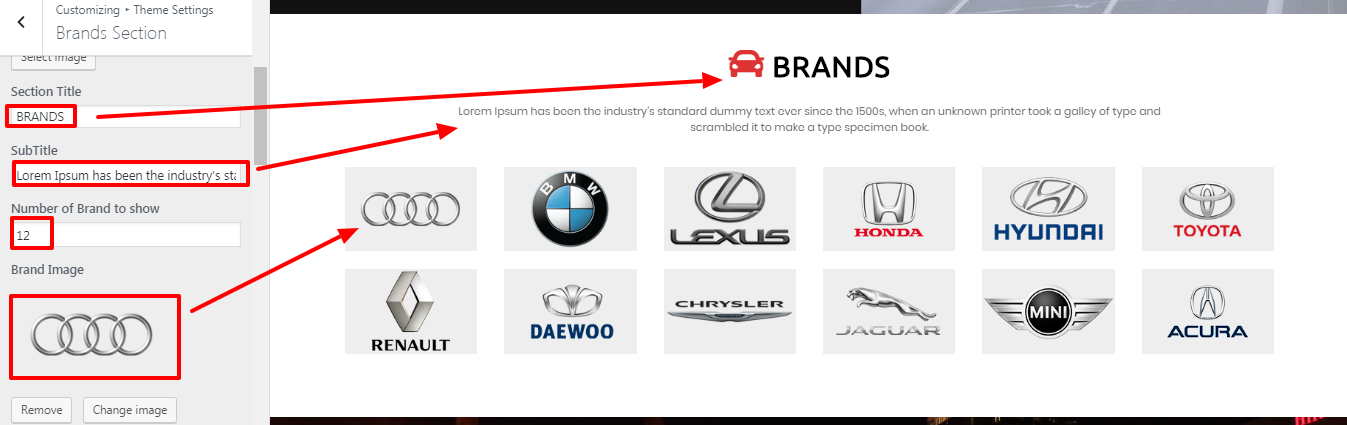
Follow these instructions to establish a Brand Section.
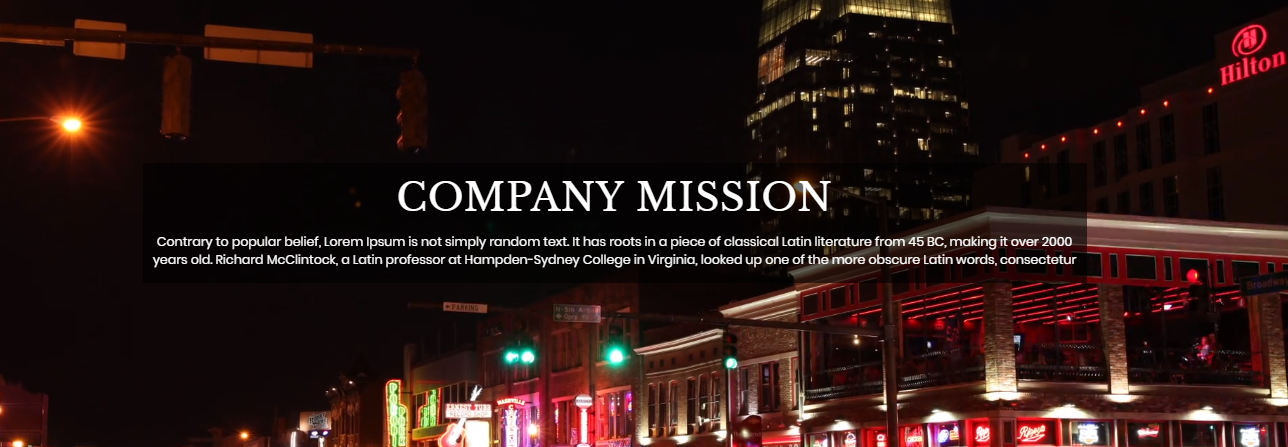
Both MP4 and OGV video files can be added. Since OGV is more consistent with recent versions of HTML, we can convert MP4 files to OGV. OGV files are easy to play with browsers like Firefox and Google Chrome and without the need for a Flash folder.
In order to continue, video section,
Go to Appearance >> Customize >> Theme Settings >>Video Section
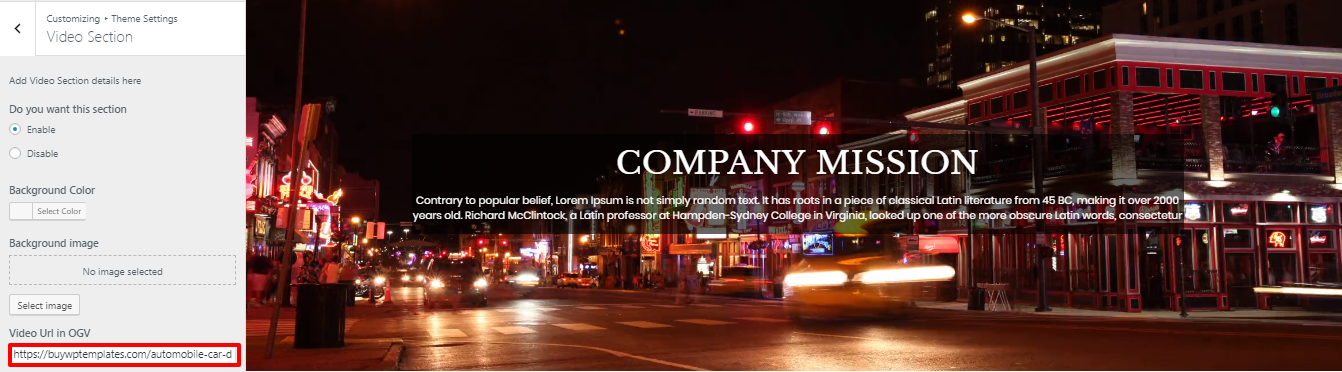
To make a video section, adhere to these rules.

After installing and activating the Automobile Car Dealer Posttype Pro plugin, the testimonials area will show up in the dashboard.
In order to continue, Testimonial Section,
Go to Dashboard >> Testimonial >> Add New Post
There are now a total of 6 posts in the testimonial section.
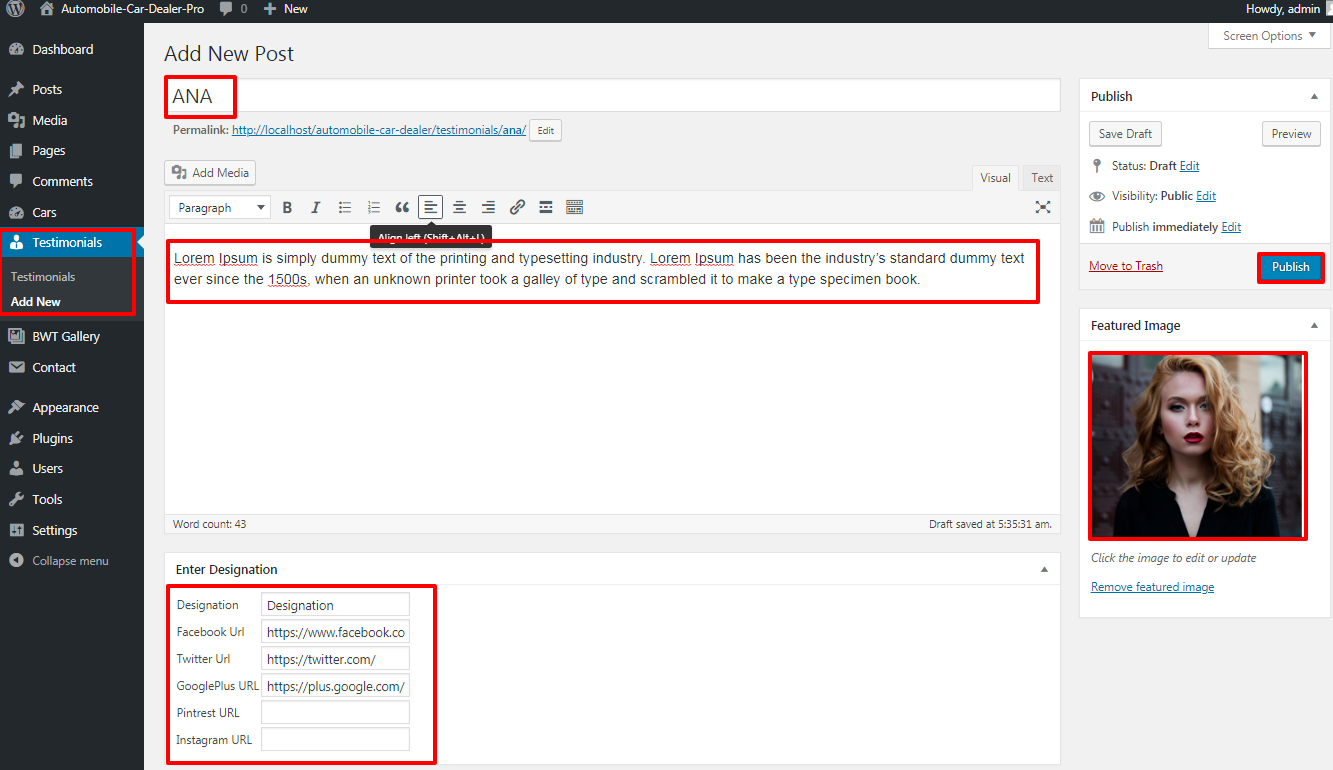
Follow these instructions to write testimonials.
Enter the post name, contents, and featured image in the Testimonials area when adding a new post. Afterward, select "Publish".
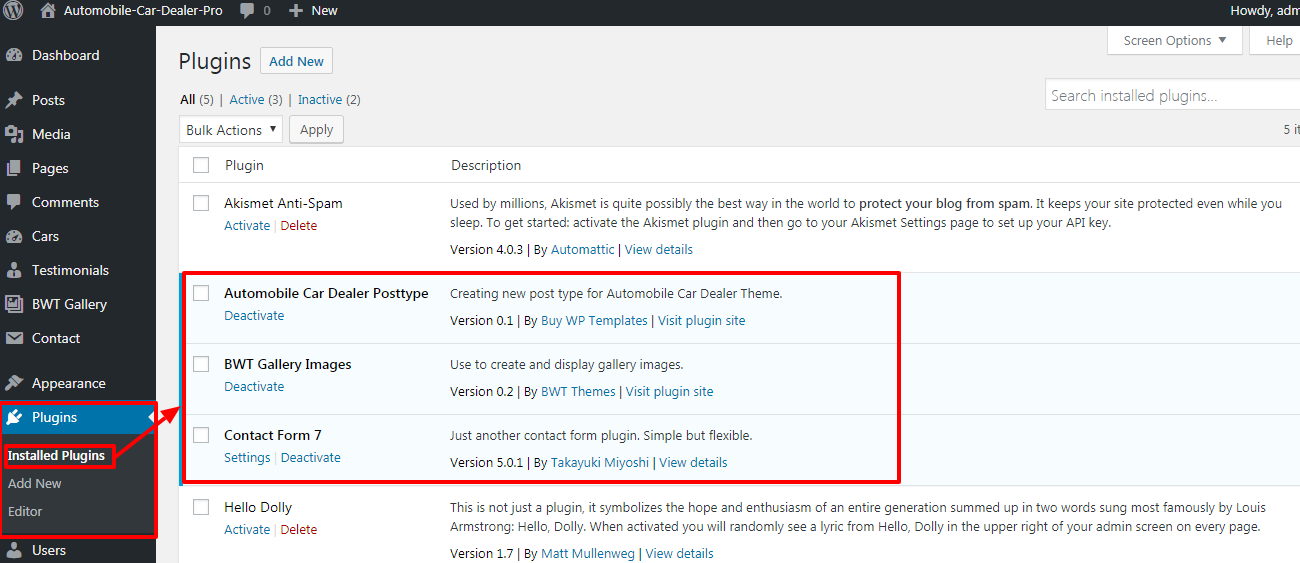
Installing the contact forn 7 plugin is necessary before moving on to the newsletter area. Activate the extension once it has been installed. The added plugin is depicted in the picture below..
In order to continue, plugin section
Go to Dashboard >> Plugins >> Installed Plugins>>Activate
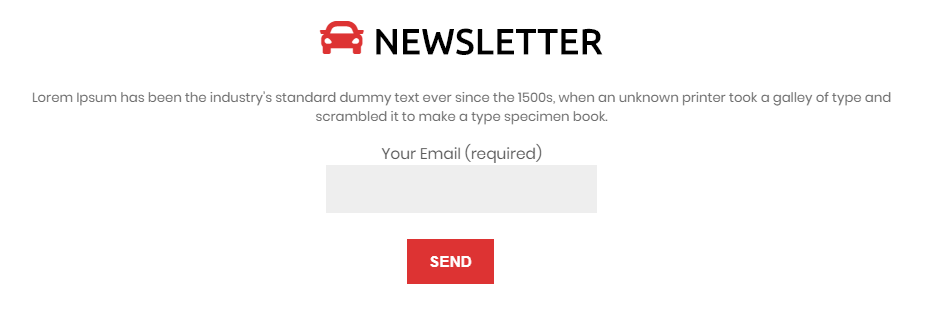
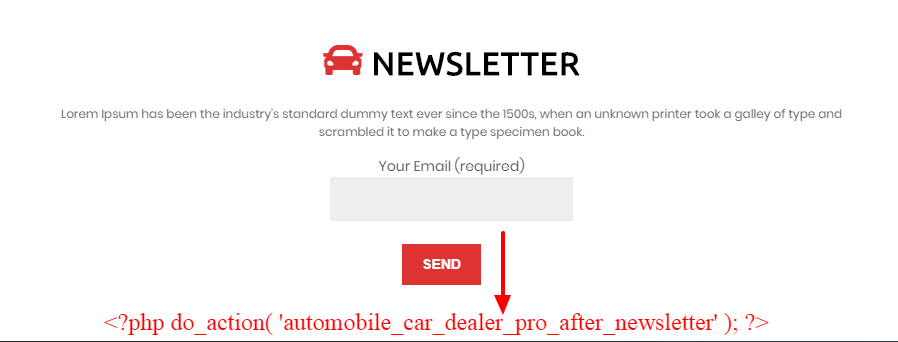
Shortcode can be added via plugin settings in the newsletter section.
You can build up the Newsletter Section using the following techniques.
Go to Appearance >> Customize >> Theme Settings >>Newsletter Section

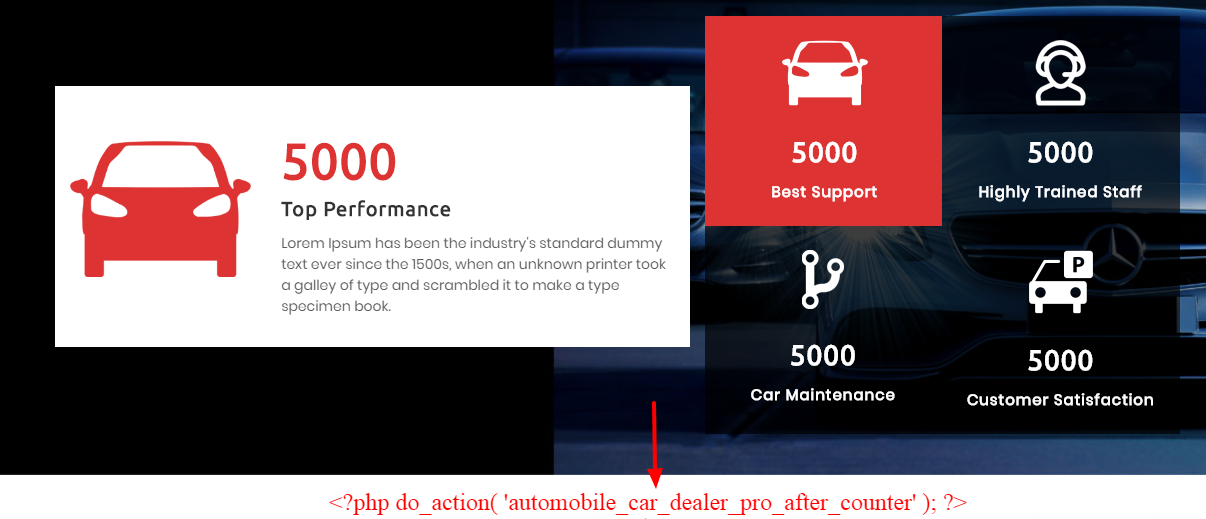
In order to continue, Counter Section,
Go to Appearance >> Customize >> Theme Settings >>Counter Section
Follow these recommendations to make a counter section..
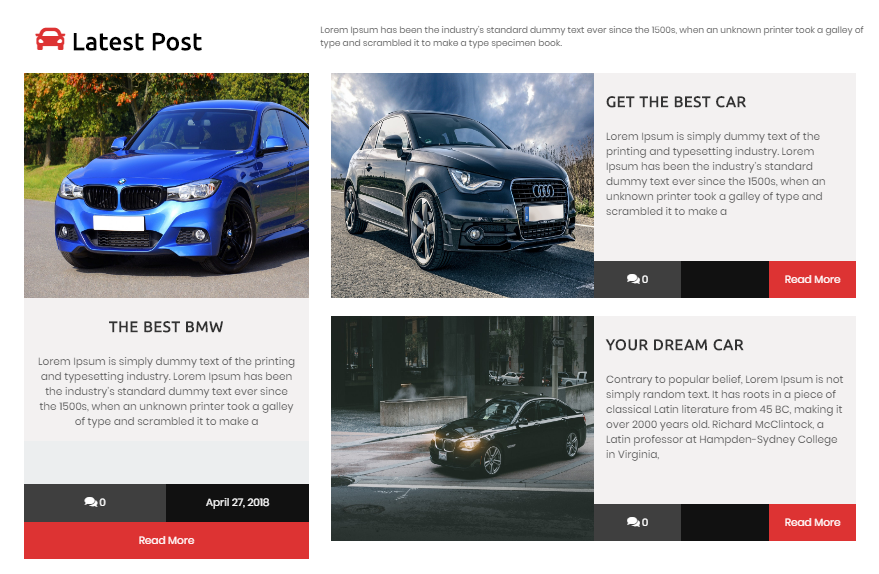
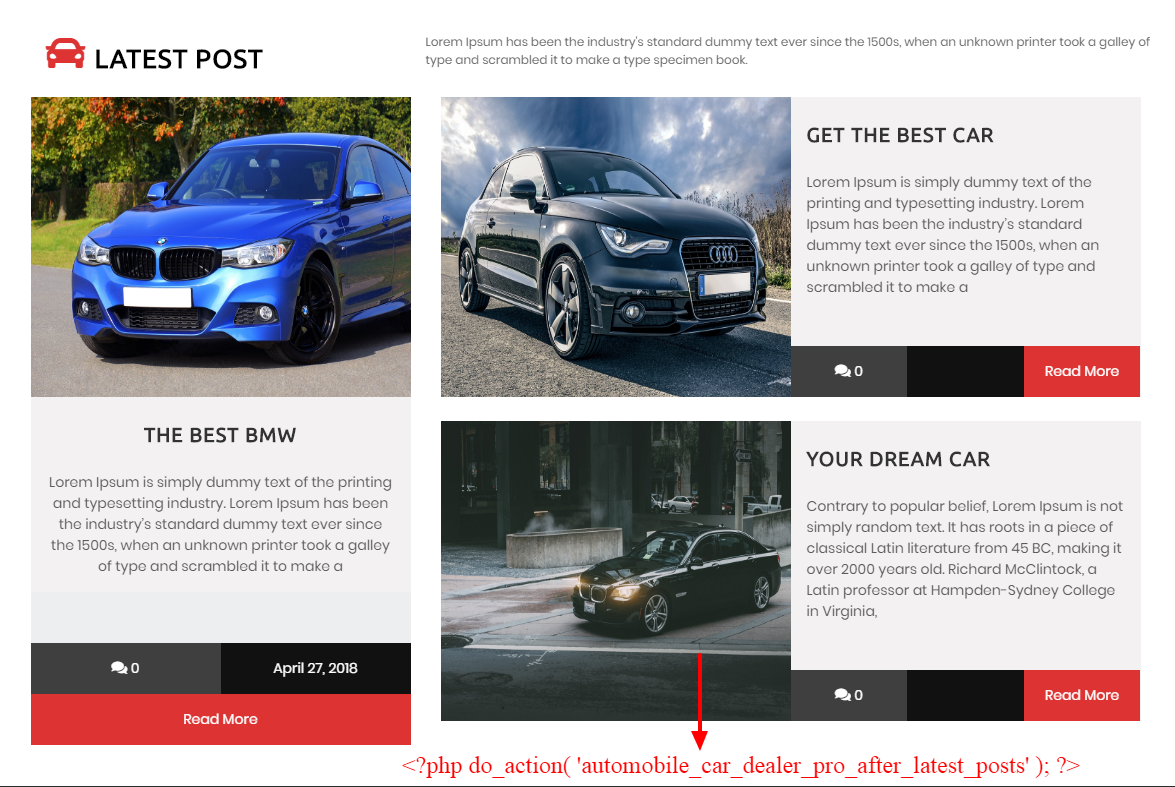
To setup, adhere to the instructions below latest post Section
Go to Appearance >> Customize >> Theme Settings >>Latest Post
Enter the section title, section sub title, the amount of tabs to display, the tab title, and the gallery shortcode here. Refer to the screenshot below for a better grasp.
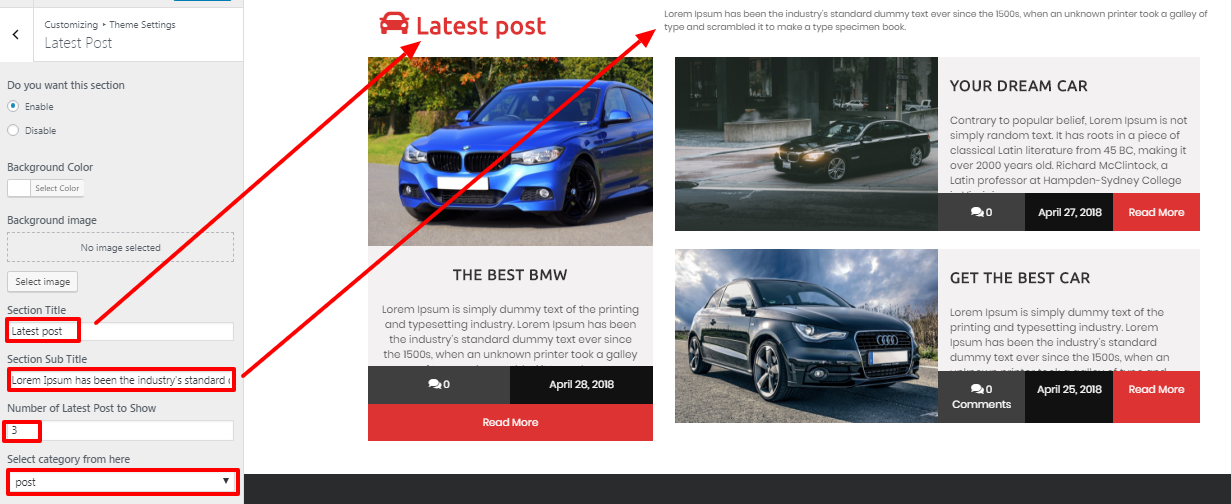
We must first create a category, then a post, and finally give that category to the post in order to create the Latest Post section. Enter the category name created in the Latest post Section of the customizer after creating the desired amount of posts. For more information, see the picture below.


In order to continue, Footer,
Go to Appearance >> Customize >> Theme Settings >>Footer Section
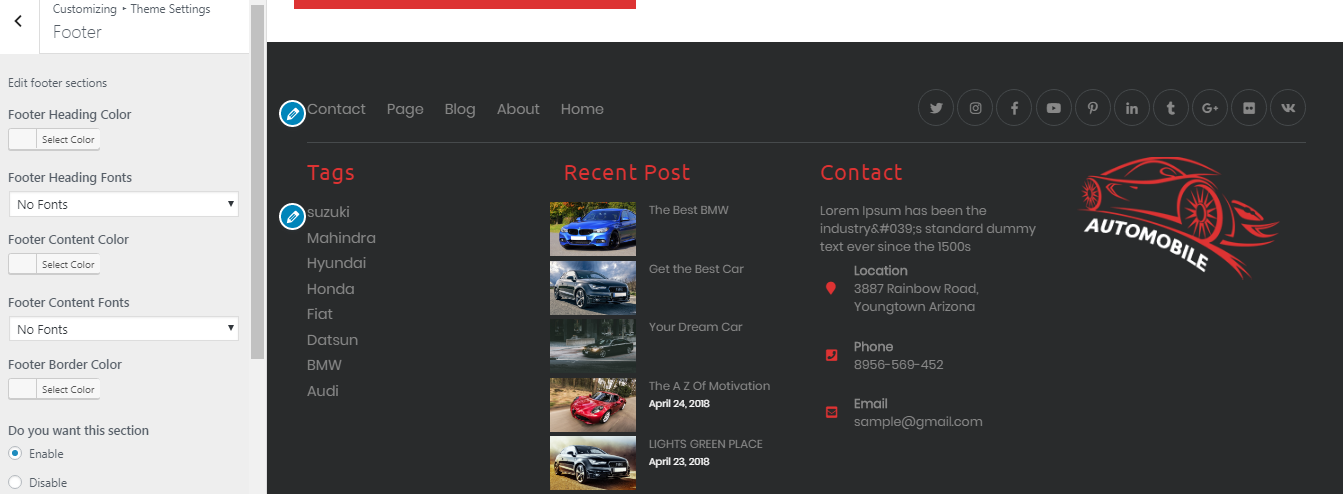
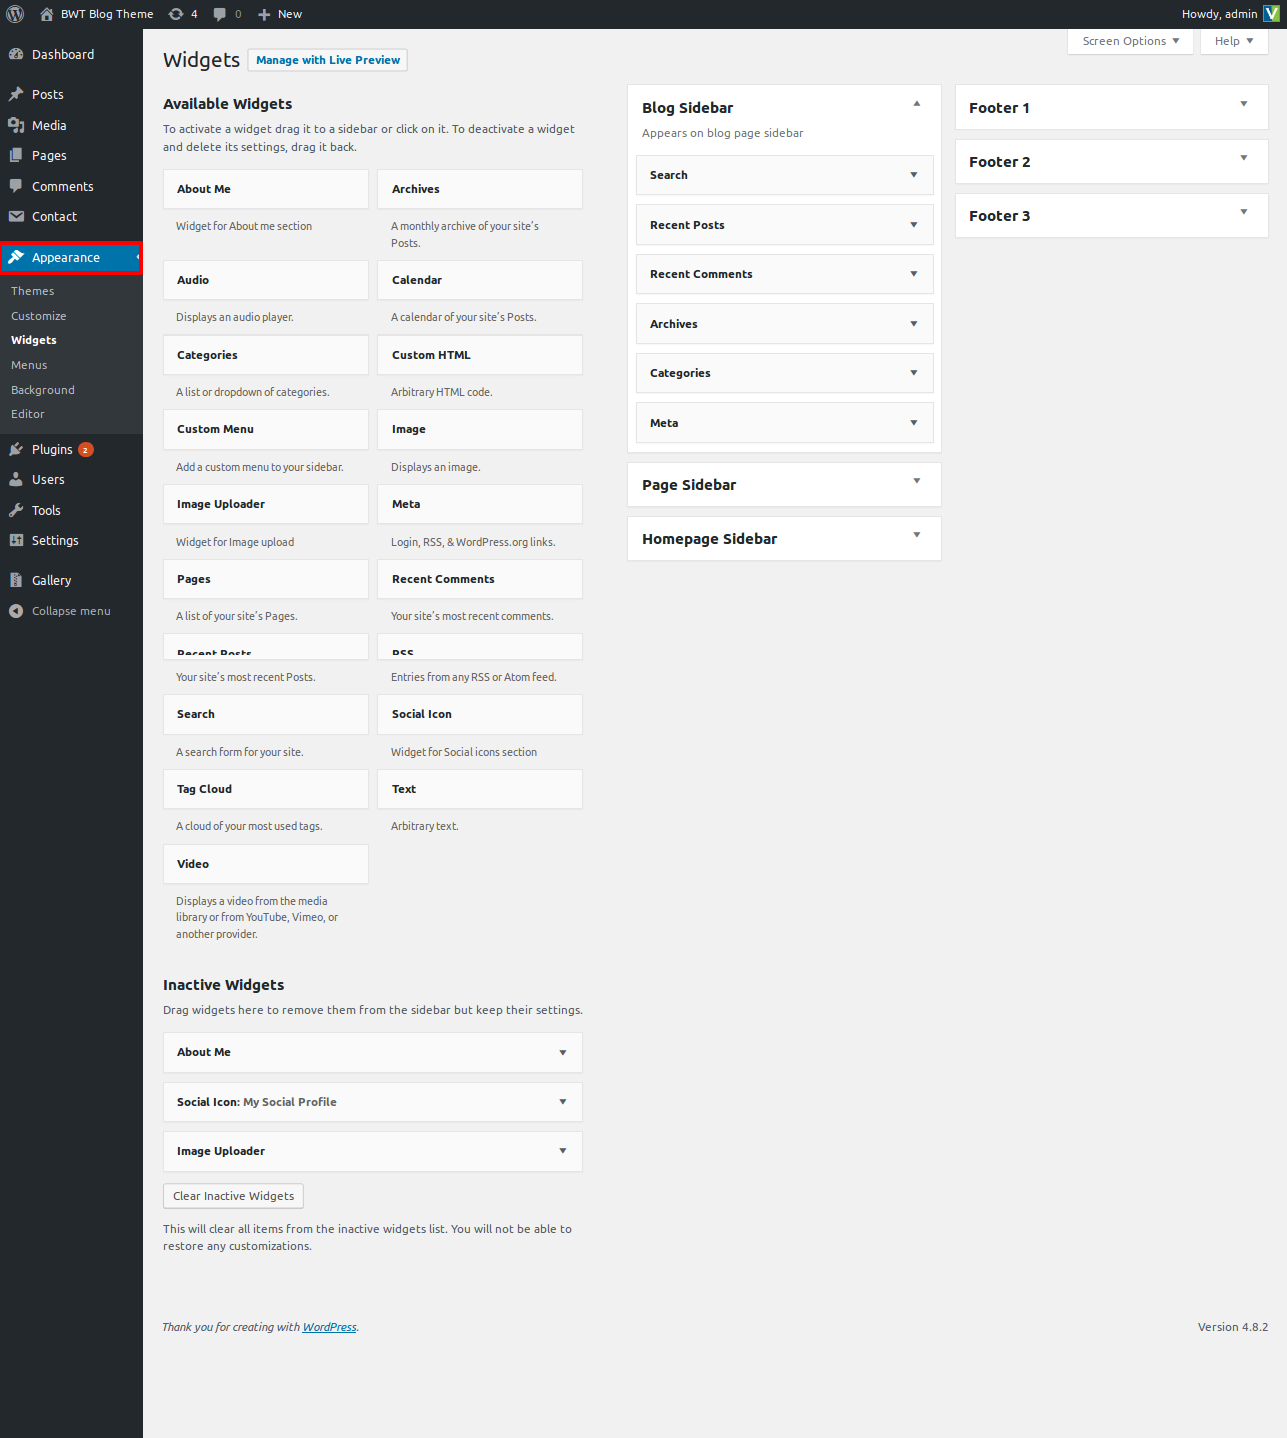
In order to create this area, Navigate to the widgets of the Appearance area and choose the four footers columns for tags, galleries, contacts, and logo images.
Below image explains the widgets section..
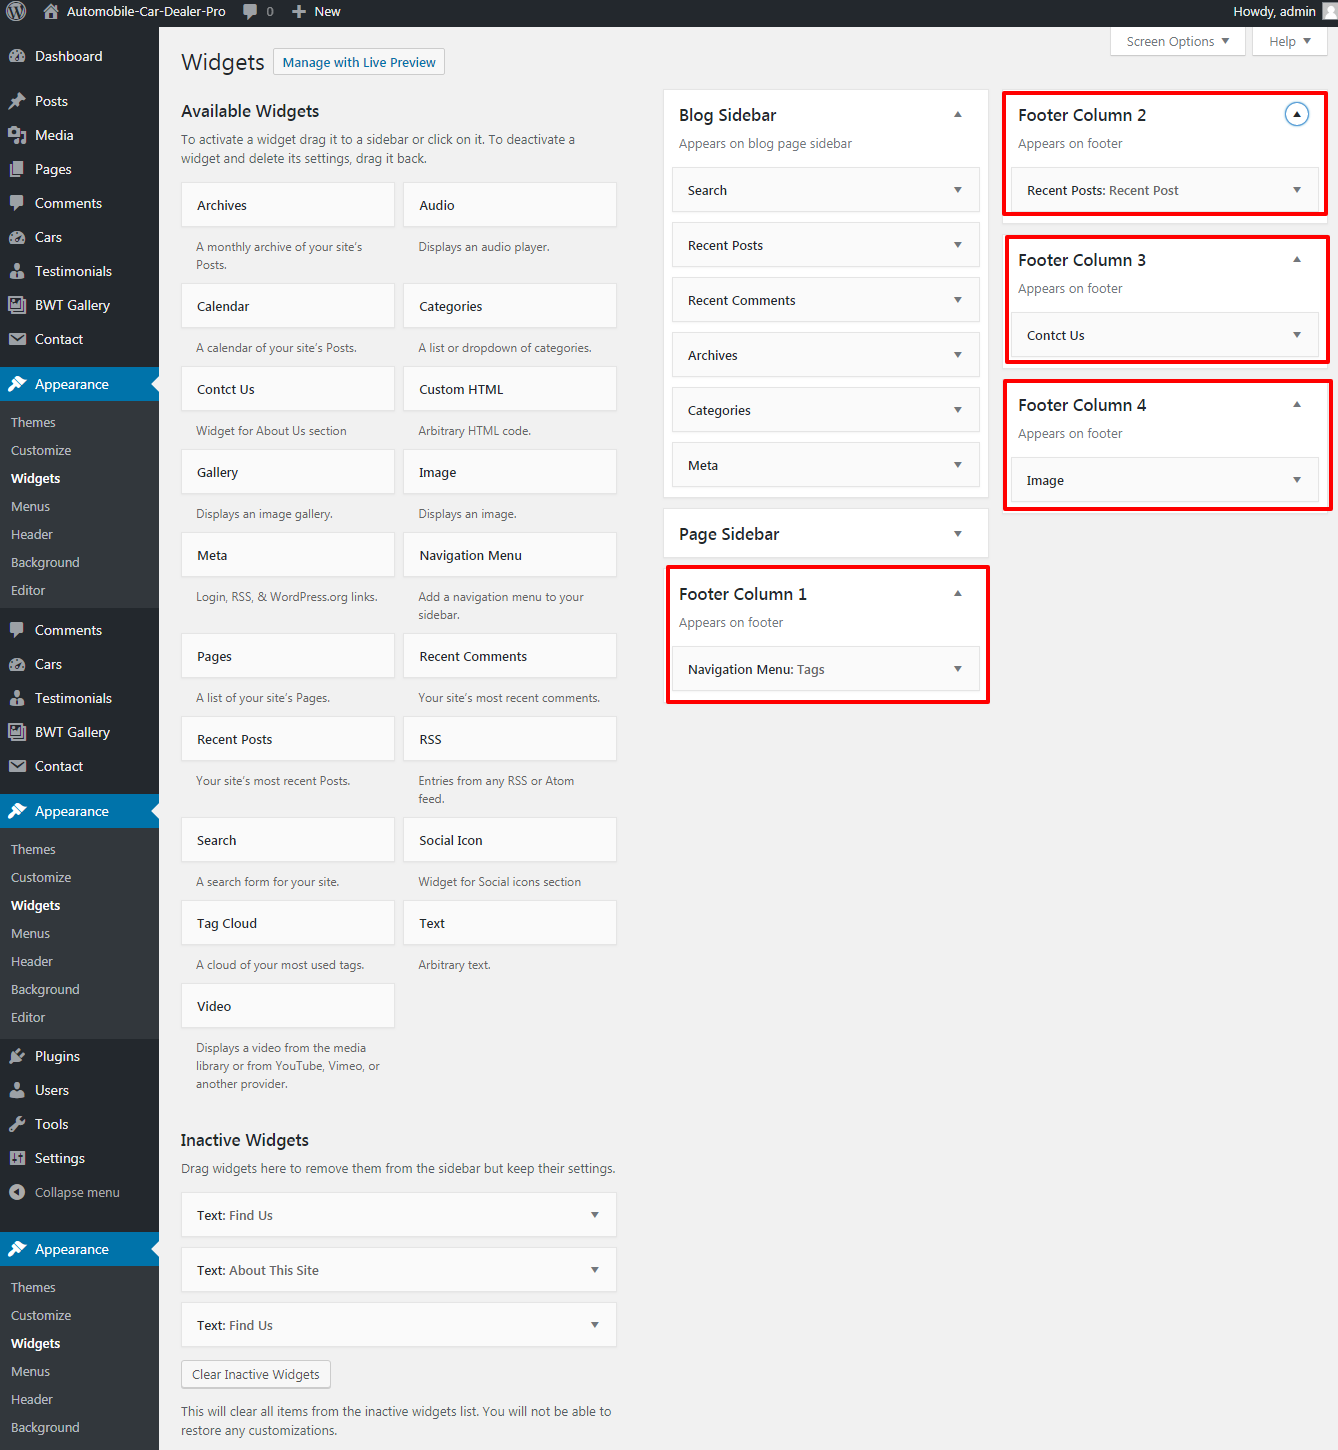
Follow these instructions to make a footer section.

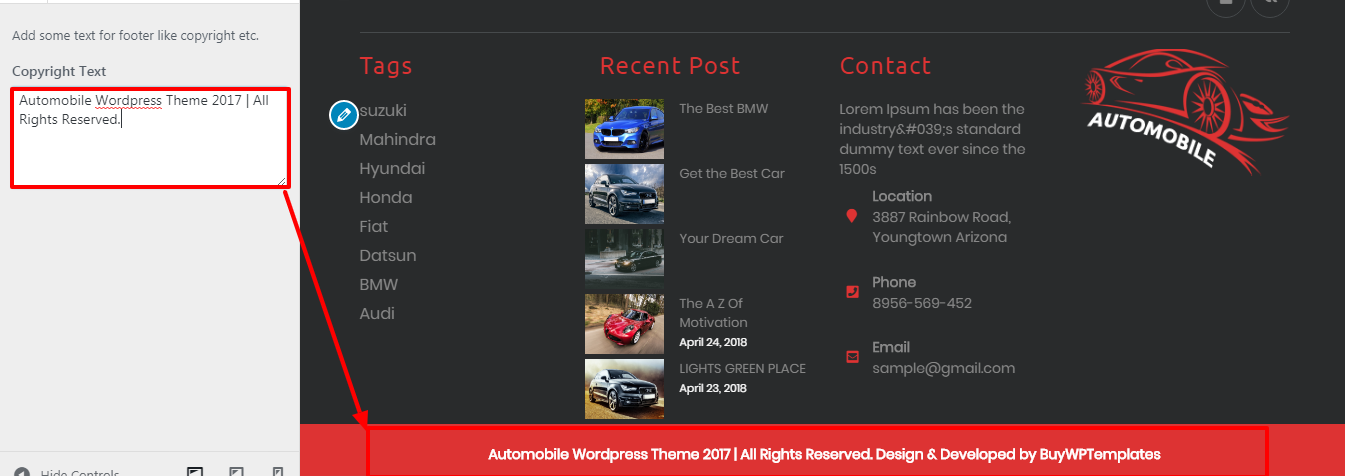
In order to continue, Footer Text section,
Go to Appearance >> Customize >> Themes Settings>> Footer Text.
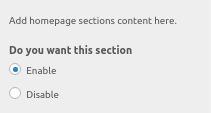
In this section you add all the Title & url. Options here are further described according to the sections they belong to
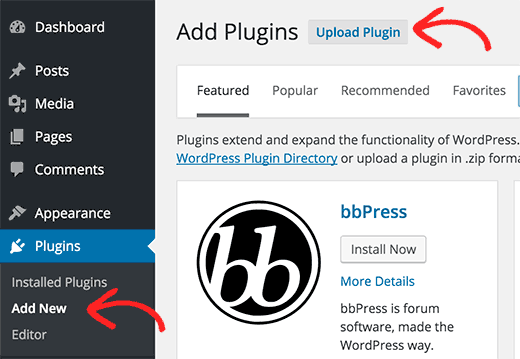
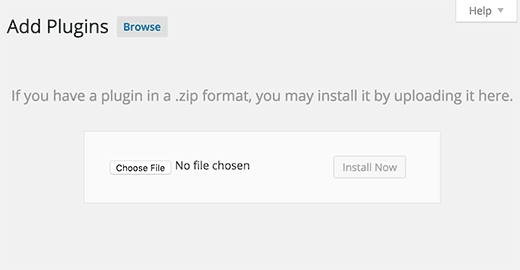
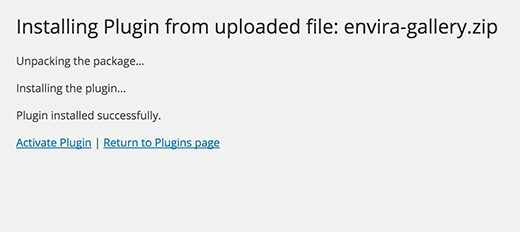
Using plugins, you can increase and expand the capability that comes with WordPress.
If you want these features in your theme, you must enable the plugin. To activate the plugin in your theme, adhere to these steps.
Go to Plugins >> Installed Plugins >> Plugin Name >>Activate
There are now three modules total. Refer to the image below for a better grasp.
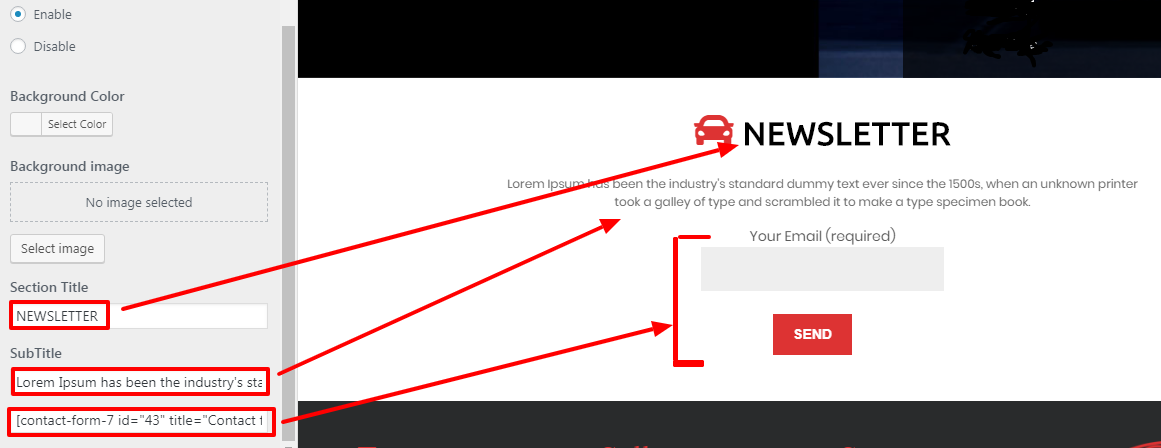
For the newsletter area, a contact form 7 plugin has been added here. Once this plugin is activated, you can customise the form settings to your needs and copy the short code to the newsletter section of the customizer to show that section in the theme.
The shortcode is inserted at the bottom of the image up top.
Installing and turning on the BWT Gallery Images Plugin is necessary for our gallery area. After activation, the dashboard will display an area for BWT Gallery. Enter the gallery title, add images, and then publish it in the gallery area. Refer to the illustration below for more information.
For the Car and Testimonial sections, the Automobile Car Dealer Posttype component has been introduced. Refer to the figure below for a better comprehension.
Testimonial Section
Follow these instructions to write testimonials.
GO TO THE TESTIMONIALS SECTION, ADD A NEW POST, AND SET THE FEATURED IMAGE. then select "publish".
Car Section
Use these guidelines to create car section.
Go to the "car" section, make a new post, and then enter the post's title, body, and featured image. then select "publish".


View this image to get a greater understanding.
Here is the list of created categories
Check the list of shortcodes that are available with the Themes:
Fetch All the Properties: [all_properties]
Fetch All the Properties By Categpory: [properties_by_cat cat_name="Add category slug"]
Fetch All the Agents: [agents]
Fetch All the Testimonials: [testimonials]